This document provides an overview of graphics and images used in multimedia. It discusses different types of graphics like bitmaps and vectors. It also covers image resolution, file formats, and color schemes. Key points include:
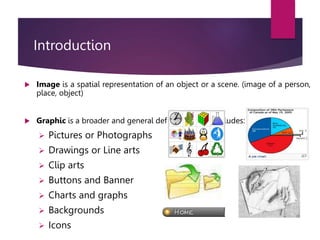
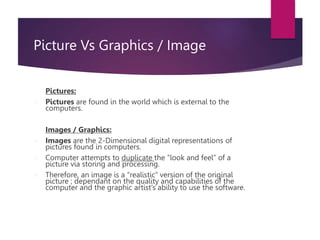
- Graphics can be pictures, drawings, clip art, charts and more while images are digital representations of pictures.
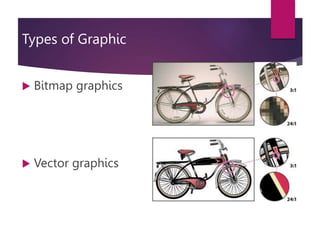
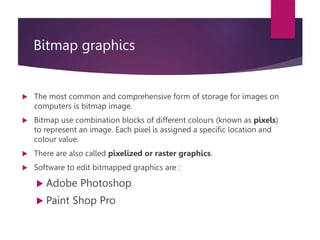
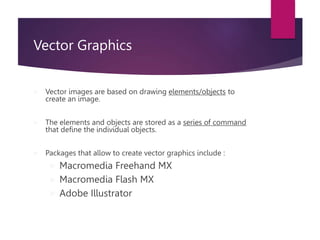
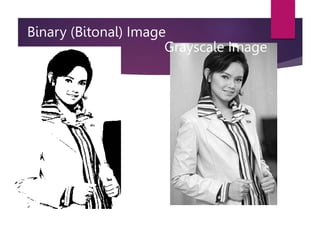
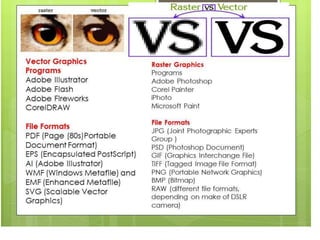
- Bitmap graphics use pixels to represent color and are also called raster graphics. Vector images use drawing elements stored as commands.
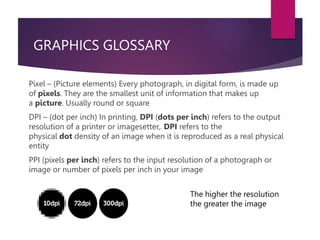
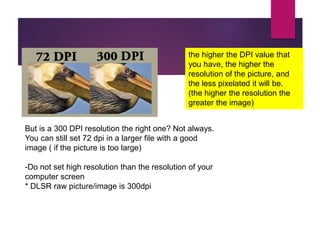
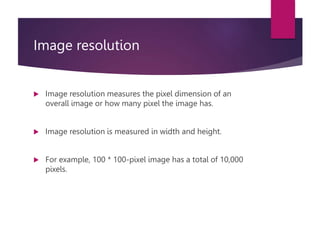
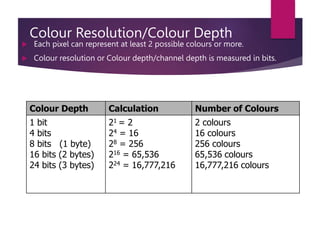
- Resolution is measured in pixels, DPI, or PPI and affects image quality and size. Color depth is measured in bits and determines the number of colors an image can display.
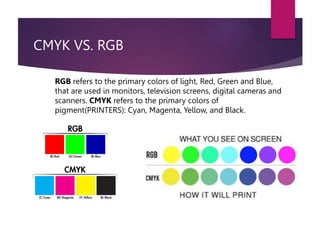
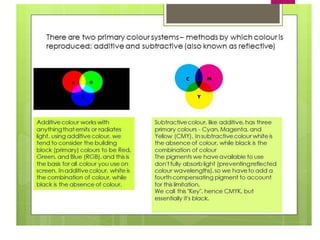
- Common color schemes are RGB for screens and CMYK for printers. Form