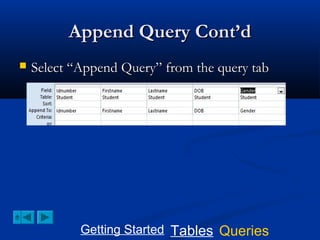
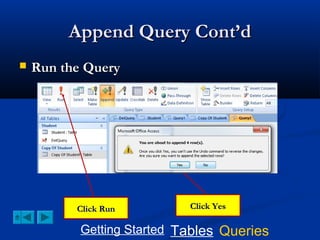
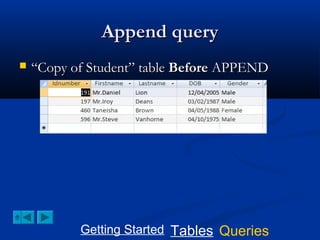
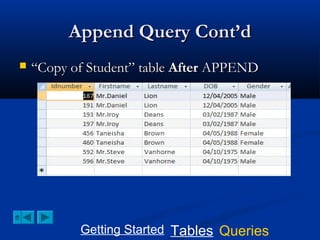
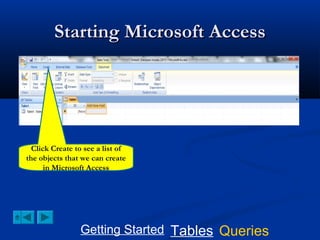
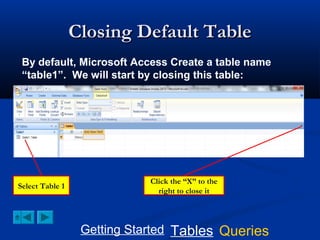
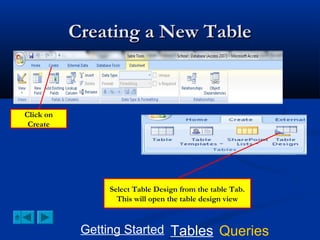
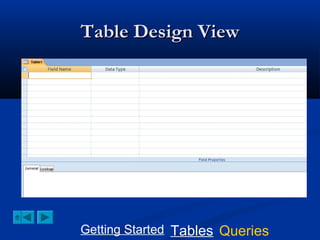
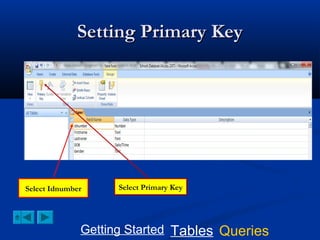
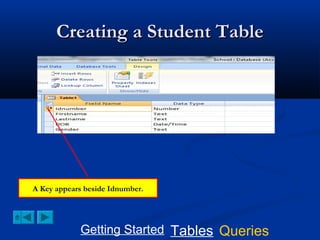
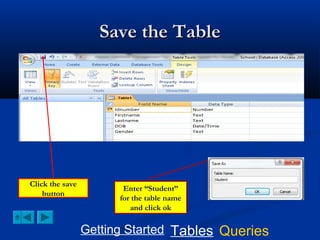
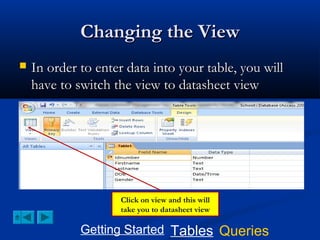
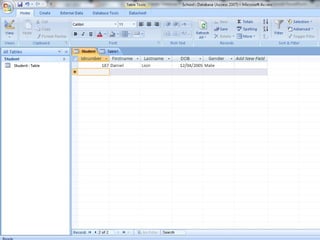
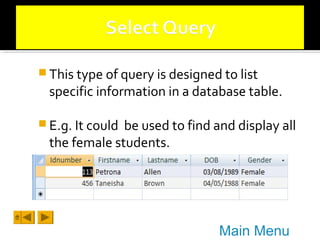
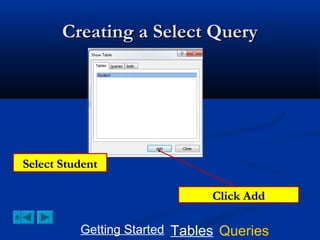
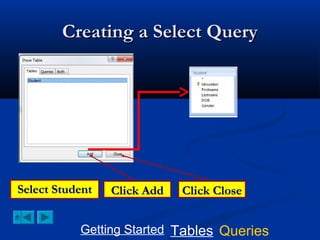
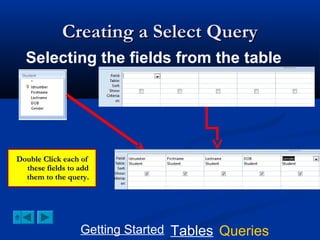
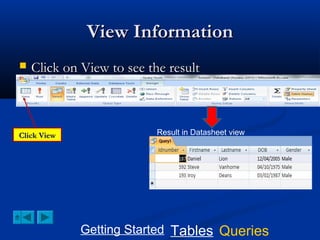
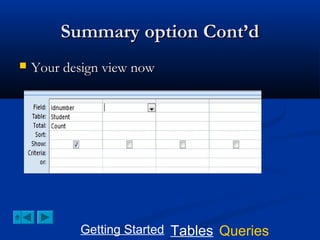
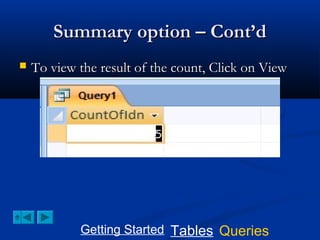
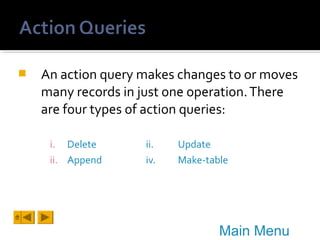
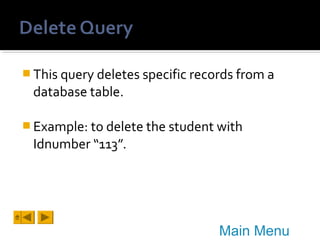
This document provides a tutorial on creating and working with tables and queries in Microsoft Access. It demonstrates how to create a Student table with fields like ID number, name, date of birth, and gender. It then shows how to create different types of queries like select, calculated, criteria, delete, update, and append queries. Select queries are used to retrieve specific data from tables. Calculated and criteria queries add or filter on conditions. Delete, update, and append queries make changes to data, either deleting, modifying, or moving records between tables. The tutorial provides step-by-step instructions on building each type of query using the Student table as an example.


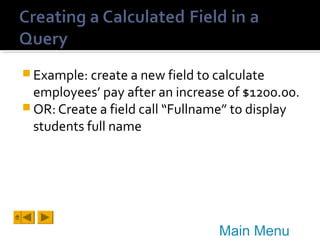
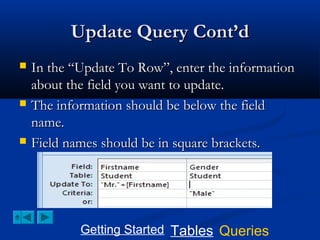
![Calculated Field Cont’d
To the right of Gender; enter the text
“Fullname”, followed by a colon ‘:’.
Enter the calculation for Fullname: [Firstname]+
[Lastname]
Getting Started Tables Queries](https://image.slidesharecdn.com/masterdatabasemanagementforcxc-131209202412-phpapp01/85/Master-database-management-for-cxc-38-320.jpg)
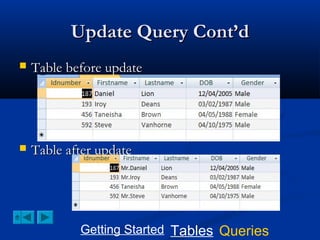
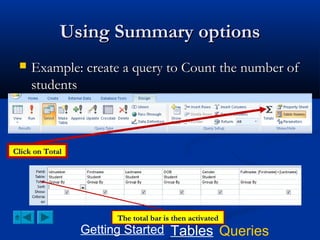
![Calculated Field Cont’d
Click on View from the menu bar
IF you want space between the names, modify the calculation as following:
Fullname: [Firstname]+” “+[Lastname]
Getting Started Tables Queries](https://image.slidesharecdn.com/masterdatabasemanagementforcxc-131209202412-phpapp01/85/Master-database-management-for-cxc-39-320.jpg)

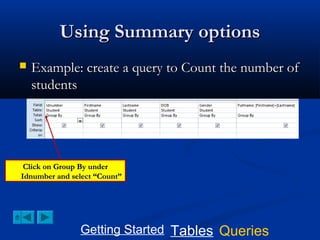

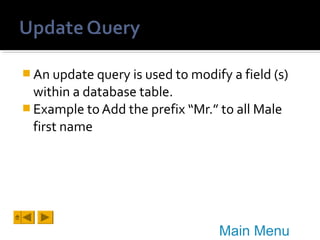
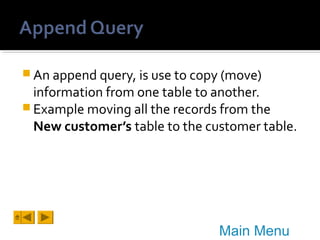
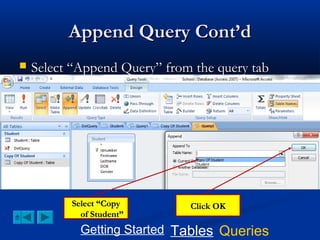
![Creating an Update Query
Select update from the query tab
TO add the prefix “Mr”; type the
following in the update To box:
“Mr.”+[Firstname]
Getting Started Tables Queries](https://image.slidesharecdn.com/masterdatabasemanagementforcxc-131209202412-phpapp01/85/Master-database-management-for-cxc-55-320.jpg)