This document discusses guidelines and principles for locating canals and preparing access cavities for endodontic treatment. It covers:
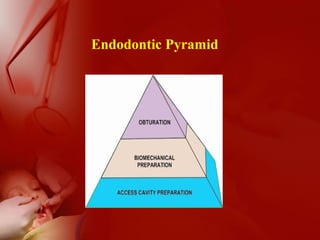
- The three main factors for endodontic success: cleaning and shaping, disinfection, and obturation.
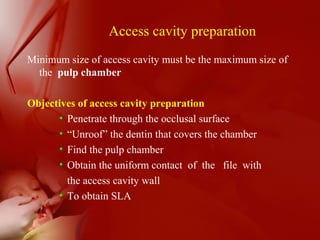
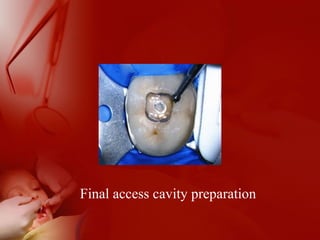
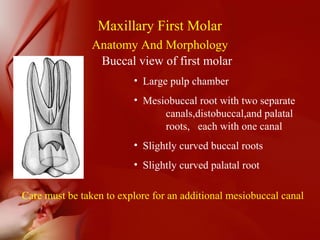
- Preparing the access cavity is an important first step to identify all root canals so they can be treated.
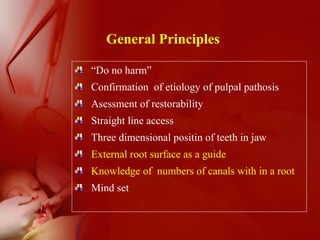
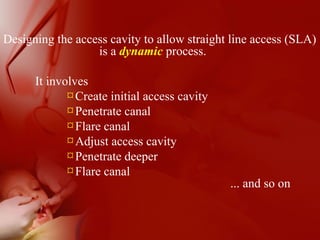
- General principles for access cavity preparation include doing no harm, confirming diagnosis, and allowing straight-line access.
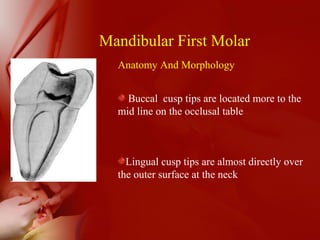
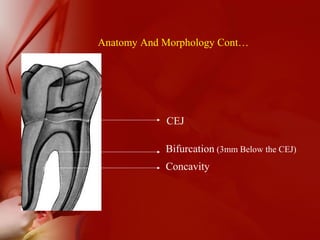
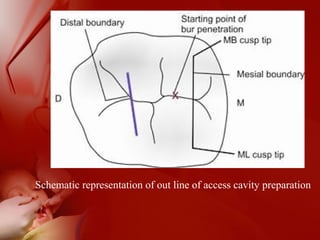
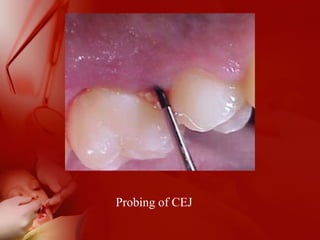
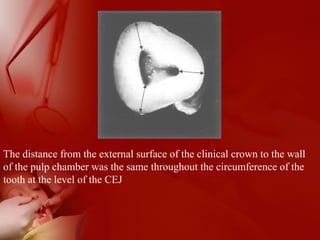
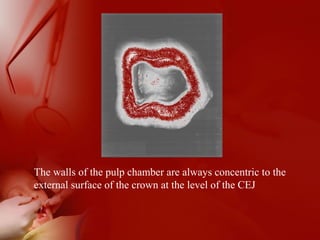
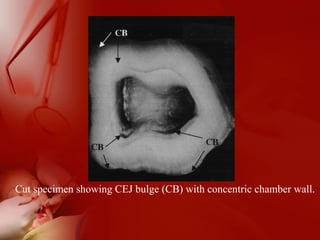
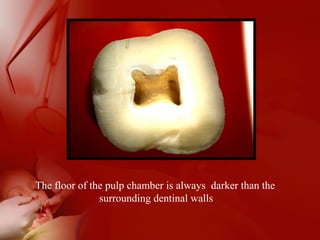
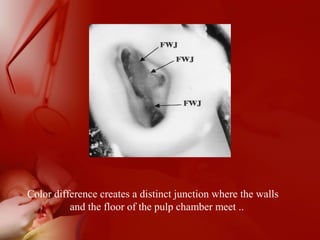
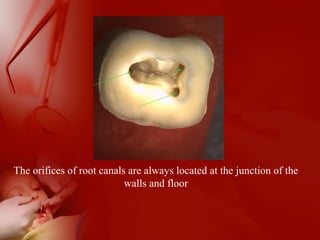
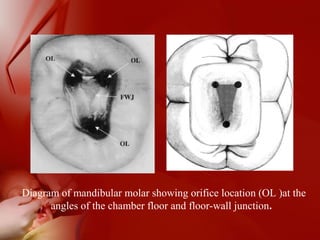
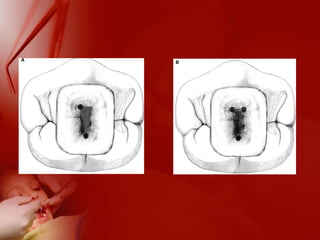
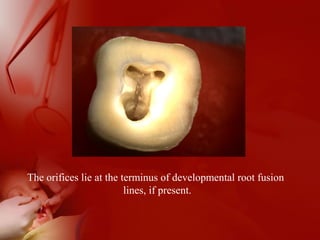
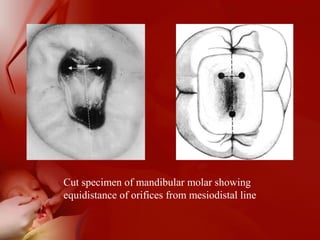
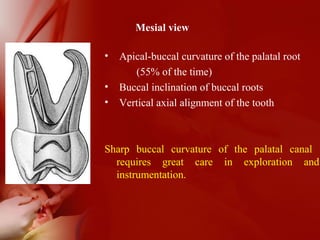
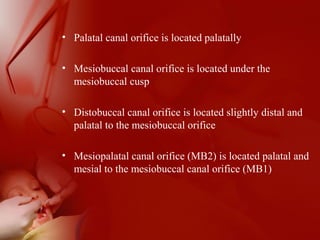
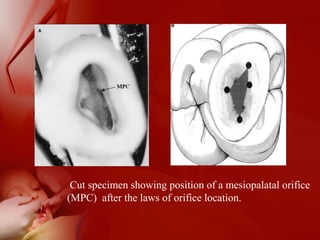
- Techniques for locating canals using anatomical landmarks like the cementoenamel junction and developmental root lines are described.
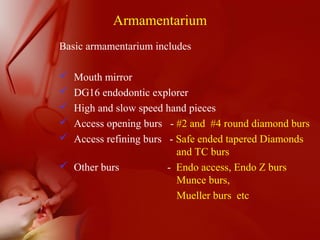
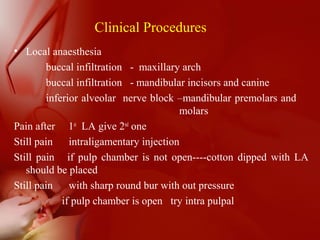
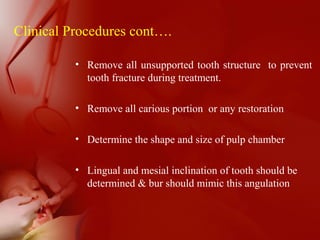
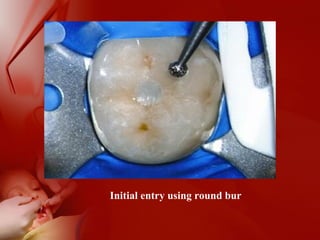
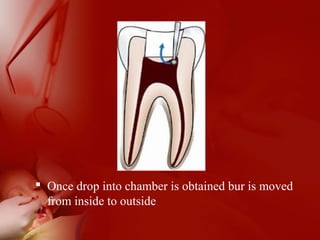
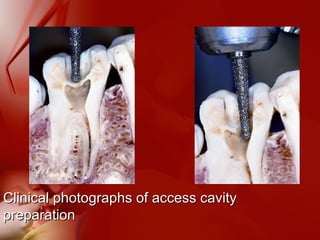
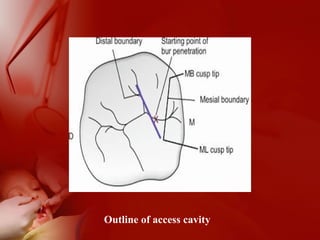
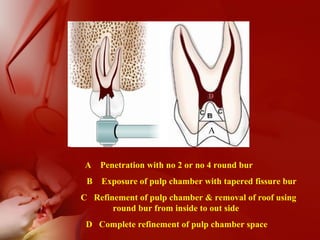
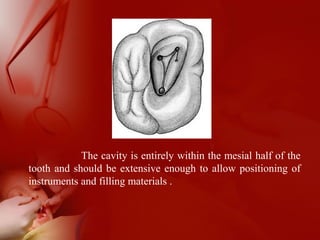
- Armamentarium and steps for access cavity preparation in different tooth types are outlined.