Downloaded 179 times


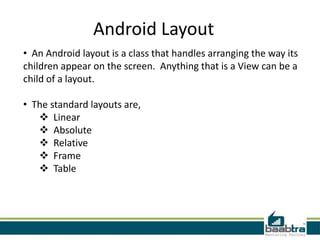

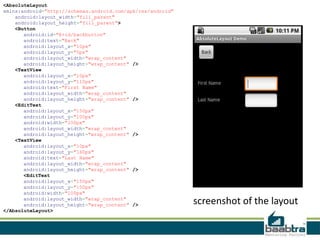
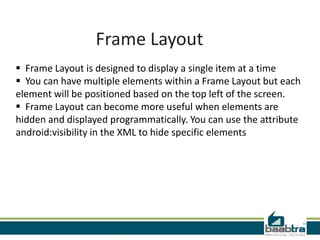
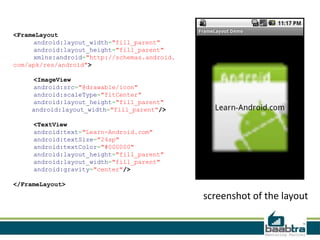
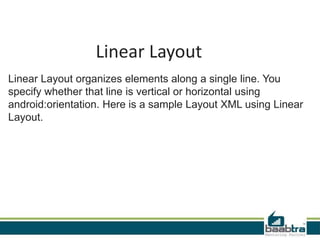


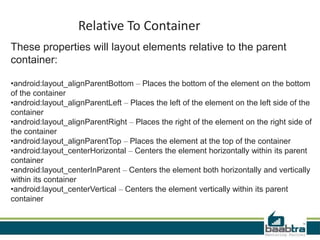


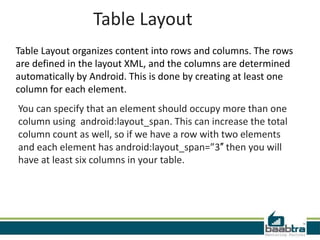


The document discusses different types of layouts in Android, including linear, absolute, relative, frame, and table layouts. It provides examples of how to implement each type of layout using XML code, and describes the properties that control how elements are arranged for each layout type. The key layout types covered are linear (arranges elements horizontally or vertically), relative (positions elements relative to each other and the parent container), frame (displays a single element at a time), and table (arranges elements into rows and columns).