Download to read offline
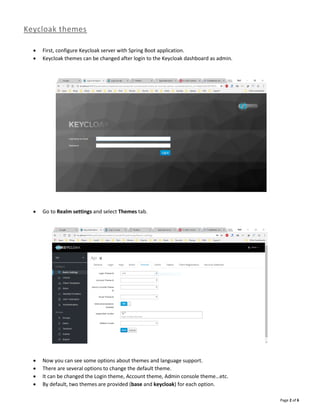
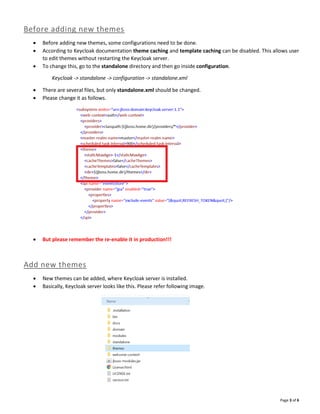
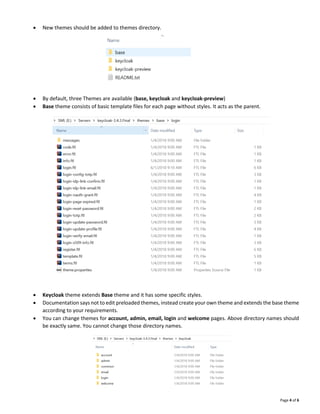

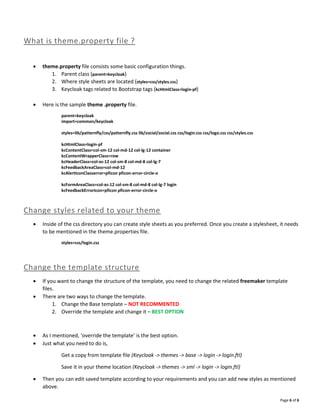

Keycloak allows customizing themes that are applied to different pages like login, account, and admin pages. To create a custom theme: 1. Create a new directory for the theme inside the themes folder and add property and template files. 2. Override default template files by copying them to the new theme directory and customize styles and structure. 3. Configure the theme.properties file to set parent theme, stylesheets, and customize tags. 4. Add CSS files to the theme's resources folder and reference them in theme.properties to apply custom styles.


![Lect 1 Number systems and base conversions. [Autosaved].pptx](https://cdn.slidesharecdn.com/ss_thumbnails/lect1numbersystemsandbaseconversions-260111134109-67c2d865-thumbnail.jpg?width=640&height=640&fit=bounds)


