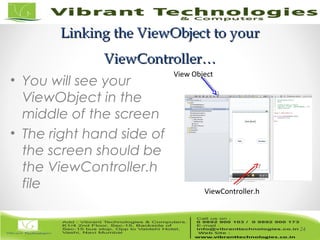
Download to read offline


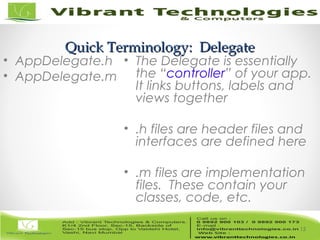


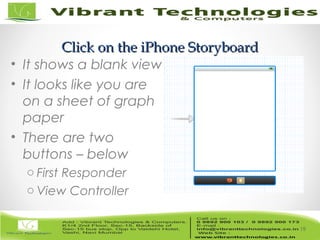


1. The document provides an introduction to iOS application development using Objective-C and Xcode. It discusses the basics of what is needed to get started, including downloading the iOS SDK and Xcode. 2. Key iOS development concepts are introduced such as the MVC pattern, delegates, storyboards, ARC and unit testing. Basic Xcode terminology and features are also explained. 3. Step-by-step instructions are given to create a simple iOS app with a label and buttons, and to link the buttons to change the label text. Creating a tab bar application is also demonstrated.