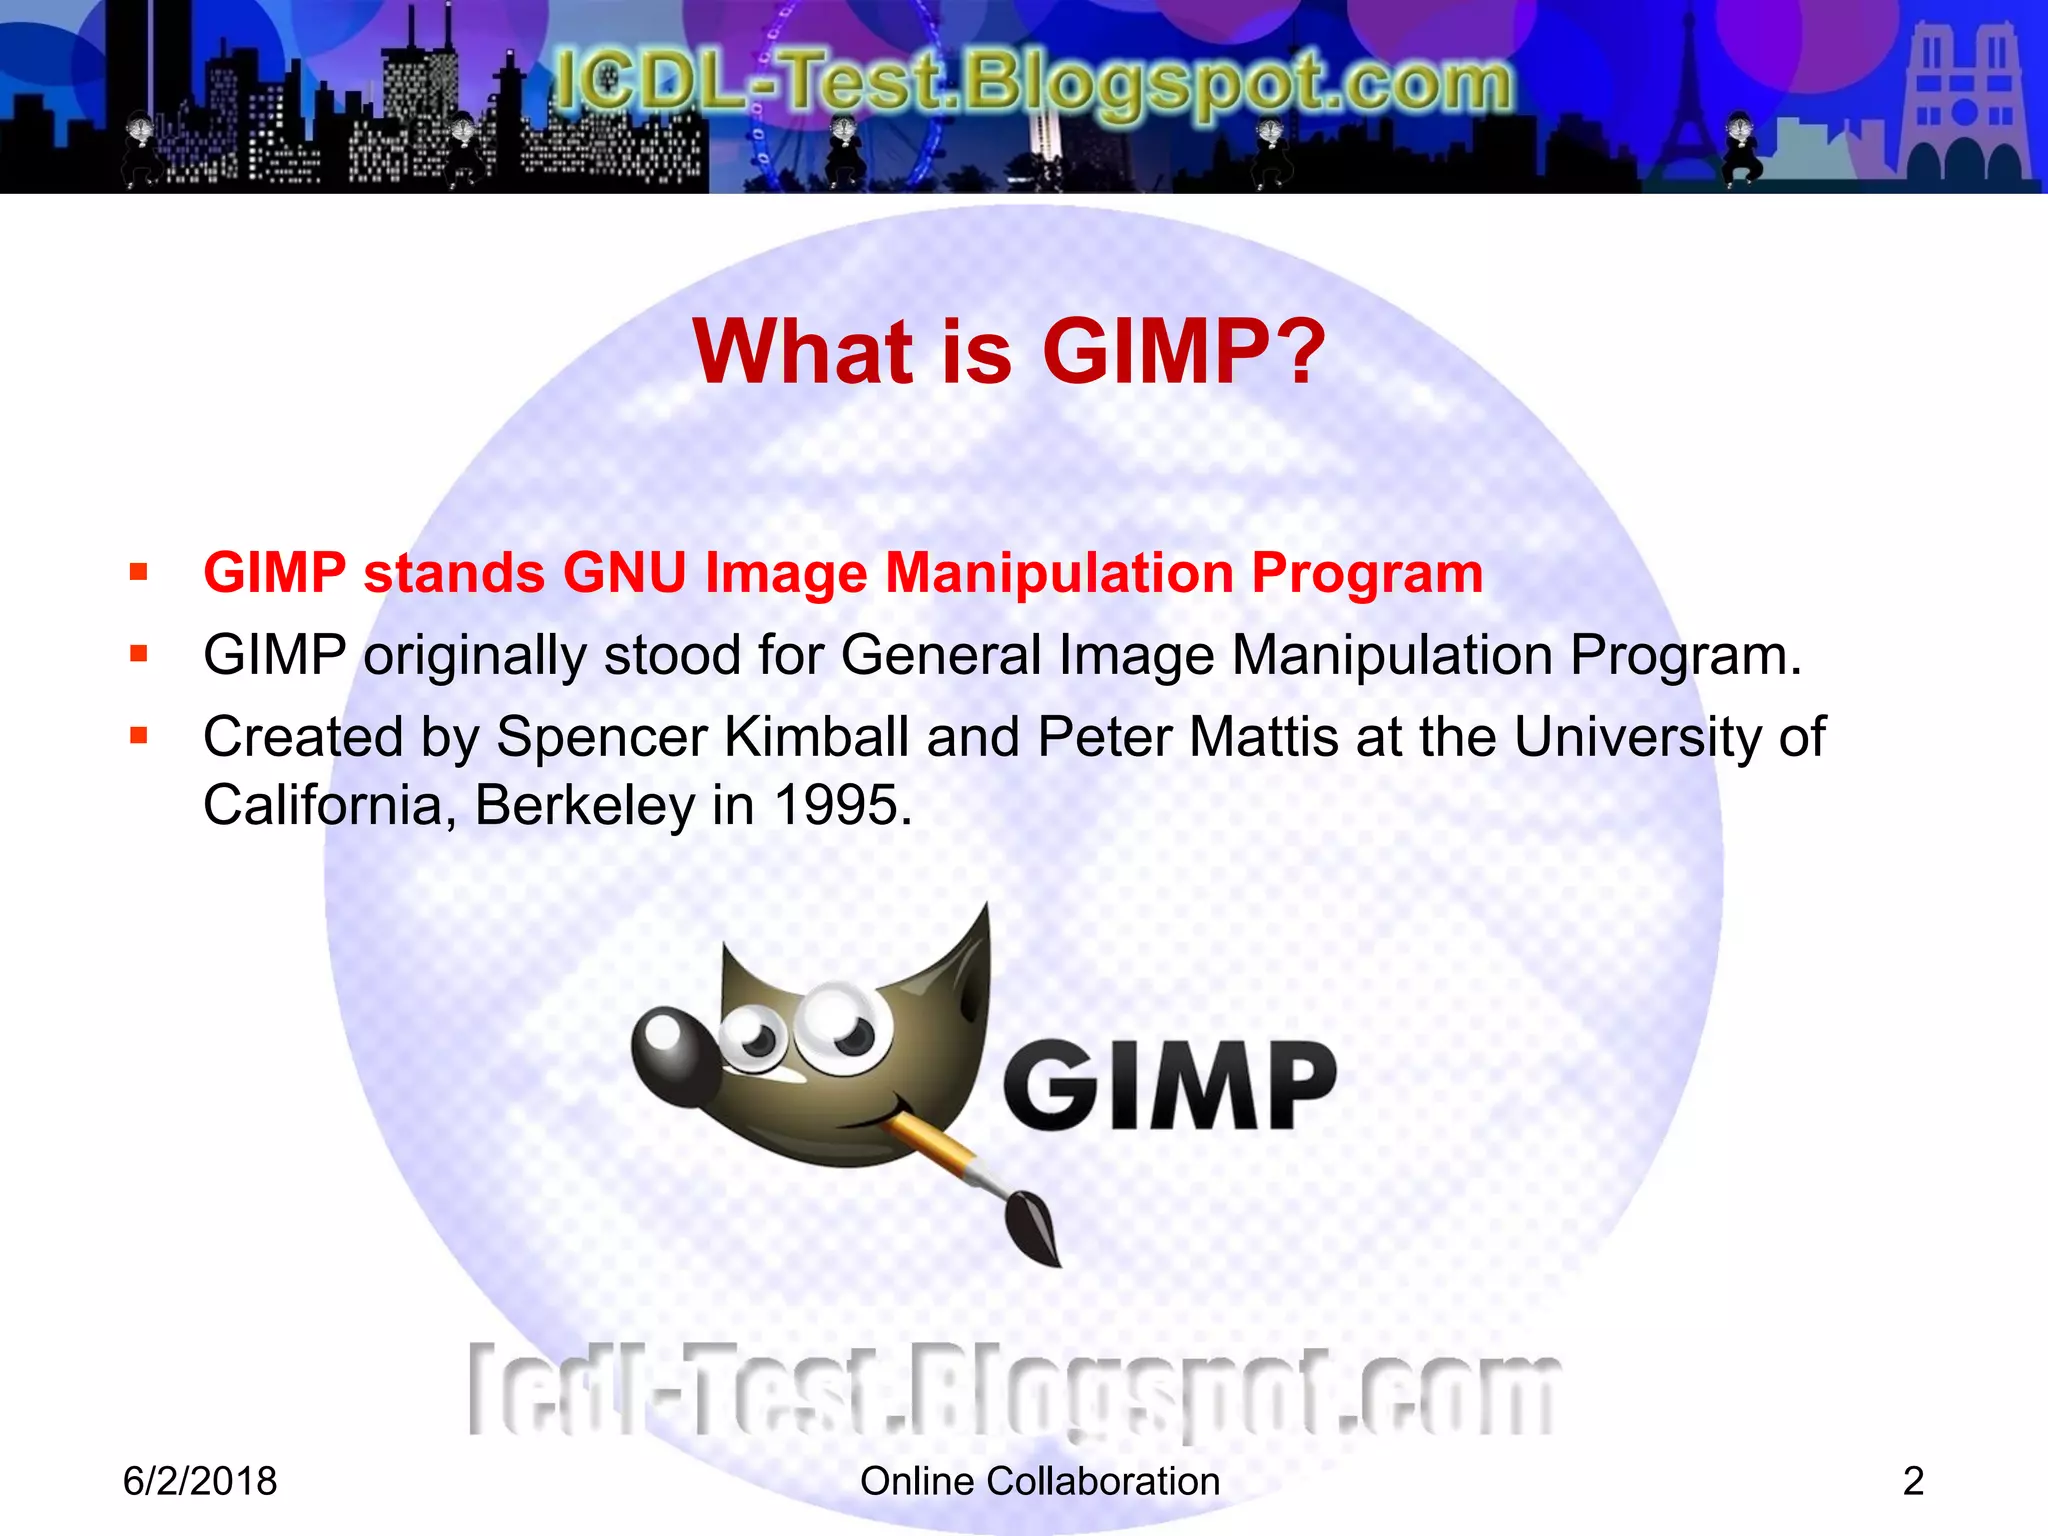
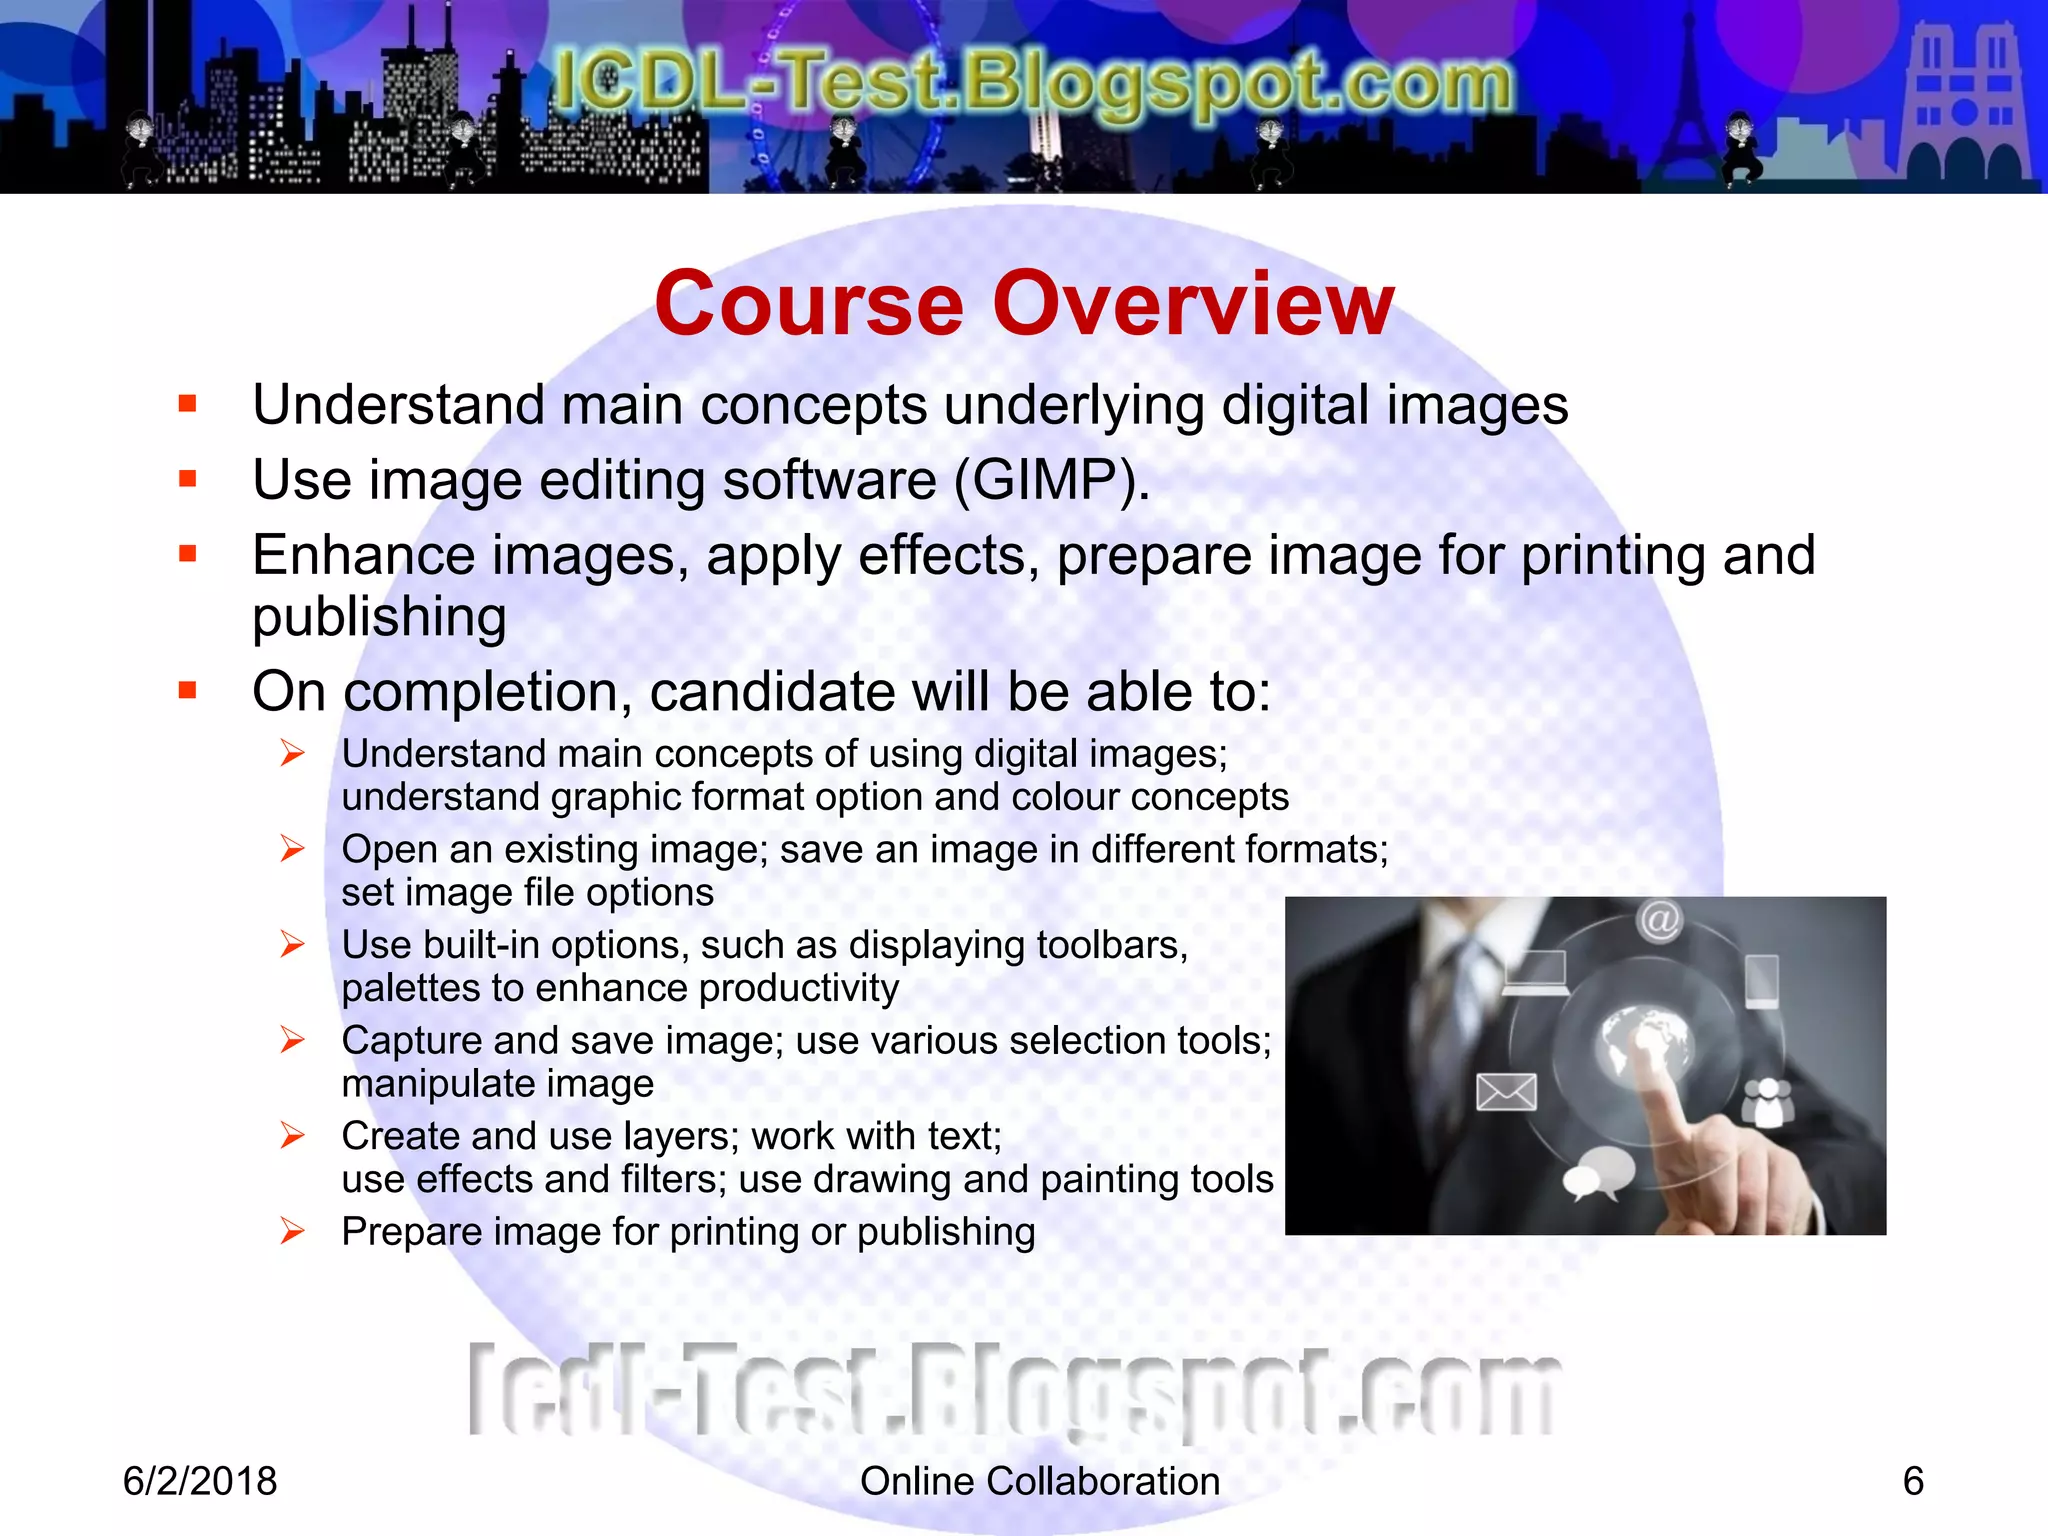
Image Editing (GIMP)
Online Collaboration 1
European Computer Driving
Licence
6/2/2018
What is GIMP?
 GIMP stands GNU Image Manipulation Program
 GIMP originally stood for General Image Manipulation Program.
 Created by Spencer Kimball and Peter Mattis at the University of
California, Berkeley in 1995.
6/2/2018 Online Collaboration 2
Online Collaboration 3
 Please check the spelling of your name (in accordance with
NRIC or Passport)
 Please set mobiles to silent
 No food and drinks (except bottle drinks with CAP)
 Training materials
 Washroom and emergency exits location
 AM Tea break: 10 – 10:15 am (15 minutes)
 Lunch break: 12-1pm (1 hour)
 PM Tea break: 3 – 3.15pm (15 minutes)
 Please scan your thumb drives for viruses
Points to Note
6/2/2018
Online Collaboration 4
 WSQ (Workforce Skill Qualification) is a national credentials
system developed and managed by Singapore Workforce
Development Agency (WDA)
 Aim to train, develop, assess and recognise adult workers for
competencies that companies need of their employees
 WDA has changed to WSG (Workforce Singapore)
What is ES WSQ
6/2/2018
Online Collaboration 5
 At end of lesson, you are required to take a summative
assessment using the online tools of International Computer
Driving Test (ICDL)
 To be assessed as competent you must attain:
 Minimum 75% attendance
 Minimum 75% pass for ICDL Test
Assessment
6/2/2018
Online Collaboration 6
 Understand main concepts underlying digital images
 Use image editing software (GIMP).
 Enhance images, apply effects, prepare image for printing and
publishing
 On completion, candidate will be able to:
 Understand main concepts of using digital images;
understand graphic format option and colour concepts
 Open an existing image; save an image in different formats;
set image file options
 Use built-in options, such as displaying toolbars,
palettes to enhance productivity
 Capture and save image; use various selection tools;
manipulate image
 Create and use layers; work with text;
use effects and filters; use drawing and painting tools
 Prepare image for printing or publishing
Course Overview
6/2/2018
Online Collaboration 7
 Benefits of this module:
 Provides solid grounding in working with digital images
 Gives you platform to develop skills and knowledge
 Certified in ICDL Image Editing
 How to use this book:
 Introduces important concepts
 Steps of using different features of application (GIMP)
 Practice activities using sample files in Student Folder
 DO NOT SAVE your changes to sample files,
as you want to practice an activity more than once
Course Overview
6/2/2018
Online Collaboration 8
 Lesson 1 – Imaging Concepts
 Lesson 2 – Graphics Formats
 Lesson 3 – Colour Concepts
 Lesson 4 – Capturing Images
 Lesson 5 – Creating Images
 Lesson 6 – Layout Settings
 Lesson 7 – Settings
 Lesson 8 – Selection Techniques
 Lesson 9 – Image Manipulation
 Lesson 10 – Layers
 Lesson 11 – Working with Text
 Lesson 12 – Effects and Filters
 Lesson 13 – Drawing Tools
 Lesson 14 – Painting Tools
 Lesson 15 – Preparing Outputs
Course Outline
6/2/2018
Online Collaboration 9
 Identify common uses of digital images
 Understand pixel, resolution and file size
 Identify key features of a digital image
 Comparing lossy and lossless image compression
 Understand copyright and implication of use
Lesson 1: Imaging Concepts
6/2/2018
Online Collaboration 10
 1.1 Common Uses of Digital Images
 Important and Common Type of Digital Content for Work & Home
 Web and Print Publishing
 Distribution by Email and Mobile Phone
 Home Printing
 Digital Photo Frames
Lesson 1: Imaging Concepts
6/2/2018
Online Collaboration 11
 1.2 Digital Images and Pixels
 Digital Image is:
o Representation of Image in Numeric (Binary) Form
o Composed of Discrete Pixels
 Pixels are:
o Smallest Part of Digital Image on Screen
o Single Point in a Picture
 Resolution:
Detail and quality of image in pixel dimensions (width & height)
 File Size and Compression:
o Files Size in KB, MB, GB
o File Compression Method using GIF, JPEG and PNG Format
can affect File Size
o JPEG use lossy compression creates smaller size compressed file
that results in lower resolution picture with pixel loss
o PNG use lossless compression and ensures that compressed file
can be reconstructed to exact original image without pixel loss
Lesson 1: Imaging Concepts
6/2/2018
Online Collaboration 12
 1.3 Copyright
 Copyright is Protection for Intellectual Property
 Intellectual Property consists anything has written or created, including
music, text, pictures, photographs, sounds, video
 Copyright specifies the rights granted to use, publish or distribute
images or other pieces of work for a specific time period
 You cannot use an image find on the web with licensing arrangement
 Common License Model for Images:
o Royalty-free images
o Rights-managed images
Lesson 1: Imaging Concepts
6/2/2018
Online Collaboration 13
 1.4 Review Exercise
 What is the term used to describe the smallest part of a digital image?
Pixel
 List 2 examples of materials that may be protected under the copyright law:
Music, Text, Pictures, Photographs, Sound & Video
 Give an example of a lossy file format?
JPEG use lossy compression creates smaller size compressed file
that results in lower resolution picture with pixel loss
 Under what licensing arrangement can you pay a one-off fee and use an
image several times?
Royalty-free images
Lesson 1: Key Concepts
6/2/2018
Online Collaboration 14
 Distinguish raster and vector images
 Identify common raster formats
 Identify common vector formats
 Recognize proprietary digital image editing
application formats
Lesson 2: Graphic Formats
6/2/2018
Online Collaboration 15
 2.1 Raster and Vector Images
 Raster Image:
o Bitmap Images, Use rectangular grid of pixels to represent images.
Each pixel has a specific location and colour value.
You edit pixels rather than objects or shapes.
o Fixed number of pixels.
Cannot be scaled to large size without losing quality.
o Formats:
• JPEG (Joint Photographic Experts Group):
Photographs and continuously-tone images on web.
NO Transparency, Retains all colour information in RGB.
Compress file size.
• GIF (Graphics Interchange Format):
Display index-colour graphics and images on web.
Compressed format to minimize file size and transfer time.
Support Transparency. Useful for Graphics and Logos.
Lesson 2: Graphic Formats
6/2/2018
Online Collaboration 16
 2.1 Raster and Vector Images
 Vector Image:
o Consist of lines and curves defined by mathematical objects called
vectors. Vectors define image according to geometric characteristics.
o Can be modified without losing detail or clarity.
Independent of resolution.
o Formats:
• SVG (Scalable Vector Graphics):
Open standard created and developed by WWW Consortium.
Provides versatile, scriptable and all-purpose vector format.
Can be compressed using lossless data compression techniques.
• EPS (Encapsulated PostScript):
Standard Graphics file format for exchanging images, drawings, or
layout of complete pages.
Contains a description of such an object or layout using PostScript
language.
Lesson 2: Graphic Formats
6/2/2018
Online Collaboration 17
 2.2 Proprietary Application Formats
 Native (default) file format used by specific software application.
Proprietary and not meant to be used with other applications.
 Specific image properties, like editable layer styles and text can only be
preserved when image is saved in software’s native format.
 Table shows propriety image file format for some common image editing
applications:
Lesson 2: Graphic Formats
6/2/2018
Image Editing Application Native File Format
GIMP .xcf
Adobe Photoshop .psd
Paint Shop Pro .psp
Adobe Illustrator .ai
Corel Photo Paint .cpt
Online Collaboration 18
 Understand the term colour model
 Recognize common colour model
 Understand colour palette and depth
 Understand colour terms
Lesson 3: Colour Concepts
6/2/2018
Online Collaboration 19
 3.1 Colour Models
 Mathematical model that describes how colours can be presented as list of
numbers, typically 3 or 4 values/colour components.
Different colour models used depending on Print or Web medium
 4 most common models are: RGB, CMYK, HSB and Greyscale.
 RGB: Combines red, green and blue colours. Intensity value assigned to
each pixel. Intensity value range from 0 (black) to 255 (white) for each of
the RGB components in a colour image.
 CMYK: Each pixel is assigned a percentage value for each of the process
inks - Cyan, Magenta, Yellow and Key, or Black. The lightest (highest)
colours are assigned small percentages of process ink colours, whereas the
darker (shadow) colours higher percentages.
 HSB: Stands for Hue, Saturation and Brightness. Describes a colour using
3 numbers. 1st number Hue with value ranges from 0 to 360 degrees. Each
degree represents a distinct colour. 2nd number Saturation with value
ranges from 0 to 100, where 0 represent no colour and 100 represent full
colour. 3rd number is Brightness with value ranges from 0 to 100, where 0
represent White and 100 represent Black.
 Greyscale: Refer to as Black-and-White. Composed Exclusively of shades
of gray, varying from black at Weakest intensity to White at strongest.
Lesson 3: Colour Concepts
6/2/2018
Online Collaboration 20
 3.2 Colour Palette and Depth
 Colour Palette:
o A finite set of colours available for digital images.
o A common palette is 256-colour palette.
o Limited by hardware limitations, e.g. Specification of a Monitor.
 Colour Depth:
o A maximum number of colours used in an image.
o Higher depth, broader the range of distinct colours and more realistic
the image.
o Related to number of bits (units of digital information) used for each
colour component of an individual pixel
o Example: True Color (24-bit) supports high quality images and complex
graphics
Lesson 3: Colour Concepts
6/2/2018
Online Collaboration 21
 3.3 Understanding Common Colour Terms
 Hue – A pure colour described by name such as “red” or “yellow”
 Saturation – The dominance, or intensity, of hue in the colour
 Colour balance – The overall adjustment of the intensities of the colour
 Contrast – The difference in colour and light level in an image
 Brightness – The degree to which an image radiates light
 Gamma – The way brightness is changed for the middle range of gray
tones
 Transparency – The ability of light to transmit through an image
Lesson 3: Colour Concepts
6/2/2018
Online Collaboration 22
 3.4 Review Exercise
 Define the following terms:
a. Hue: A pure colour described by name such as “red” or “yellow”
b. Saturation: The dominance, or intensity, of hue in the colour
 Name the 2 colour models.
RGB, CMYK, HSB, Greyscale
 Give an example of a common colour palette
256-colour palette
Lesson 3: Colour Concepts
6/2/2018
Online Collaboration 23
 Saving Images from Digital Camera
 Using Print Screen Facility
 Saving Image from Image Library
 Scanning Images
Lesson 4: Capturing Images
6/2/2018
Online Collaboration 24
 4.1 Saving Images From A Digital Camera
 Acquire the images with a digital camera and move them to computer
 Steps to copy images from media source (memory card or directly from
camera):
o Connect media to computer by USB cable or Insert media card into
computer card reader slot.
o On computer, double-click on drive that represents camera or media
card.
o Open folder containing images.
o Select required images or entire folder.
o Drag them to a folder on your hard drive to copy.
Lesson 4: Capturing Images
6/2/2018
Online Collaboration 25
 4.2 Using The Print Screen Facility
 Create image by capturing current screen or active window on your
computer using the Print Screen facility.
 Steps to capture screen shot:
o Activate the screen to window required.
o Press the Print Screen (to capture the current screen) or ALT Print
Screen (to capture the active window only) on keyboard.
o Open an image editing program.
o Choose Edit > Paste
o When working with Laptop/Notebook, the print screen key may share
the key with another command. Press Function or Fn and key for the
Print Screen at the same time.
Lesson 4: Capturing Images
6/2/2018
Online Collaboration 26
 4.3 Saving Image From Image Library
 Steps to save image from an online source, such as online image library:
1. Right-click the image
2. On shortcut menu that appears, select Save Picture As…
3. In the Save In list box, select a location.
4. Click Save to save the image.
o The save image can then be opened in an image editing application.
o Most online image libraries are subscription based for user-generated,
royalty-free stock photos and illustrations.
o Popular image library sites include www.istockphoto.com and
www.shutterstock.com
Lesson 4: Capturing Images
6/2/2018
Online Collaboration 27
 4.4 Scanning Images
 Another method of acquiring images is by scanning documents, images or
objects. Scanning creates a digital image that can then be manipulated
using image editing software. Most common type of scanner is a desktop
flat-bed scanner.
 Process of scanning an image invovles:
1. Place the image on the scanner
2. Click Scan to view options
3. Follow the instructions to choose the scanning parameters. These
typically include resolution (which will directly influence the quality of
the image) and file format
4. Navigate to the location required to save image
5. Click Scan
Lesson 4: Capturing Images
6/2/2018
Online Collaboration 28
 4.5 Review Exercise
 Search for the following images online and save them using an appropriate
file name.
a. The Taj Mahal
b. A lightning Storm
 Name two common scanning parameters:
Resolution
File Format
 What is the keyboard shortcut used to capture the
current active window:
PrtScn: Capture Whole Window
 Alt + PrtScn: Capture Active Window
Lesson 4: Capturing Images
6/2/2018
Online Collaboration 29
 Familiarization of GIMP interface
 Opening and placing image files
 Switching between open image files
 Creating new image file
 Saving images
Lesson 5: Creating Images
6/2/2018
Online Collaboration 30
 5.1 GIMP Interface And Creating Images
 GIMP is the GNU Image Manipulation Program. It is a freely distributed
software for such tasks as photo retouching, image composition and image
authoring. It works on many operating system, in many languages.
 GIMP’s environment contains a set of well-defined tools and dialog boxes
that are easily accessible and customizable. It supports a large number of
image formats and high-end graphics for different media.
 We need to familiarise ourselves with design creation and image editing
techniques using this software. Understanding the different tools and
features available in GIMP will help us maximise our creative potential.
 Familiarization of GIMP Interface
o GIMP has a user friendly-interface with a variety of tools and features
to help use design, create, enhance images, and produce professional
designs for both print and web.
o The screen consists of the following:
• Menu bar
• Toolbox
• Image window
• Dialogs
• Status bar
Lesson 5: Creating Images
6/2/2018
Online Collaboration 31
 5.2 Opening, Placing And Closing Image Files
 5.3 Switching Between Open Files
 5.4 Creating New Image File
 5.5 Saving Images
Lesson 5: Creating Images
6/2/2018
Online Collaboration 32
 6.1 Choosing foreground and background colours
 6.2 Setting grid properties
Lesson 6: Layout Settings
6/2/2018
Online Collaboration 33
 6.3 Review Exercise
 Open the image Wheel Template.
 Use the Color Selection dialog to mix the colours.
The different colours in the colour wheel are made up of 3 primary colours:
red, green and blue; 3 secondary colours: cyan, magenta and yellow and 6
tertiary colours that fall in between each of the primary and secondary
colour values.
Use the Bucket Fill tool to apply the colours to the wheel.
 Use the following RGB Values (See Book)
 Save the file as Colour Wheel.
Lesson 6: Layout Settings
6/2/2018
Online Collaboration 34
 7.1 Setting basic options and preferences
 7.2 Using the Help function
 7.3 Using magnification and zoom tools
 7.4 Performing undo or redo with History panel
 7.5 Manipulating toolbars, panels and windows
Lesson 7: Enhance Productivity
6/2/2018
Online Collaboration 35
 7.6 Review Exercise
 Which tool is used to enlarge and reduce the view of an image?
Zoom tool
 Which keyboard key is used to activate the Help function?
F1
 What happens when we press TAB?
To hide or show all docks
 In GIMP, do the following:
o Open all images in the Turkey Travel folder.
o Use the file tab to activate the image Mount Nemrud.
o View the image at 100% zoom level.
o Pan the image so that the face structure on the left
is fully visible.
o Fit the image on screen.
o Save the image as JPEG format using the file name Nemrud-Medium.
o Close all open images.
Lesson 7: Enhance Productivity
6/2/2018
Online Collaboration 36
 8.1 About Selection Techniques
 8.2 Selecting An Entire Image Or Layer
 8.3 Selecting With Marquee And Lasso Tools
 8.4 Setting Selection Tool Properties
 8.5 Selecting Based On Colour
 8.6 Feathering And Anti-Aliasing
 8.7 Inversing Selection
Lesson 8: Selection Techniques
6/2/2018
Online Collaboration 37
 8.1 About Selection Techniques
 Select specific areas, edit and apply effects & filters to portion of image
 Raster Image: Select pixels using Marquee Tools / Lasso Tools
 Vector Image: Select using Paths Tool
Lesson 8: Selection Techniques
6/2/2018
Online Collaboration 38
 8.2 Selecting Entire Image / Layer
 Select All pixels (Entire Image) on a layer:
o Select > All
o CTRL A
 Deselect Image:
o Select > None
o CTRL SHIFT D
Lesson 8: Selection Techniques
6/2/2018
Online Collaboration 39
 8.9 Review Exercise
 Open the images Wall and Frames.
o Use the marquee selection tools to select the framed pictures and
object and place them on the wall image.
o Save the file as Wall – Completed.
 Open the image Butterfly.
o Use a lasso tool to select the butterfly.
o Save the selection.
o Save the file.
 Open the image Pink Rose.
o Select the flower.
o Subtract any background from the selection if necessary.
o Save the selection.
o Save the file.
Lesson 8: Selection Techniqes
6/2/2018
Online Collaboration 40
 9.1 Changing Image Canvas Size
 9.2 Resizing Images
 9.3 Cropping Images
 9.4 Moving And Copying Image Or Selection
 9.5 Rotating And Flipping Image Or Selection
Lesson 9: Image Manipulation
6/2/2018
Online Collaboration 41
 9.6 Review Exercise
 Add additional 10% of black canvas area all around the image Bottle.
 Crop the image Deck Chairs to a width of 3 inches by a height of 2 inches.
Ensure only the chairs are visible.
 Crop and straighten the images in Scanned Photos. Rotate the yacht
image as necessary. Save the images as Beach1, Beach2 and Beach3.
 Trim away the excess blank space in the image Old TV.
 In the file Blue Butterfly, extend the canvas on right and create the other
half of the butterfly. Trim away excess canvas area.
Lesson 9: Image Manipulation
6/2/2018
Online Collaboration 42
 10.1 Understanding Layers
 10.2 Creating, Copying And Deleting Layers
 10.3 Setting Layers Properties
 10.4 Merging And Flattening Layers
 10.5 Transforming Layers
 10.6 Rasterizing Layers
 10.7 Creating animated GIF from layers
Lesson 10: Layers
6/2/2018
Created Animated GIF Video
6/2/2018 Online Collaboration 43
Created Animated GIF Video
6/2/2018 Online Collaboration 44
Online Collaboration 45
 10.8 Review Exercise
 Creating a web pop-up advertisement. Create a new image document using
the following settings:
o Width: 640px Height: 450 px Resolution: 72
o Colour mode: RGB Background: Transparent
 Place City into the new file, scale so that it fills the canvas and name the
layer as City.
 Use Desaturate command (Colors menu) to remove the colours from the
City layer and set the opacity of the layer to 60%
 Place Park into the new file and name the layer as Park.
 Place Sunglasses into new file.
 Select the circular area inside the glasses and copy the selection into a new
layer. Name the layer as Lenses.
 Place the Park Layer above the Lenses layer
 Mask the layers Lenses and Park layers (right-click > Add Layer Mask)
 Make the Park layer the active layer and using the Move tool to shift the
park image around until it is framed away we like it with the glasses.
 Mark City the active layer, place Green City Text image into the new file
and move the layer all the way to the top in the Layer dialog.
 Center the text horizontally and position it below the glasses.
 Save the file as Web Ad” in GIMP format.
Lesson 10: Layers
6/2/2018
Layer Masking Video
6/2/2018 Online Collaboration 46
Layer Masking Video
6/2/2018 Online Collaboration 47
Online Collaboration 48
 11.1 Creating And Editing Text
 11.2 Formatting Text
 11.3 Applying Text Wrap
Lesson 11: Working With Text
6/2/2018
Online Collaboration 49
 11.4 Review Exercise
 Create a collage or image composition to depict the colour wheel that
contains all 12 colours (3 primary, 3 secondary, and 6 tertiary)
 Use the following website to read up on the colour wheel:
http://en.wikipedia.org/wiki/Colour_wheel
 The artwork dimension should be 700 by 700 pixels with 150 ppi resolution
 Label all of the colours correctly
 Save the file as Wheel Illustration
Lesson 11: Working With Text
6/2/2018
Online Collaboration 50
 12.1 Applying Artistic And Distortion Effects
 12.2 Applying Blur Effects
 12.3 Applying Lightning Effects
 12.4 Working With Image Adjustments
 12.5 Working With Sharpen And Unsharp Mask
 12.6 Applying Red Eye Reduction
Lesson 12: Effects And Filters
6/2/2018
Red Eye Removal Video
6/2/2018 Online Collaboration 51
Online Collaboration 52
 11.4 Review Exercise
 Search for 4 sceneries and flowers that represents the 4 seasons: Spring,
Summer, Autumn and Winter.
 Create a mock-up of a post card design for a travel company using the
dimension of a 4R photo with the resolution of 150 ppi.
 Apply an artistic filter to the background composition (the 4 sceneries) and
reduce the opacity.
 Place the flowers as shown in the sample below.
 Add the text, apply warp effect and layer styles.
 Save the file as Post Card.
Lesson 12: Effects And Filters
6/2/2018
Online Collaboration 53
 13.1 Working With Drawing Tools
 13.2 Adding Line And Shapes
Lesson 13: Drawing Tools
6/2/2018
Online Collaboration 54
 14.1 Working With Painting Tools
 14.2 Selecting Colour With The Colour Picker Tool
 14.3 Filling With Gradient Fill
 14.4 Colouring Using The Paintbrush
 14.5 Using The Eraser
 14.6 Filling With Paint Bucket
 14.7 Cloning With Clone Stamp
Lesson 14: Painting Tools
6/2/2018
Online Collaboration 55
 14.8 Review Exercise
1. Open a new document with a dimension of 300 x 300 px with a transparent
background.
2. Save the file as Flower Icon.
3. Choose 2 colours to use for this graphic and set them up as the foreground
and background colours in the Toolbox. Preferably one colour is lighter
than the other; we will get better results by setting the lighter colour as the
foreground colour.
4. Select the Elliptical Marquee tool and ensure the Antialiasing option is
turned on. Create an oval selection that is 180 x 50 px. Nudge the selection
until it is approximately centered.
5. Fill the selection with the foreground colour.
6. Rotate the selection marquee by 60° counter-clockwise direction.
7. Fill the new selection with the foreground colour.
8. Repeat steps 6-7 once more.
9. Deselect.
10. Select the Fuzzy Select tool and make sure Antialiasing is enabled and
Threshold is set to 32. Click on the coloured pixels to select the entire area.
Lesson 14: Painting Tools
6/2/2018
Online Collaboration 56
 15.1 Setup
o Previewing An Image
o Selecting Output Settings
 15.2 Print
o Changing Print Orientation And Sixe
o Printing Using Defined Options
Lesson 15: Preparing Outputs
6/2/2018

ICDL Image Editing (GIMP)

  • 1.
    Image Editing (GIMP) OnlineCollaboration 1 European Computer Driving Licence 6/2/2018
  • 2.
    What is GIMP? GIMP stands GNU Image Manipulation Program  GIMP originally stood for General Image Manipulation Program.  Created by Spencer Kimball and Peter Mattis at the University of California, Berkeley in 1995. 6/2/2018 Online Collaboration 2
  • 3.
    Online Collaboration 3 Please check the spelling of your name (in accordance with NRIC or Passport)  Please set mobiles to silent  No food and drinks (except bottle drinks with CAP)  Training materials  Washroom and emergency exits location  AM Tea break: 10 – 10:15 am (15 minutes)  Lunch break: 12-1pm (1 hour)  PM Tea break: 3 – 3.15pm (15 minutes)  Please scan your thumb drives for viruses Points to Note 6/2/2018
  • 4.
    Online Collaboration 4 WSQ (Workforce Skill Qualification) is a national credentials system developed and managed by Singapore Workforce Development Agency (WDA)  Aim to train, develop, assess and recognise adult workers for competencies that companies need of their employees  WDA has changed to WSG (Workforce Singapore) What is ES WSQ 6/2/2018
  • 5.
    Online Collaboration 5 At end of lesson, you are required to take a summative assessment using the online tools of International Computer Driving Test (ICDL)  To be assessed as competent you must attain:  Minimum 75% attendance  Minimum 75% pass for ICDL Test Assessment 6/2/2018
  • 6.
    Online Collaboration 6 Understand main concepts underlying digital images  Use image editing software (GIMP).  Enhance images, apply effects, prepare image for printing and publishing  On completion, candidate will be able to:  Understand main concepts of using digital images; understand graphic format option and colour concepts  Open an existing image; save an image in different formats; set image file options  Use built-in options, such as displaying toolbars, palettes to enhance productivity  Capture and save image; use various selection tools; manipulate image  Create and use layers; work with text; use effects and filters; use drawing and painting tools  Prepare image for printing or publishing Course Overview 6/2/2018
  • 7.
    Online Collaboration 7 Benefits of this module:  Provides solid grounding in working with digital images  Gives you platform to develop skills and knowledge  Certified in ICDL Image Editing  How to use this book:  Introduces important concepts  Steps of using different features of application (GIMP)  Practice activities using sample files in Student Folder  DO NOT SAVE your changes to sample files, as you want to practice an activity more than once Course Overview 6/2/2018
  • 8.
    Online Collaboration 8 Lesson 1 – Imaging Concepts  Lesson 2 – Graphics Formats  Lesson 3 – Colour Concepts  Lesson 4 – Capturing Images  Lesson 5 – Creating Images  Lesson 6 – Layout Settings  Lesson 7 – Settings  Lesson 8 – Selection Techniques  Lesson 9 – Image Manipulation  Lesson 10 – Layers  Lesson 11 – Working with Text  Lesson 12 – Effects and Filters  Lesson 13 – Drawing Tools  Lesson 14 – Painting Tools  Lesson 15 – Preparing Outputs Course Outline 6/2/2018
  • 9.
    Online Collaboration 9 Identify common uses of digital images  Understand pixel, resolution and file size  Identify key features of a digital image  Comparing lossy and lossless image compression  Understand copyright and implication of use Lesson 1: Imaging Concepts 6/2/2018
  • 10.
    Online Collaboration 10 1.1 Common Uses of Digital Images  Important and Common Type of Digital Content for Work & Home  Web and Print Publishing  Distribution by Email and Mobile Phone  Home Printing  Digital Photo Frames Lesson 1: Imaging Concepts 6/2/2018
  • 11.
    Online Collaboration 11 1.2 Digital Images and Pixels  Digital Image is: o Representation of Image in Numeric (Binary) Form o Composed of Discrete Pixels  Pixels are: o Smallest Part of Digital Image on Screen o Single Point in a Picture  Resolution: Detail and quality of image in pixel dimensions (width & height)  File Size and Compression: o Files Size in KB, MB, GB o File Compression Method using GIF, JPEG and PNG Format can affect File Size o JPEG use lossy compression creates smaller size compressed file that results in lower resolution picture with pixel loss o PNG use lossless compression and ensures that compressed file can be reconstructed to exact original image without pixel loss Lesson 1: Imaging Concepts 6/2/2018
  • 12.
    Online Collaboration 12 1.3 Copyright  Copyright is Protection for Intellectual Property  Intellectual Property consists anything has written or created, including music, text, pictures, photographs, sounds, video  Copyright specifies the rights granted to use, publish or distribute images or other pieces of work for a specific time period  You cannot use an image find on the web with licensing arrangement  Common License Model for Images: o Royalty-free images o Rights-managed images Lesson 1: Imaging Concepts 6/2/2018
  • 13.
    Online Collaboration 13 1.4 Review Exercise  What is the term used to describe the smallest part of a digital image? Pixel  List 2 examples of materials that may be protected under the copyright law: Music, Text, Pictures, Photographs, Sound & Video  Give an example of a lossy file format? JPEG use lossy compression creates smaller size compressed file that results in lower resolution picture with pixel loss  Under what licensing arrangement can you pay a one-off fee and use an image several times? Royalty-free images Lesson 1: Key Concepts 6/2/2018
  • 14.
    Online Collaboration 14 Distinguish raster and vector images  Identify common raster formats  Identify common vector formats  Recognize proprietary digital image editing application formats Lesson 2: Graphic Formats 6/2/2018
  • 15.
    Online Collaboration 15 2.1 Raster and Vector Images  Raster Image: o Bitmap Images, Use rectangular grid of pixels to represent images. Each pixel has a specific location and colour value. You edit pixels rather than objects or shapes. o Fixed number of pixels. Cannot be scaled to large size without losing quality. o Formats: • JPEG (Joint Photographic Experts Group): Photographs and continuously-tone images on web. NO Transparency, Retains all colour information in RGB. Compress file size. • GIF (Graphics Interchange Format): Display index-colour graphics and images on web. Compressed format to minimize file size and transfer time. Support Transparency. Useful for Graphics and Logos. Lesson 2: Graphic Formats 6/2/2018
  • 16.
    Online Collaboration 16 2.1 Raster and Vector Images  Vector Image: o Consist of lines and curves defined by mathematical objects called vectors. Vectors define image according to geometric characteristics. o Can be modified without losing detail or clarity. Independent of resolution. o Formats: • SVG (Scalable Vector Graphics): Open standard created and developed by WWW Consortium. Provides versatile, scriptable and all-purpose vector format. Can be compressed using lossless data compression techniques. • EPS (Encapsulated PostScript): Standard Graphics file format for exchanging images, drawings, or layout of complete pages. Contains a description of such an object or layout using PostScript language. Lesson 2: Graphic Formats 6/2/2018
  • 17.
    Online Collaboration 17 2.2 Proprietary Application Formats  Native (default) file format used by specific software application. Proprietary and not meant to be used with other applications.  Specific image properties, like editable layer styles and text can only be preserved when image is saved in software’s native format.  Table shows propriety image file format for some common image editing applications: Lesson 2: Graphic Formats 6/2/2018 Image Editing Application Native File Format GIMP .xcf Adobe Photoshop .psd Paint Shop Pro .psp Adobe Illustrator .ai Corel Photo Paint .cpt
  • 18.
    Online Collaboration 18 Understand the term colour model  Recognize common colour model  Understand colour palette and depth  Understand colour terms Lesson 3: Colour Concepts 6/2/2018
  • 19.
    Online Collaboration 19 3.1 Colour Models  Mathematical model that describes how colours can be presented as list of numbers, typically 3 or 4 values/colour components. Different colour models used depending on Print or Web medium  4 most common models are: RGB, CMYK, HSB and Greyscale.  RGB: Combines red, green and blue colours. Intensity value assigned to each pixel. Intensity value range from 0 (black) to 255 (white) for each of the RGB components in a colour image.  CMYK: Each pixel is assigned a percentage value for each of the process inks - Cyan, Magenta, Yellow and Key, or Black. The lightest (highest) colours are assigned small percentages of process ink colours, whereas the darker (shadow) colours higher percentages.  HSB: Stands for Hue, Saturation and Brightness. Describes a colour using 3 numbers. 1st number Hue with value ranges from 0 to 360 degrees. Each degree represents a distinct colour. 2nd number Saturation with value ranges from 0 to 100, where 0 represent no colour and 100 represent full colour. 3rd number is Brightness with value ranges from 0 to 100, where 0 represent White and 100 represent Black.  Greyscale: Refer to as Black-and-White. Composed Exclusively of shades of gray, varying from black at Weakest intensity to White at strongest. Lesson 3: Colour Concepts 6/2/2018
  • 20.
    Online Collaboration 20 3.2 Colour Palette and Depth  Colour Palette: o A finite set of colours available for digital images. o A common palette is 256-colour palette. o Limited by hardware limitations, e.g. Specification of a Monitor.  Colour Depth: o A maximum number of colours used in an image. o Higher depth, broader the range of distinct colours and more realistic the image. o Related to number of bits (units of digital information) used for each colour component of an individual pixel o Example: True Color (24-bit) supports high quality images and complex graphics Lesson 3: Colour Concepts 6/2/2018
  • 21.
    Online Collaboration 21 3.3 Understanding Common Colour Terms  Hue – A pure colour described by name such as “red” or “yellow”  Saturation – The dominance, or intensity, of hue in the colour  Colour balance – The overall adjustment of the intensities of the colour  Contrast – The difference in colour and light level in an image  Brightness – The degree to which an image radiates light  Gamma – The way brightness is changed for the middle range of gray tones  Transparency – The ability of light to transmit through an image Lesson 3: Colour Concepts 6/2/2018
  • 22.
    Online Collaboration 22 3.4 Review Exercise  Define the following terms: a. Hue: A pure colour described by name such as “red” or “yellow” b. Saturation: The dominance, or intensity, of hue in the colour  Name the 2 colour models. RGB, CMYK, HSB, Greyscale  Give an example of a common colour palette 256-colour palette Lesson 3: Colour Concepts 6/2/2018
  • 23.
    Online Collaboration 23 Saving Images from Digital Camera  Using Print Screen Facility  Saving Image from Image Library  Scanning Images Lesson 4: Capturing Images 6/2/2018
  • 24.
    Online Collaboration 24 4.1 Saving Images From A Digital Camera  Acquire the images with a digital camera and move them to computer  Steps to copy images from media source (memory card or directly from camera): o Connect media to computer by USB cable or Insert media card into computer card reader slot. o On computer, double-click on drive that represents camera or media card. o Open folder containing images. o Select required images or entire folder. o Drag them to a folder on your hard drive to copy. Lesson 4: Capturing Images 6/2/2018
  • 25.
    Online Collaboration 25 4.2 Using The Print Screen Facility  Create image by capturing current screen or active window on your computer using the Print Screen facility.  Steps to capture screen shot: o Activate the screen to window required. o Press the Print Screen (to capture the current screen) or ALT Print Screen (to capture the active window only) on keyboard. o Open an image editing program. o Choose Edit > Paste o When working with Laptop/Notebook, the print screen key may share the key with another command. Press Function or Fn and key for the Print Screen at the same time. Lesson 4: Capturing Images 6/2/2018
  • 26.
    Online Collaboration 26 4.3 Saving Image From Image Library  Steps to save image from an online source, such as online image library: 1. Right-click the image 2. On shortcut menu that appears, select Save Picture As… 3. In the Save In list box, select a location. 4. Click Save to save the image. o The save image can then be opened in an image editing application. o Most online image libraries are subscription based for user-generated, royalty-free stock photos and illustrations. o Popular image library sites include www.istockphoto.com and www.shutterstock.com Lesson 4: Capturing Images 6/2/2018
  • 27.
    Online Collaboration 27 4.4 Scanning Images  Another method of acquiring images is by scanning documents, images or objects. Scanning creates a digital image that can then be manipulated using image editing software. Most common type of scanner is a desktop flat-bed scanner.  Process of scanning an image invovles: 1. Place the image on the scanner 2. Click Scan to view options 3. Follow the instructions to choose the scanning parameters. These typically include resolution (which will directly influence the quality of the image) and file format 4. Navigate to the location required to save image 5. Click Scan Lesson 4: Capturing Images 6/2/2018
  • 28.
    Online Collaboration 28 4.5 Review Exercise  Search for the following images online and save them using an appropriate file name. a. The Taj Mahal b. A lightning Storm  Name two common scanning parameters: Resolution File Format  What is the keyboard shortcut used to capture the current active window: PrtScn: Capture Whole Window  Alt + PrtScn: Capture Active Window Lesson 4: Capturing Images 6/2/2018
  • 29.
    Online Collaboration 29 Familiarization of GIMP interface  Opening and placing image files  Switching between open image files  Creating new image file  Saving images Lesson 5: Creating Images 6/2/2018
  • 30.
    Online Collaboration 30 5.1 GIMP Interface And Creating Images  GIMP is the GNU Image Manipulation Program. It is a freely distributed software for such tasks as photo retouching, image composition and image authoring. It works on many operating system, in many languages.  GIMP’s environment contains a set of well-defined tools and dialog boxes that are easily accessible and customizable. It supports a large number of image formats and high-end graphics for different media.  We need to familiarise ourselves with design creation and image editing techniques using this software. Understanding the different tools and features available in GIMP will help us maximise our creative potential.  Familiarization of GIMP Interface o GIMP has a user friendly-interface with a variety of tools and features to help use design, create, enhance images, and produce professional designs for both print and web. o The screen consists of the following: • Menu bar • Toolbox • Image window • Dialogs • Status bar Lesson 5: Creating Images 6/2/2018
  • 31.
    Online Collaboration 31 5.2 Opening, Placing And Closing Image Files  5.3 Switching Between Open Files  5.4 Creating New Image File  5.5 Saving Images Lesson 5: Creating Images 6/2/2018
  • 32.
    Online Collaboration 32 6.1 Choosing foreground and background colours  6.2 Setting grid properties Lesson 6: Layout Settings 6/2/2018
  • 33.
    Online Collaboration 33 6.3 Review Exercise  Open the image Wheel Template.  Use the Color Selection dialog to mix the colours. The different colours in the colour wheel are made up of 3 primary colours: red, green and blue; 3 secondary colours: cyan, magenta and yellow and 6 tertiary colours that fall in between each of the primary and secondary colour values. Use the Bucket Fill tool to apply the colours to the wheel.  Use the following RGB Values (See Book)  Save the file as Colour Wheel. Lesson 6: Layout Settings 6/2/2018
  • 34.
    Online Collaboration 34 7.1 Setting basic options and preferences  7.2 Using the Help function  7.3 Using magnification and zoom tools  7.4 Performing undo or redo with History panel  7.5 Manipulating toolbars, panels and windows Lesson 7: Enhance Productivity 6/2/2018
  • 35.
    Online Collaboration 35 7.6 Review Exercise  Which tool is used to enlarge and reduce the view of an image? Zoom tool  Which keyboard key is used to activate the Help function? F1  What happens when we press TAB? To hide or show all docks  In GIMP, do the following: o Open all images in the Turkey Travel folder. o Use the file tab to activate the image Mount Nemrud. o View the image at 100% zoom level. o Pan the image so that the face structure on the left is fully visible. o Fit the image on screen. o Save the image as JPEG format using the file name Nemrud-Medium. o Close all open images. Lesson 7: Enhance Productivity 6/2/2018
  • 36.
    Online Collaboration 36 8.1 About Selection Techniques  8.2 Selecting An Entire Image Or Layer  8.3 Selecting With Marquee And Lasso Tools  8.4 Setting Selection Tool Properties  8.5 Selecting Based On Colour  8.6 Feathering And Anti-Aliasing  8.7 Inversing Selection Lesson 8: Selection Techniques 6/2/2018
  • 37.
    Online Collaboration 37 8.1 About Selection Techniques  Select specific areas, edit and apply effects & filters to portion of image  Raster Image: Select pixels using Marquee Tools / Lasso Tools  Vector Image: Select using Paths Tool Lesson 8: Selection Techniques 6/2/2018
  • 38.
    Online Collaboration 38 8.2 Selecting Entire Image / Layer  Select All pixels (Entire Image) on a layer: o Select > All o CTRL A  Deselect Image: o Select > None o CTRL SHIFT D Lesson 8: Selection Techniques 6/2/2018
  • 39.
    Online Collaboration 39 8.9 Review Exercise  Open the images Wall and Frames. o Use the marquee selection tools to select the framed pictures and object and place them on the wall image. o Save the file as Wall – Completed.  Open the image Butterfly. o Use a lasso tool to select the butterfly. o Save the selection. o Save the file.  Open the image Pink Rose. o Select the flower. o Subtract any background from the selection if necessary. o Save the selection. o Save the file. Lesson 8: Selection Techniqes 6/2/2018
  • 40.
    Online Collaboration 40 9.1 Changing Image Canvas Size  9.2 Resizing Images  9.3 Cropping Images  9.4 Moving And Copying Image Or Selection  9.5 Rotating And Flipping Image Or Selection Lesson 9: Image Manipulation 6/2/2018
  • 41.
    Online Collaboration 41 9.6 Review Exercise  Add additional 10% of black canvas area all around the image Bottle.  Crop the image Deck Chairs to a width of 3 inches by a height of 2 inches. Ensure only the chairs are visible.  Crop and straighten the images in Scanned Photos. Rotate the yacht image as necessary. Save the images as Beach1, Beach2 and Beach3.  Trim away the excess blank space in the image Old TV.  In the file Blue Butterfly, extend the canvas on right and create the other half of the butterfly. Trim away excess canvas area. Lesson 9: Image Manipulation 6/2/2018
  • 42.
    Online Collaboration 42 10.1 Understanding Layers  10.2 Creating, Copying And Deleting Layers  10.3 Setting Layers Properties  10.4 Merging And Flattening Layers  10.5 Transforming Layers  10.6 Rasterizing Layers  10.7 Creating animated GIF from layers Lesson 10: Layers 6/2/2018
  • 43.
    Created Animated GIFVideo 6/2/2018 Online Collaboration 43
  • 44.
    Created Animated GIFVideo 6/2/2018 Online Collaboration 44
  • 45.
    Online Collaboration 45 10.8 Review Exercise  Creating a web pop-up advertisement. Create a new image document using the following settings: o Width: 640px Height: 450 px Resolution: 72 o Colour mode: RGB Background: Transparent  Place City into the new file, scale so that it fills the canvas and name the layer as City.  Use Desaturate command (Colors menu) to remove the colours from the City layer and set the opacity of the layer to 60%  Place Park into the new file and name the layer as Park.  Place Sunglasses into new file.  Select the circular area inside the glasses and copy the selection into a new layer. Name the layer as Lenses.  Place the Park Layer above the Lenses layer  Mask the layers Lenses and Park layers (right-click > Add Layer Mask)  Make the Park layer the active layer and using the Move tool to shift the park image around until it is framed away we like it with the glasses.  Mark City the active layer, place Green City Text image into the new file and move the layer all the way to the top in the Layer dialog.  Center the text horizontally and position it below the glasses.  Save the file as Web Ad” in GIMP format. Lesson 10: Layers 6/2/2018
  • 46.
    Layer Masking Video 6/2/2018Online Collaboration 46
  • 47.
    Layer Masking Video 6/2/2018Online Collaboration 47
  • 48.
    Online Collaboration 48 11.1 Creating And Editing Text  11.2 Formatting Text  11.3 Applying Text Wrap Lesson 11: Working With Text 6/2/2018
  • 49.
    Online Collaboration 49 11.4 Review Exercise  Create a collage or image composition to depict the colour wheel that contains all 12 colours (3 primary, 3 secondary, and 6 tertiary)  Use the following website to read up on the colour wheel: http://en.wikipedia.org/wiki/Colour_wheel  The artwork dimension should be 700 by 700 pixels with 150 ppi resolution  Label all of the colours correctly  Save the file as Wheel Illustration Lesson 11: Working With Text 6/2/2018
  • 50.
    Online Collaboration 50 12.1 Applying Artistic And Distortion Effects  12.2 Applying Blur Effects  12.3 Applying Lightning Effects  12.4 Working With Image Adjustments  12.5 Working With Sharpen And Unsharp Mask  12.6 Applying Red Eye Reduction Lesson 12: Effects And Filters 6/2/2018
  • 51.
    Red Eye RemovalVideo 6/2/2018 Online Collaboration 51
  • 52.
    Online Collaboration 52 11.4 Review Exercise  Search for 4 sceneries and flowers that represents the 4 seasons: Spring, Summer, Autumn and Winter.  Create a mock-up of a post card design for a travel company using the dimension of a 4R photo with the resolution of 150 ppi.  Apply an artistic filter to the background composition (the 4 sceneries) and reduce the opacity.  Place the flowers as shown in the sample below.  Add the text, apply warp effect and layer styles.  Save the file as Post Card. Lesson 12: Effects And Filters 6/2/2018
  • 53.
    Online Collaboration 53 13.1 Working With Drawing Tools  13.2 Adding Line And Shapes Lesson 13: Drawing Tools 6/2/2018
  • 54.
    Online Collaboration 54 14.1 Working With Painting Tools  14.2 Selecting Colour With The Colour Picker Tool  14.3 Filling With Gradient Fill  14.4 Colouring Using The Paintbrush  14.5 Using The Eraser  14.6 Filling With Paint Bucket  14.7 Cloning With Clone Stamp Lesson 14: Painting Tools 6/2/2018
  • 55.
    Online Collaboration 55 14.8 Review Exercise 1. Open a new document with a dimension of 300 x 300 px with a transparent background. 2. Save the file as Flower Icon. 3. Choose 2 colours to use for this graphic and set them up as the foreground and background colours in the Toolbox. Preferably one colour is lighter than the other; we will get better results by setting the lighter colour as the foreground colour. 4. Select the Elliptical Marquee tool and ensure the Antialiasing option is turned on. Create an oval selection that is 180 x 50 px. Nudge the selection until it is approximately centered. 5. Fill the selection with the foreground colour. 6. Rotate the selection marquee by 60° counter-clockwise direction. 7. Fill the new selection with the foreground colour. 8. Repeat steps 6-7 once more. 9. Deselect. 10. Select the Fuzzy Select tool and make sure Antialiasing is enabled and Threshold is set to 32. Click on the coloured pixels to select the entire area. Lesson 14: Painting Tools 6/2/2018
  • 56.
    Online Collaboration 56 15.1 Setup o Previewing An Image o Selecting Output Settings  15.2 Print o Changing Print Orientation And Sixe o Printing Using Defined Options Lesson 15: Preparing Outputs 6/2/2018