Download to read offline


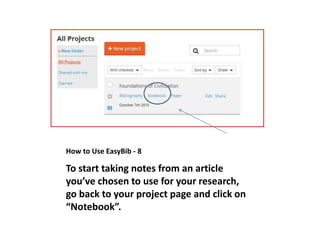
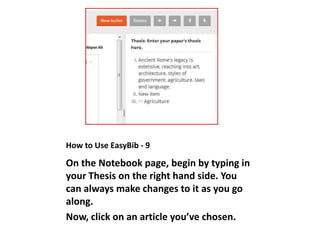
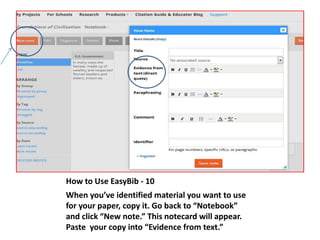
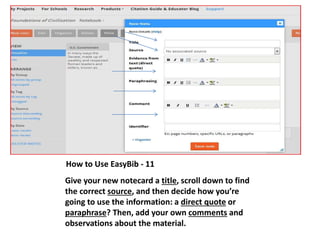

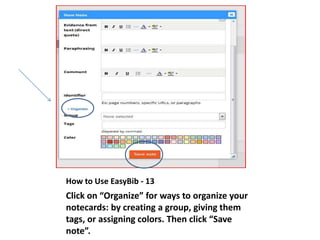
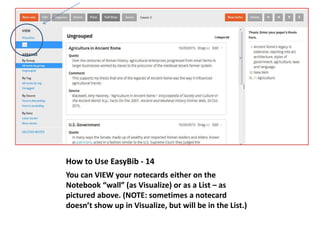
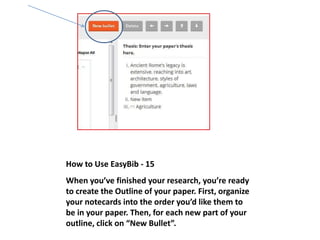
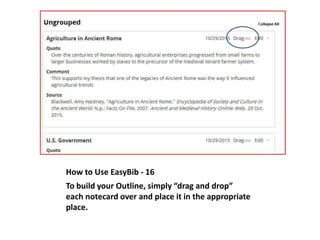
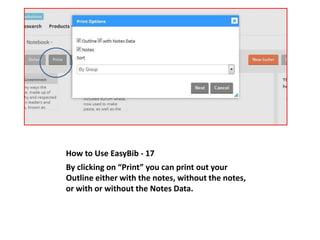
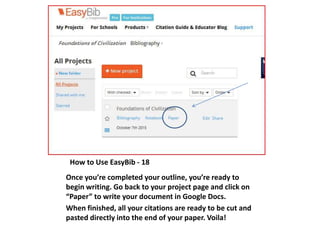

EasyBib allows users to create projects to organize their research. Within a project, a user can add citations to a bibliography by searching databases and exporting citations to EasyBib. The user can also take notes on source materials in a notebook, organizing the notes into notecards. These notecards can then be arranged into an outline to structure a paper. When writing is complete in Google Docs, the automatic bibliography generated in EasyBib can be copied over.


