Downloaded 2,389 times

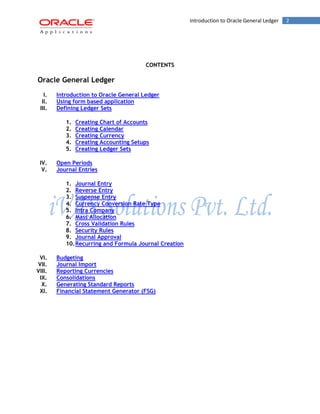
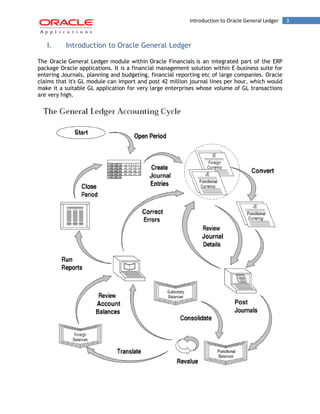


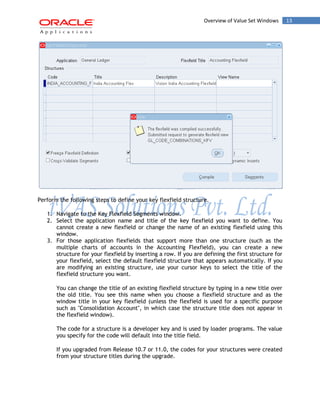
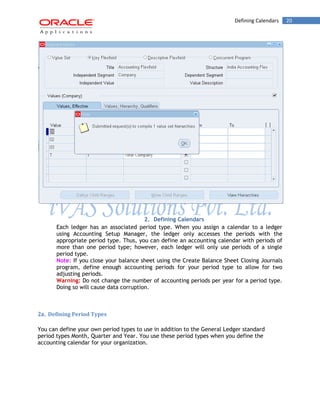

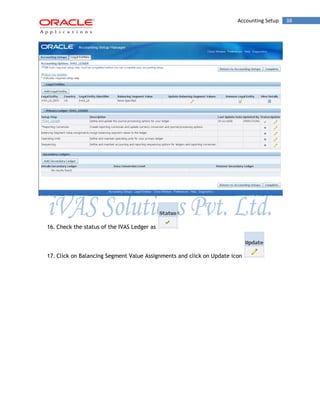
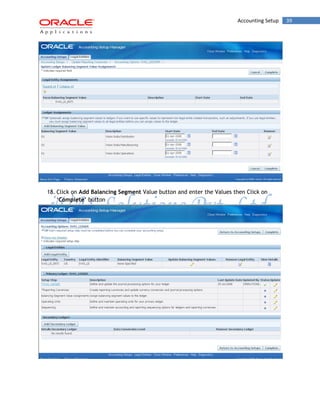
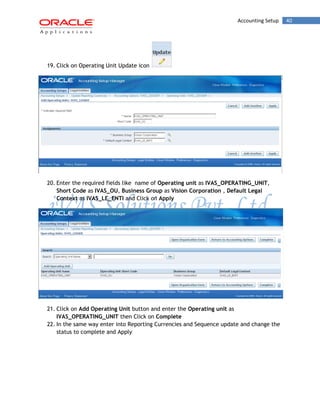
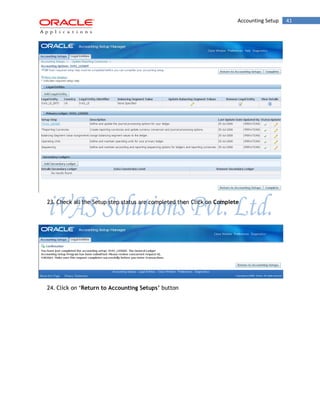
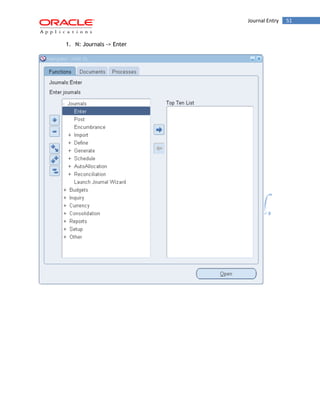

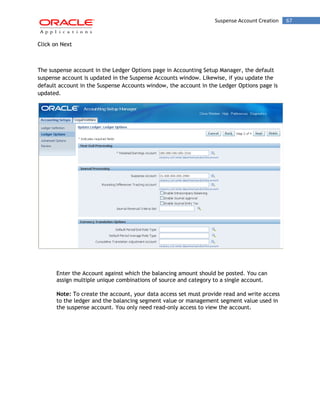


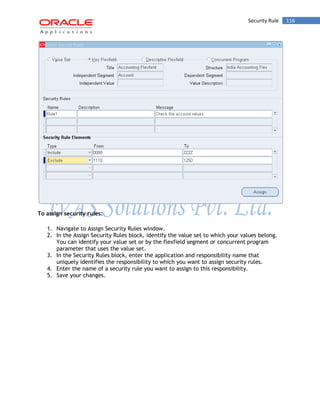
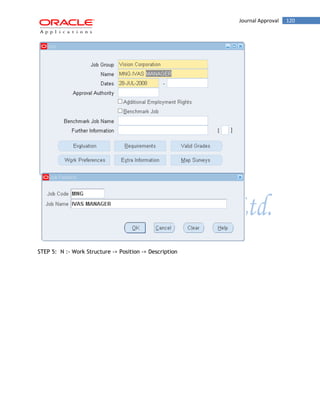
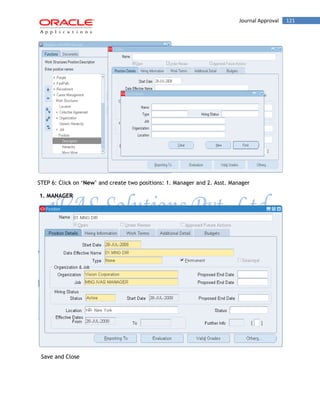
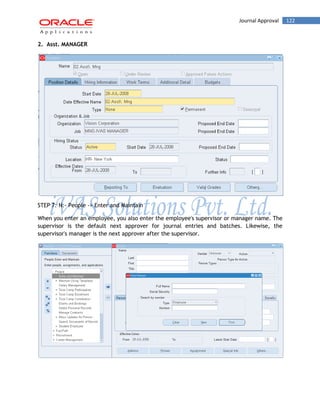
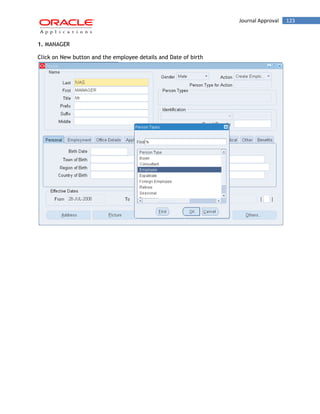

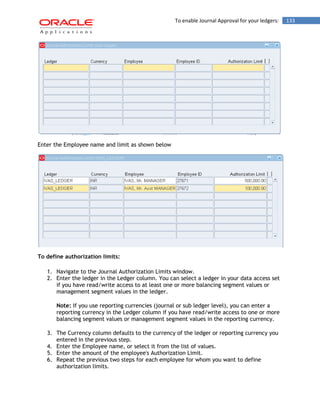
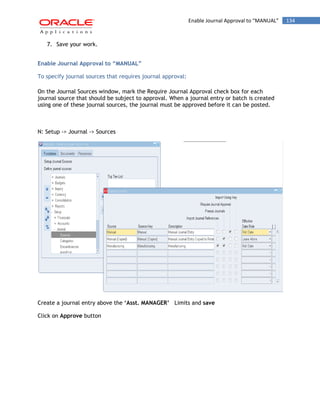
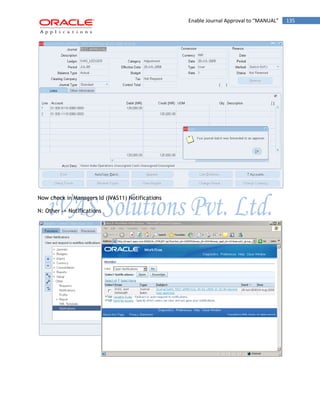
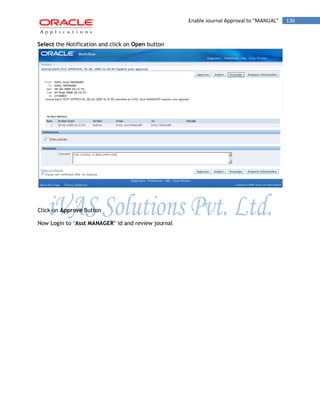
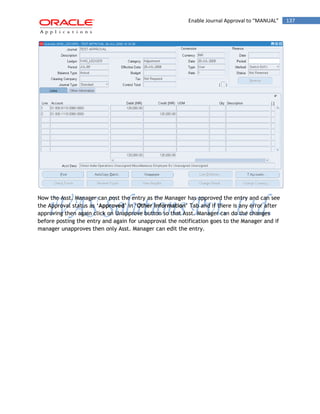

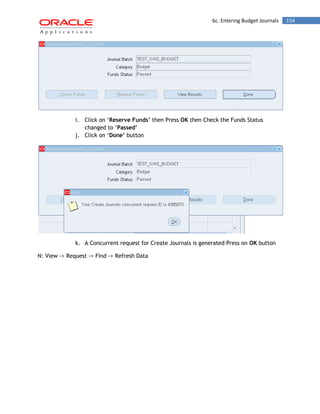
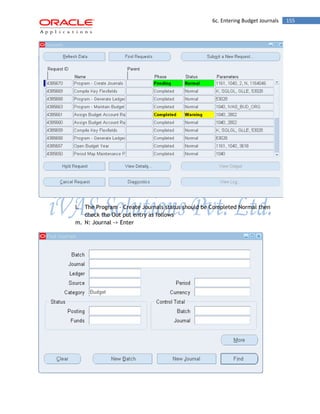
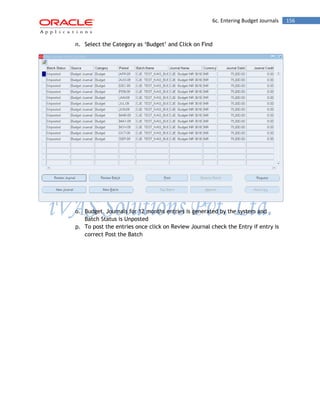
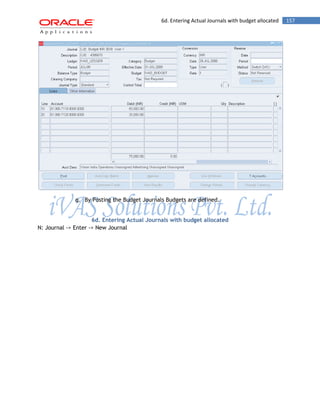


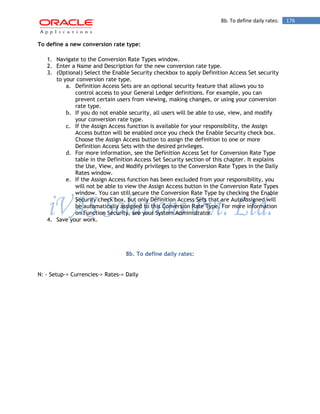
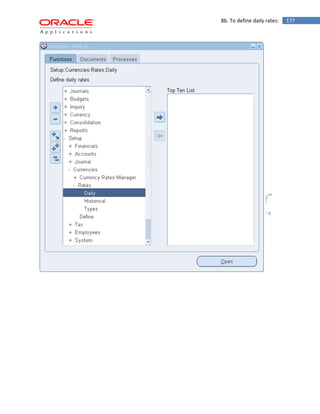
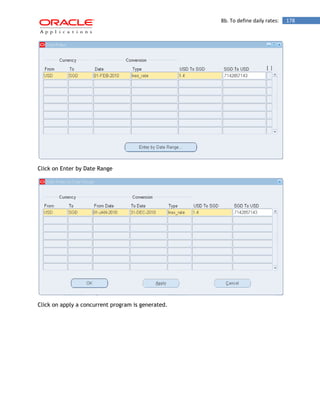
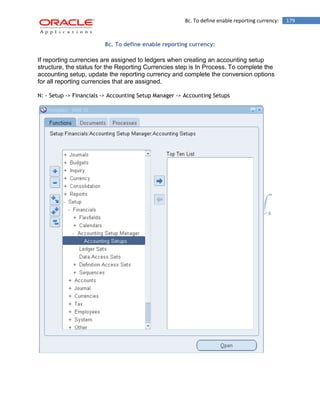
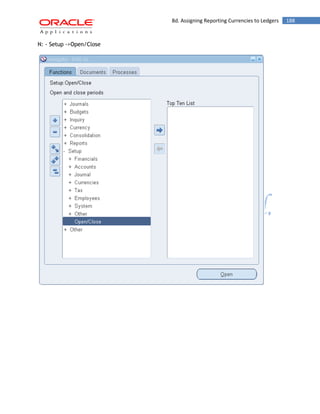

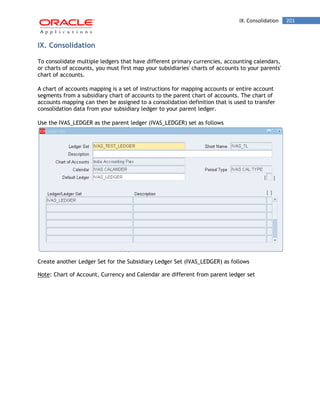

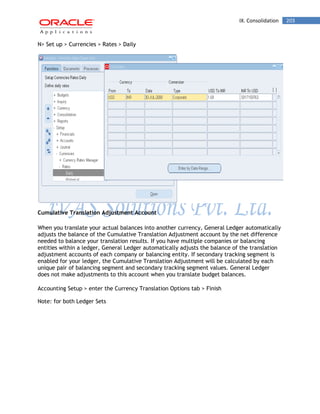

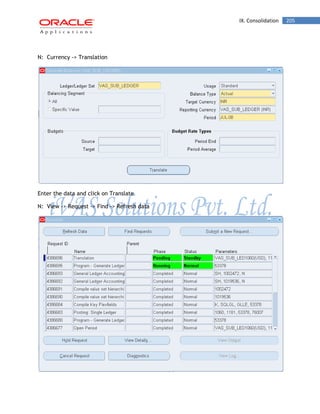
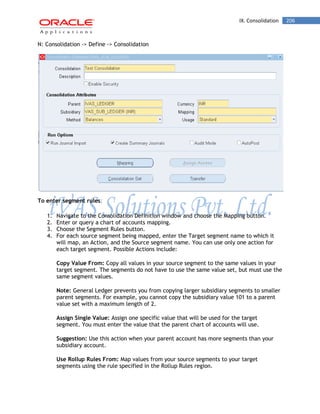

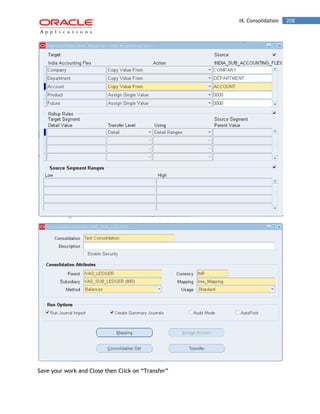
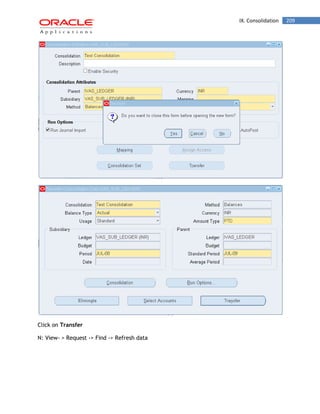
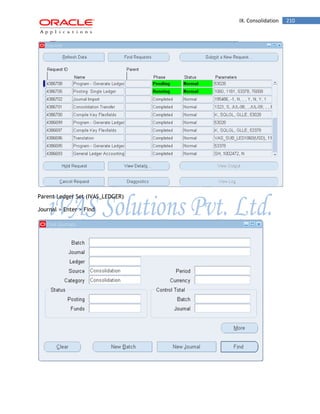
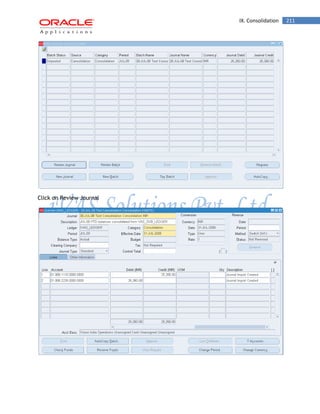
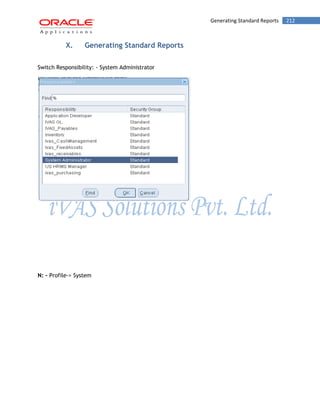
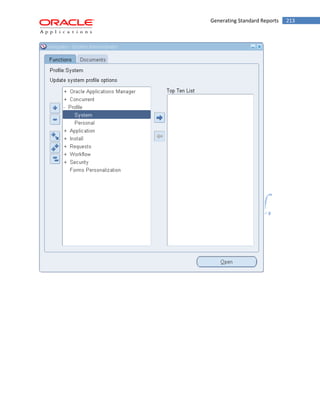
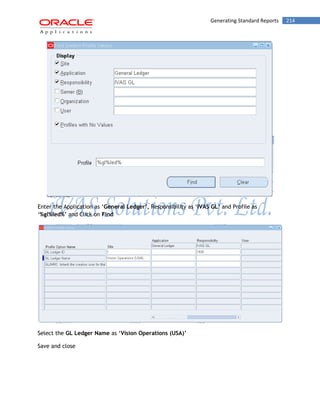
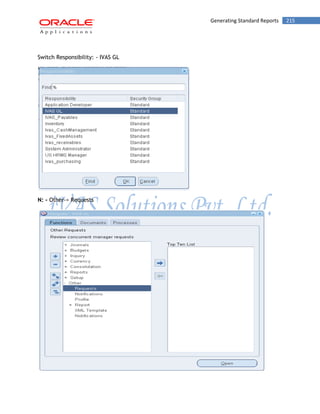
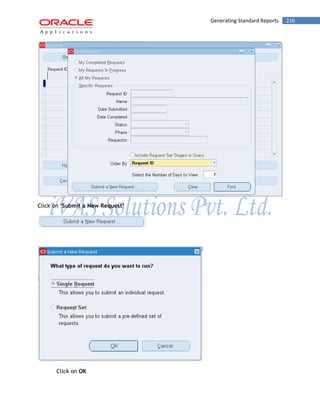
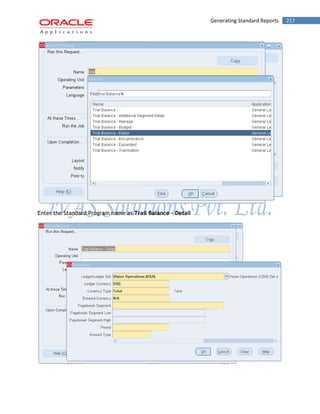
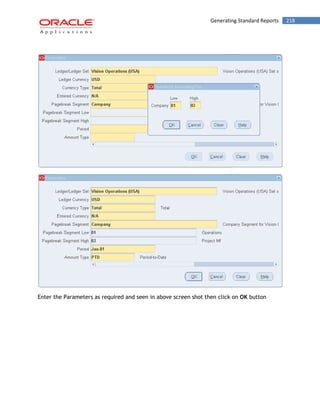
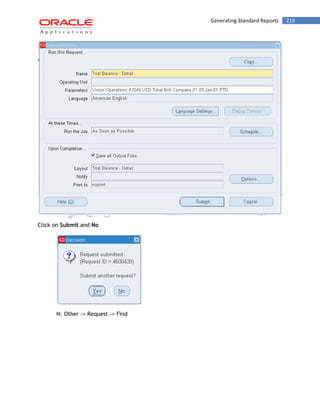

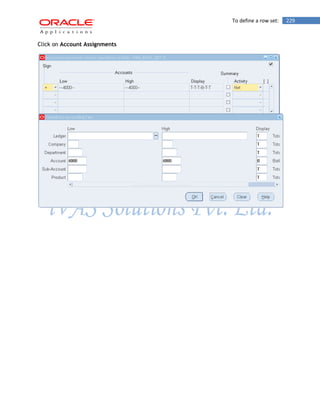
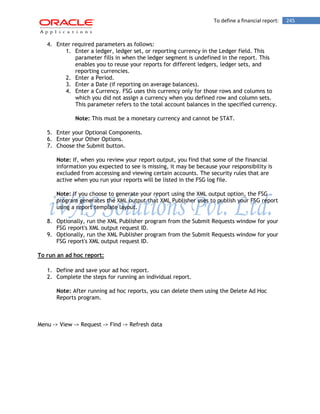


This document provides an overview of setting up Oracle General Ledger. It discusses defining ledger sets which includes creating a chart of accounts, calendar, currency, accounting setups and ledger sets. It also covers opening periods, journal entries, budgeting, reporting currencies, consolidations and generating standard reports. Specifically, it outlines the steps to create a chart of accounts including defining key flexfield segments, segments, value sets and qualifiers. It also describes defining period types and creating a new calendar.