This document provides information on pattern making and garment production. It includes:
1. Definitions of basic textile terms like yarn, warp, weft, woven and knitted fabrics.
2. The typical sequence of operations in garment production from fabric inspection to packing.
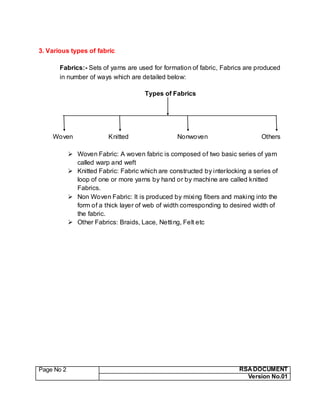
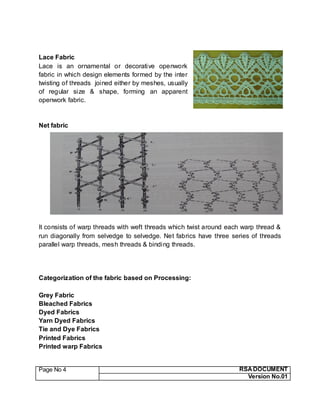
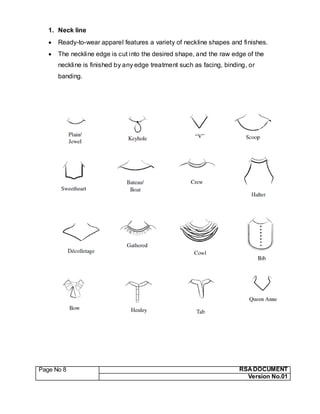
3. Descriptions of different fabric types, parts of fabrics, and styles of collars, sleeves, pockets and cuffs.
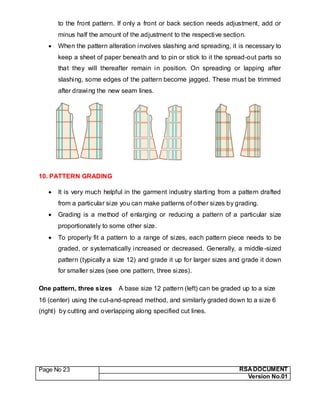
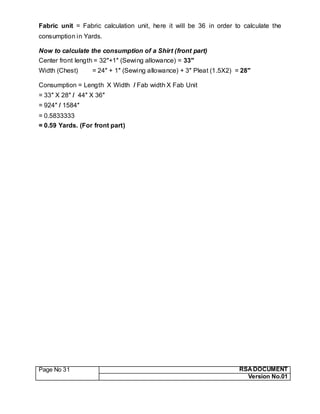
4. Explanations of two common pattern making methods - drafting and draping. It provides steps to draft a basic bodice pattern for a child.
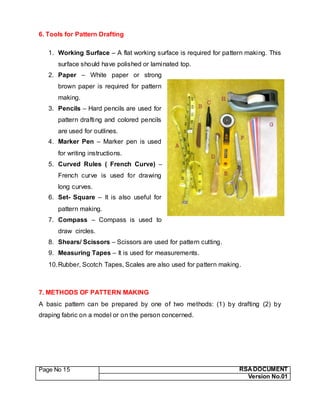
5. Lists tools used for pattern making and components included on paper patterns.