Download as KEY, PPTX

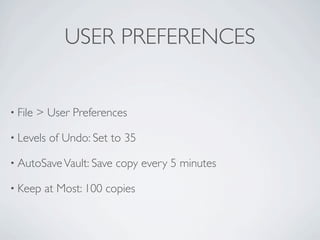
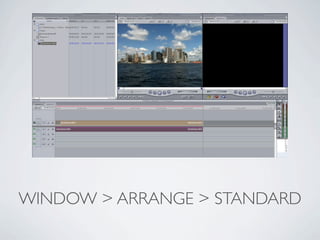
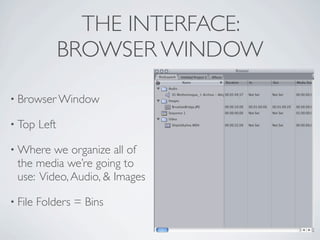
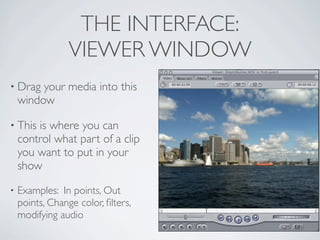
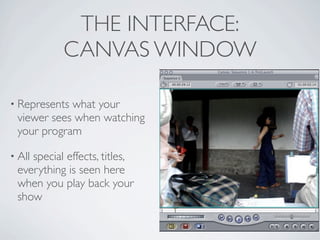
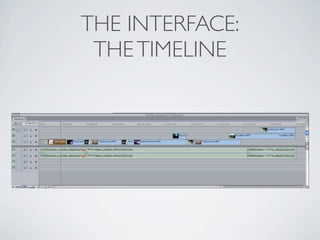

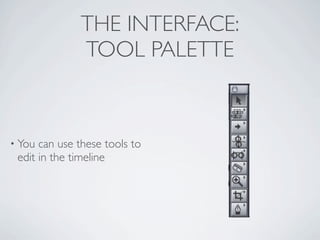

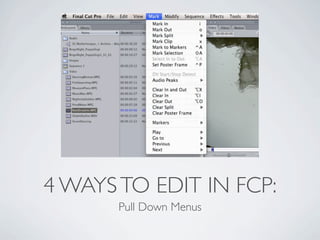
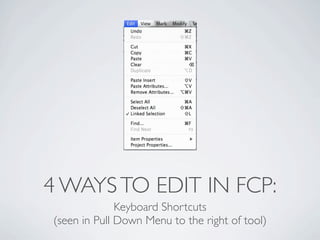
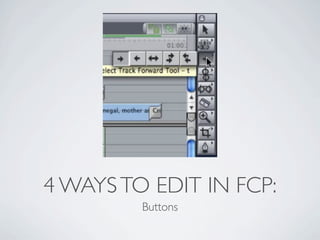
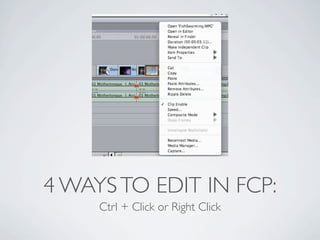
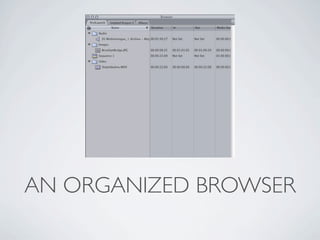
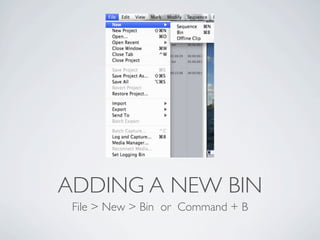
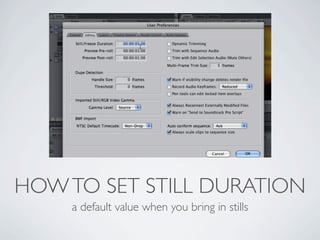
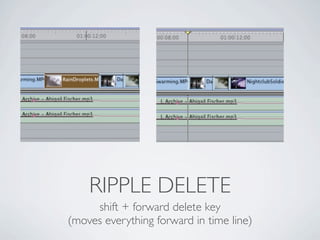
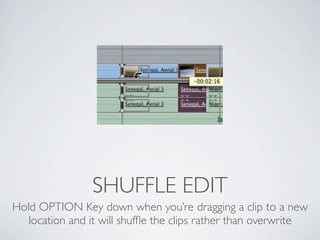
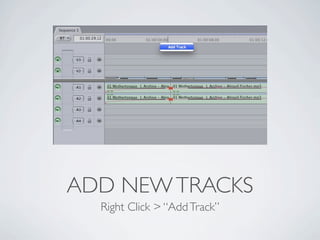

This document provides tips for using Final Cut Pro, including: 1. It discusses file types and frame rates for projects and recommends DV-NTSC Anamorphic at 29.97 frames per second. 2. It recommends setting User Preferences like levels of undo to 35, auto save vault to save every 5 minutes and keep 100 copies. 3. It describes the interface including the Browser, Viewer, Canvas, and Timeline windows and how to organize media and edit video and audio. 4. It lists four ways to edit - pull down menus, keyboard shortcuts, buttons, and right click - and provides examples of ripple delete and shuffle edit functions.


