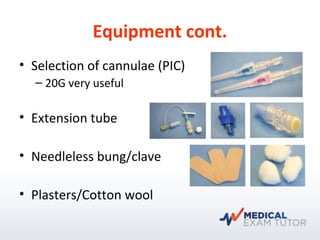
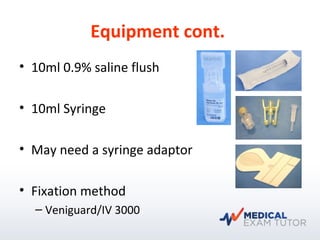
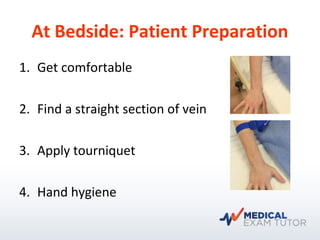
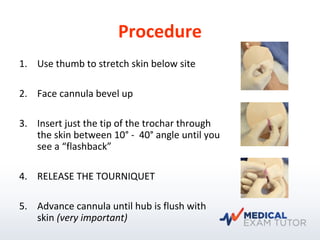
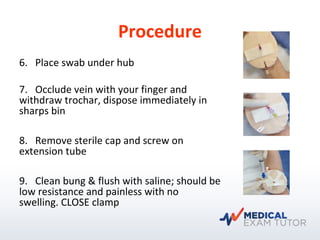
Learn the essential skill of intravenous cannulation. Check out the latest in our series about surviving the early days of your medical internship.
We know from experience how difficult the first days can be, and we're here to share the benefit of our own experiences.
5. Equipment cont.
• 10ml 0.9% saline flush
• 10ml Syringe
• May need a syringe adaptor
• Fixation method
– Veniguard/IV 3000
6. At Bedside: Equipment Preparation
1. Hand hygiene
2. Draw up saline in 10ml syringe and
expel bubbles
3. Attach needleless bung to extension
4. Flush extension and CLOSE the clamp
7. At Bedside: Patient Preparation
1. Get comfortable
2. Find a straight section of vein
3. Apply tourniquet
4. Hand hygiene
8. Procedure
1. Put on gloves
2. Clean with swab and allow 30 secs to dry. Leave swab on
patient’s skin near site
3. Do not touch cannulation site again after cleaning
4. Hold cannula at coloured hub
5. Remove plastic cover
6. Ensure metal trochar tip protruding
9. Procedure
1. Use thumb to stretch skin below site
2. Face cannula bevel up
3. Insert just the tip of the trochar through
the skin between 10° - 40° angle until you
see a “flashback”
4. RELEASE THE TOURNIQUET
5. Advance cannula until hub is flush with
skin (very important)
10. Procedure
6. Place swab under hub
7. Occlude vein with your finger and
withdraw trochar, dispose immediately in
sharps bin
8. Remove sterile cap and screw on
extension tube
9. Clean bung & flush with saline; should be
low resistance and painless with no
swelling. CLOSE clamp
12. Reminders
• PREPARE YOUR EQUIPMENT in advance
of applying the tourniquet (flush extension,
open packets etc.)
• Verbally consent patient
• Always dispose of sharps and wastes in
appropriate bins
• Always document time of insertion,
number of attempts and that aseptic
technique that was used
13. Frequently Asked Questions
• What happens if I cannot find a vein in the back of the
hand?
– Look for it in the other hand. Look at the back of the
forearm. The antecubital fossa is used for large gauge
cannulae for resuscitation purposes. If you cannot
cannulate a patient then call for help.
• What size cannula should I use?
– This depends on what you want to use the cannula for.
You should use the smallest cannula that you can, to
achieve what you need. Thus for infusions of 125 mls/hour
and regular IV antibiotics you should use a 20G Cannula.
For faster infusions and resuscitation use larger cannulae.
14. Frequently Asked Questions
• Do I need to use local anaesthetic before I insert a cannula?
– No, not usually. Cannulae up to 18 G are not particularly painful
to insert. In children you should apply topical anaesthetic for 30
minutes before you insert a cannula e.g. EMLA
• Do I always need to use an extension tube?
– Yes. Using an extension (t-port or microclave double extensions) or
a combined cannulation and tubing set (Nexiva system) is
hospital policy. It decreases the risk of infection at the cannula
site and minimises the risk of dislodging the cannula.
15. Frequently Asked Questions
• What is tissuing and how do I recognize it?
– This implies that the cannula has pierced the back of the
vein or has migrated out of the vein. The infused
substance is now leaking into the surrounding tissues. You
will feel resistance when you try to flush the cannula. The
patient will complain of burning and pain. It is technically
called infiltration. You must remove the cannula
immediately and apply a warm compress if necessary. A
distinction is made between extravasation and infiltration
depending on the toxicity of the leaked fluid. A very toxic
fluid such as chemotherapeutic drugs can cause severe
tissue damage and necrosis and will require senior medical
advice regarding treatment.