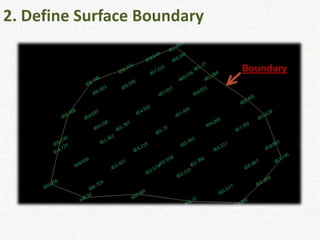
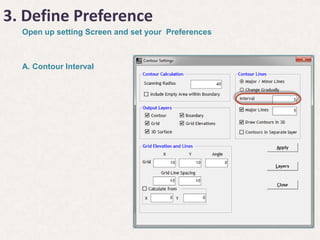
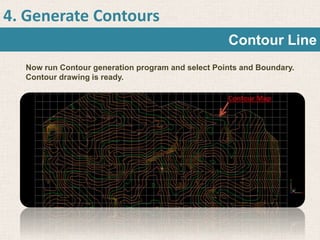
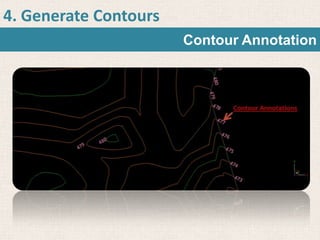
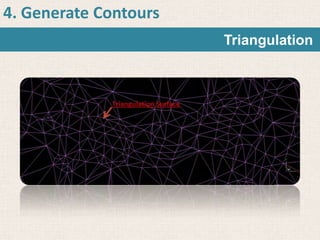
How to generate Contours in AutoCAD?
ESurvey Contours: Easiest way to generate Contours in AutoCAD
5 Easy Steps to Generate Contours
1. Import Surface Data
2. Define Surface Boundary
3. Define Preference
4. Generate Contours
5. View in 3D
1. Import Point Data
 To Create Contours first you will require Point Data.
Point data typically made of Sl. No, Easting, Northing
and Elevation and Remark. Import it to your Drawing.
2. Define Surface Boundary
3. Define Preference
Open up setting Screen and set your Preferences
A. Contour Interval
3. Define Preference
Open up setting Screen and set your Preferences
A. Contour Interval
B. Grid Interval
3. Define Preference
Open up setting Screen and set your Preferences
A. Contour Interval
B. Grid Interval
C. Display Layers
3. Define Preference
Open up setting Screen and set your Preferences
A. Contour Interval
B. Grid Interval
C. Display Layers
D. 3D Settings
4. Generate Contours
Now run Contour generation program and select Points and Boundary.
Contour drawing is ready.
Contour Line
4. Generate Contours
Contour Annotation
4. Generate Contours
Grid, Grid Lines, Grid Annotation
4. Generate Contours
Triangulation
5. 3D View
View 3d Surface in CAD
5. 3D View
View 3D Surface in Google Earth
Contact Details
ESURVEYING SOFTECH
http://www.esurveying.net
http://www.surveydrawing.net Email: info@esurveying.net
http://www.esurveycad.com/ Email: support@esurveying.net
Telephone No.:
+91 (080) 23491717
+91 (080) 23498157
+91 94495 99709 (Mobile)

Esurveying Contour software