Download to read offline

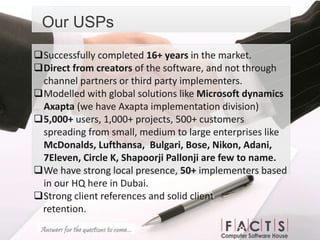
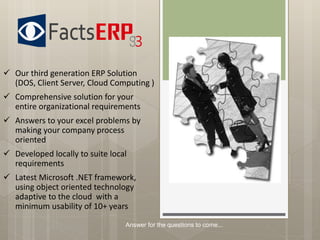
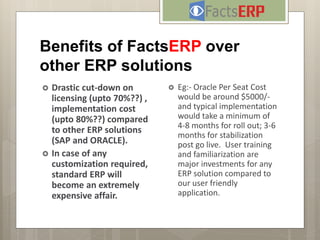


The document outlines a company specializing in business software solutions that has over 16 years of market experience and a strong presence in Dubai, serving notable clients such as McDonald's and Lufthansa. They provide a third-generation ERP solution that significantly reduces costs and implementation time compared to competitors like SAP and Oracle, while being customizable and user-friendly. The company is a Microsoft Gold Certified Partner, ensuring high standards of service and access to Microsoft support for their ERP development.