Downloaded 536 times
![Recent big dSLR productions"if you’re [not] using the 5D [Mark II], you aren’t making your movie the best it can be.“Iron Man 2Captain AmericaBlack Swan (filmed in Australia!)AFI Movie of the Year1 Academy Award & 4 nominations including Best Achievement in Cinematography and Best Motion Picture of House – Season 6 Finale (clip), and ALL of (current) Season 7](https://image.slidesharecdn.com/dslrcinematography-110922210909-phpapp02/75/dSLR-Cinematography-5-2048.jpg)

![Video exposure basics (cont)Fast lenses have a large maximum aperture e.g. f/2.8, f/1.8, f/1.4 (“f-stop”). Note: f/x is a fraction! So the smaller the value of x, the larger the number “f/x” - and the larger the aperture! (e.g. f/1.4 > f/2.8)Larger apertures:Let in more lightNarrow depth-of-fieldso you canShoot in dimmer light(with good exposure)Blur fore/backgrounds [subject focus/“bokeh”]Create beautiful images! f/1.4 f/2.8 f/8 f/22More light Less light](https://image.slidesharecdn.com/dslrcinematography-110922210909-phpapp02/75/dSLR-Cinematography-13-2048.jpg)
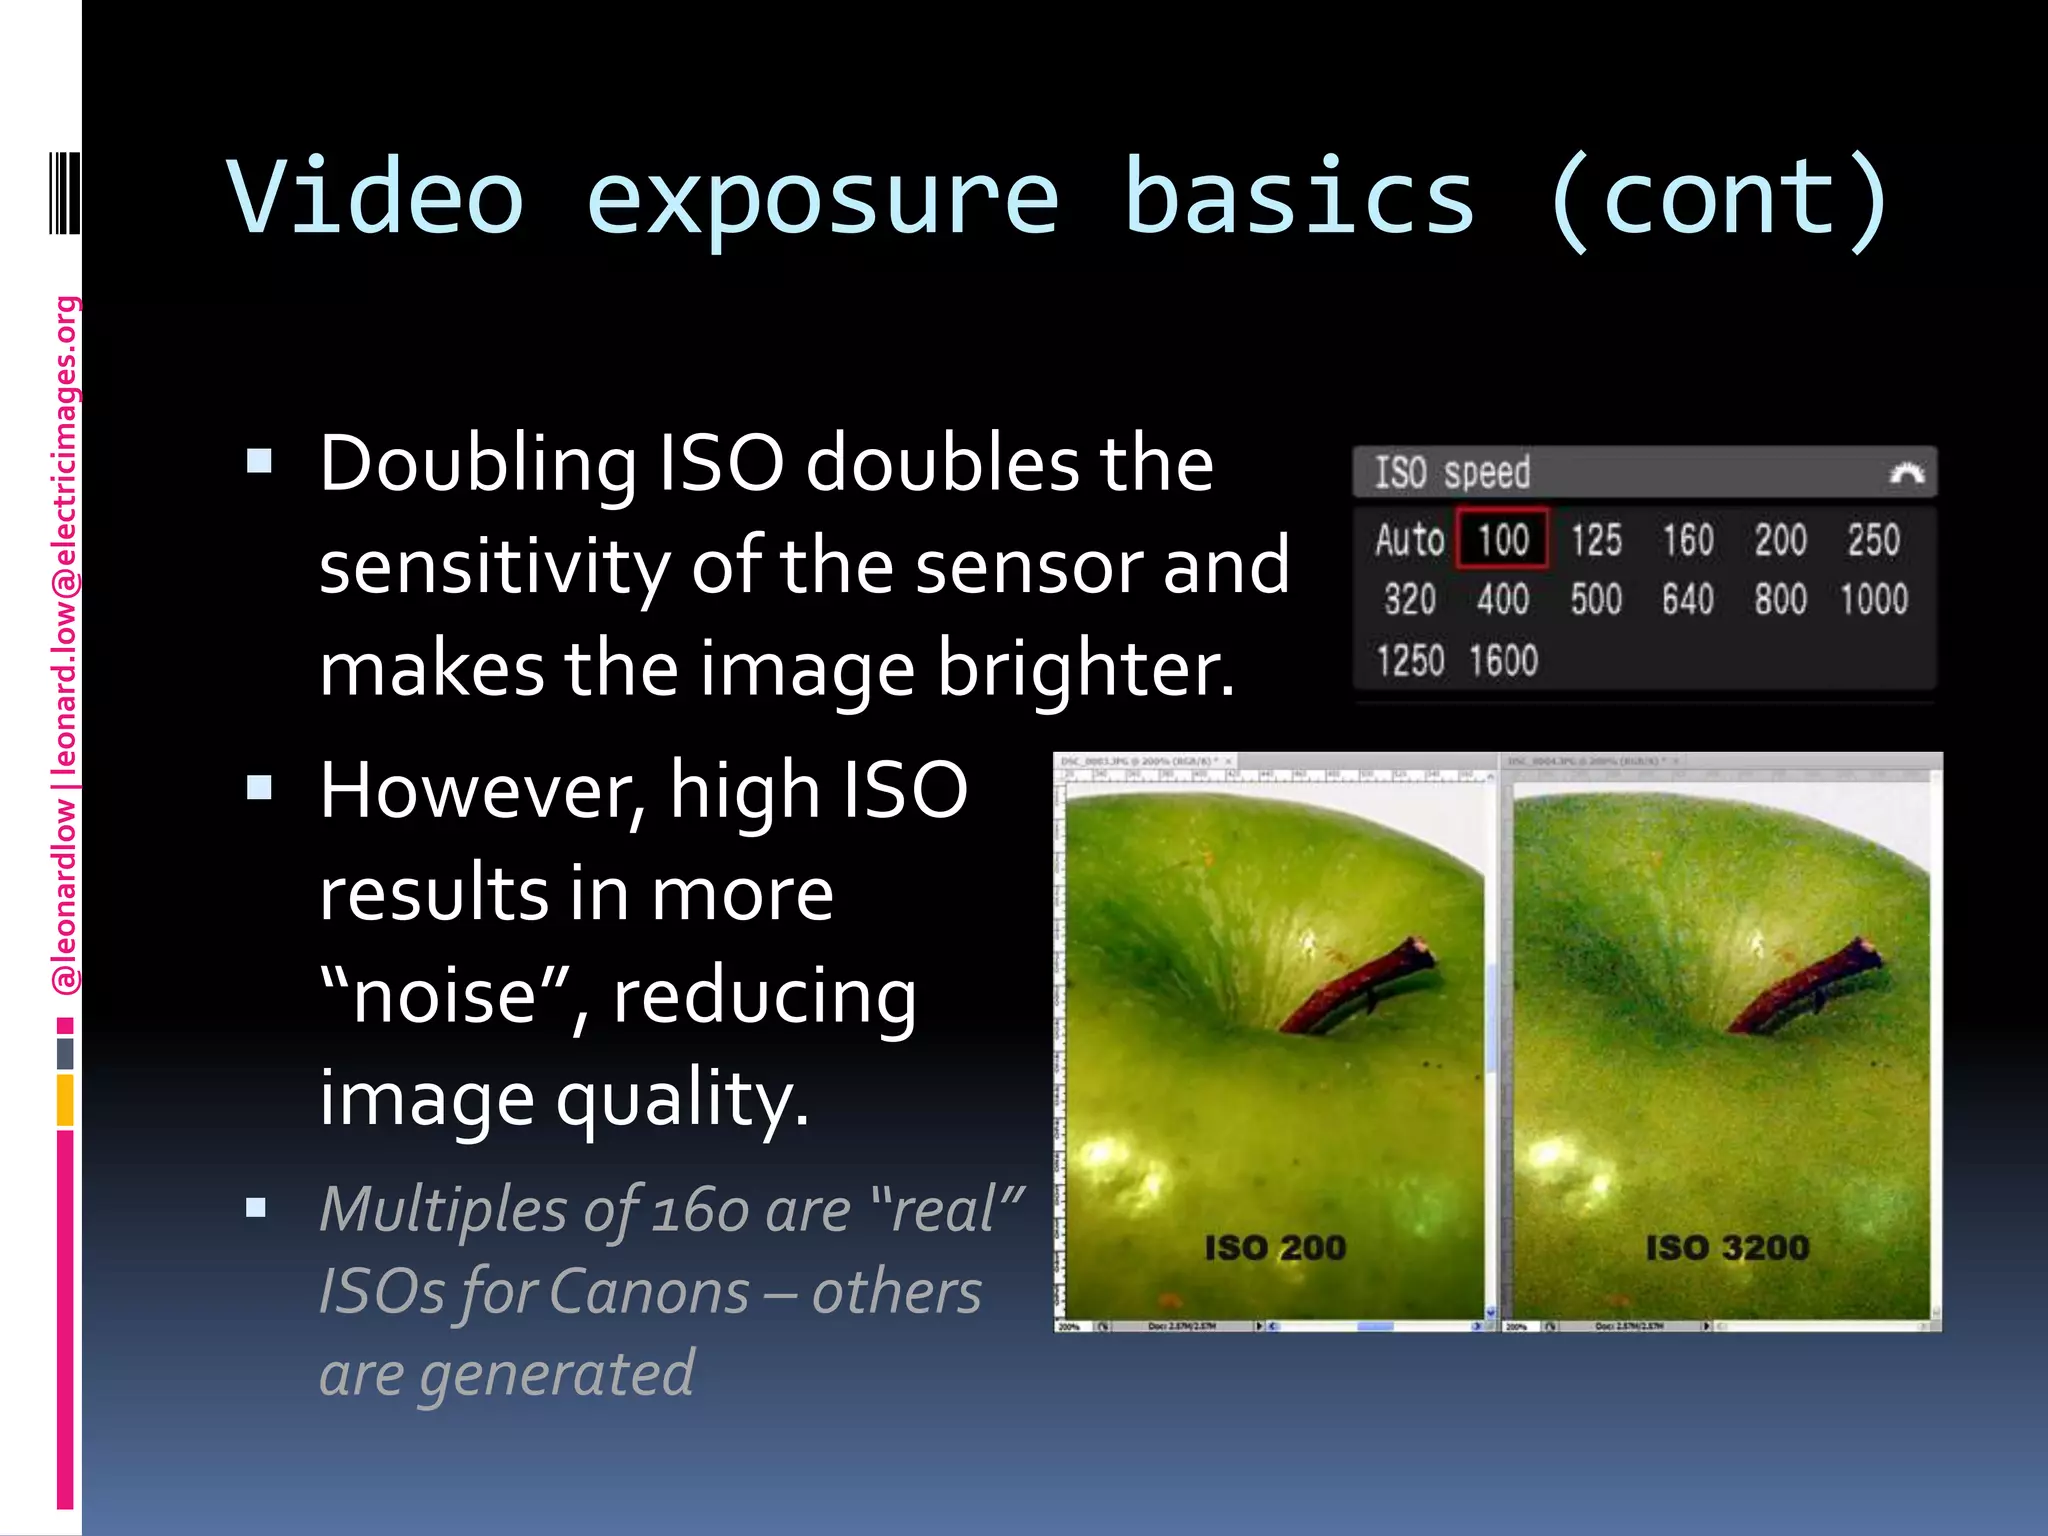
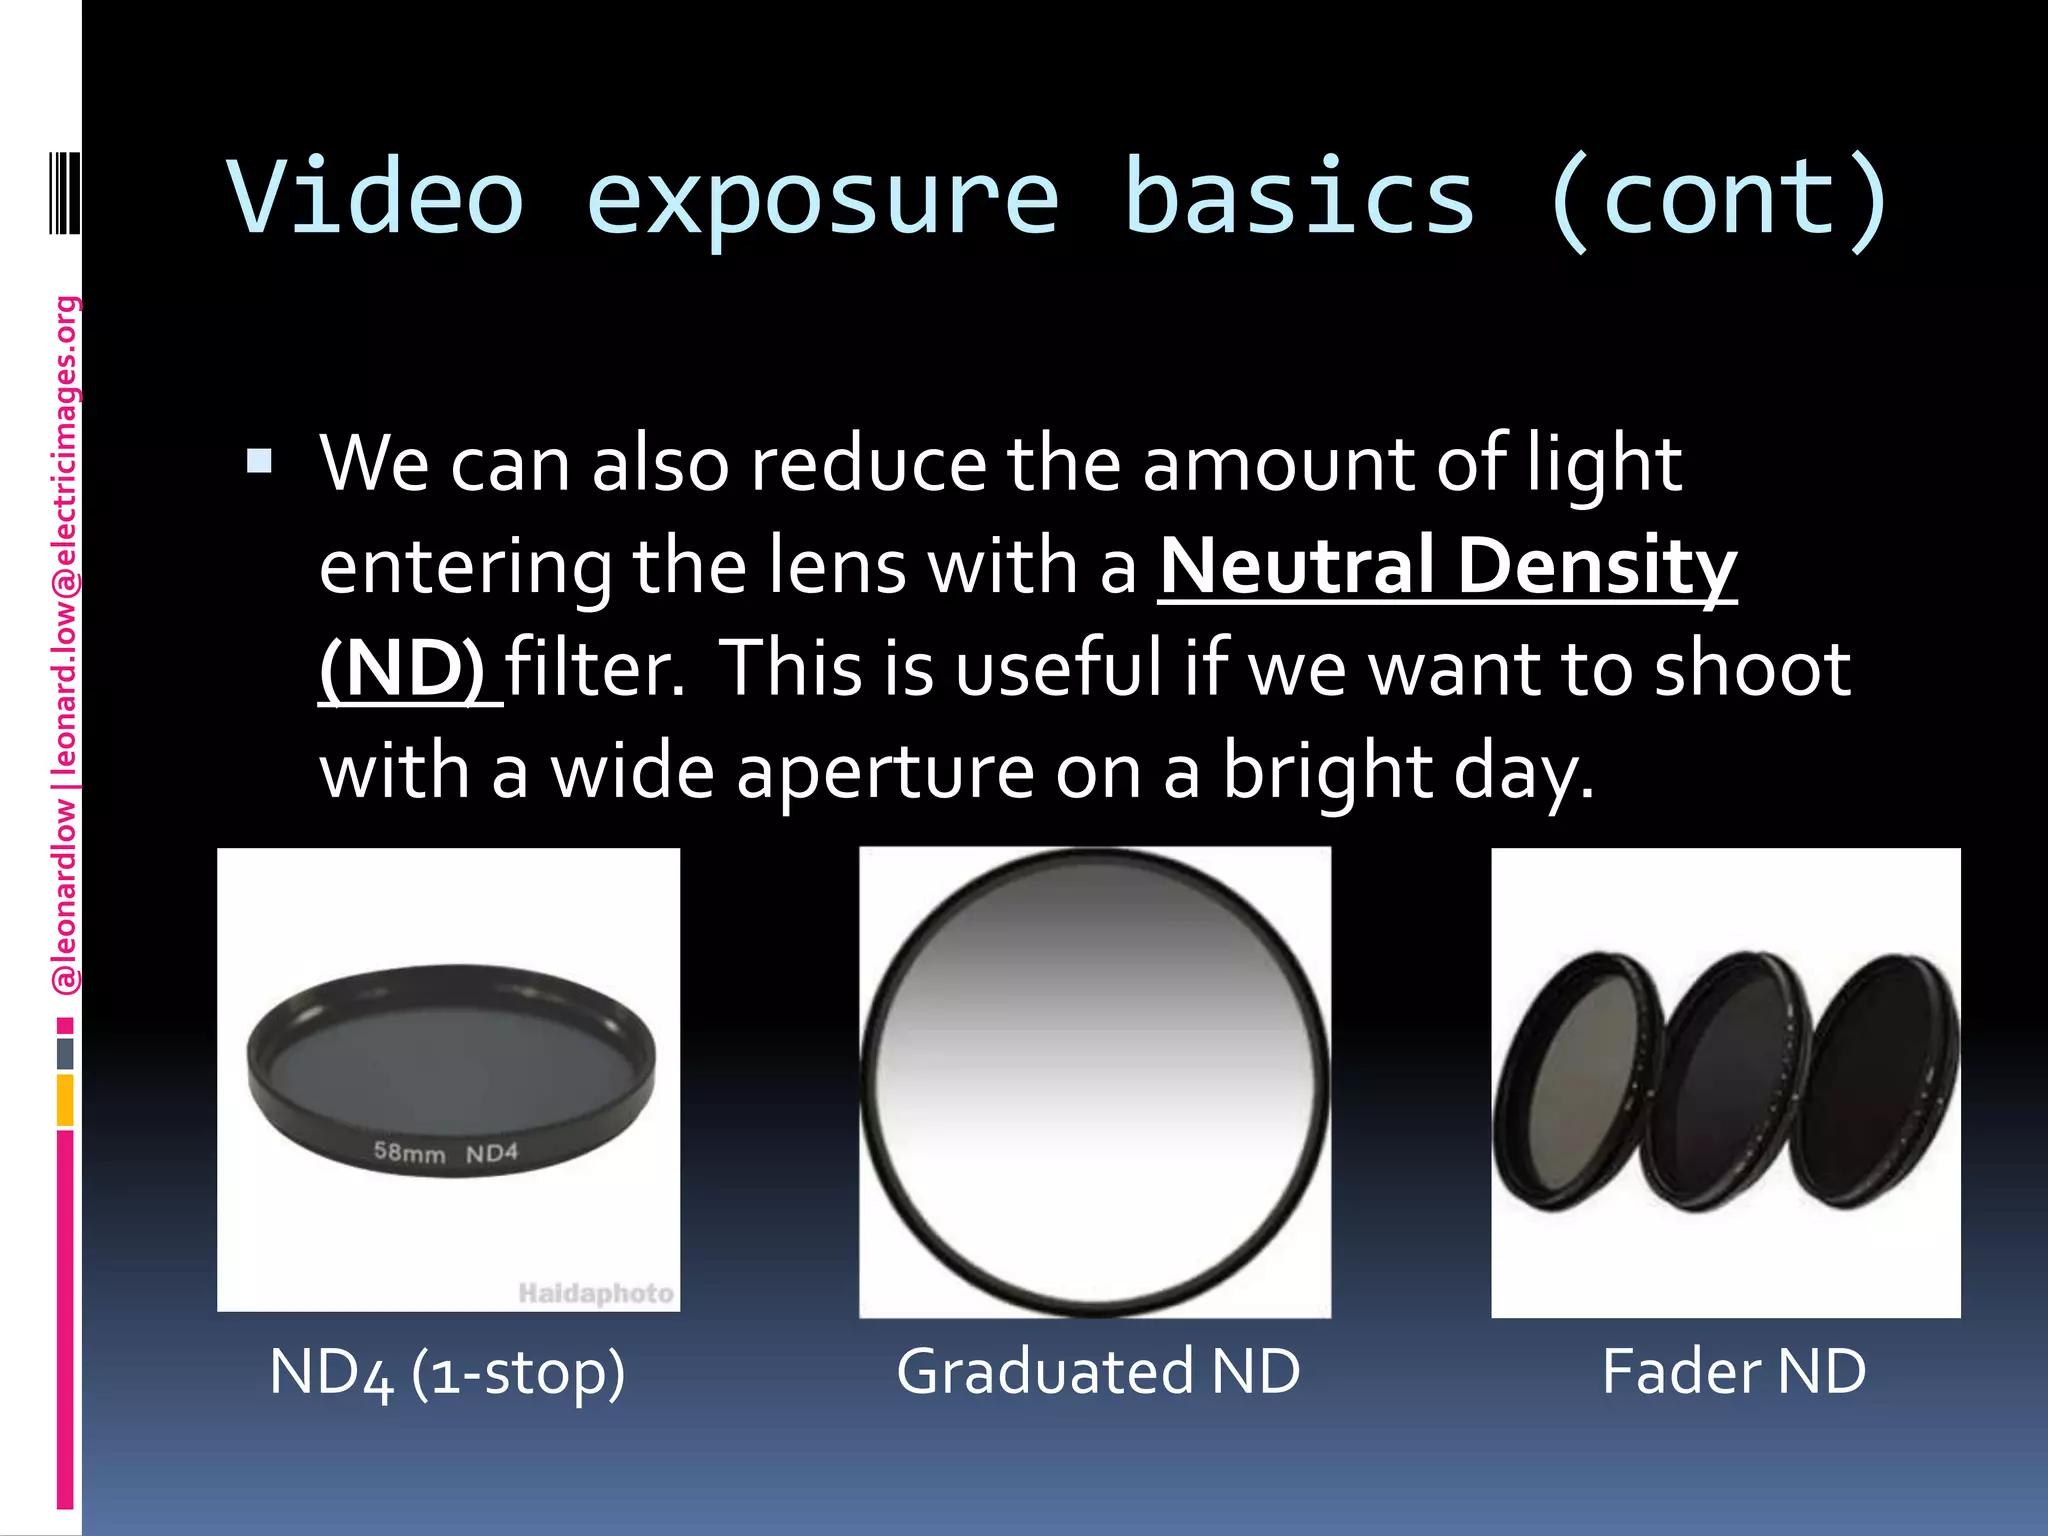


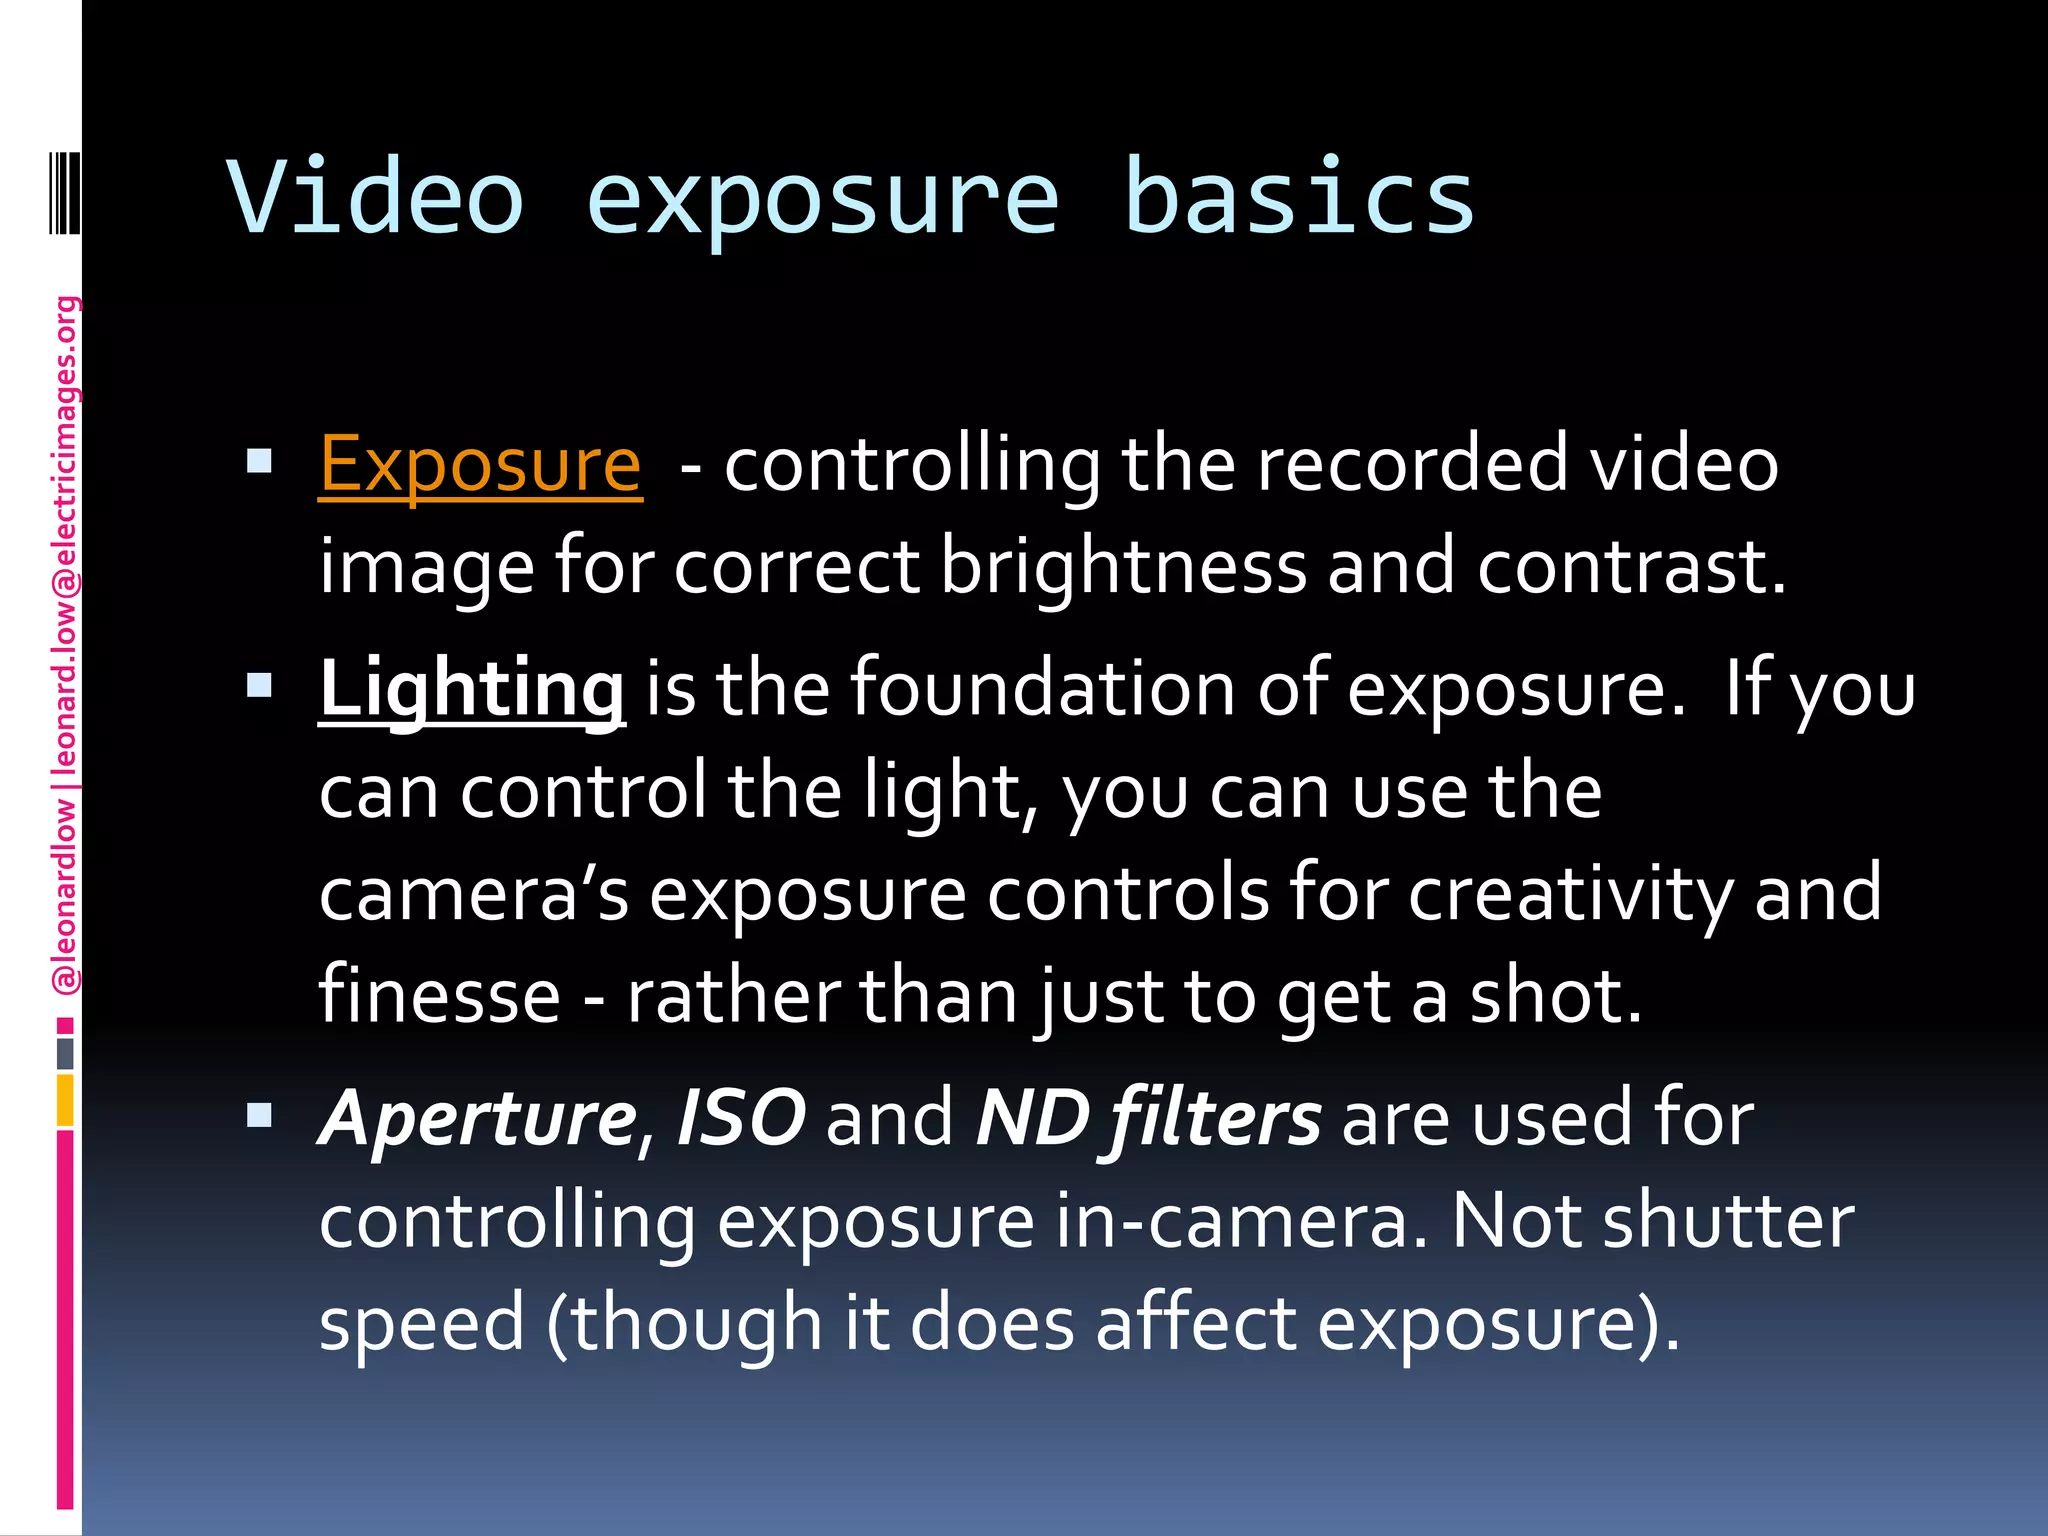
This document provides an introduction to using digital SLR cameras for filmmaking. It discusses the advantages of dSLRs such as their compact size, high quality sensors, and affordable lenses. Basic setups, techniques and concepts are covered, including focal lengths, exposure controls, frame rates and shutter speeds. More advanced setups are also described, like external audio recording and monitoring, follow focuses, and support systems. Post-production workflows are briefly outlined. Throughout, examples are given of successful films shot on dSLRs and tips are provided for getting started on a low budget.


![Ch2 rev[1]](https://cdn.slidesharecdn.com/ss_thumbnails/ch2rev1-111122190305-phpapp01-thumbnail.jpg?width=640&height=640&fit=bounds)


![2. [pro forma] camera getting started guide(4)](https://cdn.slidesharecdn.com/ss_thumbnails/2-170705214618-thumbnail.jpg?width=640&height=640&fit=bounds)


