Download to read offline


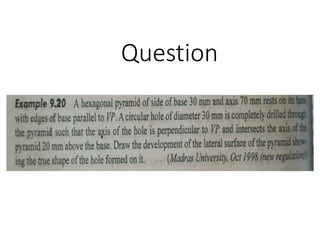
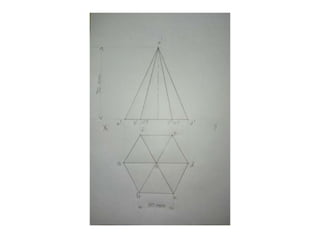
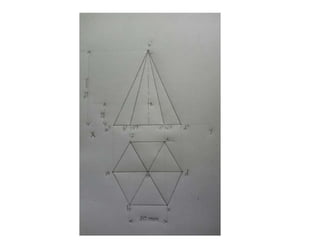
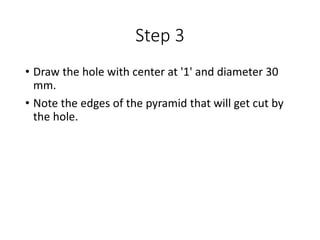
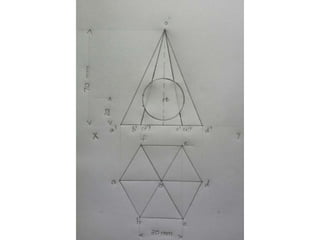
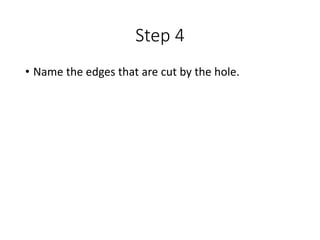
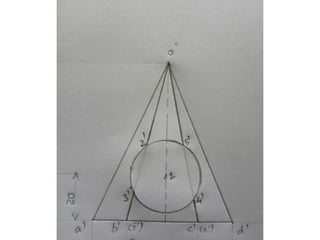
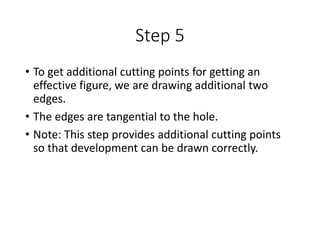
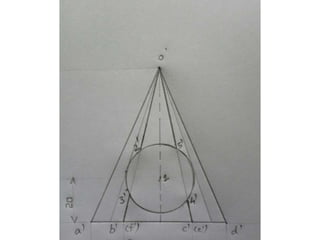
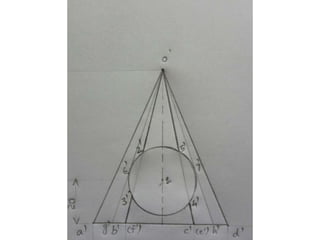
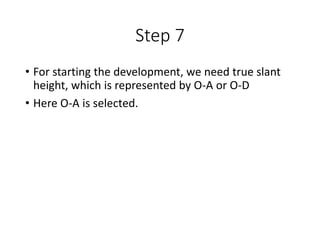
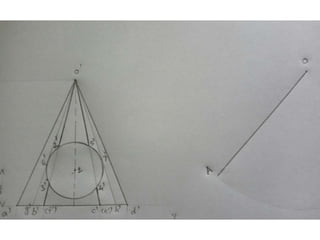
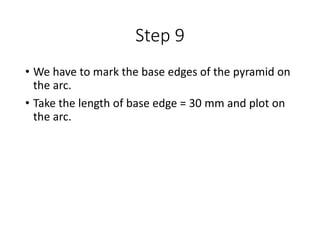
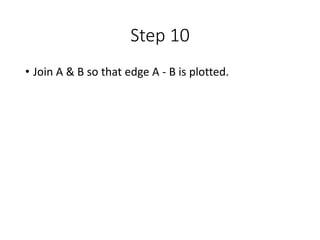
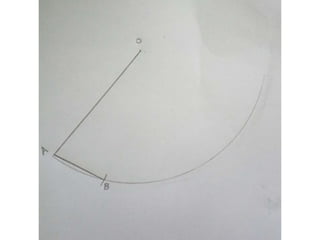

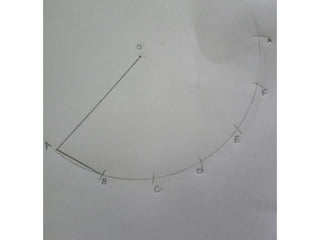
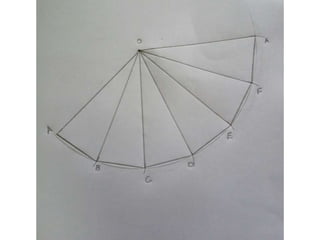

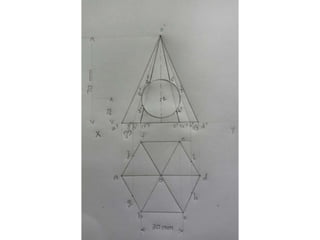
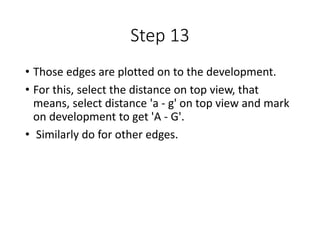
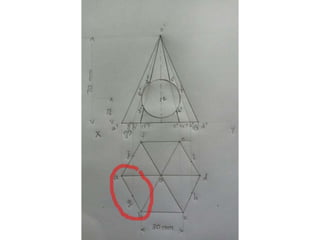
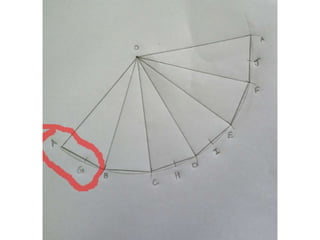
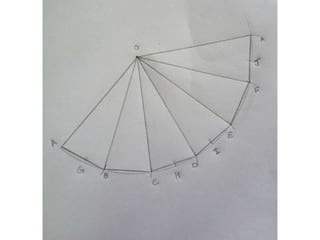
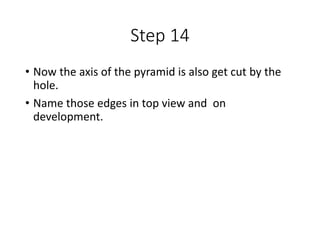
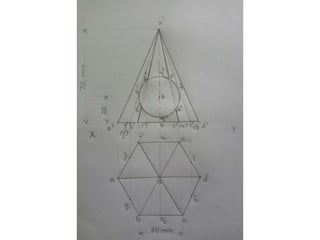
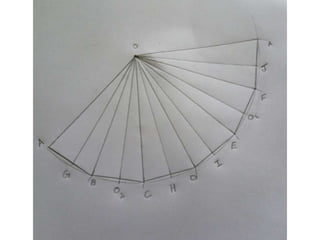
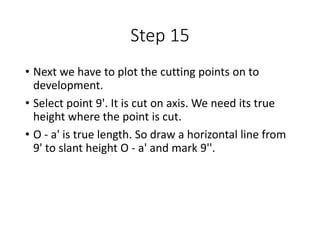
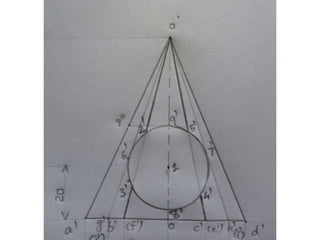
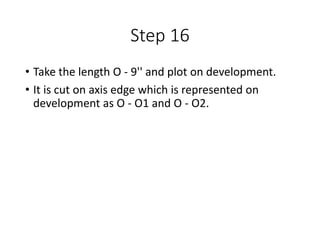
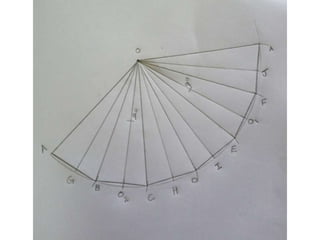
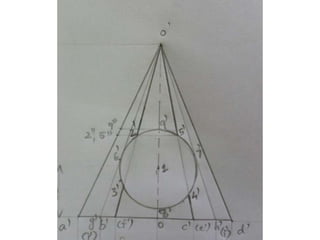
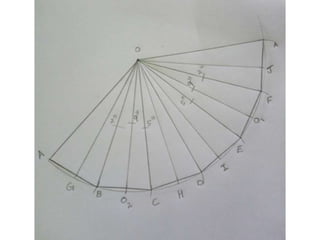
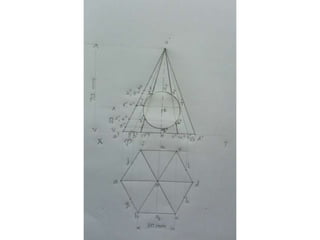
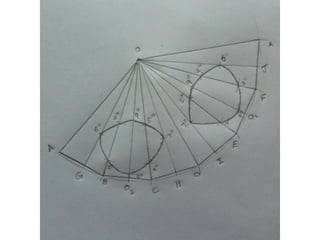
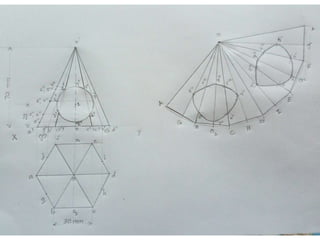


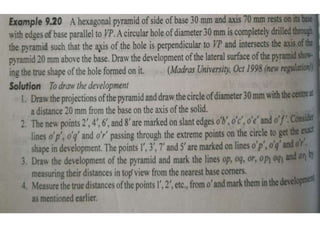
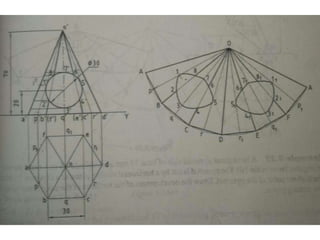


The document outlines 16 steps to develop a hexagonal pyramid with a hole from its front, top, and side views. It involves drawing the base and hole, identifying cut edges, finding true lengths, plotting edges on an arc representing the slant height, and transferring cutting points and edges to the unfolded development. Careful naming and measuring is required to avoid errors in the developed figure. Additional practice is recommended to fully understand the process.


