Downloaded 843 times


![Makinika Afrika International pg. 72
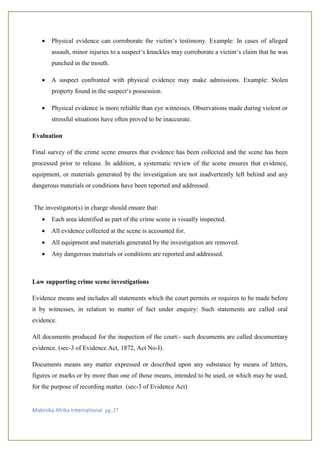
PRESERVING PRINTS
Print lifting tape is used on prints made visible by a foreign substance or if they are on a small
object, the whole object may be held as evidence. Latent prints made by normal secretions of the
skin have to be processed in a special way before they can be seen or preserved. The two most
common means are powdering and chemical treatment. Prints which need dusting powder to
develop should be photographed before lifting. Prints found in dust should be photographed and
then lifted; they should not be powdered as this will destroy them completely.
[i] Powdering
Choose a powder that best contrasts with the background. Powders are supplied in many
colours but black and white are commonly used.
To preserve a print with powder, check for a test print in the area selected. Lightly brush
the place with powder to see if a latent print is actually present. Wipe the surface clean and
process the test print.
The powder can be applied with feather brushes, fibreglass and camel hair. Magnetic wand
(rod) is used with magnetic powder. In case of a large area you can use a large piece of
cotton.
Pour a small amount of powder on a clean sheet of paper.
Gently touch the tips of the brush to the powder and shake off the excess powder back to
the paper. It is important for good prints processing to use small amount of powder and a
delicate touch.
Using a smooth stroke, guide the brush over a suspected area or over a barely visible print.
Get enough ridge to see the direction of the flow of the ridge and follow the flow of the
ridge with the brush.
Photograph the completed ridge detail and use more powder to make it more visible.
Photograph it again and protect the ridge with a tape. Make sure to use a ruler when
photographing the prints.
N/B](https://image.slidesharecdn.com/884b17ce-6368-4a0e-a4a1-846dfe1ee869-150915141104-lva1-app6892/85/CRIME-SCENE-MANAGEMENT-COMPILED-72-320.jpg)
![Makinika Afrika International pg. 73
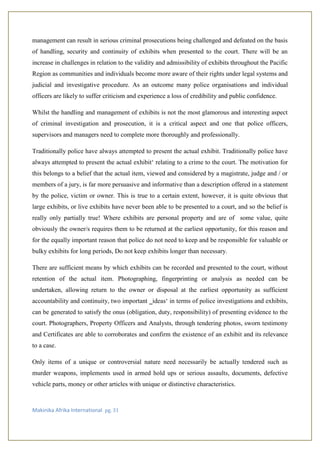
If you are in the crime scene without proper powders, you can use soot (impure carbon particles
resulting from the incomplete combustion of hydrocarbons) as a field expedient. Pass some
nonflammable objects through the smoke of a burning piece of wood. A black, even deposit of
soot will form on the object. Carefully brushing will yield latent prints.
[ii] Lifting
Transparent lifting tapes and rubber lifters are commonly used. Rubber lifters are better
than transparent lifting tapes in curved or uneven surfaces.
Transparent lifting tape has an advantage of presenting the lifted fingerprints in the correct
position as the print is reversed in rubber tape.
Transparent tapes used in homes and offices are not suitable for lifting prints but they can
be used as a field expedient.
Rubber lifters store well and come in both black and white for use with different coloured
powders. They are well suited to use in places like doorknobs where the surface is uneven.
User a lifter large enough to cover the print and leaves lots of room. Remove the plastic
cover of a rubber lifter with care in one steady movement. Any pause will result on a line
being left on the lifter. In most cases, powder on a print will not stick to the line, thus
ruining the print. Place the adhesive side of the lifter to the powdered print. Press it down
evenly, then peel the lifter from the surface on one smooth even motion. Press the plastic
cover of the lifter over the lifted print for protection.
Transparent lifting tape which are available in dispensers speed up the lifting process.
Prints on transparent lifting tape should be mounted on material which contrasts with that
of the lifting powder.
When lifting a print in either manner, use care to halt air bubbles forming under the lifter. Keep a
quarter twist on the tape with one hand while rolling it flat with the other to prevent air bubbles.
Powder might stick to object on which the print is found. If brushing will not remove the excess
powder, it is advisable to make two lifts; the first will remove the excess powder, the second will
preserve the fingerprint for identification. Also a latent print may be enhanced by adding brush
powder on the first lift.
[iii] Chemical processing](https://image.slidesharecdn.com/884b17ce-6368-4a0e-a4a1-846dfe1ee869-150915141104-lva1-app6892/85/CRIME-SCENE-MANAGEMENT-COMPILED-73-320.jpg)


![Makinika Afrika International pg. 111
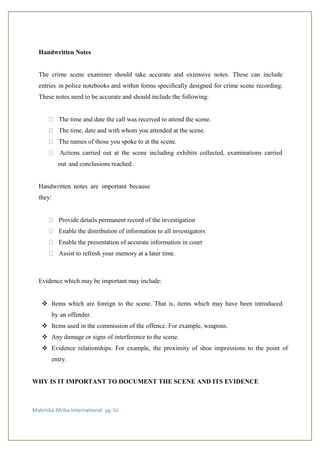
[i] Powdering
Choose a powder that best contrasts with the background. Powders are supplied in
many colours but black and white are commonly used.
To preserve a print with powder, check for a test print in the area selected. Lightly
brush the place with powder to see if a latent print is actually present. Wipe the
surface clean and process the test print.
The powder can be applied with feather brushes, fibreglass and camel hair.
Magnetic wand (rod) is used with magnetic powder. In case of a large area you
can use a large piece of cotton.
Pour a small amount of powder on a clean sheet of paper.
Gently touch the tips of the brush to the powder and shake off the excess powder
back to the paper. It is important for good prints processing to use small amount
of powder and a delicate touch.
Using a smooth stroke, guide the brush over a suspected area or over a barely
visible print. Get enough ridge to see the direction of the flow of the ridge and
follow the flow of the ridge with the brush.
Photograph the completed ridge detail and use more powder to make it more
visible. Photograph it again and protect the ridge with a tape. Make sure to use a
ruler when photographing the prints.
N/B
If you are in the crime scene without proper powders, you can use soot (impure carbon
particles resulting from the incomplete combustion of hydrocarbons) as a field expedient.
Pass some nonflammable objects through the smoke of a burning piece of wood. A black,
even deposit of soot will form on the object. Carefully brushing will yield latent prints.
[ii] Lifting
Transparent lifting tapes and rubber lifters are commonly used. Rubber lifters are
better than transparent lifting tapes in curved or uneven surfaces.](https://image.slidesharecdn.com/884b17ce-6368-4a0e-a4a1-846dfe1ee869-150915141104-lva1-app6892/85/CRIME-SCENE-MANAGEMENT-COMPILED-111-320.jpg)
![Makinika Afrika International pg. 112
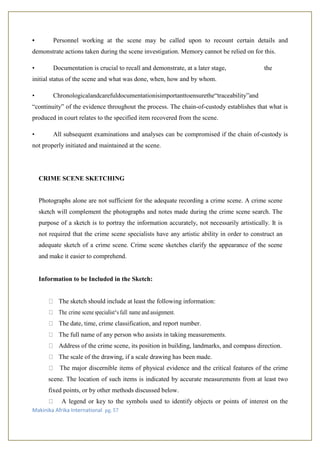
Transparent lifting tape has an advantage of presenting the lifted fingerprints in
the correct position as the print is reversed in rubber tape.
Transparent tapes used in homes and offices are not suitable for lifting prints but
they can be used as a field expedient.
Rubber lifters store well and come in both black and white for use with different
coloured powders. They are well suited to use in places like doorknobs where the
surface is uneven.
User a lifter large enough to cover the print and leaves lots of room. Remove the
plastic cover of a rubber lifter with care in one steady movement. Any pause will
result on a line being left on the lifter. In most cases, powder on a print will not
stick to the line, thus ruining the print. Place the adhesive side of the lifter to the
powdered print. Press it down evenly, then peel the lifter from the surface on one
smooth even motion. Press the plastic cover of the lifter over the lifted print for
protection.
Transparent lifting tape which are available in dispensers speed up the lifting
process.
Prints on transparent lifting tape should be mounted on material which contrasts
with that of the lifting powder.
When lifting a print in either manner, use care to halt air bubbles forming under the lifter.
Keep a quarter twist on the tape with one hand while rolling it flat with the other to
prevent air bubbles.
Powder might stick to object on which the print is found. If brushing will not remove the
excess powder, it is advisable to make two lifts; the first will remove the excess powder,
the second will preserve the fingerprint for identification. Also a latent print may be
enhanced by adding brush powder on the first lift.
[iii] Chemical processing
Lab technicians are trained to use many chemical mixtures to process evidence using
techniques which are accepted in law. Latent on paper products should be developed with
chemicals. Paper acts as a blotter, absorbing skin secretions when touched therefore the](https://image.slidesharecdn.com/884b17ce-6368-4a0e-a4a1-846dfe1ee869-150915141104-lva1-app6892/85/CRIME-SCENE-MANAGEMENT-COMPILED-112-320.jpg)


This document discusses crime scene management and security. It defines a crime scene as the area where evidence of a crime may be found. The responsibilities of the first responder are to assist victims, secure witnesses and the crime scene to preserve evidence, and notify authorities. The crime scene must be cordoned off and a log kept of all entries and exits to prevent contamination. Proper crime scene management requires information management, manpower management, technology management, and logistics management. Securing the crime scene is crucial to preserve physical evidence and solve crimes according to Locard's exchange principle, which states that every contact leaves a trace.


![Forensic[1]](https://cdn.slidesharecdn.com/ss_thumbnails/forensic1-171224151520-thumbnail.jpg?width=640&height=640&fit=bounds)


