Download to read offline
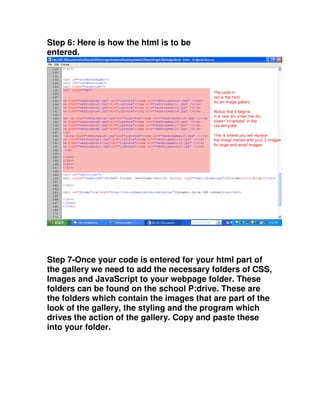
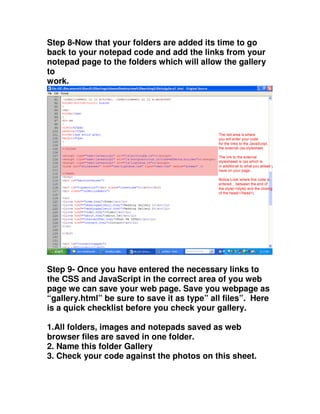
![Here is what the folders look like. Notice there are 3-
css,images and js(javascript) You will need these in
your folder for your gallery to work.
What is JavaScript?
“JavaScript is an object-oriented[4] scripting language used to
enable programmatic access to objects within both the client
application and other applications. It is primarily used in the
form of client-side JavaScript, implemented as an integrated
component of the web browser, allowing the development of
enhanced user interfaces and dynamic websites.”
-Wikipedia
What the folders look like.](https://image.slidesharecdn.com/creatingawebgallery-lightbox2final-130620212352-phpapp02/85/Creating-a-web-gallery-lightbox2-final-4-320.jpg)


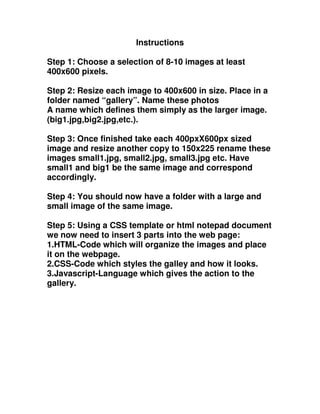
This document provides instructions for creating a photo gallery using Lightbox2. It involves the following steps: 1. Select and resize photos to 400x600 and 150x225 pixel sizes for large and small versions respectively. Save them in folders. 2. Add HTML code to organize photos on the page, CSS code to style the gallery, and JavaScript to provide interactivity. 3. Include the necessary CSS, images, and JavaScript folders containing code for the gallery's look and functionality. 4. Link the HTML page to these folders so that the gallery works properly. Save the complete gallery files together in a folder for testing.