Downloaded 45 times


![142 Module 2 Implement platform protection
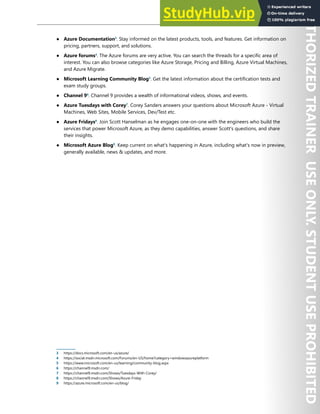
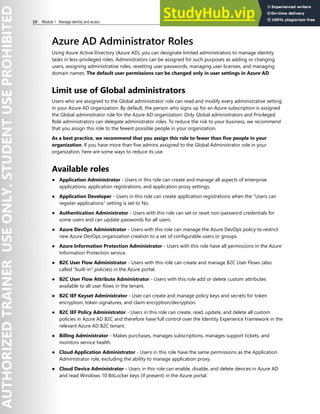
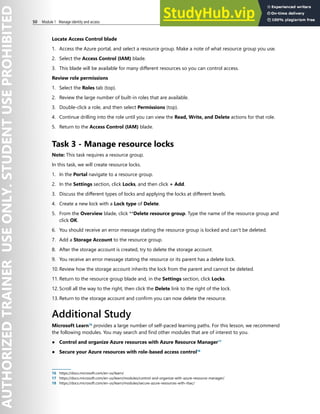
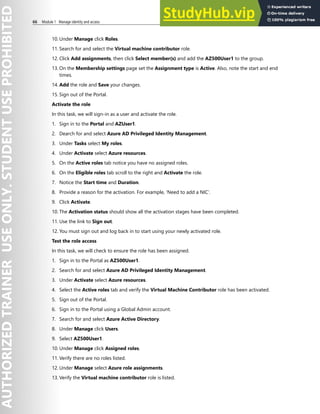
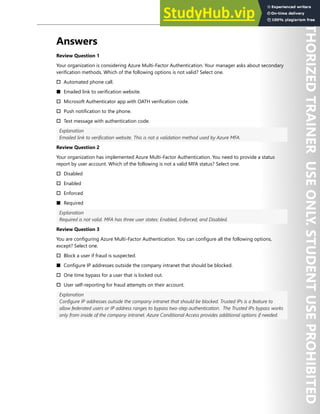
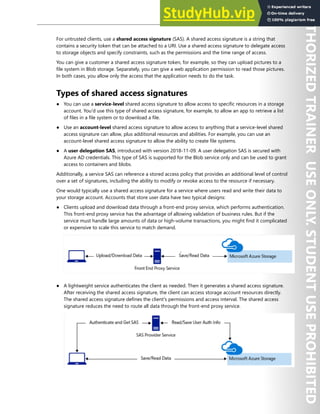
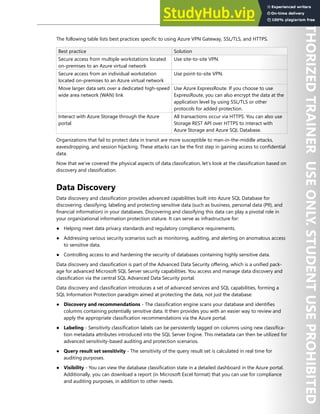
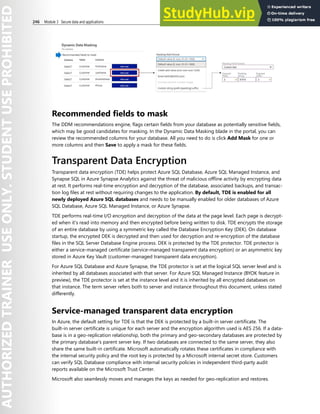
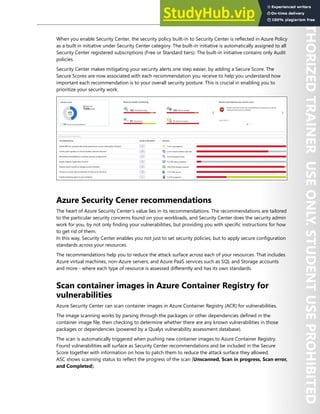
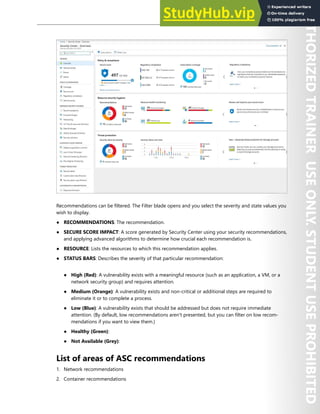
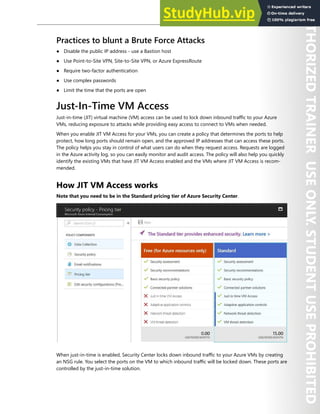
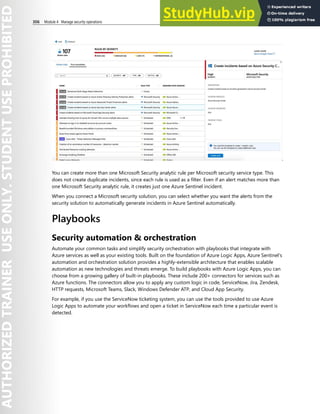
Networking requirements
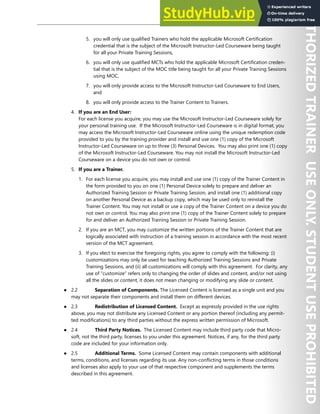
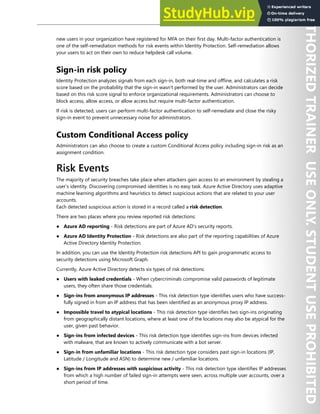
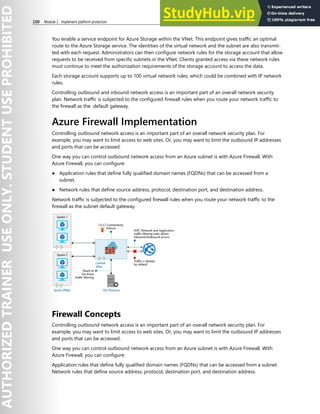
To enable Azure Disk Encryption, the VMs must meet the following network endpoint configuration
requirements:
● To get a token to connect to your key vault, the Windows VM must be able to connect to an Azure
Active Directory endpoint, [login.microsoftonline.com].
● To write the encryption keys to your key vault, the Windows VM must be able to connect to the key
vault endpoint.
● The Windows VM must be able to connect to an Azure storage endpoint that hosts the Azure exten-
sion repository and an Azure storage account that hosts the VHD files.
● If your security policy limits access from Azure VMs to the Internet, you can resolve the preceding URI
and configure a specific rule to allow outbound connectivity to the IPs.
Group Policy requirements
Azure Disk Encryption uses the BitLocker external key protector for Windows VMs. For domain joined
VMs, don't push any group policies that enforce TPM protectors.
BitLocker policy on domain joined virtual machines with custom group policy must include the following
setting: Configure user storage of BitLocker recovery information -> Allow 256-bit recovery key. Azure
Disk Encryption will fail when custom group policy settings for BitLocker are incompatible. On machines
that didn't have the correct policy setting, apply the new policy, force the new policy to update (gpup-
date.exe /force), and then restarting may be required.
Azure Disk Encryption will fail if domain level group policy blocks the AES-CBC algorithm, which is used
by BitLocker.
Encryption key storage requirements
Azure Disk Encryption requires an Azure Key Vault to control and manage disk encryption keys and
secrets. Your key vault and VMs must reside in the same Azure region and subscription.
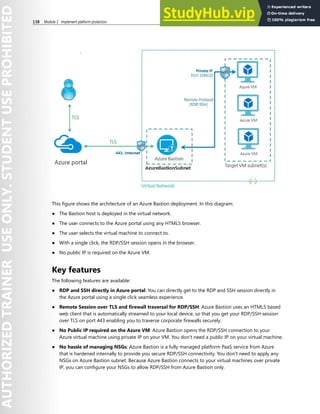
Azure Disk Encryption for Linux VMs
Azure Disk Encryption helps protect and safeguard your data to meet your organizational security and
compliance commitments. It uses the DM-Crypt feature of Linux to provide volume encryption for the OS
and data disks of Azure virtual machines (VMs), and is integrated with Azure Key Vault to help you control
and manage the disk encryption keys and secrets.
As for Windows VMs, if you use Azure Security Center, you're alerted if you have VMs that aren't encrypt-
ed. The alerts show as High Severity and the recommendation is to encrypt these VMs
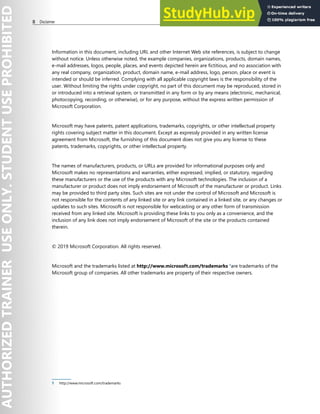
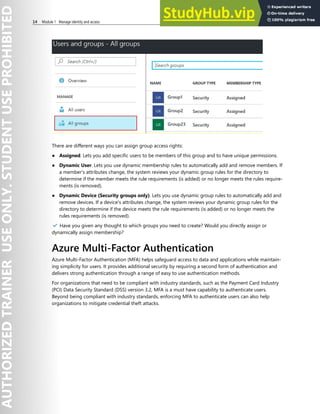
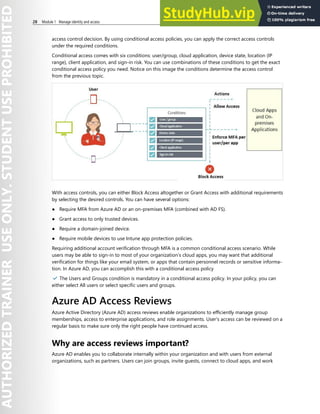
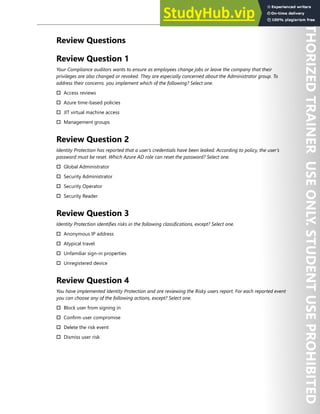
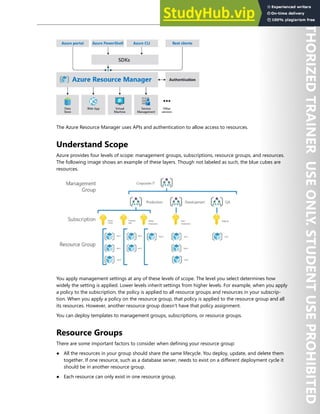
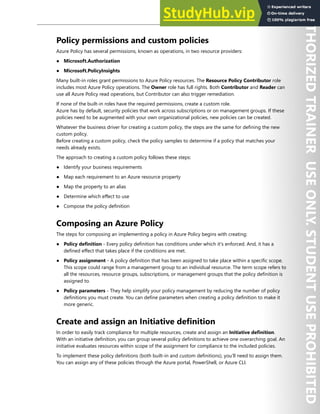
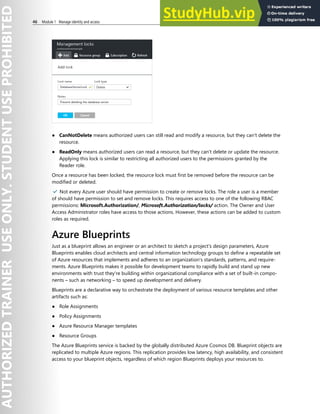
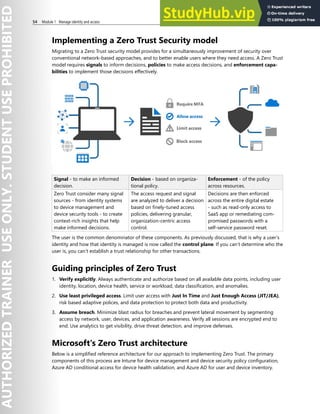
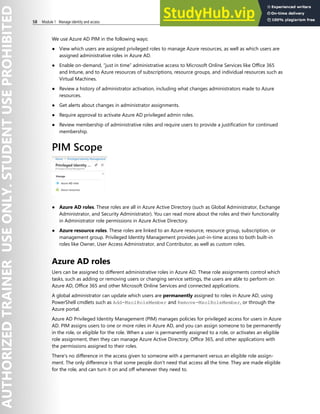
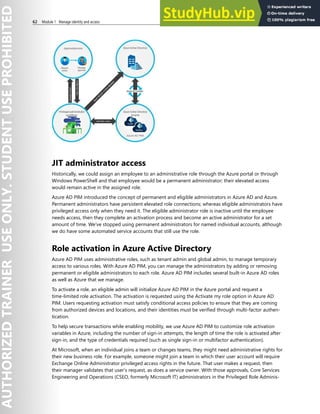
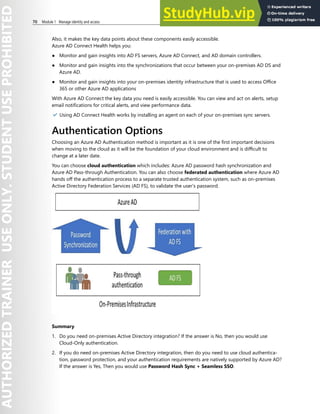
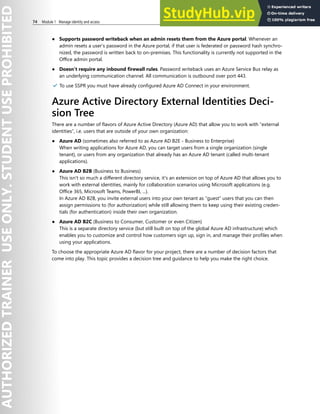
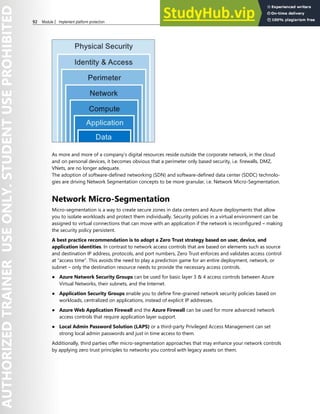
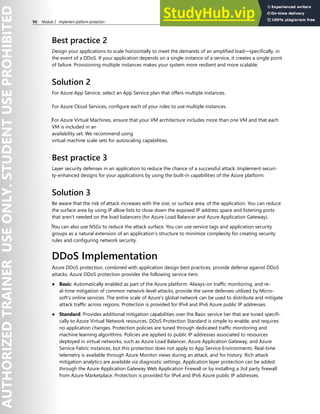
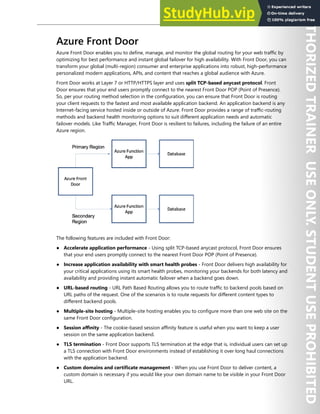
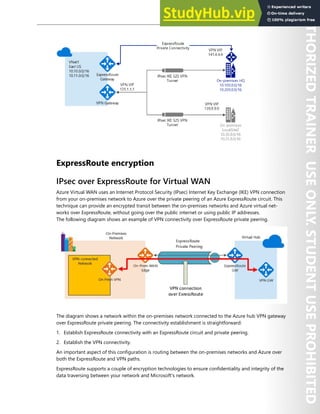
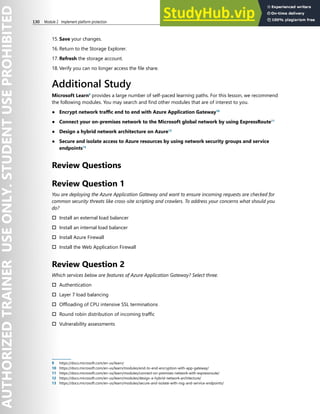
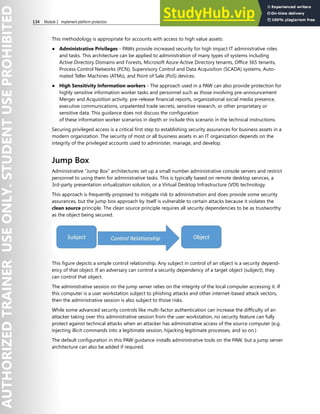
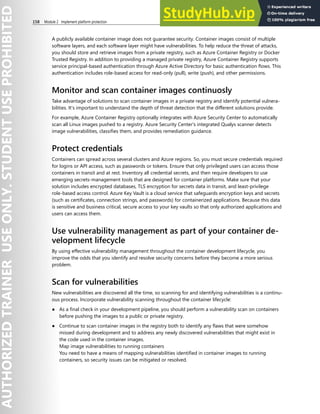
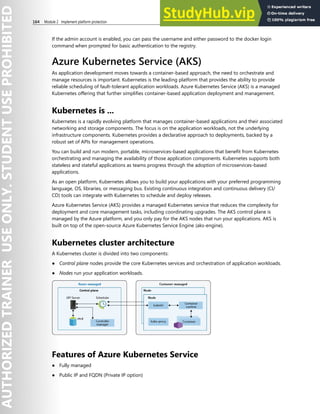
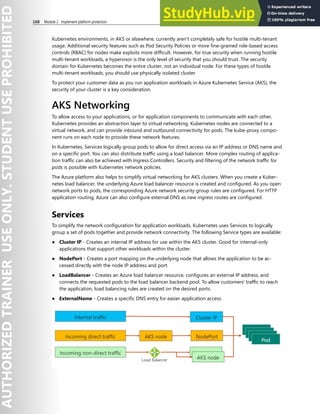
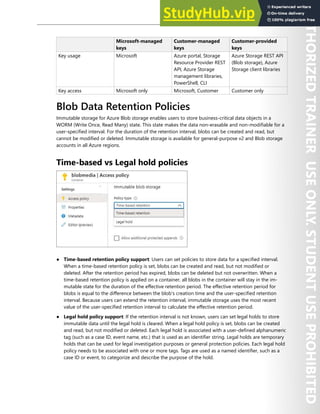
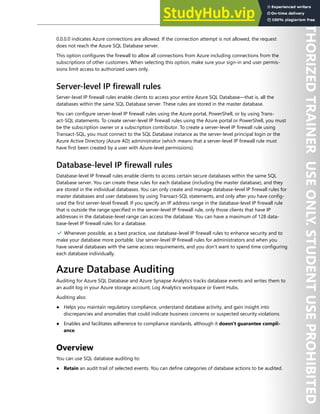
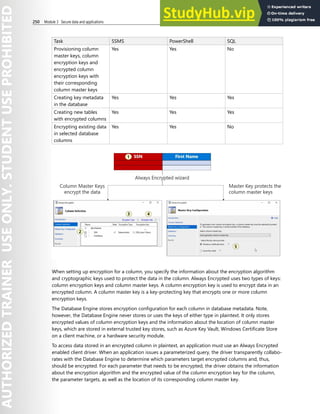
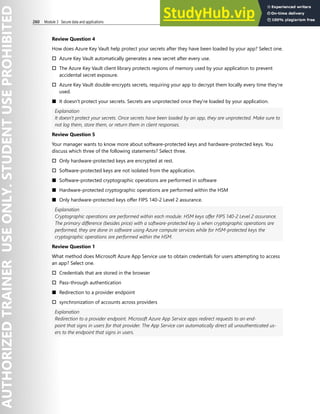
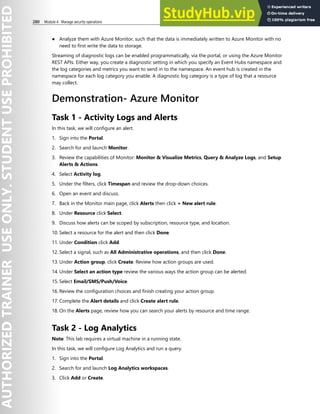
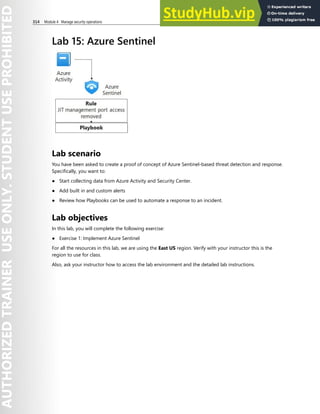
Supported VMs and operating systems
Supported VMs
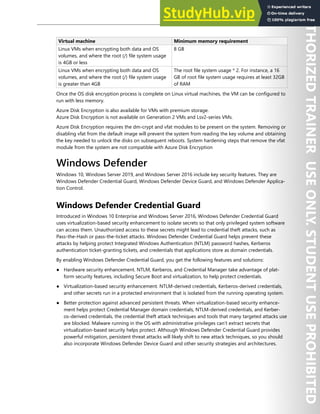
Linux VMs are available in a range of sizes. Azure Disk Encryption is not available on Basic, A-series VMs,
or on virtual machines that do not meet these minimum memory requirements
Virtual machine Minimum memory requirement
Linux VMs when only encrypting data volumes 2 GB](https://image.slidesharecdn.com/az-500t00microsoftazuresecuritytechnologies-230807170509-c0214841/85/AZ-500T00-Microsoft-Azure-Security-Technologies-pdf-155-320.jpg)


![Azure Key Vault 193
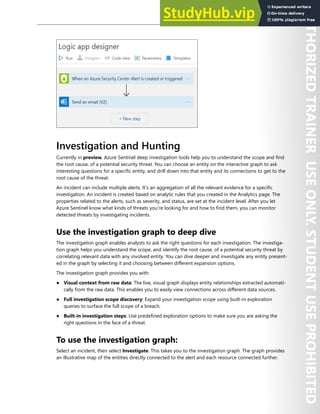
● Update: Allows a client with sufficient permissions to modify the metadata (key attributes) associated
with a key previously stored within Key Vault.
● Delete: Allows a client with sufficient permissions to delete a key from Key Vaul
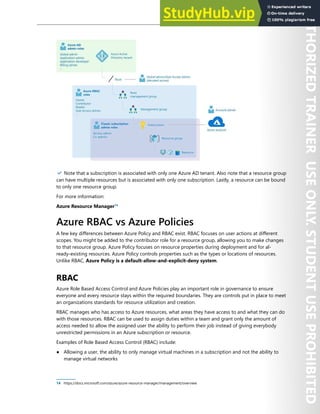
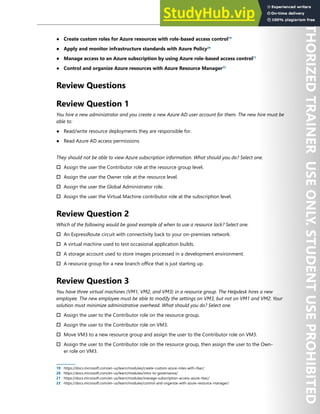
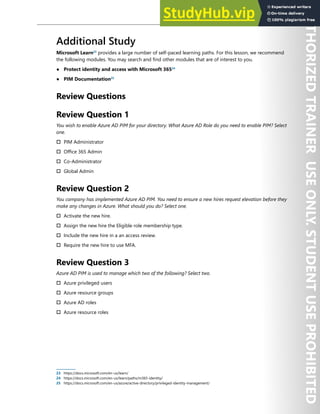
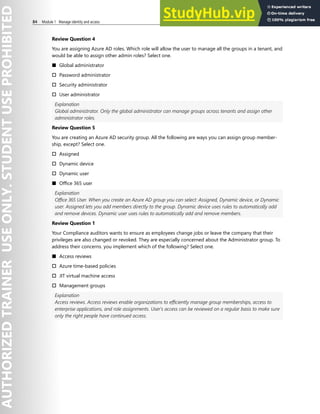
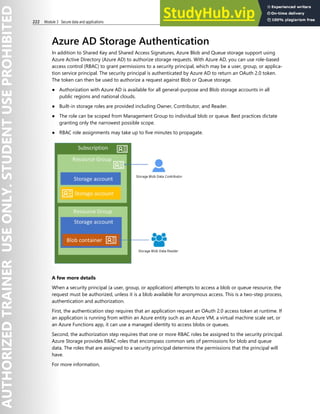
Cryptographic operations
Once a key has been created in Key Vault, the following cryptographic operations may be performed
using the key. For best application performance, verify that operations are performed locally.
● Sign and Verify: Strictly, this operation is “sign hash” or "verify hash", as Key Vault doesn't support
hashing of content as part of signature creation. Applications should hash the data to be signed
locally, then request that Key Vault sign the hash. Verification of signed hashes is supported as a
convenience operation for applications that may not have access to [public] key material.
● Key Encryption / Wrapping: A key stored in Key Vault may be used to protect another key, typically
a symmetric content encryption key (CEK). When the key in Key Vault is asymmetric, key encryption is
used. When the key in Key Vault is symmetric, key wrapping is used.
● Encrypt and Decrypt: A key stored in Key Vault may be used to encrypt or decrypt a single block of
data. The size of the block is determined by the key type and selected encryption algorithm. The
Encrypt operation is provided for convenience, for applications that may not have access to [public]
key material.
Application Services Plan
More and more organizations are adopting secrets management policies, where secrets are stored
centrally with expectations around expiration and access control. Azure Key Vault provides these manage-
ment capabilities to your applications in Azure, but some applications can’t easily take on code changes
to start integrating with it. Key Vault references are a way to introduce secrets management into your app
without code changes.
Apps hosted in App Service and Azure Functions can now simply define a reference to a secret managed
in Key Vault as part of their application settings. The app’s system-assigned identity is used to securely
fetch the secret and make it available to the app as an environment variable. This means that teams can
just replace existing secrets stored in app settings with references to the same secret in Key Vault, and the
app will continue to operate as normal.
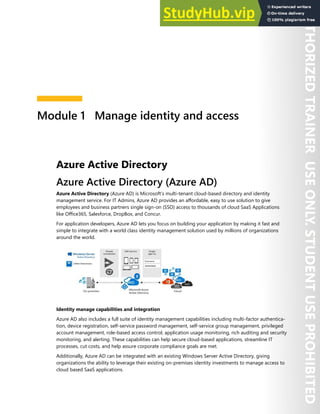
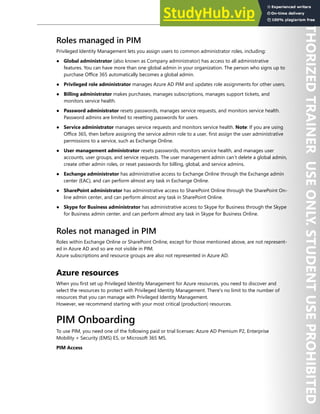
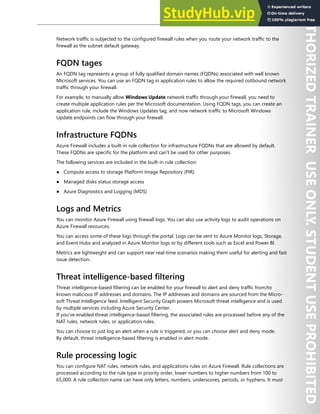
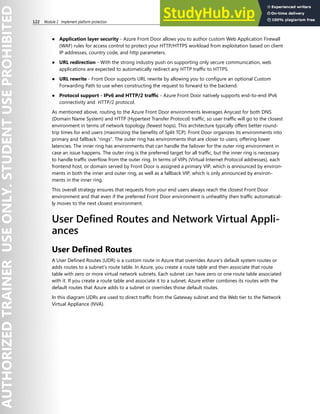
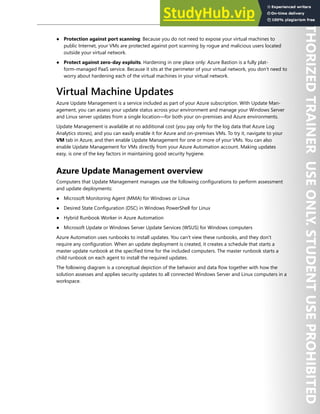
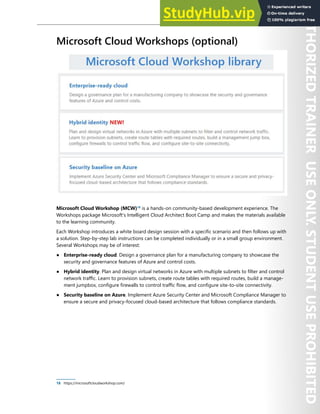
Configure a Hardware Security Module Key-generation
Solution
For added assurance, when you use Azure Key Vault, you can import or generate keys in hardware
security modules (HSMs) that never leave the HSM boundary. This scenario is often referred to as Bring
Your Own Key (BYOK). The HSMs are FIPS 140-2 Level 2 validated. Azure Key Vault uses Thales nShield
family of HSMs to protect your keys. (This functionality is not available for Azure China.)
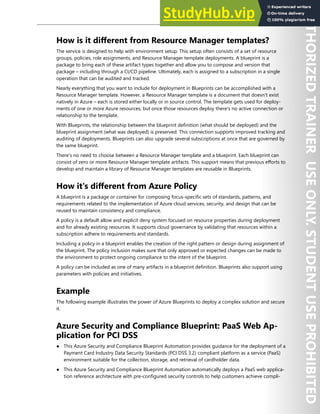
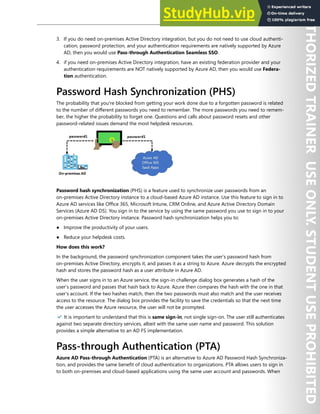
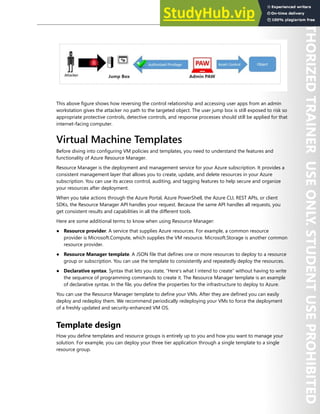
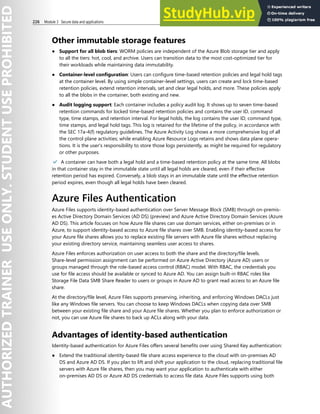
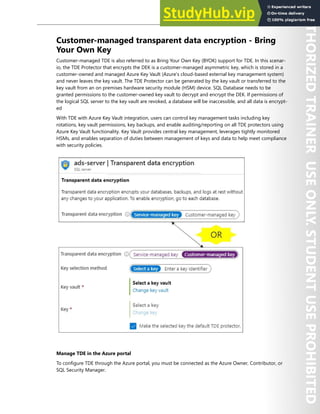
Generating and transferring an HSM-protected key over the Internet:
1. You generate the key from an offline workstation, which reduces the attack surface.
2. The key is encrypted with a Key Exchange Key (KEK), which stays encrypted until transferred to the
Azure Key Vault HSMs. Only the encrypted version of your key leaves the original workstation.](https://image.slidesharecdn.com/az-500t00microsoftazuresecuritytechnologies-230807170509-c0214841/85/AZ-500T00-Microsoft-Azure-Security-Technologies-pdf-206-320.jpg)
![Application Security 203
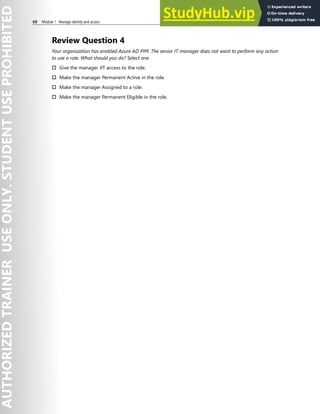
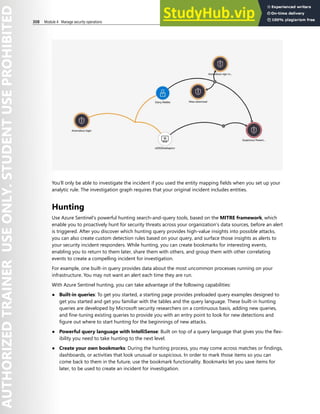
The Microsoft identity platform has two endpoints (v1.0 and v2.0) and two sets of client libraries to
handle these endpoints. When developing a new application, consider the advantages and the current
state of the endpoints and the authentication libraries. Also consider that:
● The supported platforms are as follows:
● The Azure AD Authentication Library (ADAL) supports Microsoft .NET, JavaScript, iOS, Android,
Java, and Python.
● The Microsoft Authentication Library (MSAL) supports .NET, JavaScript, and in preview iOS, and
Android.
● Other endpoints support .NET and Node.js server middleware for protecting APIs and sign-in.
● The bulk of innovation, such as dynamic consent and incremental consent, is happening on the v2.0
endpoint and MSAL while Microsoft continues to support v1.0 and ADAL.
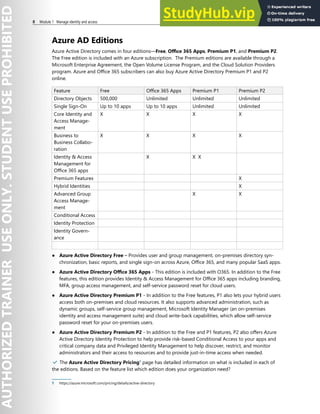
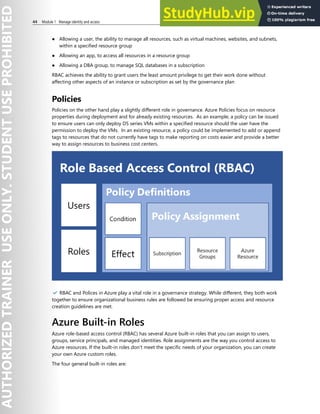
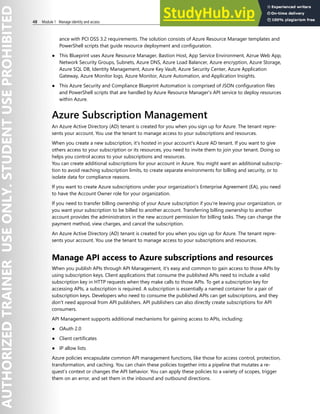
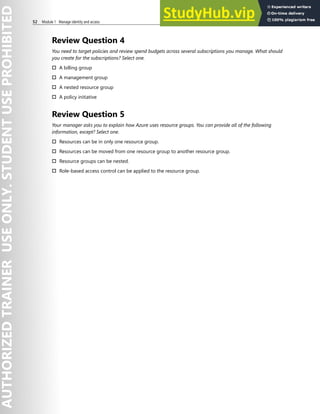
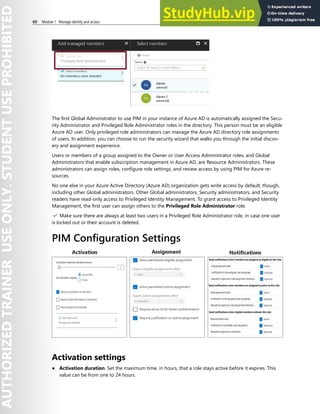
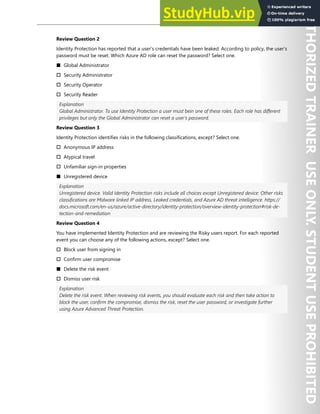
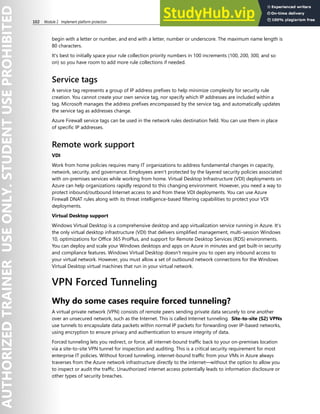
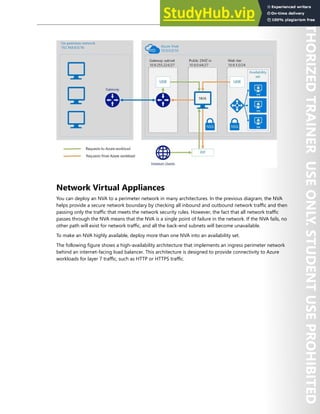
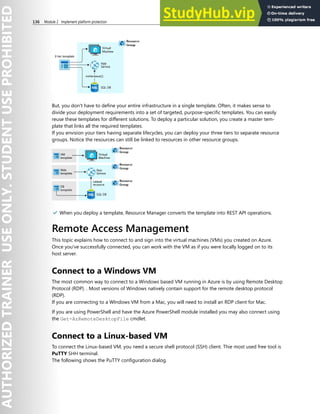
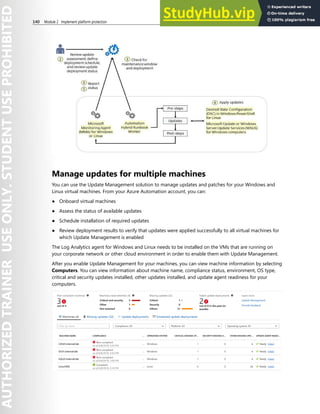
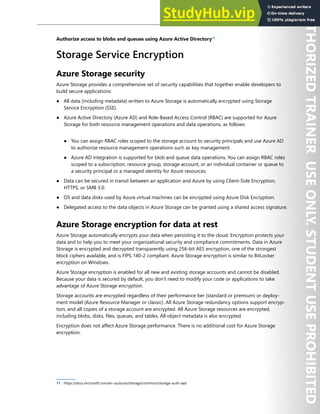
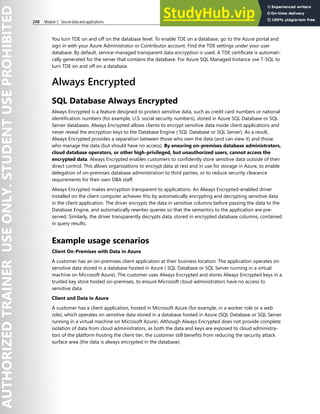
These are the five primary application scenarios that Azure AD supports:
● Single-page application (SPA) - A user needs to sign in to a single-page application that Azure AD
helps secure.
● Web browser to web application - A user needs to sign in to a web application that Azure AD helps
secure.
● Native application to web API - A native application that runs on a phone, tablet, or computer needs
to authenticate a user to get resources from a web API that Azure AD helps secure.
● Web application to web API - A web application needs to get resources from a web API that Azure
AD helps secure.
● Daemon or server application to web API] - A daemon application or a server application with no web
user interface needs to get resources from a web API that Azure AD helps secure.
Microsoft identity platform endpoint
Microsoft identity platform (v2.0) endpoint is now OIDC certified. It works with the Microsoft Authentica-
tion Libraries (MSAL) or any other standards-compliant library. It implements human readable scopes, in
accordance with industry standards.](https://image.slidesharecdn.com/az-500t00microsoftazuresecuritytechnologies-230807170509-c0214841/85/AZ-500T00-Microsoft-Azure-Security-Technologies-pdf-216-320.jpg)
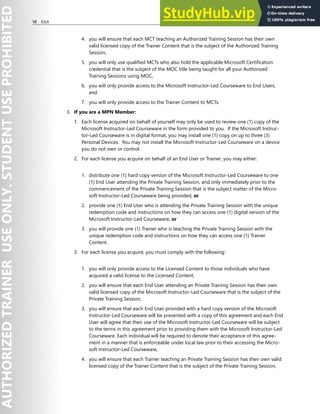
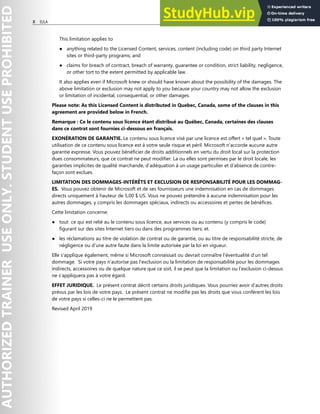
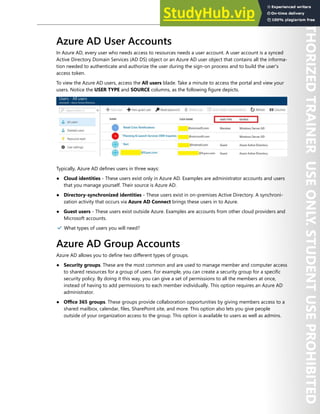
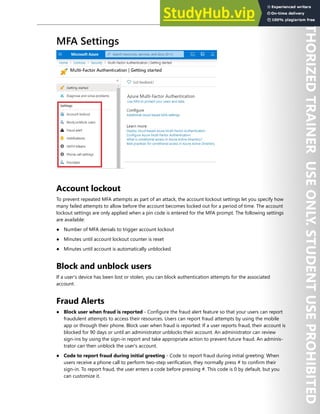
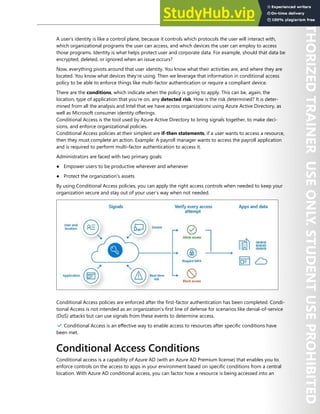
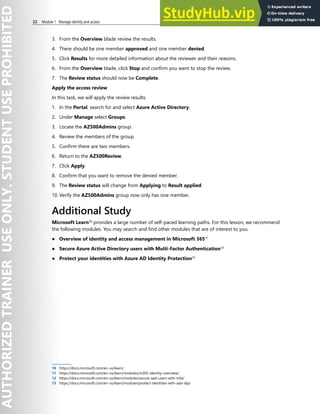
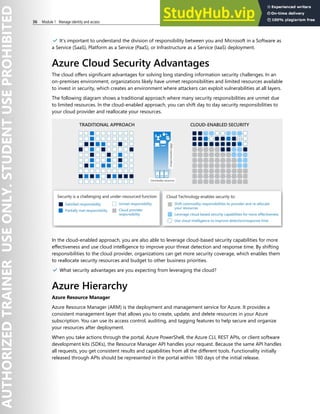
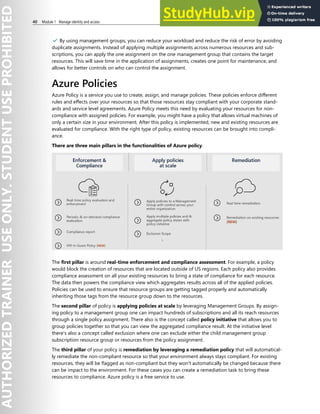
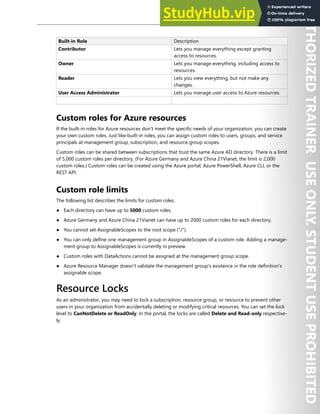
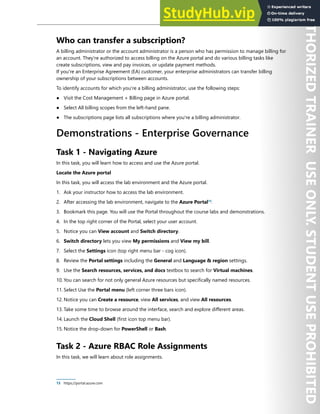
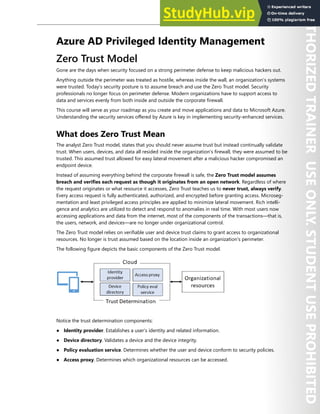
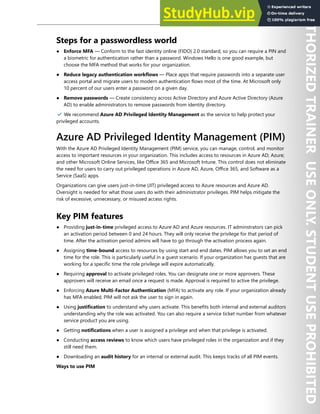
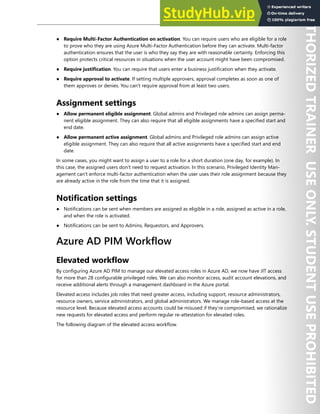
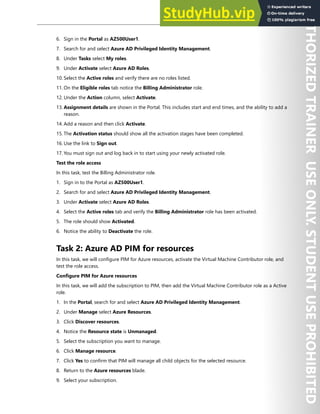
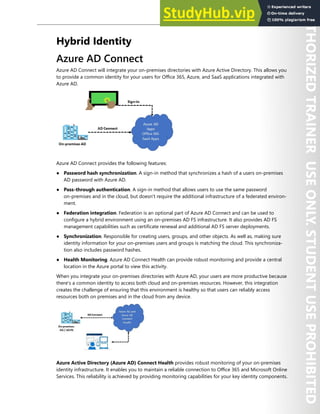
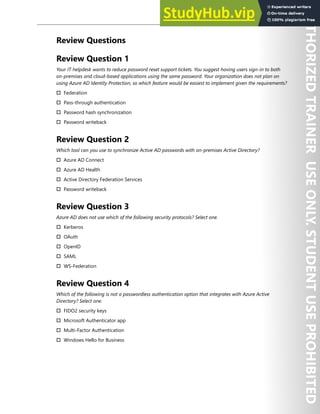
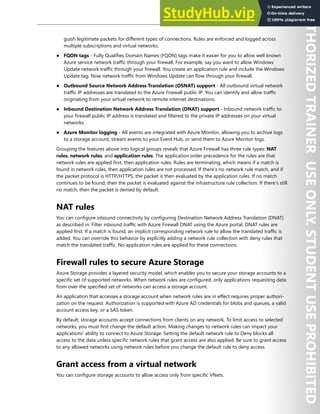
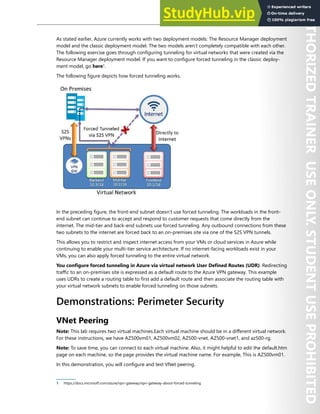
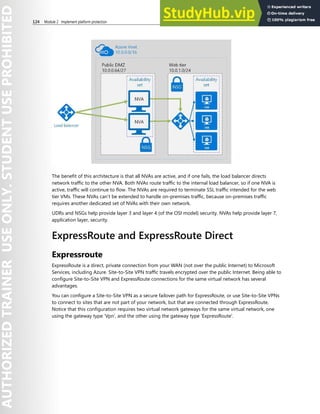
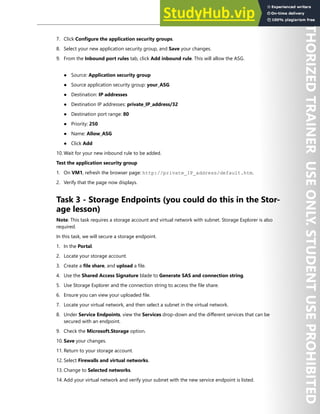
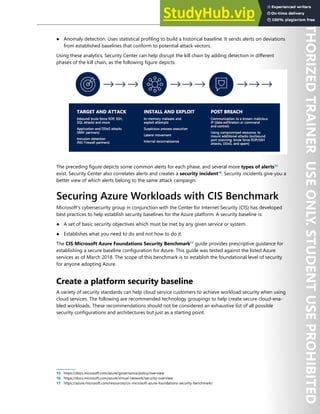
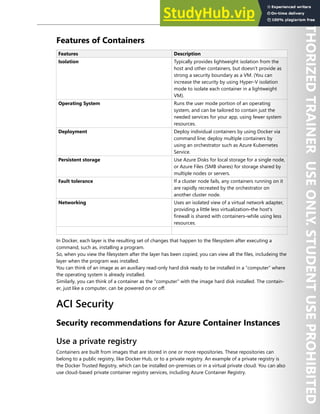
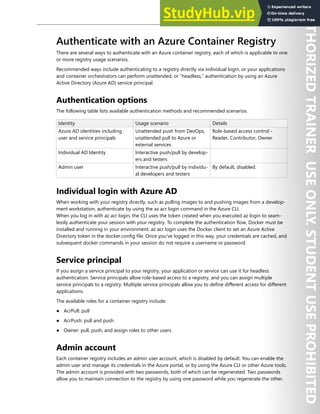
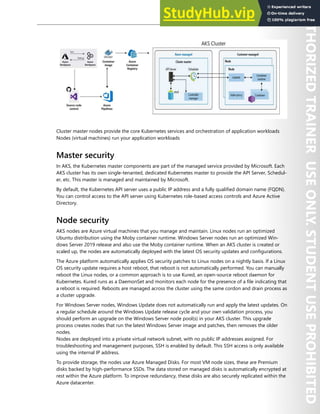
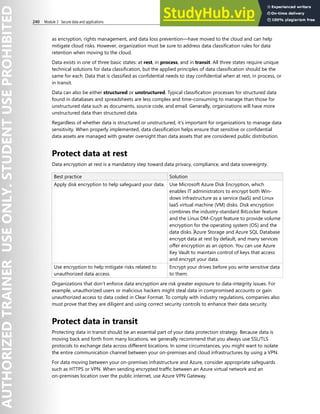
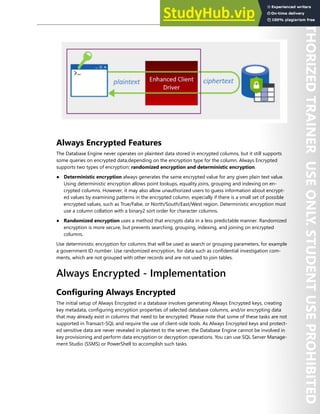
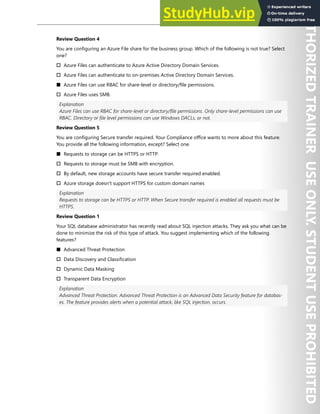
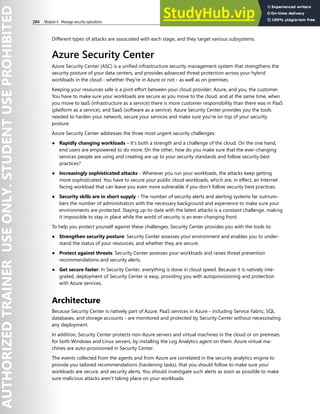
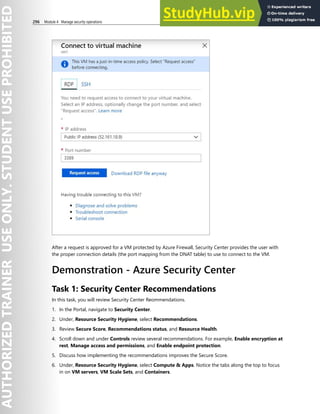
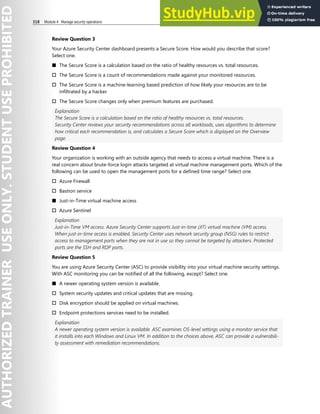
![Application Security 215
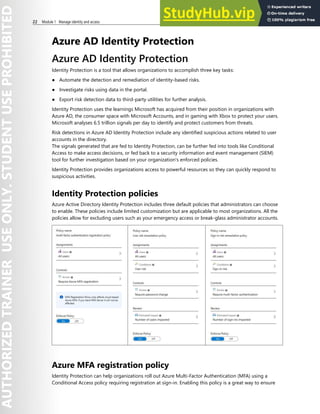
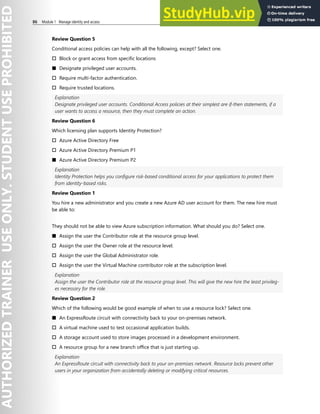
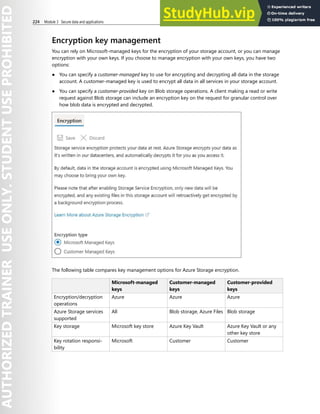
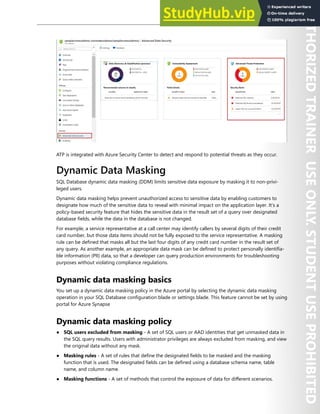
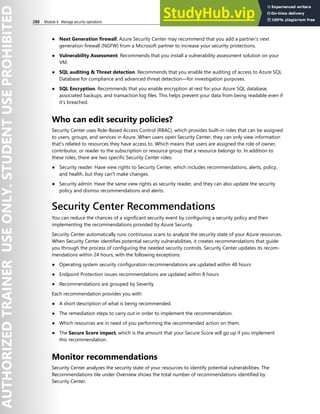
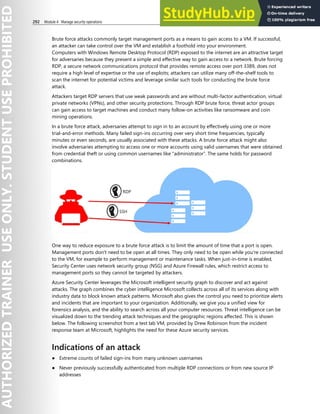
2. Set to POST and the URL to ‘https://login.microsoftonline.com/[Insert_Tenant_(Directory)_ID]/oauth2/
v2.0/token’
3. Click the Body tab,
● Copy from notepad (from Task1) and Paste Client (App ID) under client_id and the VALUE
column
● Copy from notepad (from Task1) and Paste Client (App) Secret under client_secret and the
VALUE column
● Click Send on the top right corner of the window
4. Wait for it to execution to finish
5. Click Params tab, and review the access_token value (usually displayed on line 5)
6. Switch to the Azure portal and in Az500 app (same place you finished on Task 1), under Manage
select API Permissions on the left column
7. Click Add a permission, and Resquest API permissions blade will come up
● Inside the Resquest API permissions blade, select Microsoft Graph
● Select Application permissions
● Scroll down inside the same blade and select User category
● Checkbox by User.Read.All
● Click Add permissions
8. Once the change has been commited click on User.Read.All entry
● Show that Admin consent required is set to “Yes”
● Close that window
● Select Grant admin consent for az500…
● Read the pop up banner
● After reviewing the banner, click Yes
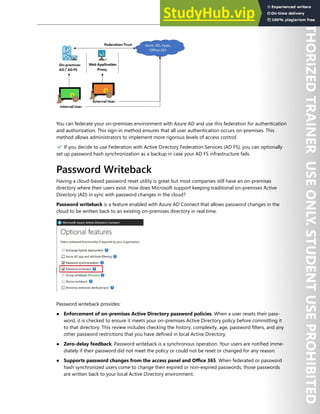
9. Switch back to postman, copy the access_token value from the previous query
● Click on the left pane Get https…. .../users
● Validate the Get URL is set to https://graph.microsoft.com/v1.0/users
● In the Headers tab, under Authorization, replace everything in value column except for Bearer
value.
● Click Send in to the right of the window
● Validate a Status of green 200 OK is displayed in middle right of the window
10. Review the Body of the token that was provided](https://image.slidesharecdn.com/az-500t00microsoftazuresecuritytechnologies-230807170509-c0214841/85/AZ-500T00-Microsoft-Azure-Security-Technologies-pdf-228-320.jpg)


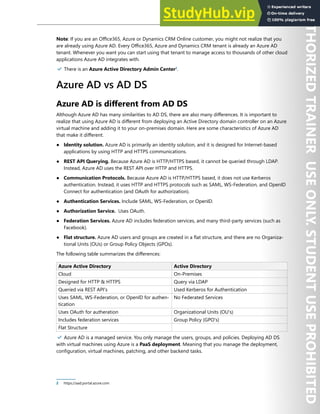
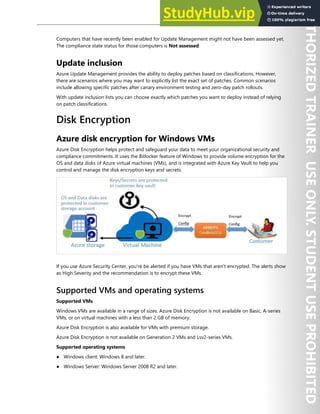
![254 Module 3 Secure data and applications
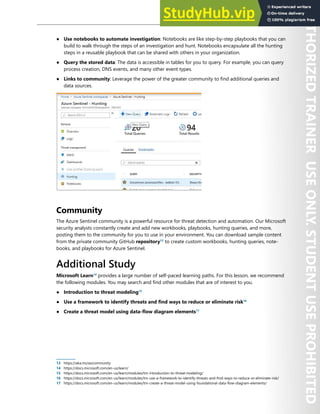
7. Be sure to Save your changes.
8. In SQL Server Management Studio connect to the database server using your credentials.
9. Select the SQL database you configured with a new Active Directory admin.
10. Construct a query to create a new user. Insert the admin user and domain. For example, user@
contoso.com
● Create user [user@contoso.com] from external provider;
11. Run the query and ensure it completes successfully.
12. In the Object Explorer navigate your database and Security and Users folder.
13. Verify that the new admin user is shown.
14. Connect to the new database with the new admin credentials.
15. Verify that you can successfully access the database.
Additional Study
Microsoft Learn18
provides a large number of self-paced learning paths. For this lesson, we recommend
the following modules. You may search and find other modules that are of interest to you.
● Provision an Azure SQL database to store application data19
● Secure your Azure SQL Database20
● Configure security policies to manage data21
● Migrate your relational data stored in SQL Server to Azure SQL Database22
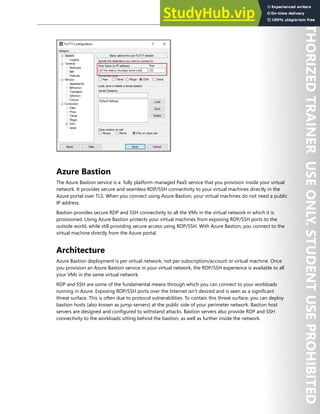
Review Questions
Review Question 1
Your SQL database administrator has recently read about SQL injection attacks. They ask you what can be
done to minimize the risk of this type of attack. You suggest implementing which of the following features?
† Advanced Threat Protection
† Data Discovery and Classification
† Dynamic Data Masking
† Transparent Data Encryption
18 https://docs.microsoft.com/en-us/learn/
19 https://docs.microsoft.com/en-us/learn/modules/provision-azure-sql-db/
20 https://docs.microsoft.com/en-us/learn/modules/secure-your-azure-sql-database/
21 https://docs.microsoft.com/en-us/learn/modules/configure-security-policies-to-manage-data/
22 https://docs.microsoft.com/en-us/learn/modules/migrate-sql-server-relational-data/](https://image.slidesharecdn.com/az-500t00microsoftazuresecuritytechnologies-230807170509-c0214841/85/AZ-500T00-Microsoft-Azure-Security-Technologies-pdf-267-320.jpg)


This document contains license terms for Microsoft instructor-led courseware. It defines key terms and outlines different use rights depending on the user. For Microsoft Imagine Academy members, they can provide courseware to students for authorized training sessions and trainers. For Microsoft Learning Competency members and MPN members, similar rights are granted for authorized training sessions and private training sessions. End users can use courseware for personal training. Trainers can use trainer content to deliver sessions. Customization rights are granted to Microsoft Certified Trainers.