Downloaded 262 times


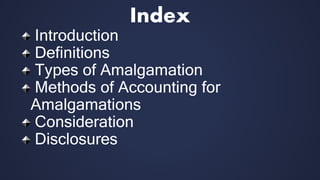


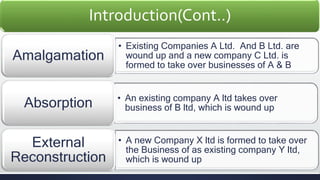

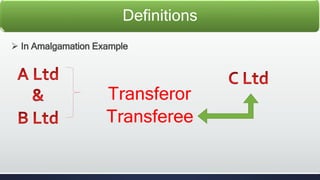
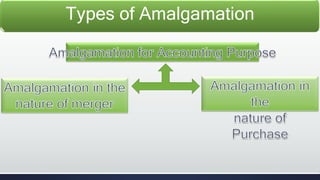
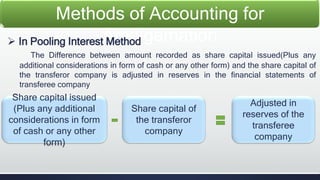
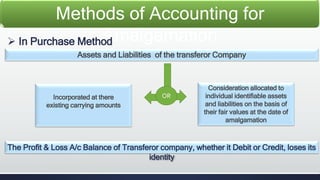
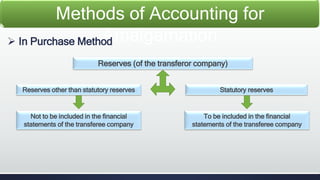
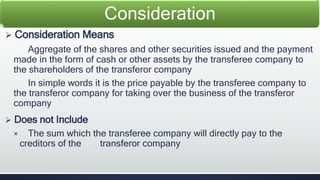
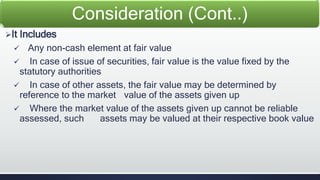

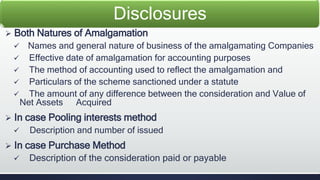


The document discusses the accounting for amalgamation, detailing definitions, types, methods, and disclosures involved. It categorizes amalgamations into types such as merger and purchase, outlining the accounting treatments required for each method. The final sections cover the consideration in amalgamation transactions and necessary disclosures related to financial statements.


