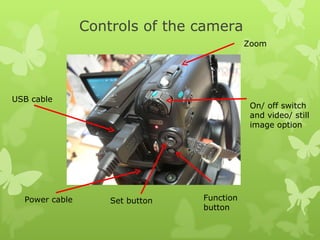
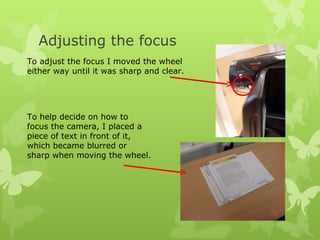
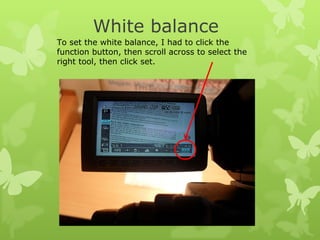
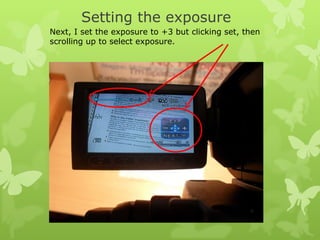
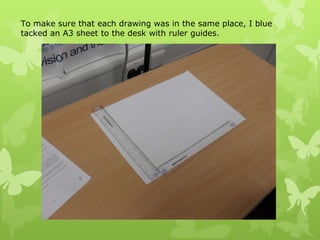
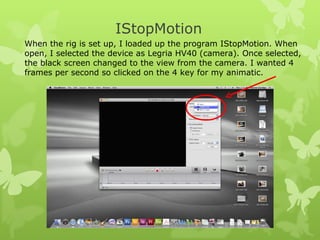
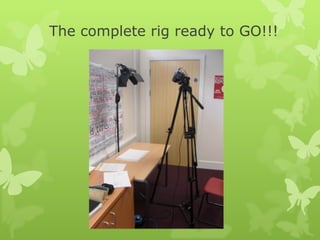
Animation Rig
Initial set up One of the first things that I needed to do was to find out all the equipment that I needed to make sure that everything was ok to use. I then had to put up the light and angle it downwards.  Next I put a table directly in front of the light. Then I put up the tripod and camera
Setting up the camera
Controls of the camera Power cable USB cable Set button On/ off switch and video/ still image option Zoom Function button
Adjusting the focus To adjust the focus I moved the wheel either way until it was sharp and clear. To help decide on how to focus the camera, I placed a piece of text in front of it, which became blurred or sharp when moving the wheel.
White balance To set the white balance, I had to click the function button, then scroll across to select the right tool, then click set.
Setting the exposure Next, I set the exposure to +3 but clicking set, then scrolling up to select exposure.
To make sure that each drawing was in the same place, I blue tacked an A3 sheet to the desk with ruler guides.
IStopMotion When the rig is set up, I loaded up the program IStopMotion. When open, I selected the device as Legria HV40 (camera). Once selected, the black screen changed to the view from the camera. I wanted 4 frames per second so clicked on the 4 key for my animatic.
The complete rig ready to GO!!!

Animation rig set up

  • 1.
  • 2.
    Initial set upOne of the first things that I needed to do was to find out all the equipment that I needed to make sure that everything was ok to use. I then had to put up the light and angle it downwards. Next I put a table directly in front of the light. Then I put up the tripod and camera
  • 3.
  • 4.
    Controls of thecamera Power cable USB cable Set button On/ off switch and video/ still image option Zoom Function button
  • 5.
    Adjusting the focusTo adjust the focus I moved the wheel either way until it was sharp and clear. To help decide on how to focus the camera, I placed a piece of text in front of it, which became blurred or sharp when moving the wheel.
  • 6.
    White balance Toset the white balance, I had to click the function button, then scroll across to select the right tool, then click set.
  • 7.
    Setting the exposureNext, I set the exposure to +3 but clicking set, then scrolling up to select exposure.
  • 8.
    To make surethat each drawing was in the same place, I blue tacked an A3 sheet to the desk with ruler guides.
  • 9.
    IStopMotion When therig is set up, I loaded up the program IStopMotion. When open, I selected the device as Legria HV40 (camera). Once selected, the black screen changed to the view from the camera. I wanted 4 frames per second so clicked on the 4 key for my animatic.
  • 10.
    The complete rigready to GO!!!