Downloaded 229 times


![Option #2: Extending ListActivity
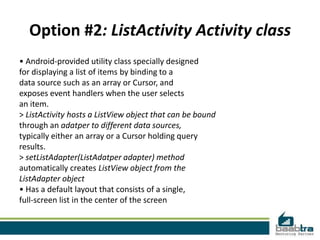
public class HelloListView extends ListActivity {
// Array as a data source
static final String[] COUNTRIES = new String[] {
"Yemen", "Yugoslavia", "Zambia", "Zimbabwe"
};
@Override
public void onCreate(Bundle savedInstanceState) {
super.onCreate(savedInstanceState);
// Create an adapter from Array data source object
ArrayAdapter<String> arrayAdapter = new ArrayAdapter<String>(
this, // Application context
R.layout.list_item, // layout description for each list item
COUNTRIES); // String array of countries defined
// Notice that this does not load a layout file for the Activity (which you
// usually do with setContentView(int)). Instead, setListAdapter(ListAdapter)
// automatically adds a ListView to fill the entire screen of the ListActivity.
setListAdapter(arrayAdapter);
}
}](https://image.slidesharecdn.com/androidadapters-121016045906-phpapp01/85/Android-adapters-14-320.jpg)


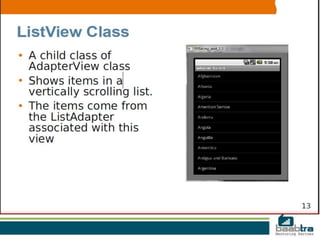
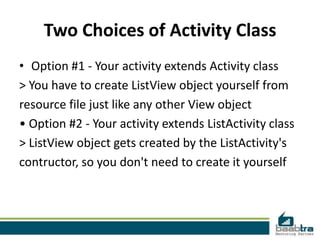
An adapter in Android acts as a bridge between an AdapterView and the underlying data for that view. The adapter provides access to the data items and is responsible for creating a view for each item. There are two main types of adapter views: ListView and Spinner. An AdapterView handles filling its layout with data through an adapter and handling user selections by setting an OnItemClickListener. Developers can use a ListActivity, which simplifies working with lists by automatically creating a ListView, or extend Activity and manually create the ListView.