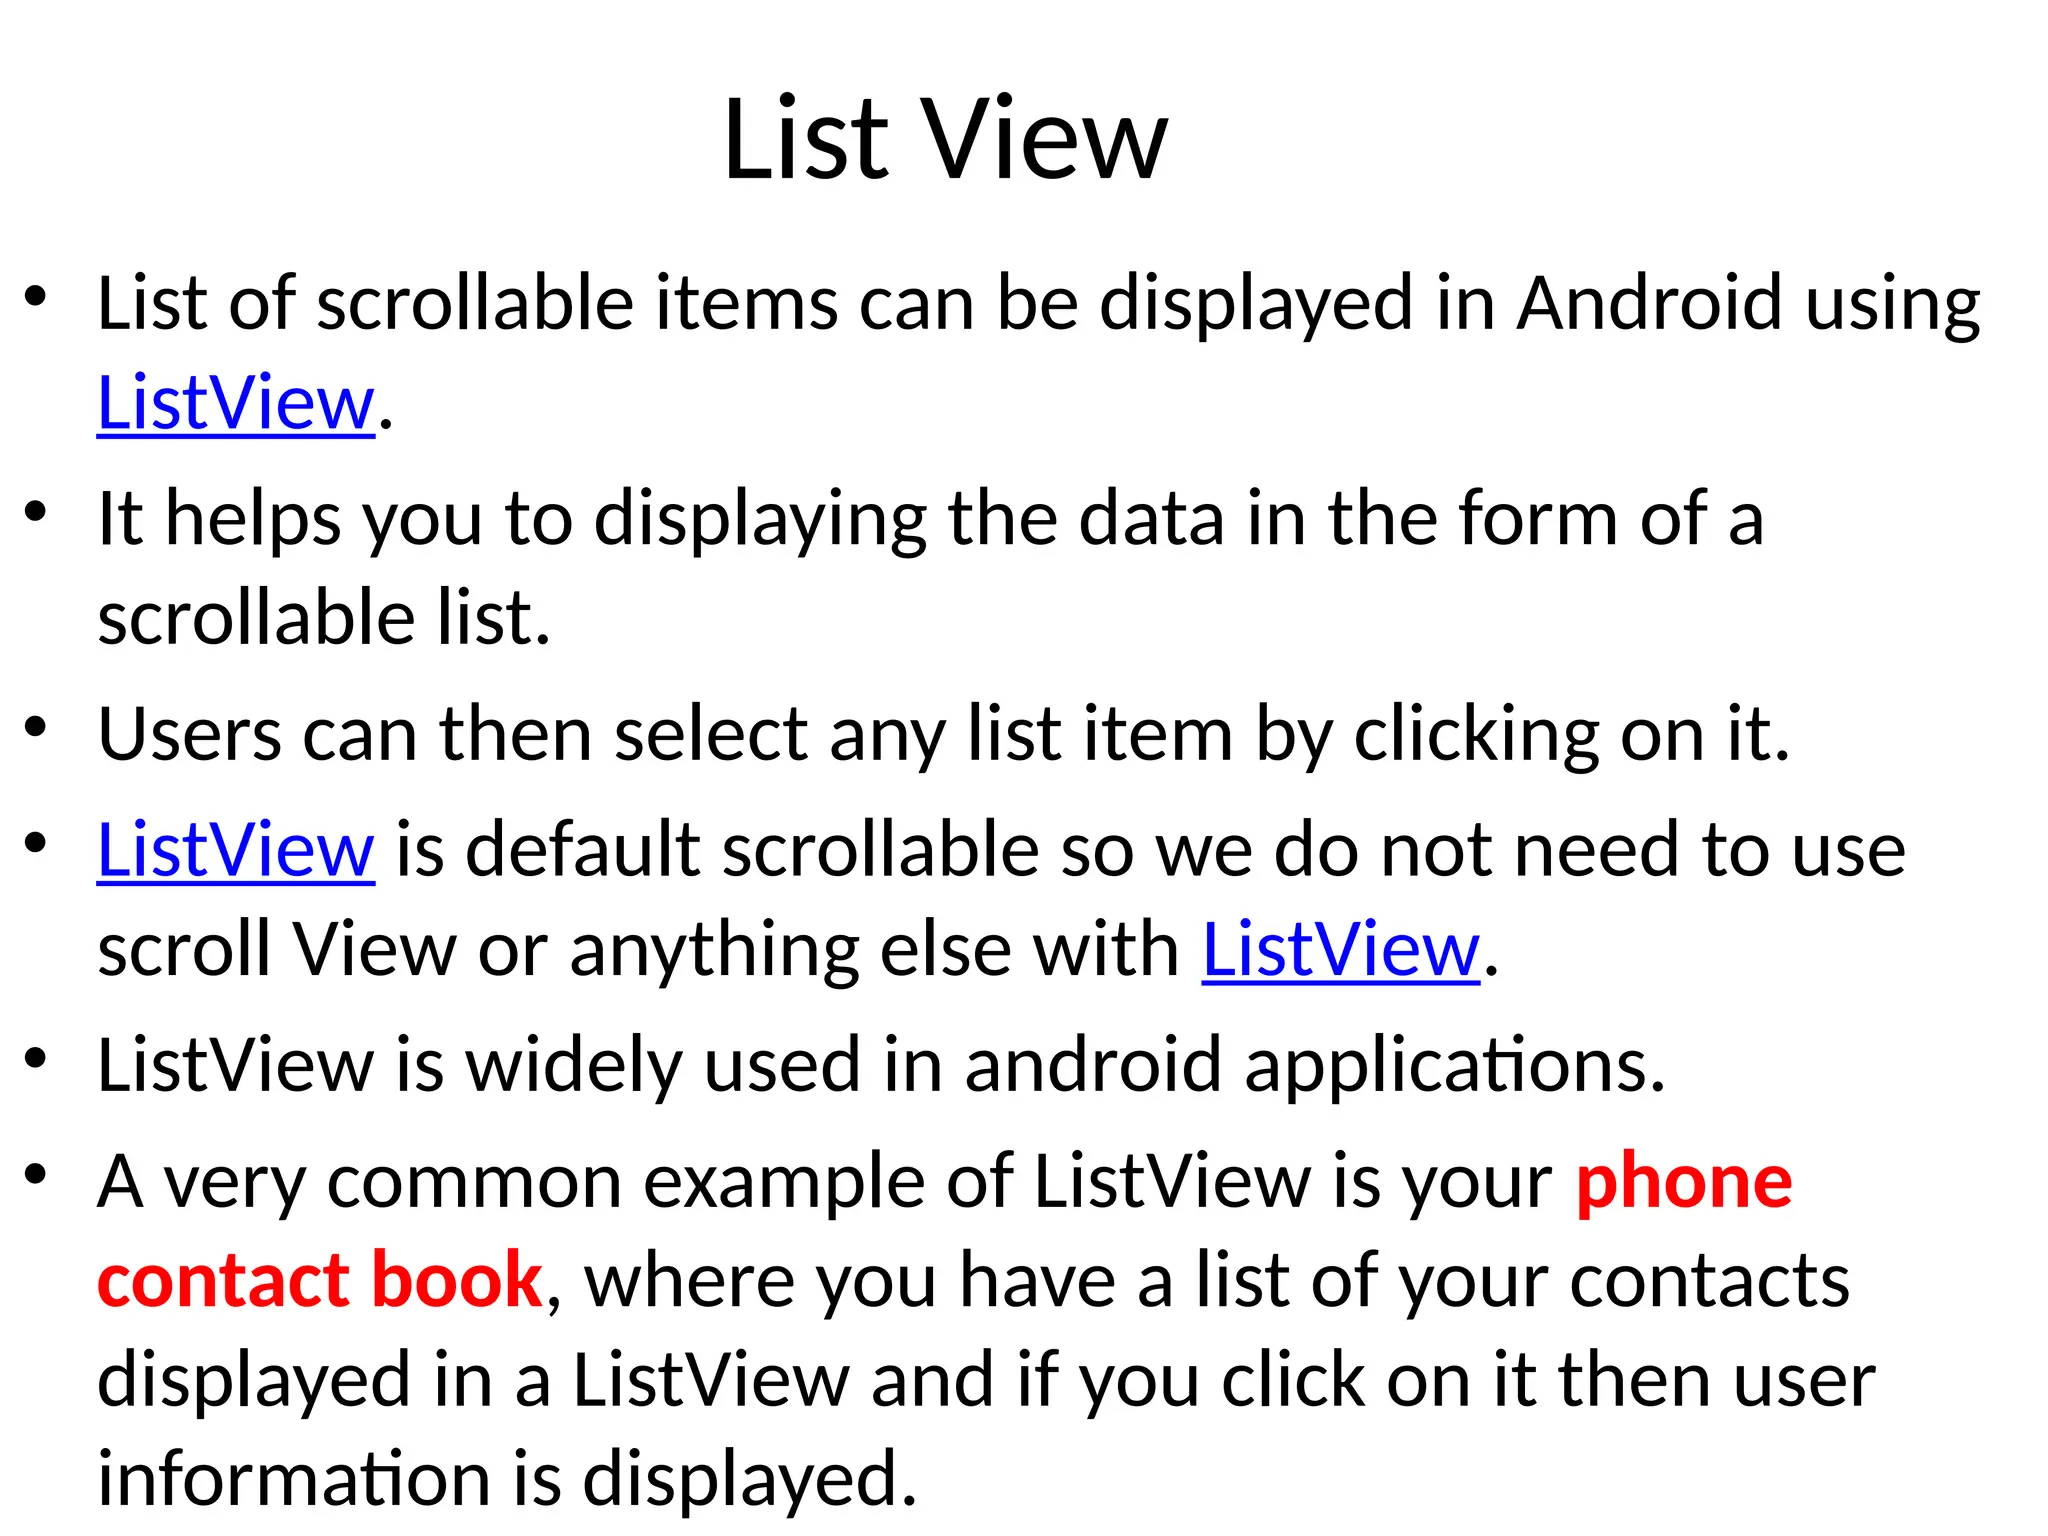
Chapter 4
List View
Image View
Grid view
Scroll view
Custom toast alert
List View
• List of scrollable items can be displayed in Android using
ListView.
• It helps you to displaying the data in the form of a
scrollable list.
• Users can then select any list item by clicking on it.
• ListView is default scrollable so we do not need to use
scroll View or anything else with ListView.
• ListView is widely used in android applications.
• A very common example of ListView is your phone
contact book, where you have a list of your contacts
displayed in a ListView and if you click on it then user
information is displayed.
Attributes
• id: id is used to uniquely identify a ListView.
• divider: This is a drawable or color to draw between
different list items.
• dividerHeight: This specify the height of the divider
between list items. This could be in dp(density
pixel),sp(scale independent pixel) or px(pixel).
• listSelector: listSelector property is used to set the
selector of the listView. It is generally orange or Sky
blue color mostly but you can also define your
custom color or an image as a list selector as per
your design.
Activity_main.xml
• <?xml version="1.0" encoding="utf-8"?>
<LinearLayout
xmlns:android="http://schemas.android.com/apk/res/android"
android:layout_width="match_parent"
android:layout_height="match_parent"
android:orientation="vertical">
<ListView
android:id="@+id/simpleListView"
android:layout_width="fill_parent"
android:layout_height="wrap_content"
android:divider="@color/material_blue_grey_800"
android:dividerHeight="1dp" />
</LinearLayout>
MainActivity.java
• public class MainActivity extends AppCompatActivity {
String fruits[]={"apple","banana","watermelon","Mango“
,"orange"};
@Override
protected void onCreate(Bundle savedInstanceState) {
super.onCreate(savedInstanceState);
setContentView(R.layout.activity_main);
ListView l=findViewById(R.id.simpleListView ) ;
ArrayAdapter arr=new ArrayAdapter(this,
android.R.layout.simple_spinner_dropdown_item,fruits);
l.setAdapter(arr);
}}
Second solution to create Listview
• Open strings.xml file from values folder and do changes as
shown
• <resources>
<string name="app_name">listExample</string>
<string-array name="fruits">
<item>orange</item>
<item>Mango</item>
<item>Banana</item>
<item>Apple</item>
<item>Strawberry</item>
<item>Grapes</item>
</string-array>
</resources>
Activity_main.xml
• <?xml version="1.0" encoding="utf-8"?>
<LinearLayout
xmlns:android="http://schemas.android.com/apk/res/android"
android:layout_width="match_parent"
android:layout_height="match_parent"
android:orientation="vertical">
<ListView
android:id="@+id/simpleListView"
android:layout_width="fill_parent"
android:layout_height="wrap_content"
android:divider="@color/material_blue_grey_800"
android:dividerHeight="1dp" />
</LinearLayout>
Mainactivity.java
• public class MainActivity extends AppCompatActivity {
String fruit[];
@Override
protected void onCreate(Bundle savedInstanceState) {
super.onCreate(savedInstanceState);
setContentView(R.layout.activity_main);
• fruit=getResources().getStringArray(R.array.fruits);
ListView l=findViewById(R.id.simpleListView ) ;
ArrayAdapter arr=new ArrayAdapter(this,
android.R.layout.simple_spinner_dropdown_item,
fruit);
l.setAdapter(arr);
}
}
ArrayAdapter in Android with Example
• The Adapter acts as a bridge between the UI Component and
the Data Source. It converts data from the data sources into
view items that can be displayed into the UI Component.
Data Source can be Arrays, HashMap, Database, etc. and UI
Components can be ListView, GridView, Spinner,
etc. ArrayAdapter is the most commonly used adapter in
android. When you have a list of single type items which are
stored in an array you can use ArrayAdapter. Likewise, if you
have a list of phone numbers, names, or cities. ArrayAdapter
has a layout with a single TextView. If you want to have a
more complex layout instead of ArrayAdapter use
syntax
• ArrayAdapter(Context context, int resource,
int textViewResourceId, T[] objects)
• using the ArrayAdapter class to display the
array content.
• Parameters used in ArrayAdapter:
• Lets discuss parameter in ArrayAdapter class:
• context:
• The first parameter is used to pass the context means the
reference of current class. Here this is a keyword used to
show the current class reference. We can also use
getApplicationContext(), getActivity() in the place of this
keyword. getApplicationContext() is used in a Activity and
getActivity() is used in a Fragment.
• Below is the example code in which we set the current class
reference in a adapter.
• resource:
• The second parameter is resource id used to
set the layout(xml file) for list items in which
you have a text view.
• textViewResourceId:
• The third parameter is textViewResourceId
which is used to set the id of TextView where
you want to display the actual text.
• Below is the example code in which we set the
id(identity) of a text view.
• objects:
• The fourth parameter is an array of objects,
used to set the array of elements in the
textView. We can set the object of array or
array list here.
• Below is the example code in which we set the
Animal array in adapter to display the Animal
name’s list.
Spinner
• Android Spinner is like the combox box of AWT or Swing.
• It can be used to display the multiple options to the user
in which only one item can be selected by the user.
• Android spinner is like the drop down menu with
multiple values from which the end user can select only
one value.
• Android spinner is associated with AdapterView.
• So you need to use one of the adapter classes with
spinner.
• Android Spinner class is the subclass of AsbSpinner class.
• Open strings.xml file from values folder and do changes as shown
• <resources>
<string name="app_name">listExample</string>
<string-array name="fruits">
<item>orange</item>
<item>Mango</item>
<item>Banana</item>
<item>Apple</item>
<item>Strawberry</item>
<item>Grapes</item>
</string-array>
</resources>
Activity_main.xml
<LinearLayout xmlns:android="http://schemas.android.com/apk/res/android"
android:layout_width="match_parent"
android:layout_height="match_parent"
android:orientation="vertical">
<Spinner
android:id="@+id/spinner"
android:layout_width="149dp"
android:layout_height="40dp"
android:layout_marginBottom="8dp"
android:layout_marginEnd="8dp"
android:layout_marginStart="8dp"
android:layout_marginTop="8dp"/>
</LinearLayout>
MainActivity.java
• public class MainActivity extends AppCompatActivity {
String fruit[];
@Override
protected void onCreate(Bundle savedInstanceState) {
super.onCreate(savedInstanceState);
setContentView(R.layout.activity_main);
fruit=getResources().getStringArray(R.array.fruits);
Spinner l=findViewById(R.id.spinner) ;
ArrayAdapter arr=new ArrayAdapter(this,
android.R.layout.simple_spinner_dropdown_item,
fruit);
l.setAdapter(arr);
}
}
ImageView
• In Android, ImageView class is used to display
an image file in application.
• Image file is easy to use but hard to master in
Android, because of the various screen sizes in
Android devices.
• An android is enriched with some of the best UI
design widgets that allows us to build good
looking and attractive UI based application.
• <ImageView
android:layout_width="match_parent"
android:layout_height="wrap_content"
android:src="@drawable/android"/>
Attributes
• id: id is an attribute used to uniquely identify a
image view in android.
• src: src is an attribute used to set a source file
or you can say image in your imageview to
make your layout attractive.
• background: background attribute is used to set
the background of a ImageView. We can set a
color or a drawable in the background of a
ImageView.
• padding: padding attribute is used to set the
padding from left, right, top or bottom of the
Imageview.
• paddingRight: set the padding from the right side of
the image view.
• paddingLeft: set the padding from the left side of
the image view.
• paddingTop: set the padding from the top side of
the image view.
• paddingBottom: set the padding from the bottom
side of the image view.
• padding: set the padding from the all side’s of the
image view.
• <ImageView
android:layout_width="match_parent"
android:layout_height="wrap_content"
android:src="@drawable/android"
android:background="#000"
android:padding="10dp"/>
• scaleType: scaleType is an attribute used to control
how the image should be re-sized or moved to match
the size of this image view.
• The value for scale type attribute can be fit_xy,
center_crop, fitStart etc.
• <ImageView
android:layout_width="match_parent"
android:layout_height="wrap_content"
android:src="@drawable/android"
android:background="#000"
android:padding="10dp"
android:scaleType="fitXY" />
ScaleType=“fitXY”
ScaleType=“fitEnd”
AutoCompleteTextView in Android
• The AutoCompleteTextView is a type of edit
text in android which gives suggestions to the
user if the user types something in the
AutoCompleteTextView.
• Android AutoCompleteTextView is a editable
text field, it displays a list of suggestions in a
drop down menu from which user can select
only one suggestion or value.
GridView
• In android GridView is a view group that display items
in two dimensional scrolling grid (rows and columns),
the grid items are not necessarily predetermined but
they are automatically inserted to the layout using a
ListAdapter.
• Users can then select any grid item by clicking on it.
• GridView is default scrollable so we don’t need to
use ScrollView or anything else with GridView.
• GridView is widely used in android applications.
• An example of GridView is your default Gallery, where
you have number of images displayed using grid.
Attributes
• id: id is used to uniquely identify a GridView.
• numColumns: numColumn define how many
columns to show. It may be a integer value,
such as “5” or auto_fit.
• horizontalSpacing: horizontalSpacing property
is used to define the default horizontal spacing
between columns.
• This could be in pixel(px),density pixel(dp) or
scale independent pixel(sp).
• verticalSpacing: verticalSpacing property used to define the
default vertical spacing between rows. This should be in px,
dp or sp.
• columnWidth: columnWidth property specifies the fixed
width of each column. This could be in px, dp or sp
• stretchMode
• Defines how columns should stretch to fill the available
empty space, if any. This must be either of the values −
• none − Stretching is disabled.
• spacingWidth − The spacing between each column is
stretched.
• columnWidth − Each column is stretched equally.
• spacingWidthUniform − The spacing between each column is
uniformly stretched..
• <GridView android:id="@+id/simpleGridView"
android:layout_width="fill_parent"
android:layout_height="wrap_content"
android:numColumns="3"
android:columnWidth="80dp"
android:listSelector="#0f0"/>
Activity_main.xml
• <GridView
android:id="@+id/grid"
android:layout_width="fill_parent"
android:layout_height="fill_parent"
android:numColumns="3"
android:verticalSpacing="3dp"
android:horizontalSpacing="3dp"
android:stretchMode="columnWidth"/>
MainActivity.java
• public class MainActivity extends AppCompatActivity {
String
fruits[]={"apple","banana","watermelon","Mango","orange"};
@Override
protected void onCreate(Bundle savedInstanceState) {
super.onCreate(savedInstanceState);
setContentView(R.layout.activity_main);
GridView l=findViewById(R.id.grid) ;
ArrayAdapter arr=new ArrayAdapter(this,
android.R.layout.simple_spinner_dropdown_item,fruits);
l.setAdapter(arr);
}}
AutoCompleteTextView
• AutoCompleteTextView is a view i.e similar to
EditText, except that it displays a list of completion
suggestions automatically while the user is typing.
• A list of suggestions is displayed in drop down
menu from which user can choose an item which
actually replace the content of Editbox with that.
Attributes of AutoCompleteTextView:
• id
• text
• gravity
• hint
• textColor
• textColorHint
• textSize
• textStyle
• background and padding
• <?xml version="1.0" encoding="utf-8"?>
<RelativeLayout
xmlns:android="http://schemas.android.com/apk/res/android"
xmlns:tools="http://schemas.android.com/tools"
android:layout_width="match_parent"
android:layout_height="match_parent"
tools:context=".MainActivity">
<AutoCompleteTextView
android:id="@+id/simpleAutoCompleteTextView"
android:layout_width="fill_parent"
android:layout_height="wrap_content"
android:hint="Enter Your Name Here"
android:padding="15dp"
android:textColorHint="#fff"
android:textStyle="bold|italic" />
</RelativeLayout>
• public class MainActivity extends AppCompatActivity {
String[] country = {"India", "China", "Australia", "New Zealand", "England",
"Pakistan"};
@Override
protected void onCreate(Bundle savedInstanceState) {
super.onCreate(savedInstanceState);
setContentView(R.layout.activity_main);
AutoCompleteTextView act = (AutoCompleteTextView)
findViewById(R.id.simpleAutoCompleteTextView);
ArrayAdapter ad = new ArrayAdapter(this,
android.R.layout.simple_list_item_1, country);
act.setAdapter(ad);
act.setThreshold(1);
act.setAdapter(ad);
}
}

Android Chapter 4 part2 Types of View and View group

  • 1.
    Chapter 4 List View ImageView Grid view Scroll view Custom toast alert
  • 2.
    List View • Listof scrollable items can be displayed in Android using ListView. • It helps you to displaying the data in the form of a scrollable list. • Users can then select any list item by clicking on it. • ListView is default scrollable so we do not need to use scroll View or anything else with ListView. • ListView is widely used in android applications. • A very common example of ListView is your phone contact book, where you have a list of your contacts displayed in a ListView and if you click on it then user information is displayed.
  • 4.
    Attributes • id: idis used to uniquely identify a ListView. • divider: This is a drawable or color to draw between different list items. • dividerHeight: This specify the height of the divider between list items. This could be in dp(density pixel),sp(scale independent pixel) or px(pixel). • listSelector: listSelector property is used to set the selector of the listView. It is generally orange or Sky blue color mostly but you can also define your custom color or an image as a list selector as per your design.
  • 6.
    Activity_main.xml • <?xml version="1.0"encoding="utf-8"?> <LinearLayout xmlns:android="http://schemas.android.com/apk/res/android" android:layout_width="match_parent" android:layout_height="match_parent" android:orientation="vertical"> <ListView android:id="@+id/simpleListView" android:layout_width="fill_parent" android:layout_height="wrap_content" android:divider="@color/material_blue_grey_800" android:dividerHeight="1dp" /> </LinearLayout>
  • 7.
    MainActivity.java • public classMainActivity extends AppCompatActivity { String fruits[]={"apple","banana","watermelon","Mango“ ,"orange"}; @Override protected void onCreate(Bundle savedInstanceState) { super.onCreate(savedInstanceState); setContentView(R.layout.activity_main); ListView l=findViewById(R.id.simpleListView ) ; ArrayAdapter arr=new ArrayAdapter(this, android.R.layout.simple_spinner_dropdown_item,fruits); l.setAdapter(arr); }}
  • 8.
    Second solution tocreate Listview • Open strings.xml file from values folder and do changes as shown • <resources> <string name="app_name">listExample</string> <string-array name="fruits"> <item>orange</item> <item>Mango</item> <item>Banana</item> <item>Apple</item> <item>Strawberry</item> <item>Grapes</item> </string-array> </resources>
  • 9.
    Activity_main.xml • <?xml version="1.0"encoding="utf-8"?> <LinearLayout xmlns:android="http://schemas.android.com/apk/res/android" android:layout_width="match_parent" android:layout_height="match_parent" android:orientation="vertical"> <ListView android:id="@+id/simpleListView" android:layout_width="fill_parent" android:layout_height="wrap_content" android:divider="@color/material_blue_grey_800" android:dividerHeight="1dp" /> </LinearLayout>
  • 10.
    Mainactivity.java • public classMainActivity extends AppCompatActivity { String fruit[]; @Override protected void onCreate(Bundle savedInstanceState) { super.onCreate(savedInstanceState); setContentView(R.layout.activity_main); • fruit=getResources().getStringArray(R.array.fruits); ListView l=findViewById(R.id.simpleListView ) ; ArrayAdapter arr=new ArrayAdapter(this, android.R.layout.simple_spinner_dropdown_item, fruit); l.setAdapter(arr); } }
  • 12.
    ArrayAdapter in Androidwith Example • The Adapter acts as a bridge between the UI Component and the Data Source. It converts data from the data sources into view items that can be displayed into the UI Component. Data Source can be Arrays, HashMap, Database, etc. and UI Components can be ListView, GridView, Spinner, etc. ArrayAdapter is the most commonly used adapter in android. When you have a list of single type items which are stored in an array you can use ArrayAdapter. Likewise, if you have a list of phone numbers, names, or cities. ArrayAdapter has a layout with a single TextView. If you want to have a more complex layout instead of ArrayAdapter use
  • 13.
    syntax • ArrayAdapter(Context context,int resource, int textViewResourceId, T[] objects) • using the ArrayAdapter class to display the array content.
  • 14.
    • Parameters usedin ArrayAdapter: • Lets discuss parameter in ArrayAdapter class: • context: • The first parameter is used to pass the context means the reference of current class. Here this is a keyword used to show the current class reference. We can also use getApplicationContext(), getActivity() in the place of this keyword. getApplicationContext() is used in a Activity and getActivity() is used in a Fragment. • Below is the example code in which we set the current class reference in a adapter.
  • 15.
    • resource: • Thesecond parameter is resource id used to set the layout(xml file) for list items in which you have a text view.
  • 16.
    • textViewResourceId: • Thethird parameter is textViewResourceId which is used to set the id of TextView where you want to display the actual text. • Below is the example code in which we set the id(identity) of a text view.
  • 17.
    • objects: • Thefourth parameter is an array of objects, used to set the array of elements in the textView. We can set the object of array or array list here. • Below is the example code in which we set the Animal array in adapter to display the Animal name’s list.
  • 18.
    Spinner • Android Spinneris like the combox box of AWT or Swing. • It can be used to display the multiple options to the user in which only one item can be selected by the user. • Android spinner is like the drop down menu with multiple values from which the end user can select only one value. • Android spinner is associated with AdapterView. • So you need to use one of the adapter classes with spinner. • Android Spinner class is the subclass of AsbSpinner class.
  • 19.
    • Open strings.xmlfile from values folder and do changes as shown • <resources> <string name="app_name">listExample</string> <string-array name="fruits"> <item>orange</item> <item>Mango</item> <item>Banana</item> <item>Apple</item> <item>Strawberry</item> <item>Grapes</item> </string-array> </resources>
  • 20.
  • 21.
    MainActivity.java • public classMainActivity extends AppCompatActivity { String fruit[]; @Override protected void onCreate(Bundle savedInstanceState) { super.onCreate(savedInstanceState); setContentView(R.layout.activity_main); fruit=getResources().getStringArray(R.array.fruits); Spinner l=findViewById(R.id.spinner) ; ArrayAdapter arr=new ArrayAdapter(this, android.R.layout.simple_spinner_dropdown_item, fruit); l.setAdapter(arr); } }
  • 22.
    ImageView • In Android,ImageView class is used to display an image file in application. • Image file is easy to use but hard to master in Android, because of the various screen sizes in Android devices. • An android is enriched with some of the best UI design widgets that allows us to build good looking and attractive UI based application.
  • 23.
  • 24.
    Attributes • id: idis an attribute used to uniquely identify a image view in android. • src: src is an attribute used to set a source file or you can say image in your imageview to make your layout attractive. • background: background attribute is used to set the background of a ImageView. We can set a color or a drawable in the background of a ImageView.
  • 25.
    • padding: paddingattribute is used to set the padding from left, right, top or bottom of the Imageview. • paddingRight: set the padding from the right side of the image view. • paddingLeft: set the padding from the left side of the image view. • paddingTop: set the padding from the top side of the image view. • paddingBottom: set the padding from the bottom side of the image view. • padding: set the padding from the all side’s of the image view.
  • 26.
  • 27.
    • scaleType: scaleTypeis an attribute used to control how the image should be re-sized or moved to match the size of this image view. • The value for scale type attribute can be fit_xy, center_crop, fitStart etc. • <ImageView android:layout_width="match_parent" android:layout_height="wrap_content" android:src="@drawable/android" android:background="#000" android:padding="10dp" android:scaleType="fitXY" />
  • 28.
  • 29.
    AutoCompleteTextView in Android •The AutoCompleteTextView is a type of edit text in android which gives suggestions to the user if the user types something in the AutoCompleteTextView. • Android AutoCompleteTextView is a editable text field, it displays a list of suggestions in a drop down menu from which user can select only one suggestion or value.
  • 30.
    GridView • In androidGridView is a view group that display items in two dimensional scrolling grid (rows and columns), the grid items are not necessarily predetermined but they are automatically inserted to the layout using a ListAdapter. • Users can then select any grid item by clicking on it. • GridView is default scrollable so we don’t need to use ScrollView or anything else with GridView. • GridView is widely used in android applications. • An example of GridView is your default Gallery, where you have number of images displayed using grid.
  • 32.
    Attributes • id: idis used to uniquely identify a GridView. • numColumns: numColumn define how many columns to show. It may be a integer value, such as “5” or auto_fit. • horizontalSpacing: horizontalSpacing property is used to define the default horizontal spacing between columns. • This could be in pixel(px),density pixel(dp) or scale independent pixel(sp).
  • 33.
    • verticalSpacing: verticalSpacingproperty used to define the default vertical spacing between rows. This should be in px, dp or sp. • columnWidth: columnWidth property specifies the fixed width of each column. This could be in px, dp or sp • stretchMode • Defines how columns should stretch to fill the available empty space, if any. This must be either of the values − • none − Stretching is disabled. • spacingWidth − The spacing between each column is stretched. • columnWidth − Each column is stretched equally. • spacingWidthUniform − The spacing between each column is uniformly stretched..
  • 34.
  • 35.
  • 36.
    MainActivity.java • public classMainActivity extends AppCompatActivity { String fruits[]={"apple","banana","watermelon","Mango","orange"}; @Override protected void onCreate(Bundle savedInstanceState) { super.onCreate(savedInstanceState); setContentView(R.layout.activity_main); GridView l=findViewById(R.id.grid) ; ArrayAdapter arr=new ArrayAdapter(this, android.R.layout.simple_spinner_dropdown_item,fruits); l.setAdapter(arr); }}
  • 38.
    AutoCompleteTextView • AutoCompleteTextView isa view i.e similar to EditText, except that it displays a list of completion suggestions automatically while the user is typing. • A list of suggestions is displayed in drop down menu from which user can choose an item which actually replace the content of Editbox with that.
  • 39.
    Attributes of AutoCompleteTextView: •id • text • gravity • hint • textColor • textColorHint • textSize • textStyle • background and padding
  • 40.
    • <?xml version="1.0"encoding="utf-8"?> <RelativeLayout xmlns:android="http://schemas.android.com/apk/res/android" xmlns:tools="http://schemas.android.com/tools" android:layout_width="match_parent" android:layout_height="match_parent" tools:context=".MainActivity"> <AutoCompleteTextView android:id="@+id/simpleAutoCompleteTextView" android:layout_width="fill_parent" android:layout_height="wrap_content" android:hint="Enter Your Name Here" android:padding="15dp" android:textColorHint="#fff" android:textStyle="bold|italic" /> </RelativeLayout>
  • 41.
    • public classMainActivity extends AppCompatActivity { String[] country = {"India", "China", "Australia", "New Zealand", "England", "Pakistan"}; @Override protected void onCreate(Bundle savedInstanceState) { super.onCreate(savedInstanceState); setContentView(R.layout.activity_main); AutoCompleteTextView act = (AutoCompleteTextView) findViewById(R.id.simpleAutoCompleteTextView); ArrayAdapter ad = new ArrayAdapter(this, android.R.layout.simple_list_item_1, country); act.setAdapter(ad); act.setThreshold(1); act.setAdapter(ad); } }