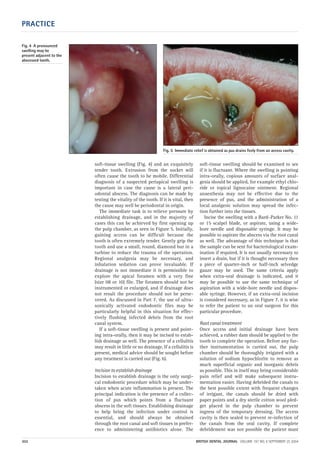
Downloaded 134 times
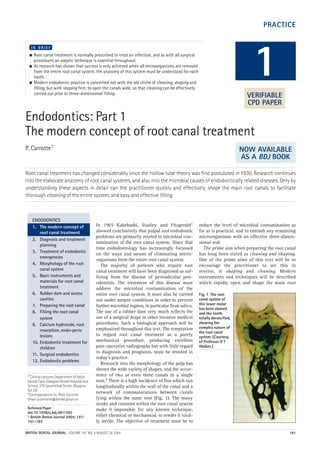


This document provides an overview of a new 12-part series on endodontics in the British Dental Journal. It discusses the editor's goal to update the classic textbook "Endodontics in Practice" to reflect modern research and techniques in endodontics. The series will cover the basic concepts and technical procedures of endodontics over 12 parts. While some traditional techniques are described for undergraduate education, the emphasis is on applying current knowledge of root canal anatomy and the microbial causes of disease to shape canals for thorough cleaning and 3D filling.