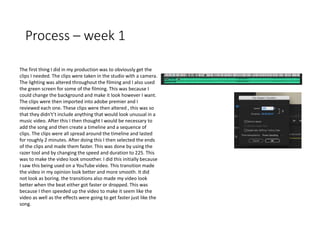
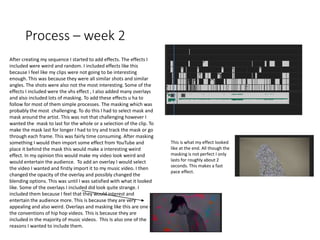
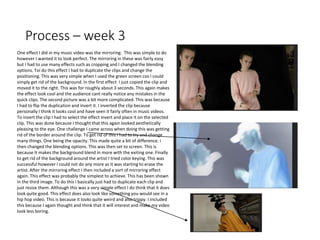
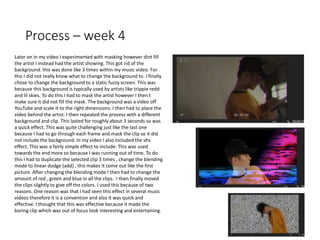
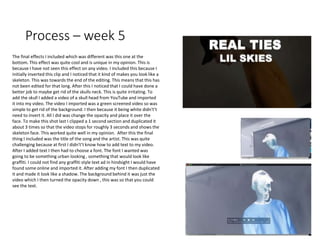
2. Production reflections
• This proforma is to record how you worked on your production
• You should complete this each week during production
• Consider all relevant areas that you covered that week
• Think about what worked/what didn’t work/how you can improve
and actions for the following sessions/weeks
3. Process – week 1
The first thing I did in my production was to obviously get the
clips I needed. The clips were taken in the studio with a camera.
The lighting was altered throughout the filming and I also used
the green screen for some of the filming. This was because I
could change the background and make it look however I want.
The clips were then imported into adobe premier and I
reviewed each one. These clips were then altered , this was so
that they didn't’t include anything that would look unusual in a
music video. After this I then thought I would be necessary to
add the song and then create a timeline and a sequence of
clips. The clips were all spread around the timeline and lasted
for roughly 2 minutes. After doing this I then selected the ends
of the clips and made them faster. This was done by using the
razer tool and by changing the speed and duration to 225. This
was to make the video look smoother. I did this initially because
I saw this being used on a YouTube video. This transition made
the video in my opinion look better and more smooth. It did
not look as boring. the transitions also made my video look
better when the beat either got faster or dropped. This was
because I then speeded up the video to make it seem like the
video as well as the effects were going to get faster just like the
song.
4. Process – week 2
After creating my sequence I started to add effects. The effects I
included were weird and random. I included effects like this
because I feel like my clips were not going to be interesting
enough. This was because they were all similar shots and similar
angles. The shots were also not the most interesting. Some of the
effects I included were the vhs effect , I also added many overlays
and also included lots of masking. To add these effects u ha to
follow for most of them simple processes. The masking which was
probably the most challenging. To do this I had to select mask and
mask around the artist. This was not that challenging however I
wanted the mask to last for the whole or a selection of the clip. To
make the mask last for longer I had to try and track the mask or go
through each frame. This was fairly time consuming. After masking
something I would then import some effect from YouTube and
place it behind the mask this would make a interesting weird
effect. In my opinion this would make my video look weird and
would entertain the audience. To add an overlay I would select
the video I wanted and firstly import it to my music video. I then
changed the opacity of the overlay and possibly changed the
blending options. This was until I was satisfied with what it looked
like. Some of the overlays I included did look quite strange. I
included them because I feel that they would interest and
entertain the audience more. This is because they are very
appealing and also weird. Overlays and masking like this are one of
the conventions of hip hop videos. This is because they are
included in the majority of music videos. This Is also one of the
reasons I wanted to include them.
This is what my effect looked
like at the end. All though the
masking is not perfect I only
lasts for roughly about 2
seconds. This makes a fast
pace effect.
5. Process – week 3
One effect I did in my music video was the mirroring. This was simple to do
however I wanted it to look perfect. The mirroring in these was fairly easy
but I had to use many effects such as cropping and I changed the blending
options. Toi do this effect I had to duplicate the clips and change the
positioning. This was very simple when I used the green screen cos I could
simply get rid of the background. In the first effect I just copied the clip and
moved it to the right. This was for roughly about 3 seconds. This again makes
the effect look cool and the audience cant really notice any mistakes in the
quick clips. The second picture was a bit more complicated. This was because
I had to flip the duplication and invert it. I inverted the clip because
personally I think it looks cool and have seen it fairly often in music videos.
To invert the clip I had to select the effect invert and place it on the selected
clip. This was done because I thought that this again looked aesthetically
pleasing to the eye. One challenge I came across when doing this was getting
rid of the border around the clip. To get rid of this I had to try and change
many things. One being the opacity. This made quite a bit of difference. i
then changed the blending options. This was then set to screen. This is
because It makes the background blend in more with the exiting one. Finally
to get rid of the background around the artist I tried color keying. This was
successful however I could not do any more as it was starting to erase the
artist. After the mirroring effect I then included a sort of mirroring effect
again. This effect was probably the simplest to achieve. This has been shown
in the third image. To do this I basically just had to duplicate each clip and
just resize them. Although this was a very simple effect I do think that it does
look quite good. This effect does also look like something you would see in a
hip hop video. This is because it looks quite weird and also trippy. I included
this because I again thought and think that it will interest and make my video
look less boring.
6. Process – week 4
Later on in my video I experimented with masking however dint fill
the artist I instead had the artist showing. This got rid of the
background. this was done like 3 times within my music video. For
this I did not really know what to change the background to. I finally
chose to change the background to a static fuzzy screen. This was
because this background is typically used by artists like trippie redd
and lil skies. To do this I had to mask the artist however I then t
make sure it did not fill the mask. The background was a video off
YouTube and scale it to the right dimensions. I then had to place the
video behind the artist. I then repeated the process with a different
background and clip. This lasted for roughly about 3 seconds so was
a quick effect. This was quite challenging just like the last one
because I had to go through each frame and mask the clip so it did
not include the background. In my video I also included the vhs
effect. This was a fairly simple effect to include. This was used
towards the end more so because I was running out of time. To do
this I had to duplicate the selected clip 3 times , change the blending
mode to linear dodge (add) , this makes it come out like the first
picture. After changing the blending mode I then had to change the
amount of red , green and blue in all the clips. I then finally moved
the clips slightly to give off the colors. I used this because of two
reasons. One reason was that I had seen this effect in several music
videos therefore it is a convention and also it was quick and
effective. I thought that this was effective because it made the
boring clip which was out of focus look interesting and entertaining.
7. Process – week 5
The final effects I included which was different was this one at the
bottom. This effect was quite cool and is unique in my opinion. This is
because I have not seen this effect on any video. I included this because I
initially inverted this clip and I noticed that it kind of makes you look like a
skeleton. This was towards the end of the editing. This means that this has
not been edited for that long. After this I noticed that I could have done a
better job to maybe get rid of the skulls neck. This is quite irritating. To
add the skull I added a video of a skull head from YouTube and imported
it into my video. The video I imported was a green screened video so was
simple to get rid of the background. I then because it being white didn't’t
need to invert it. All I did was change the opacity and place it over the
face. To make this shot last I clipped a 1 second section and duplicated it
about 3 times so that the video stops for roughly 3 seconds and shows the
skeleton face. This worked quite well in my opinion. After this the final
thing I included was the title of the song and the artist. This was quite
challenging because at first I didn't’t know how to add text to my video.
After I added text I then had to choose a font. The font I wanted was
going to be something urban looking , something that would look like
graffiti. I could not find any graffiti style text ad in hindsight I would have
found some online and imported it. After adding my font I then duplicated
it and made it look like a shadow. The background behind it was just the
video which I then turned the opacity down , this was so that you could
see the text.
Editor's Notes
Discuss the tools and processes used in your production. Log your thoughts and feelings about your work.