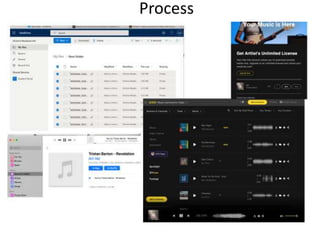
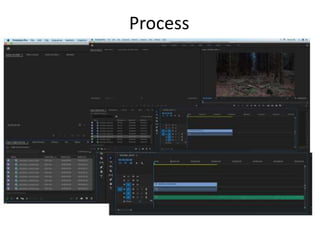
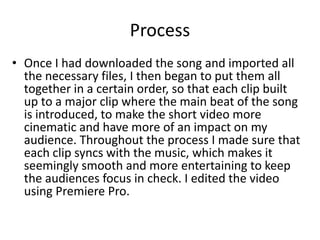
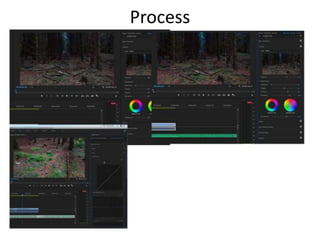
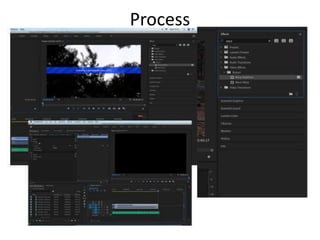
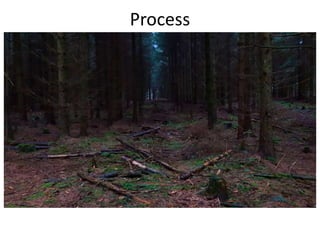
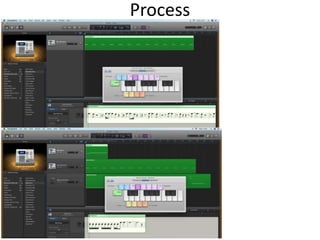
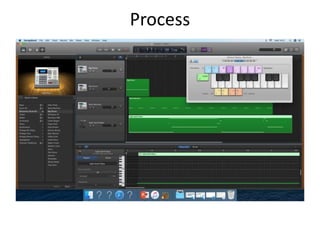
3. Process
ā¢ I decided to experiment with some different music websites and see
where I could find the most applicable and free music for my film
trailer and so I tried a website called āArtistā which offers a variety of
music options, from genres, moods and styles. Because I knew I was
going to create a small nature trailer, I filtered the search with nature
so that the most popular and varied songs appeared and after
listening to a few, I went with ā Revelationsā by Tristan Barton because
as soon as I listened to it I knew that it would fit the vibe that I
wanted to have throughout my whole video. In addition to this, I
selected this one because it is a calm song but still adds the slight bit
of mystery and danger and made the whole trailer seem mystical.
Once I had chosen the song, I downloaded into my one drive, so that I
could easily edit into my trailer on Premiere Pro.
5. Process
ā¢ Once I had downloaded the song and imported all
the necessary files, I then began to put them all
together in a certain order, so that each clip built
up to a major clip where the main beat of the song
is introduced, to make the short video more
cinematic and have more of an impact on my
audience. Throughout the process I made sure that
each clip syncs with the music, which makes it
seemingly smooth and more entertaining to keep
the audiences focus in check. I edited the video
using Premiere Pro.
7. Process
ā¢ Throughout the process of putting all the clips together, I realized that
the colours of the scenery were not to the standard that I wanted
them to be, to be able to give off that cinematic look, so I used a
technique called āColourgradeingā, which allowed me to alter every
aspect of the colours, such as, the saturation, tint, hue etc.
Additionally a tool, which I newly discovered was something called
āCurveā, which enables you to darken or lighten the imagery, which
came in handy because I wanted the forest imagery to appear dark
and empty, to consume my audience members. Furthermore, I did
this throughout the whole video, editing the saturation and making
certain aspects lighter or darker. In addition to this a particular detail
which I carried out throughout this fabrication was making the green
colours highly saturated so that they contrasted with the darker
sky/trees.
9. Process
ā¢ Lastly, during the development of my short nature
trailer, I noticed that a few clips were not as
smooth as I had hoped, so to solve this I used an
effect which is called āWarp Stabilizerā, which can
be applied to clips to make them smoother and
reduce/get rid of any unstableness which occurred
whilst filming. Additionally, towards the end of the
scenes and the music, I added in a faded affect so
that when the video ends the music smoothly fades
out with it, it just gives it more of a professional
look, which is what I aim for when creating my
products.
13. Process
To get more of an idea on how to produce the right music for my film trailer, I decided to
experiment with the software called ā Garagebandā which allows you to choose beats,
rhythms and instruments from a wide range of choices. To begin with, I selected an
electoral instrument called ābeat machineā and you can either use a small piano keyboard
or a selected number of keys on a keyboard, but I didnāt have access to a one-handed
piano, so I used what I already had, and it turned out pretty well considering I had never
used the software so intricately before. Once I had created my bass line, I then moved
onto producing two other rhythms using the beat machine again and the āAgile synth
bassā. In addition to this, it was difficult to work it at first but then I got the hang of it and
really learnt my way around using an everyday keyboard to produce a short piece of
music. Lastly, when I had finished, I exported the piece as a mp3 so that I could insert it
into this PowerPoint and to make it easier to find/listen too.