
Recommended
More Related Content
What's hot
What's hot (18)
Viewers also liked
Viewers also liked (20)
Similar to Screenshots of tools used on my magazine
Similar to Screenshots of tools used on my magazine (20)
More from charlie_99Xx
More from charlie_99Xx (20)
Recently uploaded
Recently uploaded (20)
Screenshots of tools used on my magazine
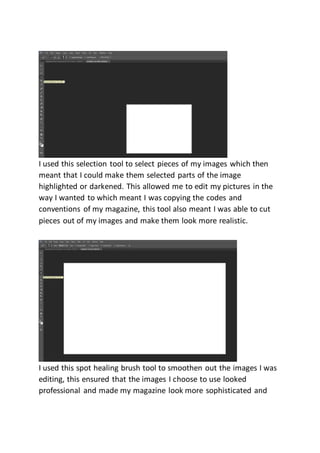
- 1. I used this selection tool to select pieces of my images which then meant that I could make them selected parts of the image highlighted or darkened. This allowed me to edit my pictures in the way I wanted to which meant I was copying the codes and conventions of my magazine, this tool also meant I was able to cut pieces out of my images and make them look more realistic. I used this spot healing brush tool to smoothen out the images I was editing, this ensured that the images I choose to use looked professional and made my magazine look more sophisticated and
- 2. realistic. By using this I could blur out any spots or marks on the models face or other marks that were on the image when I took it. I used this brush tool to change the colour of certain bits of my images such as changing the colour of the back ground and also to make sure parts of the image blended into each other such as the bag my model is holding on his shoulder. This ensured my magazine was able to follow the codes and conventions of the one I was copying correctly. I used this text tool so that I could add text to my magazine and so
- 3. that people could understand fully what my magazine was about by typing the name, genre and bits of information that are inside it, without using this tool I wouldn’t have been able to complete my magazine as you need to have text on your magazine and also I wouldn’t have been able to follow the codes and conventions of the one I was copying. I used this eyedropper tool to ensure I used the exact same colours through my magazine, this made sure that I wasn’t getting confused about what shade of red I used as it would save the colour I wanted in the top right hand corner of the page and I could also save the colour under the named I wanted to ensure I didn’t get confused about what colour I saved.