Downloaded 162 times

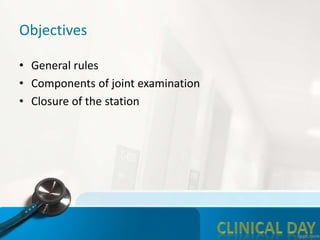
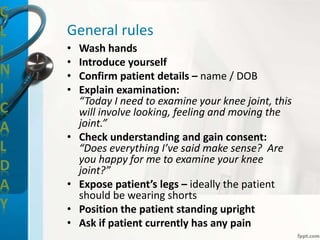
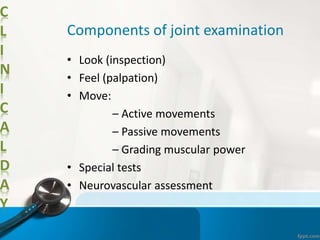
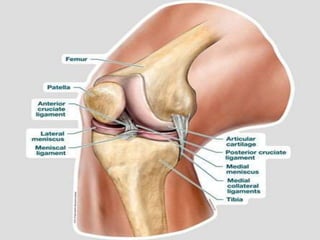
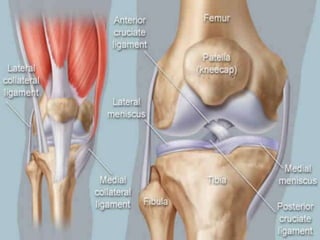
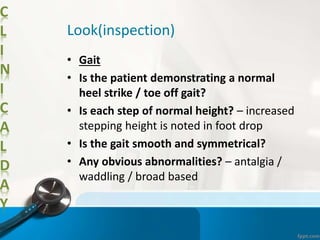


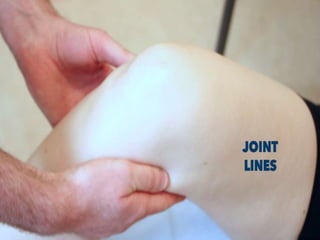
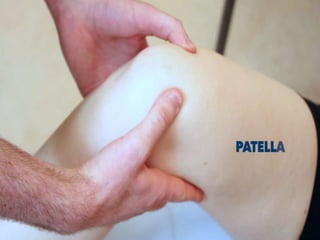
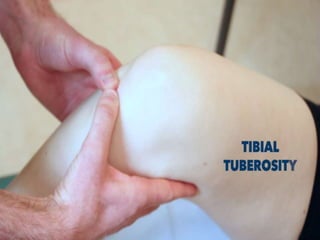

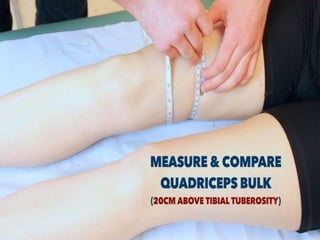

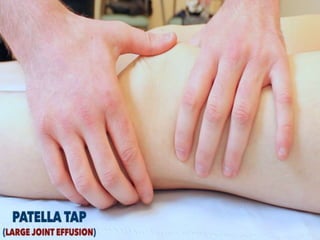

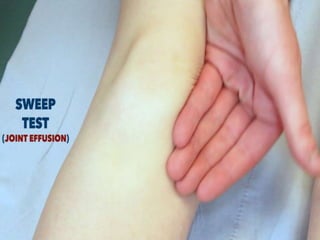

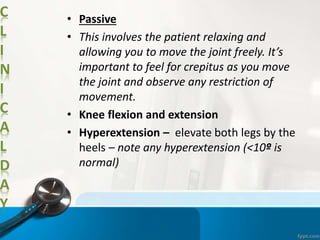
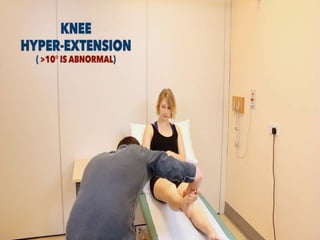
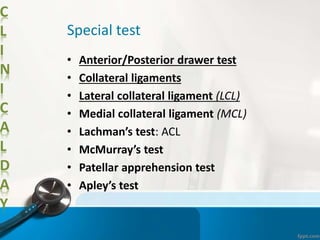
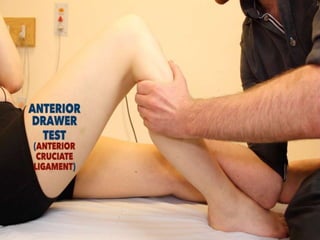
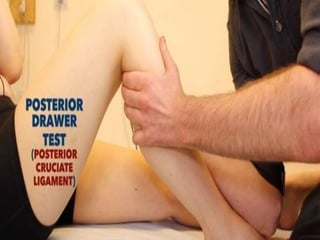
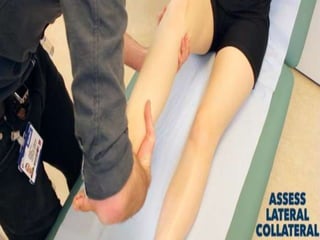

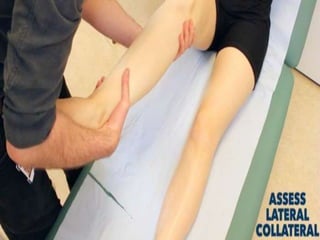
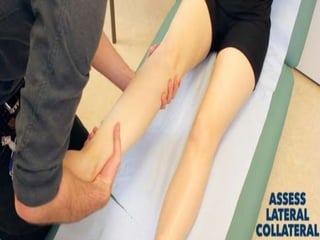
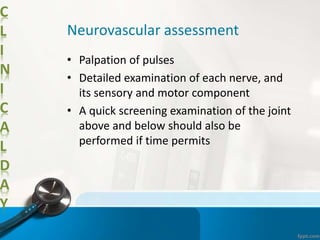
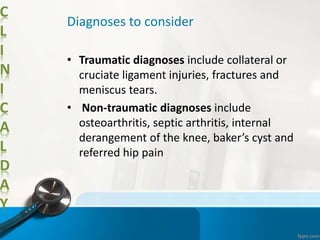


The document outlines the objectives and procedures for a knee joint examination, emphasizing the importance of patient consent, general rules, and the components involved in the examination process. It details inspection, palpation, movement assessment, special tests, and neurovascular assessment, along with various diagnostic considerations. The examination concludes with steps to ensure patient comfort and proper hygiene.


