Downloaded 10 times


![18 To make sure your server is running
open any browser and write the following
127.0.0.1:[port number]
In the normal case the port number is 80
But if you have changes it in step 17 so
you have to write the number you have
used](https://image.slidesharecdn.com/xamppinstallationguide-200601145437/85/Xampp-installation-guide-21-320.jpg)
![19 Also to make sure your server is
running open any browser and write the
following
localhost:[port number]
In the normal case the port number is 80
But if you have changes it in step 17 so
you have to write the number you have
used](https://image.slidesharecdn.com/xamppinstallationguide-200601145437/85/Xampp-installation-guide-22-320.jpg)
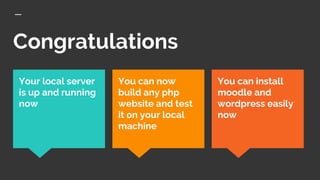


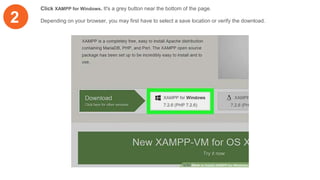
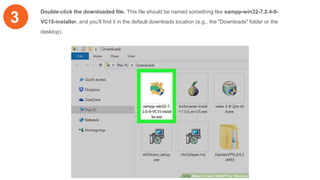
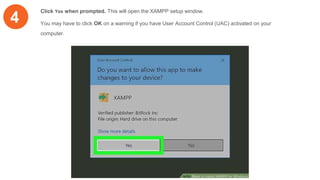
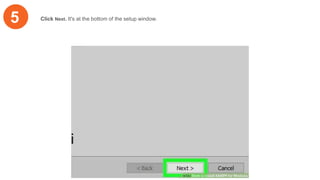
The document provides a guide to installing XAMPP, an open source cross-platform web server solution consisting of Apache HTTP Server, MariaDB database, and interpreters for PHP and Perl scripts, explaining the download, installation process which involves selecting installation options and location, and basic configuration steps to ensure the local server is running properly for testing websites locally.