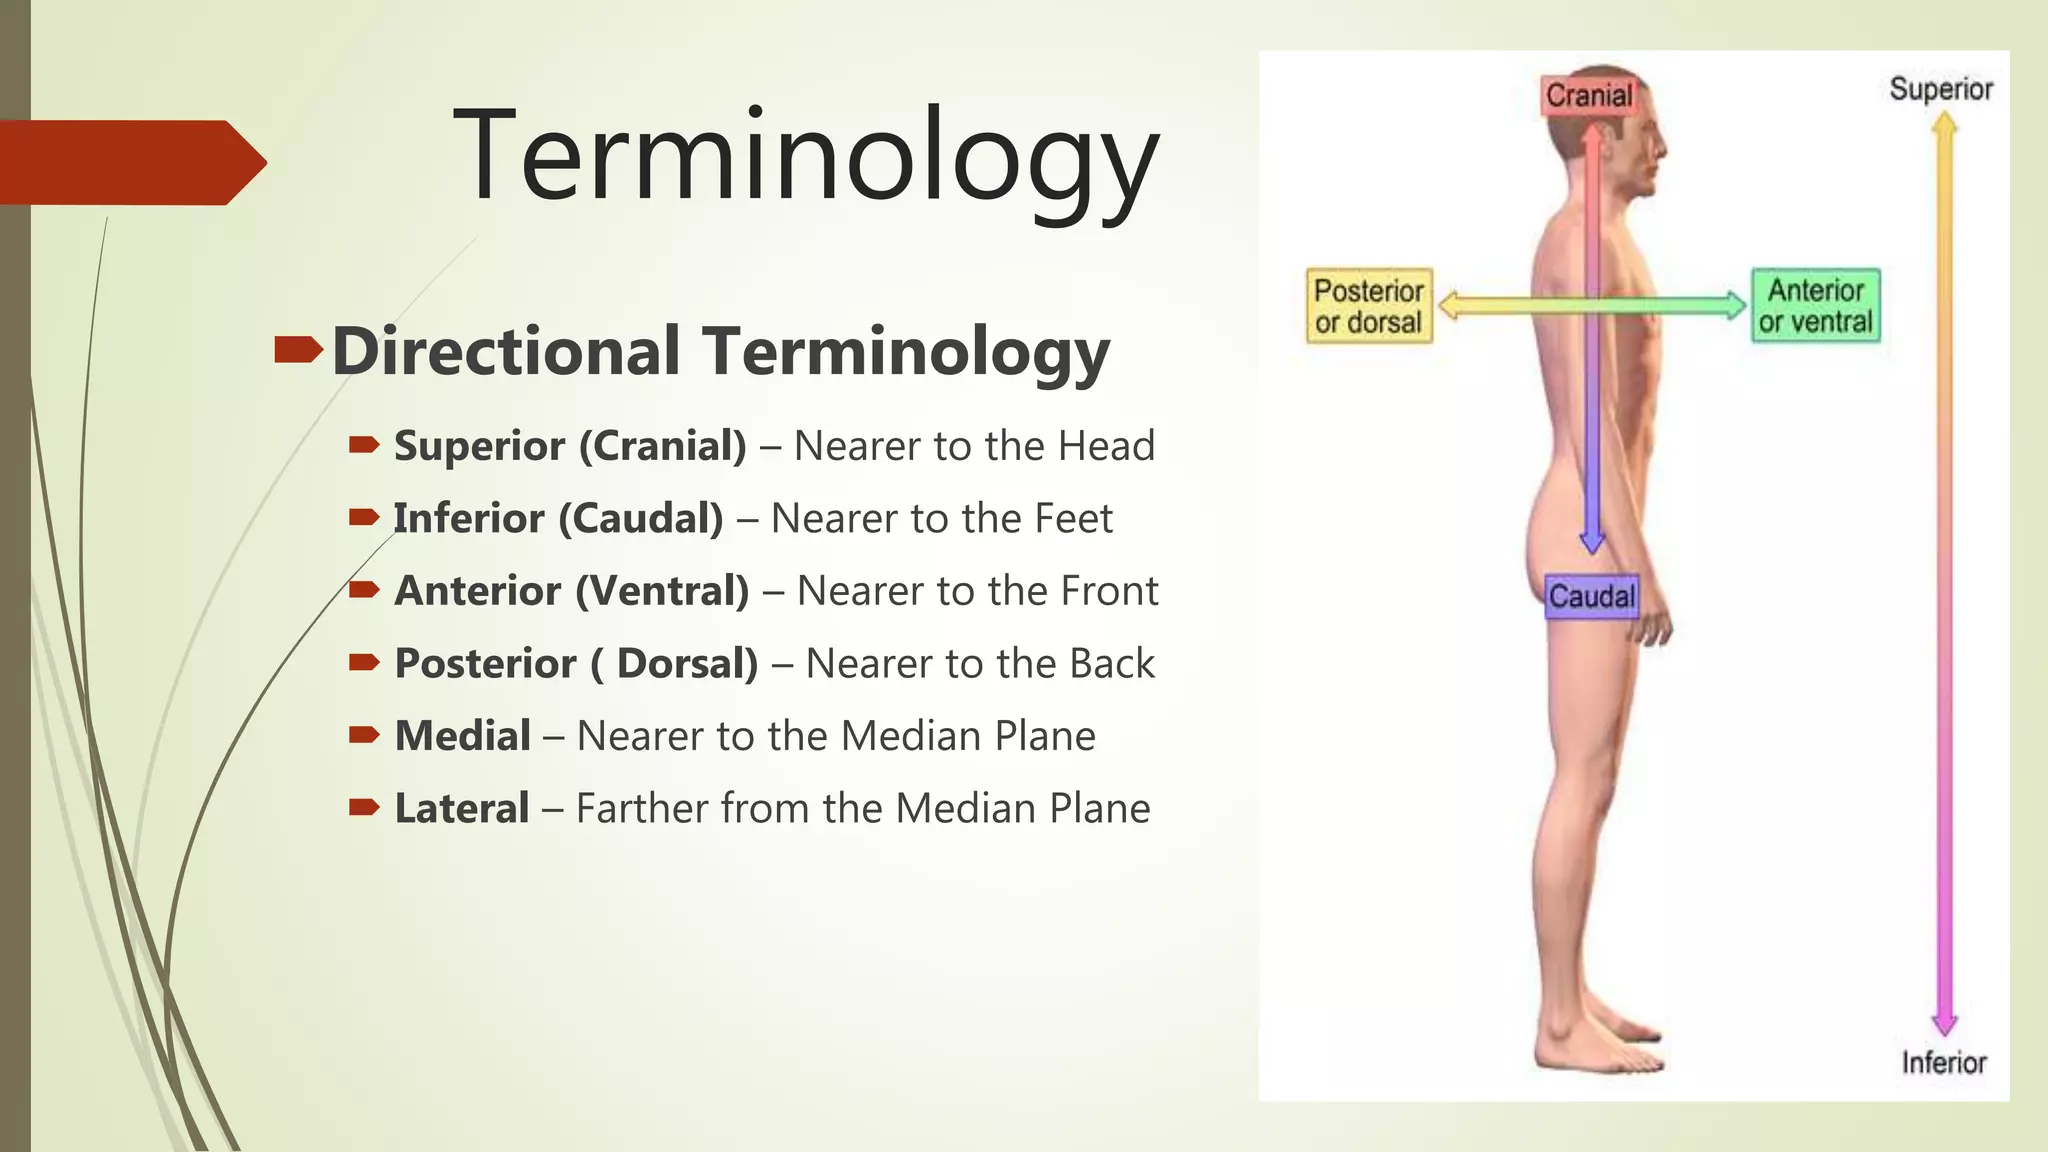
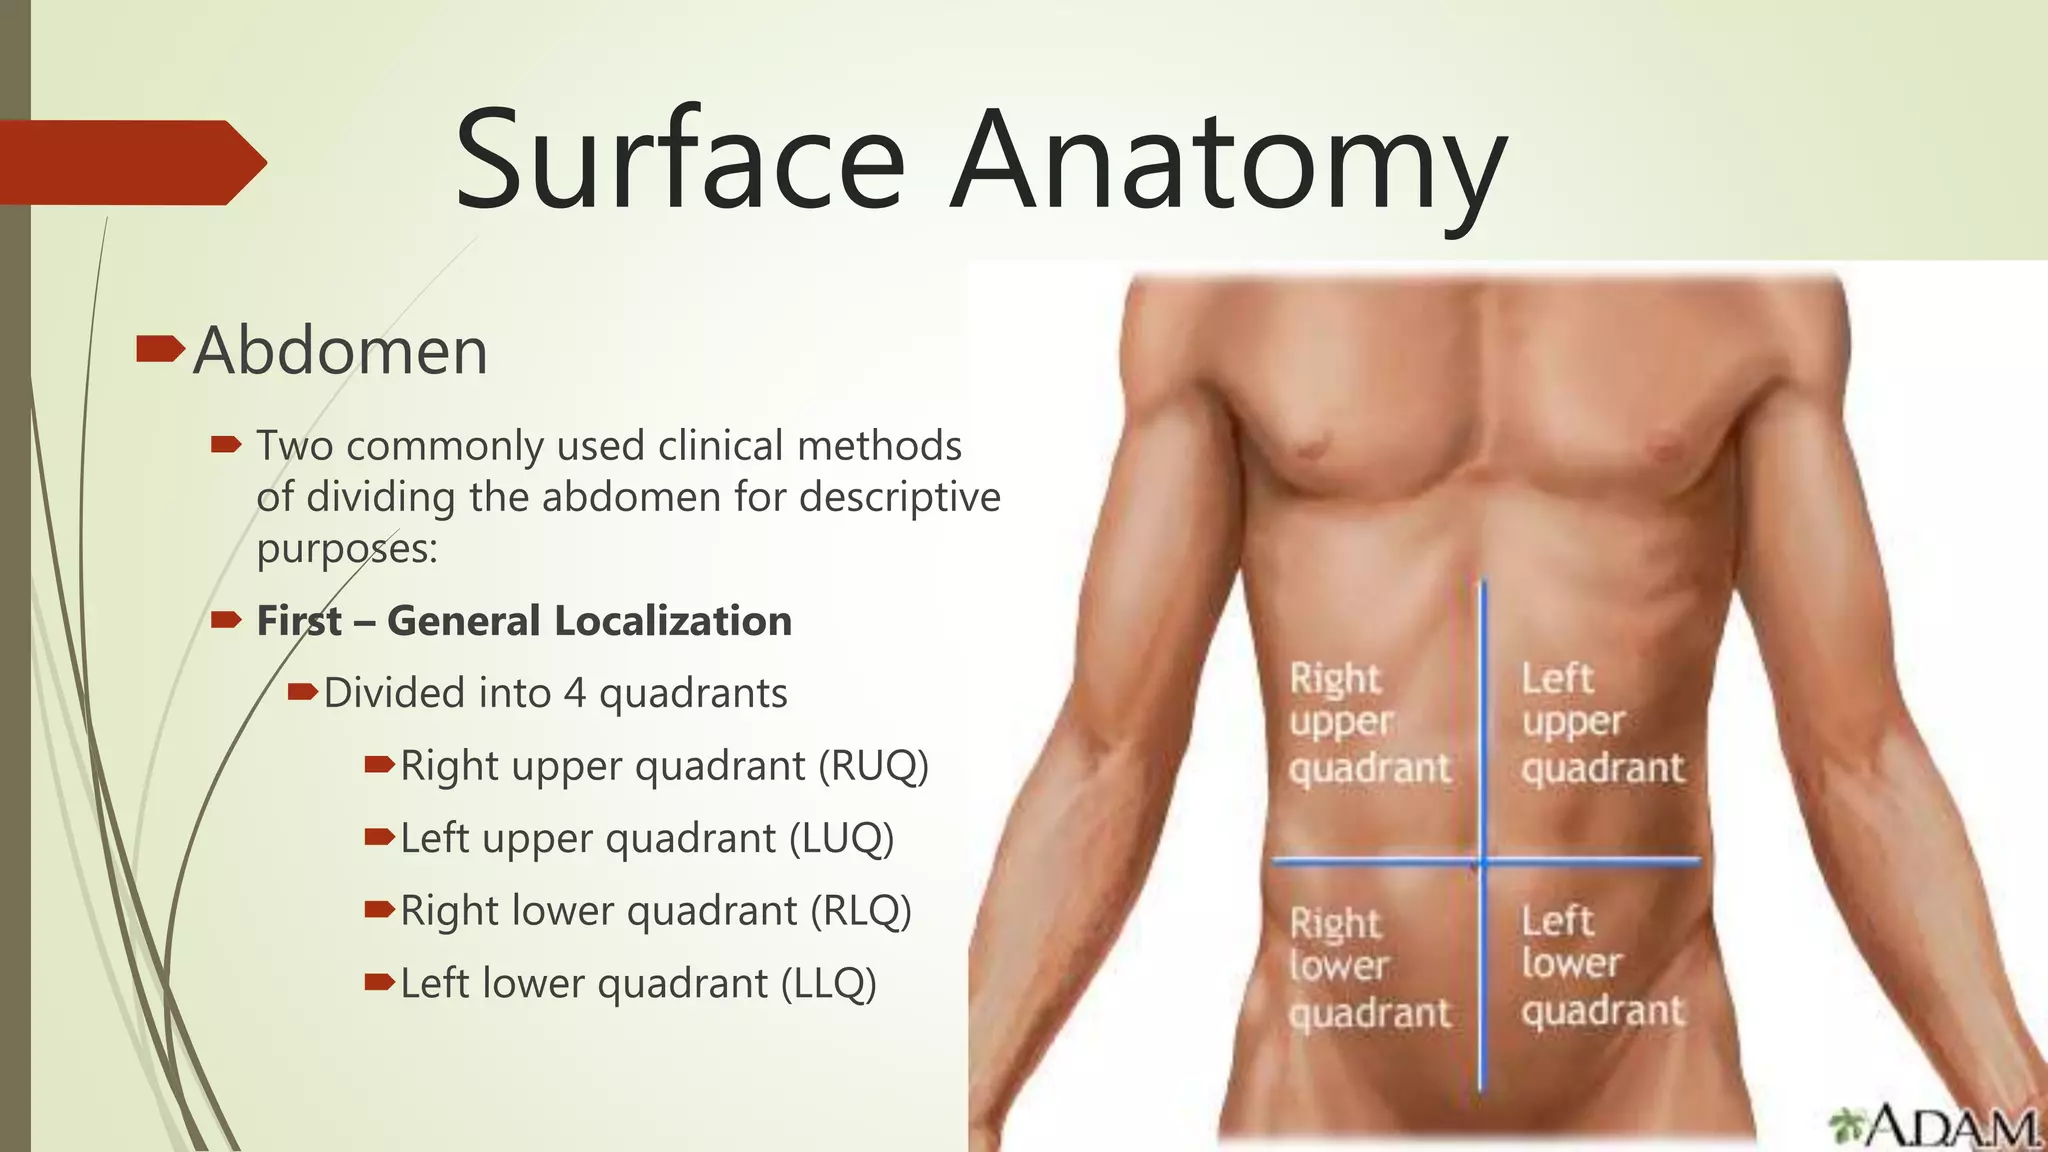
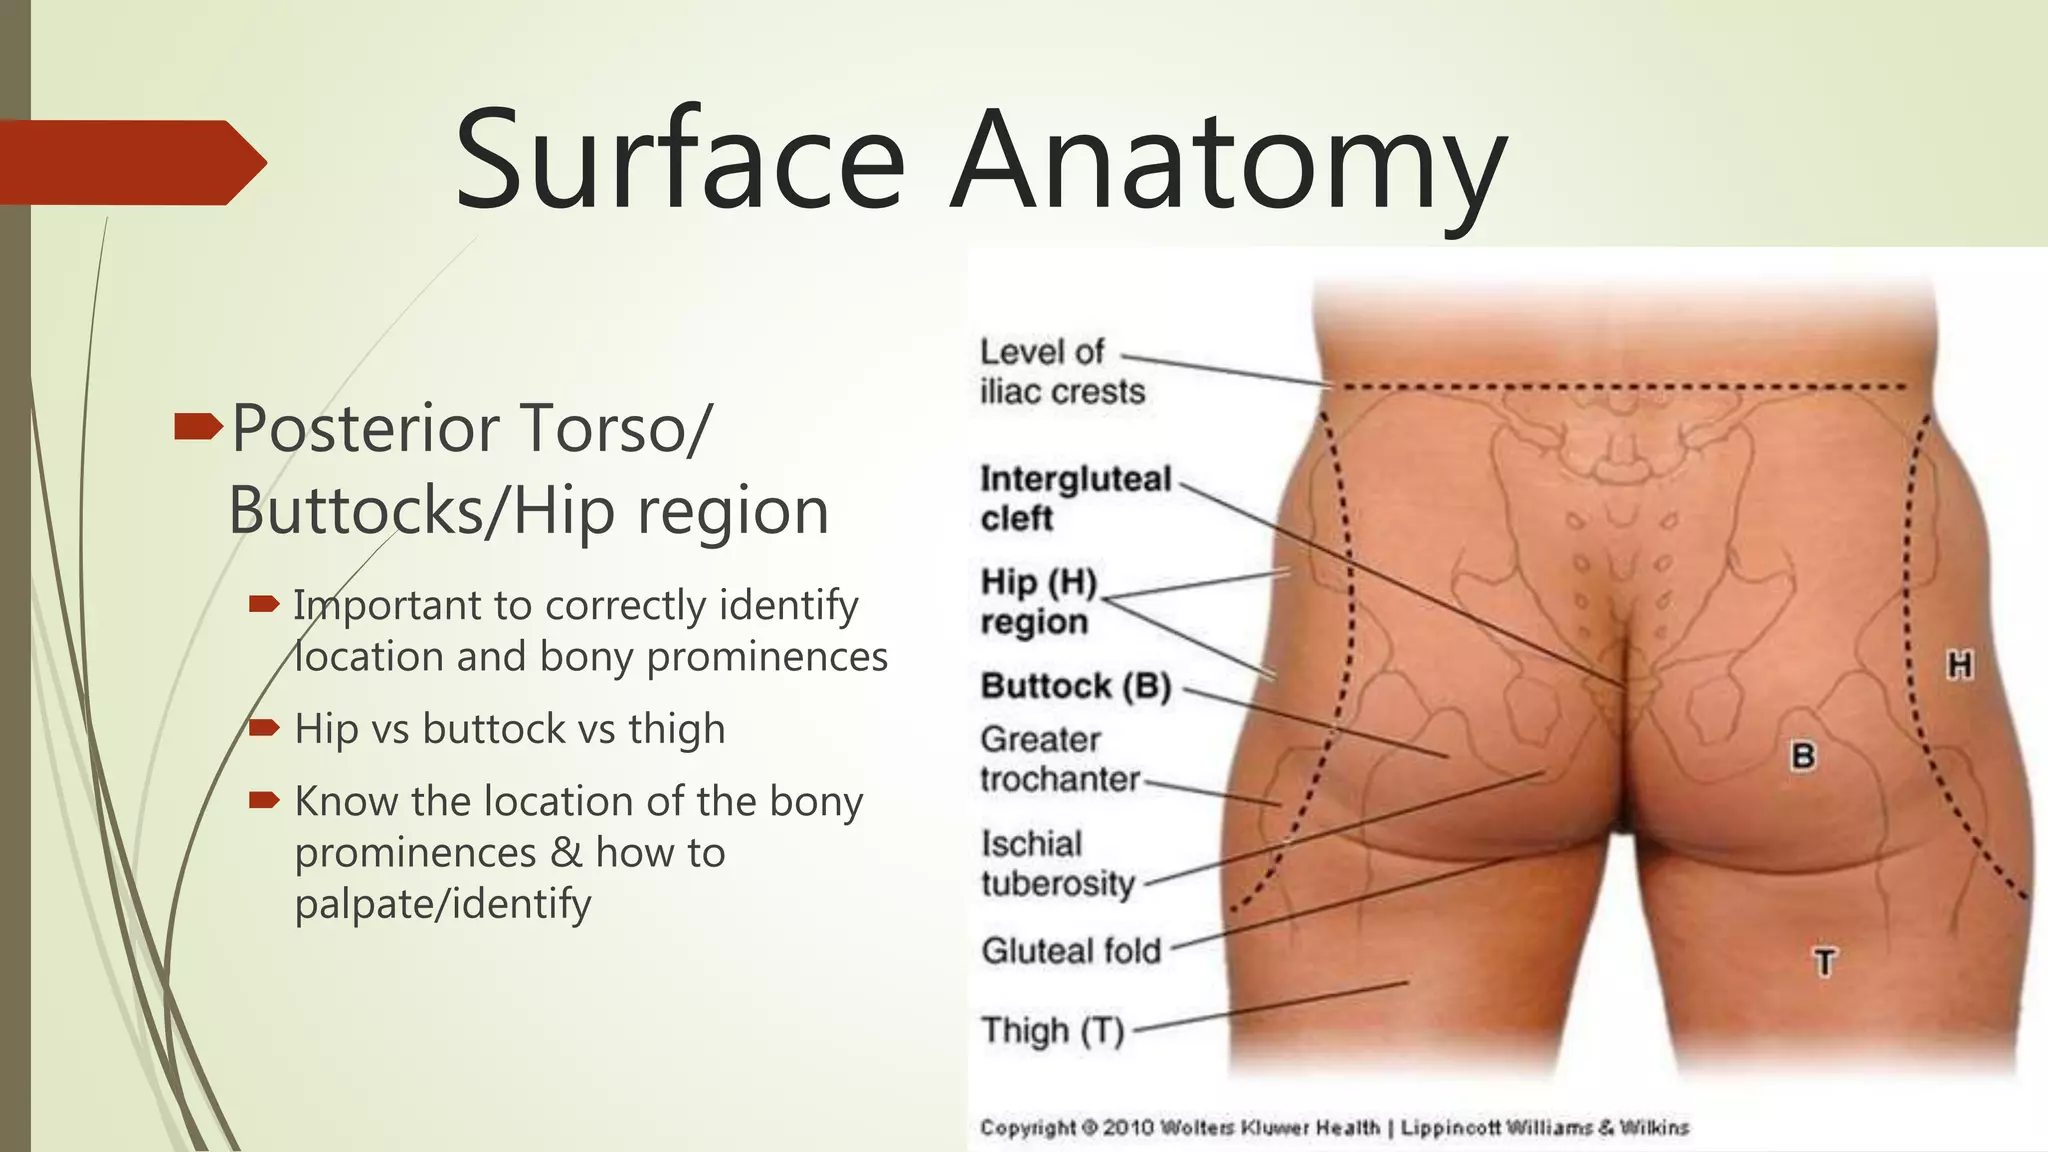
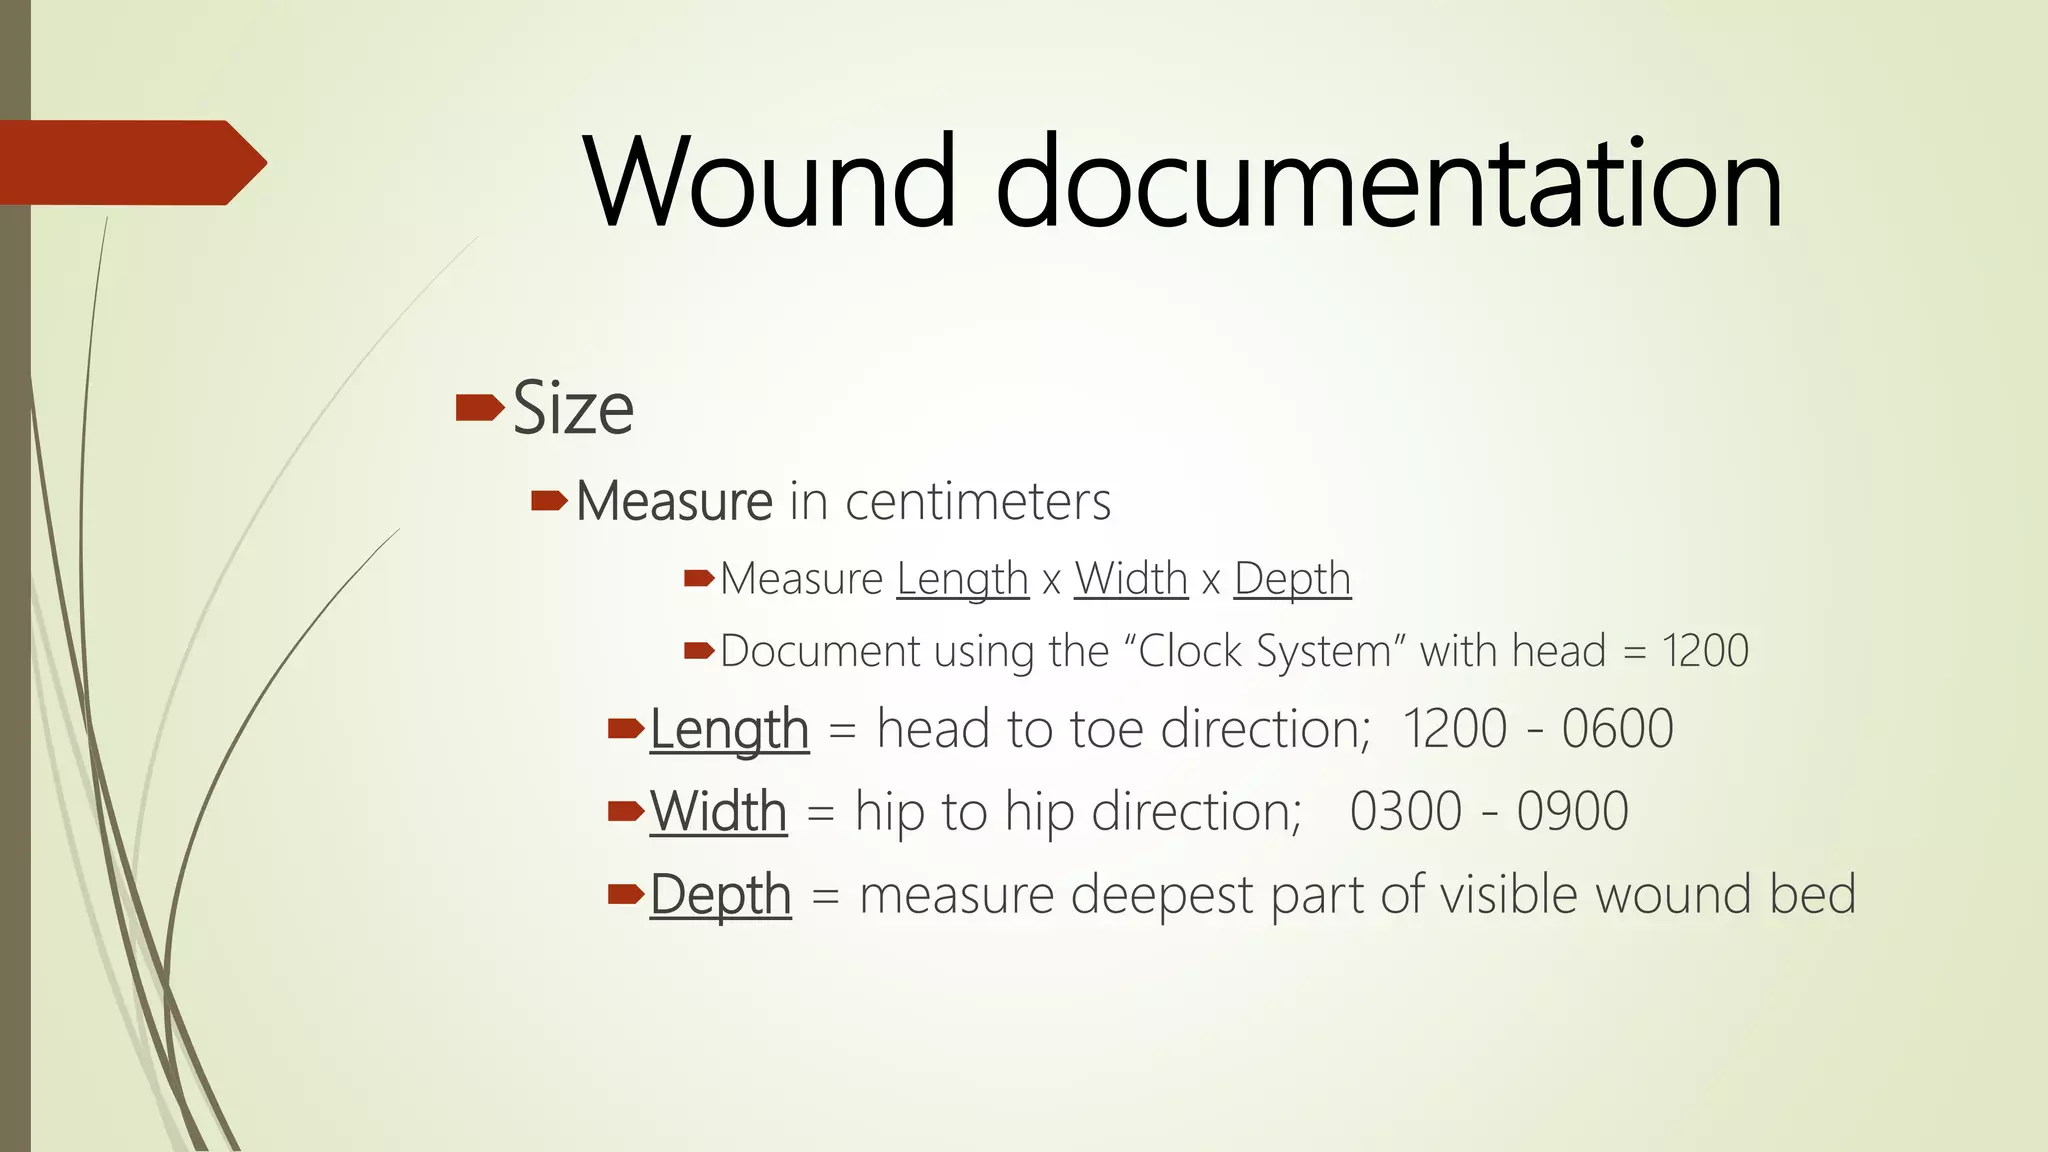
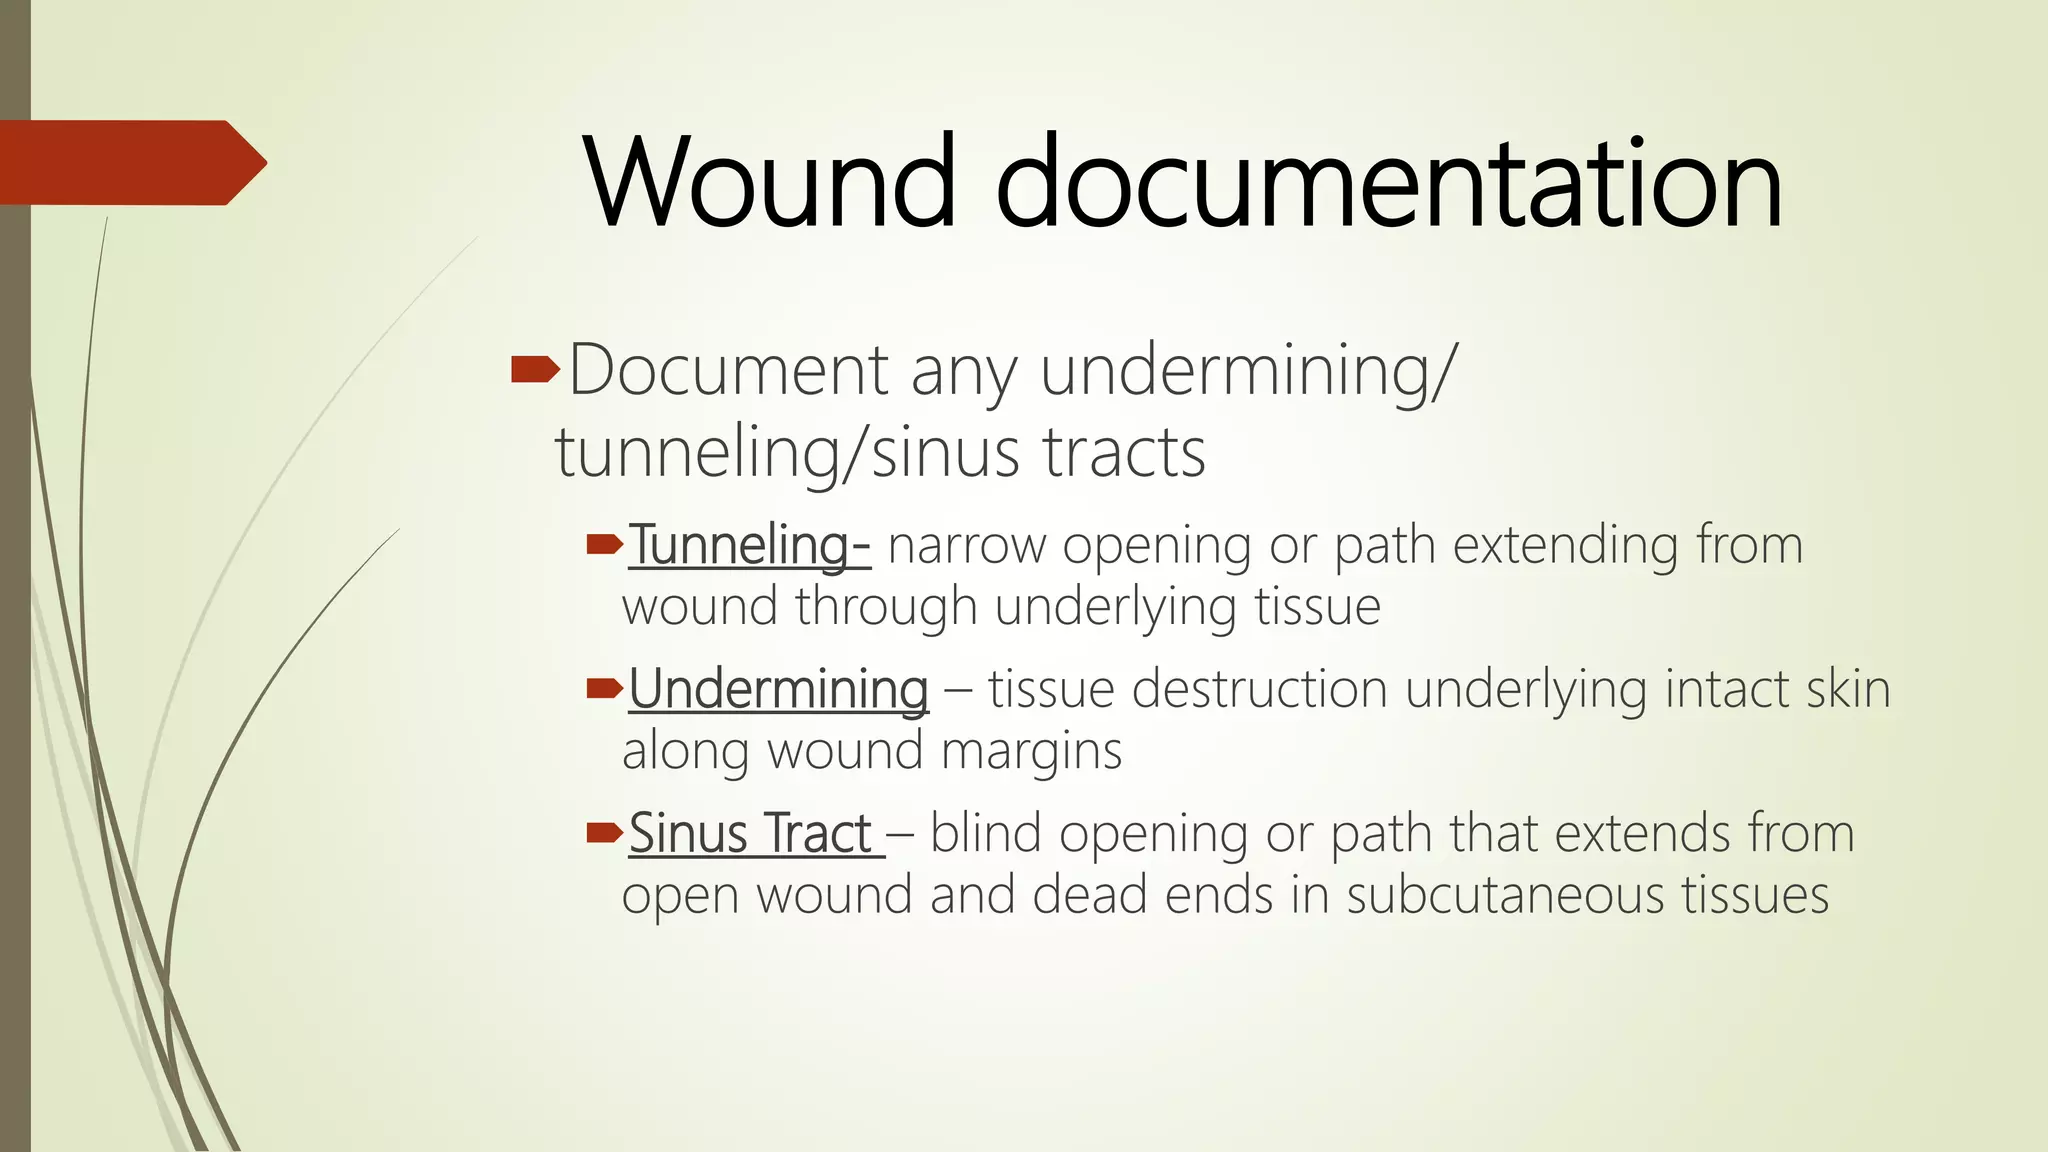
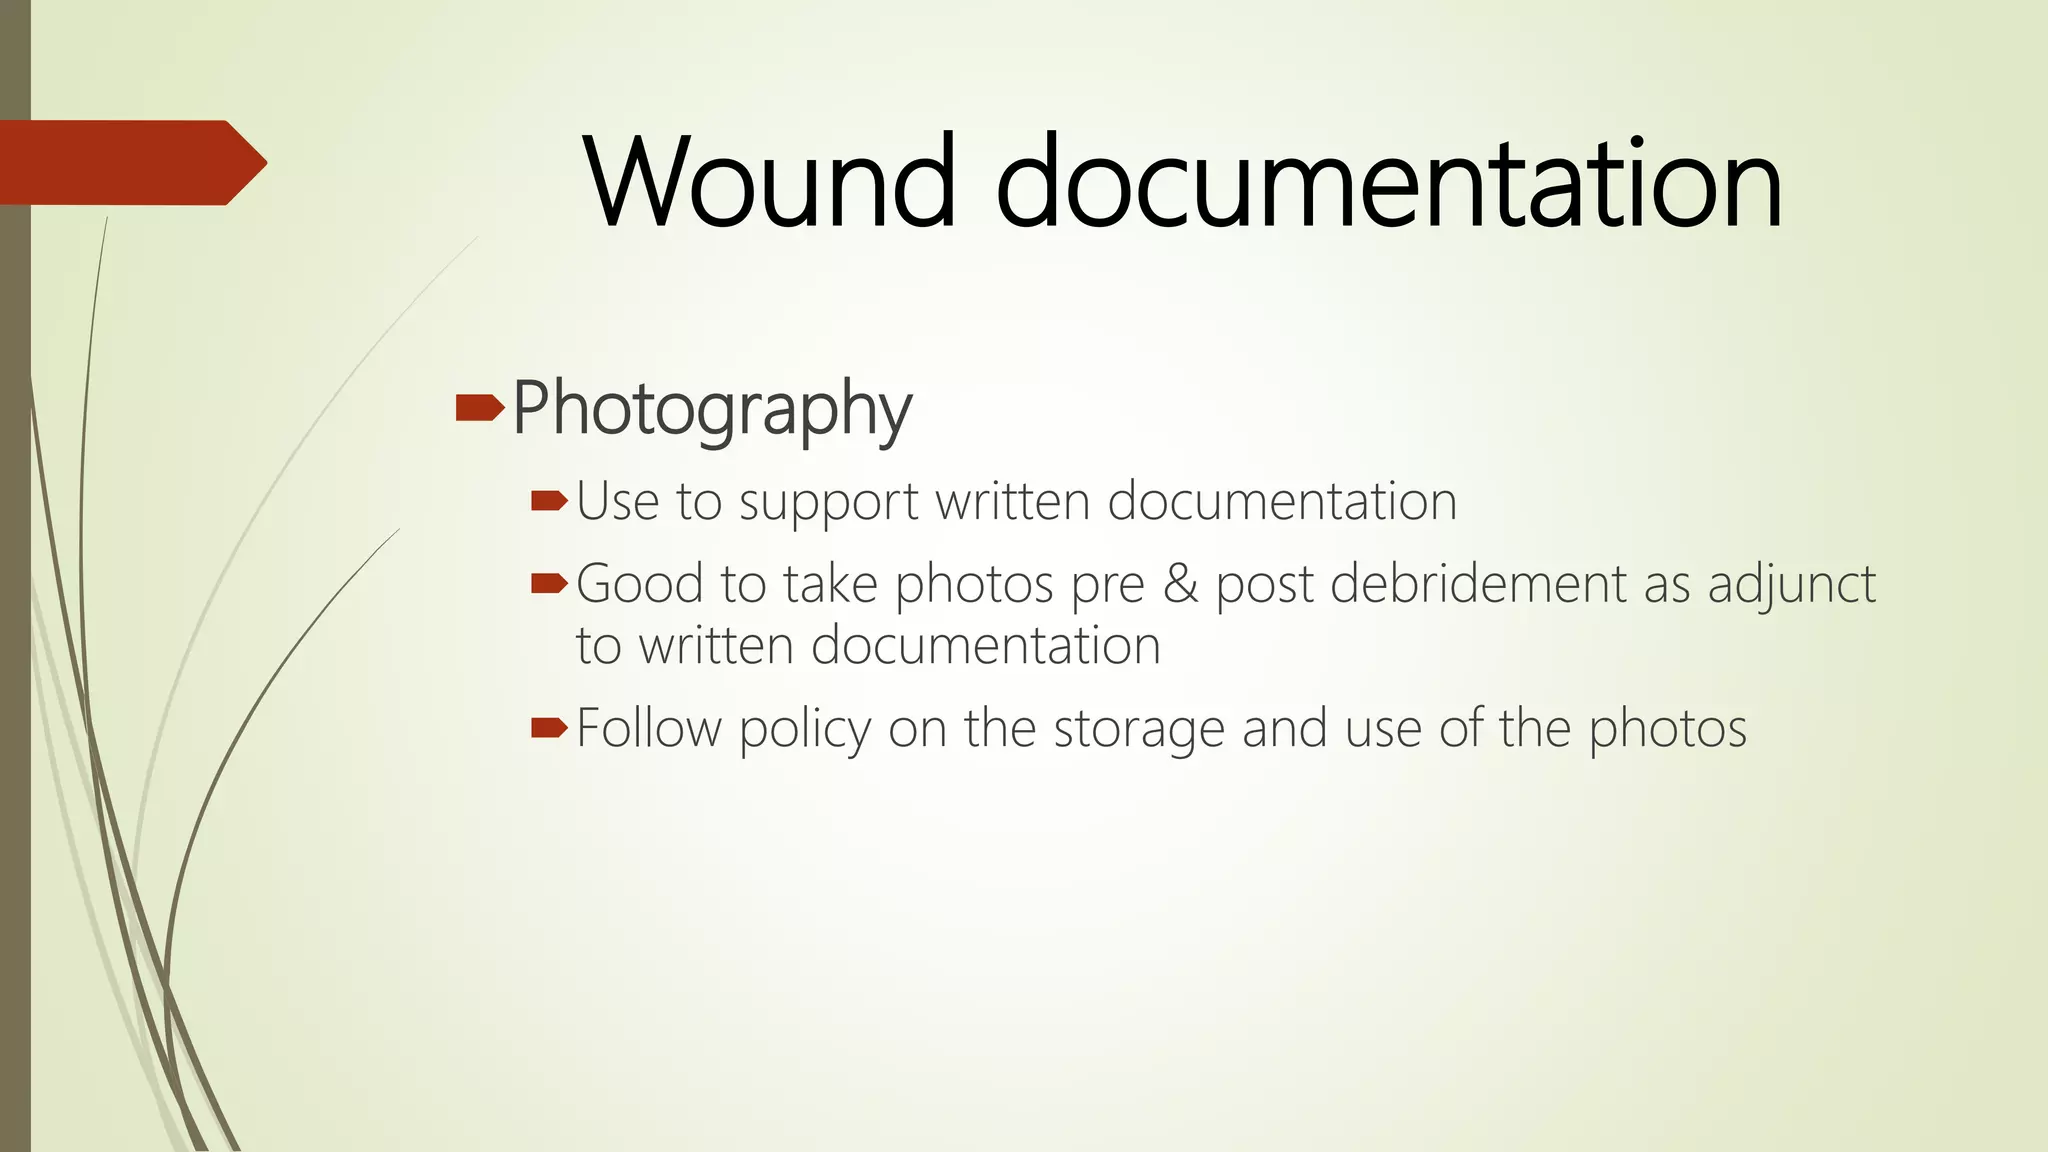
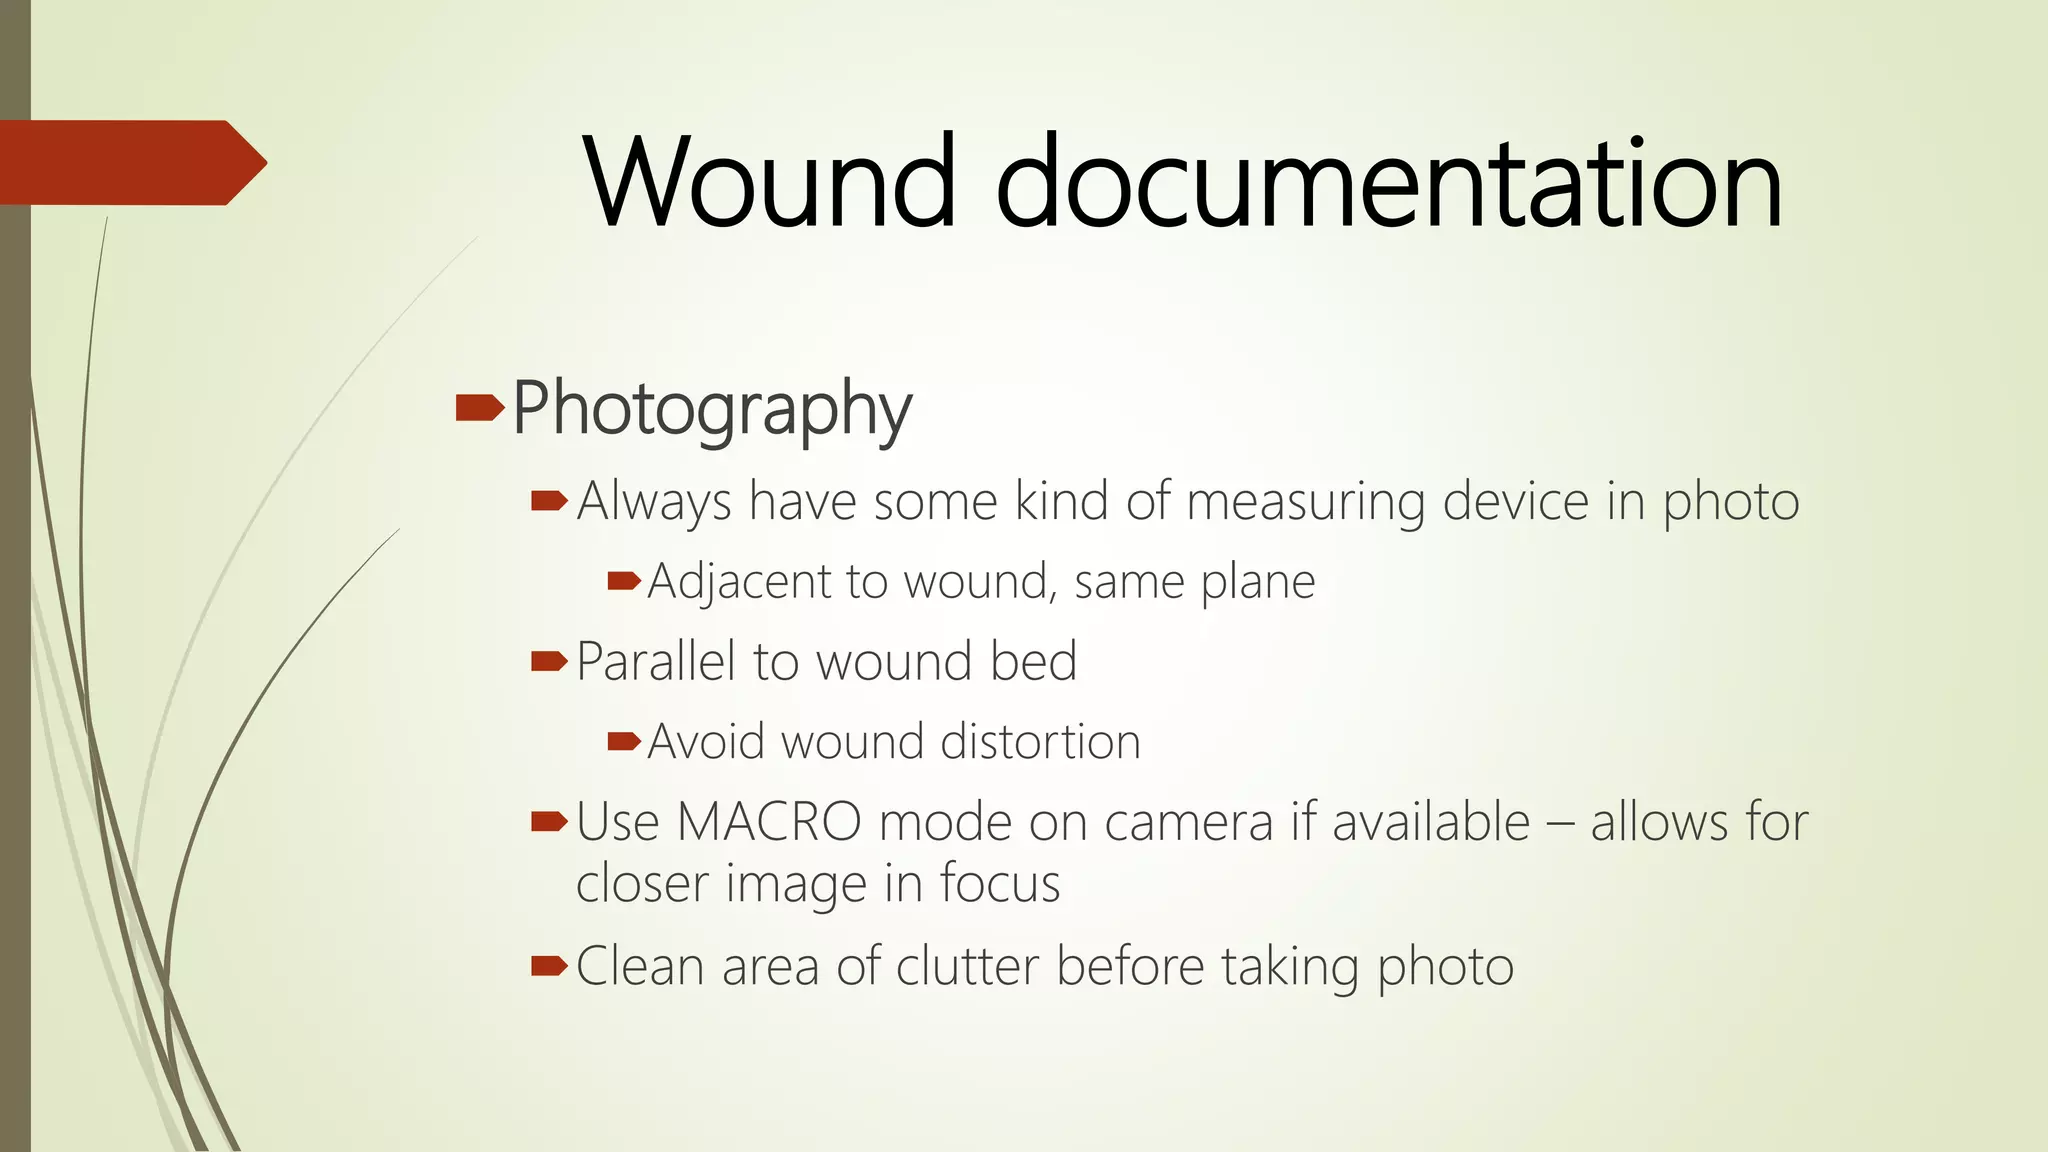
Wound Documentation,
Anatomy & Photography
THE BASICS
Wound documentation
Location
Use Correct Anatomical Terminology
More specificity leads to greater clarity and less chance
for misunderstanding
Dorsal/Plantar vs. top/bottom of the foot
Also important for Debriding – Know what you’re
debriding and what structures are in the area
Location
Anatomy
Anatomy: Anatomy is the branch
of biology concerned with the
study of the structure of organisms
and their parts
Anatomical position: The
erect position of the body with the
face directed forward, the arms at
the side, and the palms of the
hands facing forward
Terminology
Anatomical Planes
 Median – vertical plane passing longitudinally
through body from front to back, dividing into Lt
& Rt halves
 Sagittal – vertical plane passing through body
parallel to median plane
 Coronal/frontal – vertical plane at right angle
to median, dividing body into anterior &
posterior portions
 Horizontal/Transverse – horizontal plane
passing through body at right angles to median
& coronal planes
Terminology
Directional Terminology
 Superior (Cranial) – Nearer to the Head
 Inferior (Caudal) – Nearer to the Feet
 Anterior (Ventral) – Nearer to the Front
 Posterior ( Dorsal) – Nearer to the Back
 Medial – Nearer to the Median Plane
 Lateral – Farther from the Median Plane
Terminology
Directional Terminology
 Proximal – nearer to the trunk or point
of origin
 Distal – farther from the trunk or point
of origin
 Superficial – nearer to or on the surface
 Deep – further from the surface
 Ipsilateral – on the same side of the
body
 Contralateral – on the opposite side of
the body
Surface Anatomy
 Surface anatomy (AKA superficial anatomy or visual anatomy) is the
study of the external features of the body.
 In the case of human surface anatomy, these are the form and
proportions of the human body and the surface landmarks which
correspond to deeper structures hidden from view.
 Most of the bones of the skeleton are palpable and provide landmarks
for locating other anatomical structures.
 The effectiveness of visual inspection and palpation in studying a
person's surface anatomy is influenced by the thickness of the
hypodermis, which varies in accordance with the amount of
subcutaneous adipose tissue.
Surface Anatomy
Abdomen
 Two commonly used clinical methods
of dividing the abdomen for descriptive
purposes:
 First – General Localization
Divided into 4 quadrants
Right upper quadrant (RUQ)
Left upper quadrant (LUQ)
Right lower quadrant (RLQ)
Left lower quadrant (LLQ)
Surface Anatomy
Abdomen
Surface Anatomy
Abdomen
 Second method is used for
specific localization
Includes
Epigastric
Umbilical
Hypogastric
R/L hypochondriac
R/L lumbar
R/L iliac
Surface Anatomy
Abdomen
Surface Anatomy
Posterior Torso/
Buttocks/Hip region
 Important to correctly identify
location and bony prominences
 Hip vs buttock vs thigh
 Know the location of the bony
prominences & how to
palpate/identify
Regional
Anatomical Terms
 Important to be able to
identify and accurately label
the wound based on generally
accepted anatomical
terminology
 Also important to be able
to understand and
communicate w/
physicians
 Helpful if notes used in
legal situation for terms to
be correct/standard
Wound documentation
Size
Measure in centimeters
Measure Length x Width x Depth
Document using the “Clock System” with head = 1200
Length = head to toe direction; 1200 - 0600
Width = hip to hip direction; 0300 - 0900
Depth = measure deepest part of visible wound bed
Size
Wound documentation
Document any undermining/
tunneling/sinus tracts
Tunneling- narrow opening or path extending from
wound through underlying tissue
Undermining – tissue destruction underlying intact skin
along wound margins
Sinus Tract – blind opening or path that extends from
open wound and dead ends in subcutaneous tissues
Wound documentation
Describe drainage/exudate
Type
Sanguineous – thin, bright red (bloody)
Serosanguineous – thin, watery, pale red to pink
Serous – thin, watery, clear, pale yellow
Purulent – thick or thin, can be green, brown, yellow
Wound documentation
Describe drainage/exudate cont.
Amount
None
Scant – wound moist, little to no drainage on dressing
Small/Minimal – wound moist, exudate 25% or less of
dressing
Moderate – wound moist to wet, exudate up to 50% of
dressing
Large/Copious – wound wet, exudate > 50% of dressing
Wound documentation
Describe the odor
Describe presence or absence of odor
Strong
Foul
Pungent
Fecal
Musty
Sweet
Wound documentation
Tissue Types
Slough – usually lighter in color, thinner and stringy in
consistency
Color – Can be yellow, gray, white, green, brown
Eschar – usually darker in color, thicker and hard
consistency
Color – black/brown
Wound documentation
Tissue Types cont.
Granulation Tissue – it is usually beefy red, granular,
bubbly in appearance
should be differentiated from a smooth red wound
bed
Color – red, pink, pale pink or full dusky red
Epithelialization – can appear as deep pink, then progress
to pearly
***Important to understand that Partial thickness wounds
will not have eschar/slough/granulation***
Tissue Type
Wound documentation
Wound Margins/Borders/Edges
Regular
Irregular
Not Attached
Rolled/Epibole
Callous
Wound borders
Wound documentation
Periwound Assessment
Color
Edema
Firmness
Intact
Induration
Pallor
Wound documentation
Periwound Assessment cont.
Lesions
Texture
Evidence of previous scarring
Rash
Staining
Moisture/Maceration
Wound documentation
Signs of Infection
Fever
Streaking
Redness
Increased drainage
Odor
Warmth
Elevated WBC
Wound documentation
Signs of Infection
Induration
Malaise
Edema
Weeping
Increased pain
Discoloration
Wound documentation
Photography
First – Know what your institutional policy is & follow it
HIPPA
Patient Dignity/Privacy issues
Use of Digital vs. Film vs. Cell phone
Follow policy of institution
Use of flash is controversial – use as per policy
Wound documentation
Photography
Use to support written documentation
Good to take photos pre & post debridement as adjunct
to written documentation
Follow policy on the storage and use of the photos
Wound documentation
Photography
Always have some kind of measuring device in photo
Adjacent to wound, same plane
Parallel to wound bed
Avoid wound distortion
Use MACRO mode on camera if available – allows for
closer image in focus
Clean area of clutter before taking photo

Wound documentation: anatomy & photography

  • 1.
    Wound Documentation, Anatomy &Photography THE BASICS
  • 2.
    Wound documentation Location Use CorrectAnatomical Terminology More specificity leads to greater clarity and less chance for misunderstanding Dorsal/Plantar vs. top/bottom of the foot Also important for Debriding – Know what you’re debriding and what structures are in the area
  • 3.
  • 4.
    Anatomy Anatomy: Anatomy isthe branch of biology concerned with the study of the structure of organisms and their parts Anatomical position: The erect position of the body with the face directed forward, the arms at the side, and the palms of the hands facing forward
  • 5.
    Terminology Anatomical Planes  Median– vertical plane passing longitudinally through body from front to back, dividing into Lt & Rt halves  Sagittal – vertical plane passing through body parallel to median plane  Coronal/frontal – vertical plane at right angle to median, dividing body into anterior & posterior portions  Horizontal/Transverse – horizontal plane passing through body at right angles to median & coronal planes
  • 6.
    Terminology Directional Terminology  Superior(Cranial) – Nearer to the Head  Inferior (Caudal) – Nearer to the Feet  Anterior (Ventral) – Nearer to the Front  Posterior ( Dorsal) – Nearer to the Back  Medial – Nearer to the Median Plane  Lateral – Farther from the Median Plane
  • 7.
    Terminology Directional Terminology  Proximal– nearer to the trunk or point of origin  Distal – farther from the trunk or point of origin  Superficial – nearer to or on the surface  Deep – further from the surface  Ipsilateral – on the same side of the body  Contralateral – on the opposite side of the body
  • 8.
    Surface Anatomy  Surfaceanatomy (AKA superficial anatomy or visual anatomy) is the study of the external features of the body.  In the case of human surface anatomy, these are the form and proportions of the human body and the surface landmarks which correspond to deeper structures hidden from view.  Most of the bones of the skeleton are palpable and provide landmarks for locating other anatomical structures.  The effectiveness of visual inspection and palpation in studying a person's surface anatomy is influenced by the thickness of the hypodermis, which varies in accordance with the amount of subcutaneous adipose tissue.
  • 9.
    Surface Anatomy Abdomen  Twocommonly used clinical methods of dividing the abdomen for descriptive purposes:  First – General Localization Divided into 4 quadrants Right upper quadrant (RUQ) Left upper quadrant (LUQ) Right lower quadrant (RLQ) Left lower quadrant (LLQ)
  • 10.
  • 11.
    Surface Anatomy Abdomen  Secondmethod is used for specific localization Includes Epigastric Umbilical Hypogastric R/L hypochondriac R/L lumbar R/L iliac
  • 12.
  • 13.
    Surface Anatomy Posterior Torso/ Buttocks/Hipregion  Important to correctly identify location and bony prominences  Hip vs buttock vs thigh  Know the location of the bony prominences & how to palpate/identify
  • 14.
    Regional Anatomical Terms  Importantto be able to identify and accurately label the wound based on generally accepted anatomical terminology  Also important to be able to understand and communicate w/ physicians  Helpful if notes used in legal situation for terms to be correct/standard
  • 15.
    Wound documentation Size Measure incentimeters Measure Length x Width x Depth Document using the “Clock System” with head = 1200 Length = head to toe direction; 1200 - 0600 Width = hip to hip direction; 0300 - 0900 Depth = measure deepest part of visible wound bed
  • 16.
  • 17.
    Wound documentation Document anyundermining/ tunneling/sinus tracts Tunneling- narrow opening or path extending from wound through underlying tissue Undermining – tissue destruction underlying intact skin along wound margins Sinus Tract – blind opening or path that extends from open wound and dead ends in subcutaneous tissues
  • 18.
    Wound documentation Describe drainage/exudate Type Sanguineous– thin, bright red (bloody) Serosanguineous – thin, watery, pale red to pink Serous – thin, watery, clear, pale yellow Purulent – thick or thin, can be green, brown, yellow
  • 19.
    Wound documentation Describe drainage/exudatecont. Amount None Scant – wound moist, little to no drainage on dressing Small/Minimal – wound moist, exudate 25% or less of dressing Moderate – wound moist to wet, exudate up to 50% of dressing Large/Copious – wound wet, exudate > 50% of dressing
  • 20.
    Wound documentation Describe theodor Describe presence or absence of odor Strong Foul Pungent Fecal Musty Sweet
  • 21.
    Wound documentation Tissue Types Slough– usually lighter in color, thinner and stringy in consistency Color – Can be yellow, gray, white, green, brown Eschar – usually darker in color, thicker and hard consistency Color – black/brown
  • 22.
    Wound documentation Tissue Typescont. Granulation Tissue – it is usually beefy red, granular, bubbly in appearance should be differentiated from a smooth red wound bed Color – red, pink, pale pink or full dusky red Epithelialization – can appear as deep pink, then progress to pearly ***Important to understand that Partial thickness wounds will not have eschar/slough/granulation***
  • 23.
  • 24.
  • 25.
  • 26.
  • 27.
    Wound documentation Periwound Assessmentcont. Lesions Texture Evidence of previous scarring Rash Staining Moisture/Maceration
  • 28.
    Wound documentation Signs ofInfection Fever Streaking Redness Increased drainage Odor Warmth Elevated WBC
  • 29.
    Wound documentation Signs ofInfection Induration Malaise Edema Weeping Increased pain Discoloration
  • 30.
    Wound documentation Photography First –Know what your institutional policy is & follow it HIPPA Patient Dignity/Privacy issues Use of Digital vs. Film vs. Cell phone Follow policy of institution Use of flash is controversial – use as per policy
  • 31.
    Wound documentation Photography Use tosupport written documentation Good to take photos pre & post debridement as adjunct to written documentation Follow policy on the storage and use of the photos
  • 32.
    Wound documentation Photography Always havesome kind of measuring device in photo Adjacent to wound, same plane Parallel to wound bed Avoid wound distortion Use MACRO mode on camera if available – allows for closer image in focus Clean area of clutter before taking photo