Download to read offline


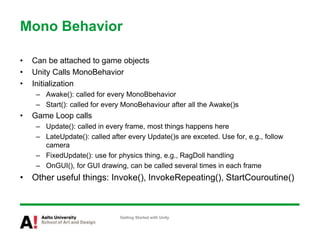
![public class AbbyAnim : MonoBehaviour {
private Animation _animation;
public AnimationClip action;
void Awake() {
_animation = GetComponent(typeof(Animation)) as Animation;
if (! _animation) { Debug.LogError(“…”); }
if (! action) { Debug.LogError(“…”); return;}
_animation[action.name].wrapMode = WrapMode.Once;
}
…
Getting Started with Unity](https://image.slidesharecdn.com/workingwithunity-110519054824-phpapp01-150716122033-lva1-app6892/85/Workingwithunity-110519054824-phpapp01-20-320.jpg)

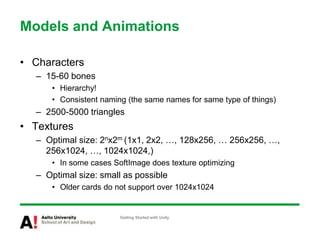
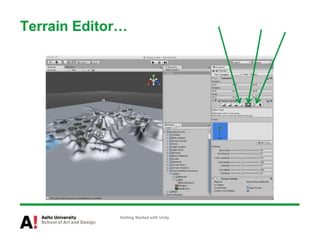
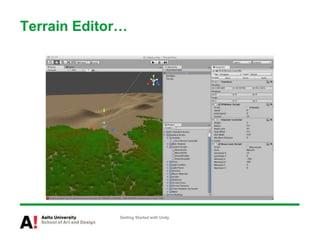
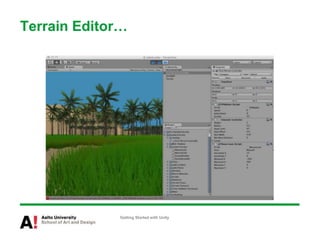

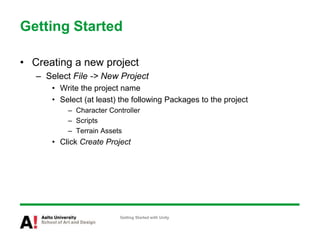
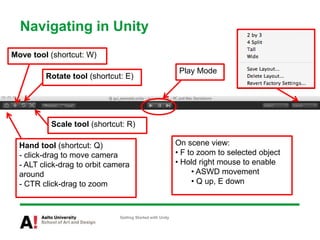
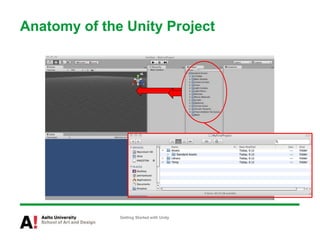
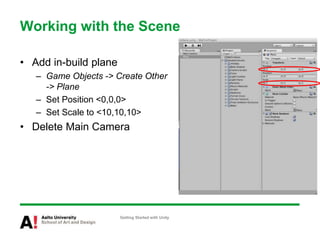
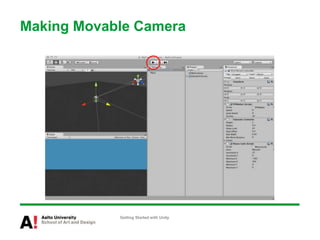
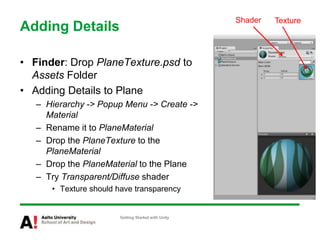
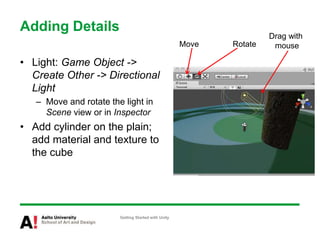
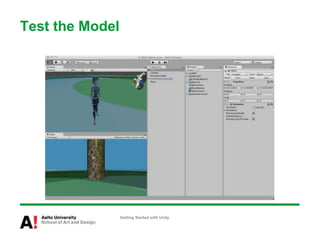
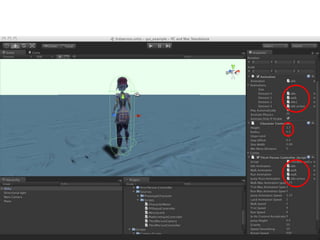
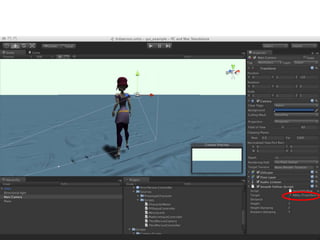
The document provides instructions for getting started with Unity, including how to create a new project, navigate the Unity interface, add basic game objects like a plane and camera to the scene, add textures, lighting, animations, and prefabs. It also discusses topics like materials, models, code and performance optimization, version control, and using the terrain editor.


![[UniteKorea2013] Memory profiling in Unity](https://cdn.slidesharecdn.com/ss_thumbnails/memoryprofilinginunity-130509204713-phpapp01-thumbnail.jpg?width=640&height=640&fit=bounds)


![[ICE 2025] Quick Prototyping with Unity & CoPilot.pptx](https://cdn.slidesharecdn.com/ss_thumbnails/ice2025quickprototypingwithunitycopilot-250819033823-549f06c1-thumbnail.jpg?width=640&height=640&fit=bounds)