Download as PDF, PPTX
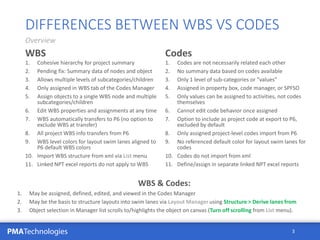

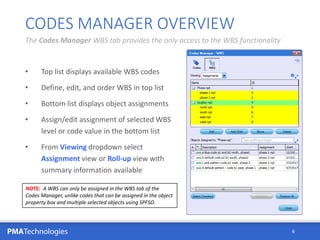
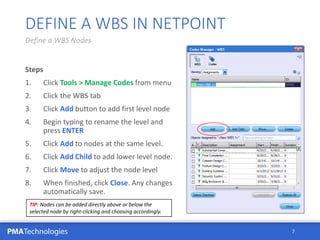
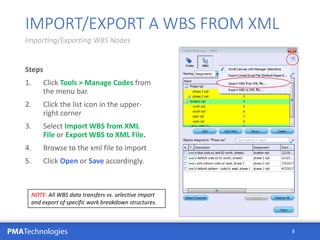
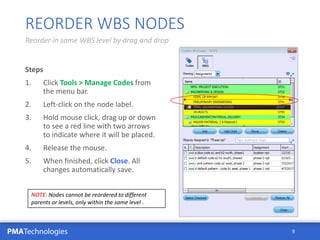
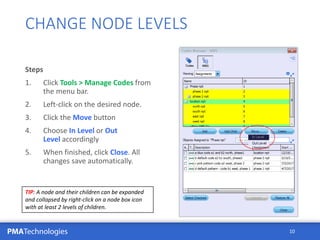
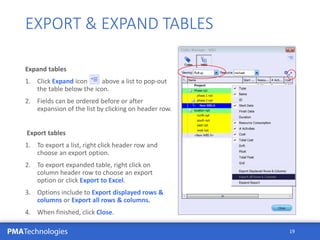
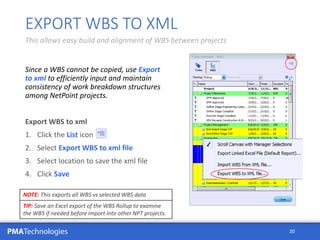
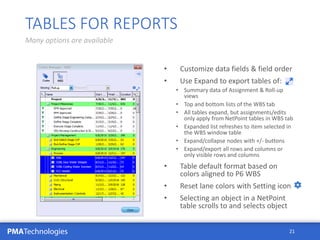
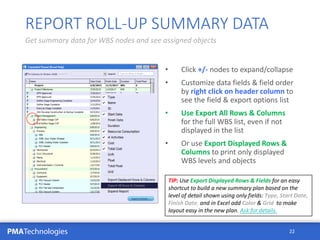


The document outlines the features and processes for defining and managing a Work Breakdown Structure (WBS) in NetPoint. It provides detailed instructions for assigning WBS codes, importing/exporting WBS data from XML files, and customizing views and reports related to WBS. Additionally, it compares WBS functionality with codes and highlights the integration with other project management tools like Primavera P6.