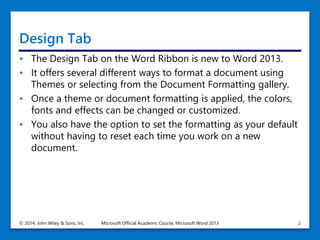
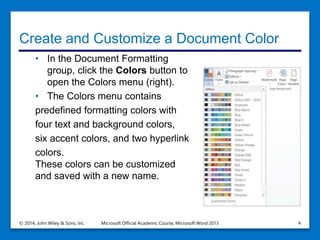
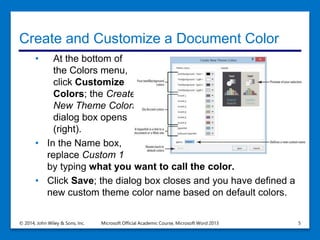
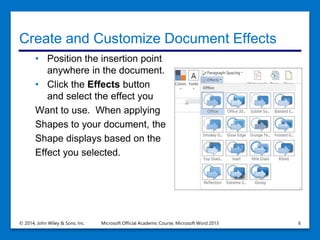
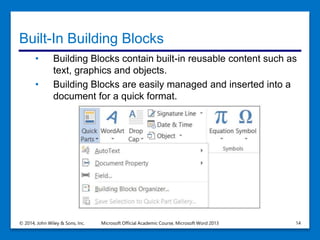
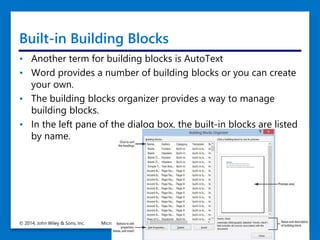
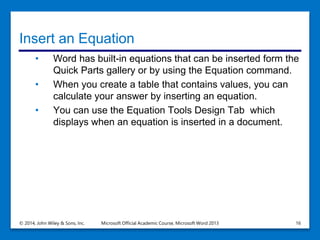
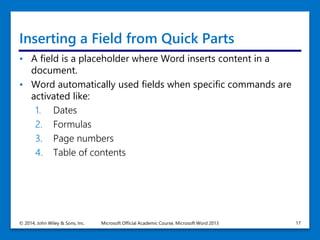
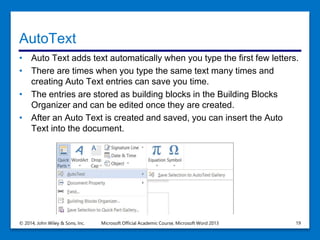
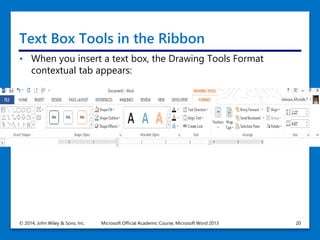
1. The document discusses various formatting options in Microsoft Word 2013 including themes, styles, colors, effects, paragraphs, style sets, page colors, watermarks, borders, building blocks, equations, fields, auto text, text boxes, drop caps, and special characters.
2. It provides information on how to apply these various formatting options to customize documents.
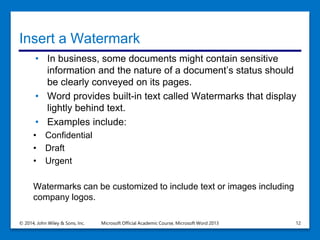
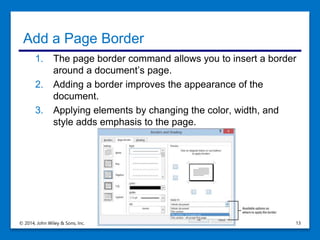
3. Examples are given of different formatting options like themes, colors, style sets, watermarks, fields, and text boxes that can be used to enhance documents.