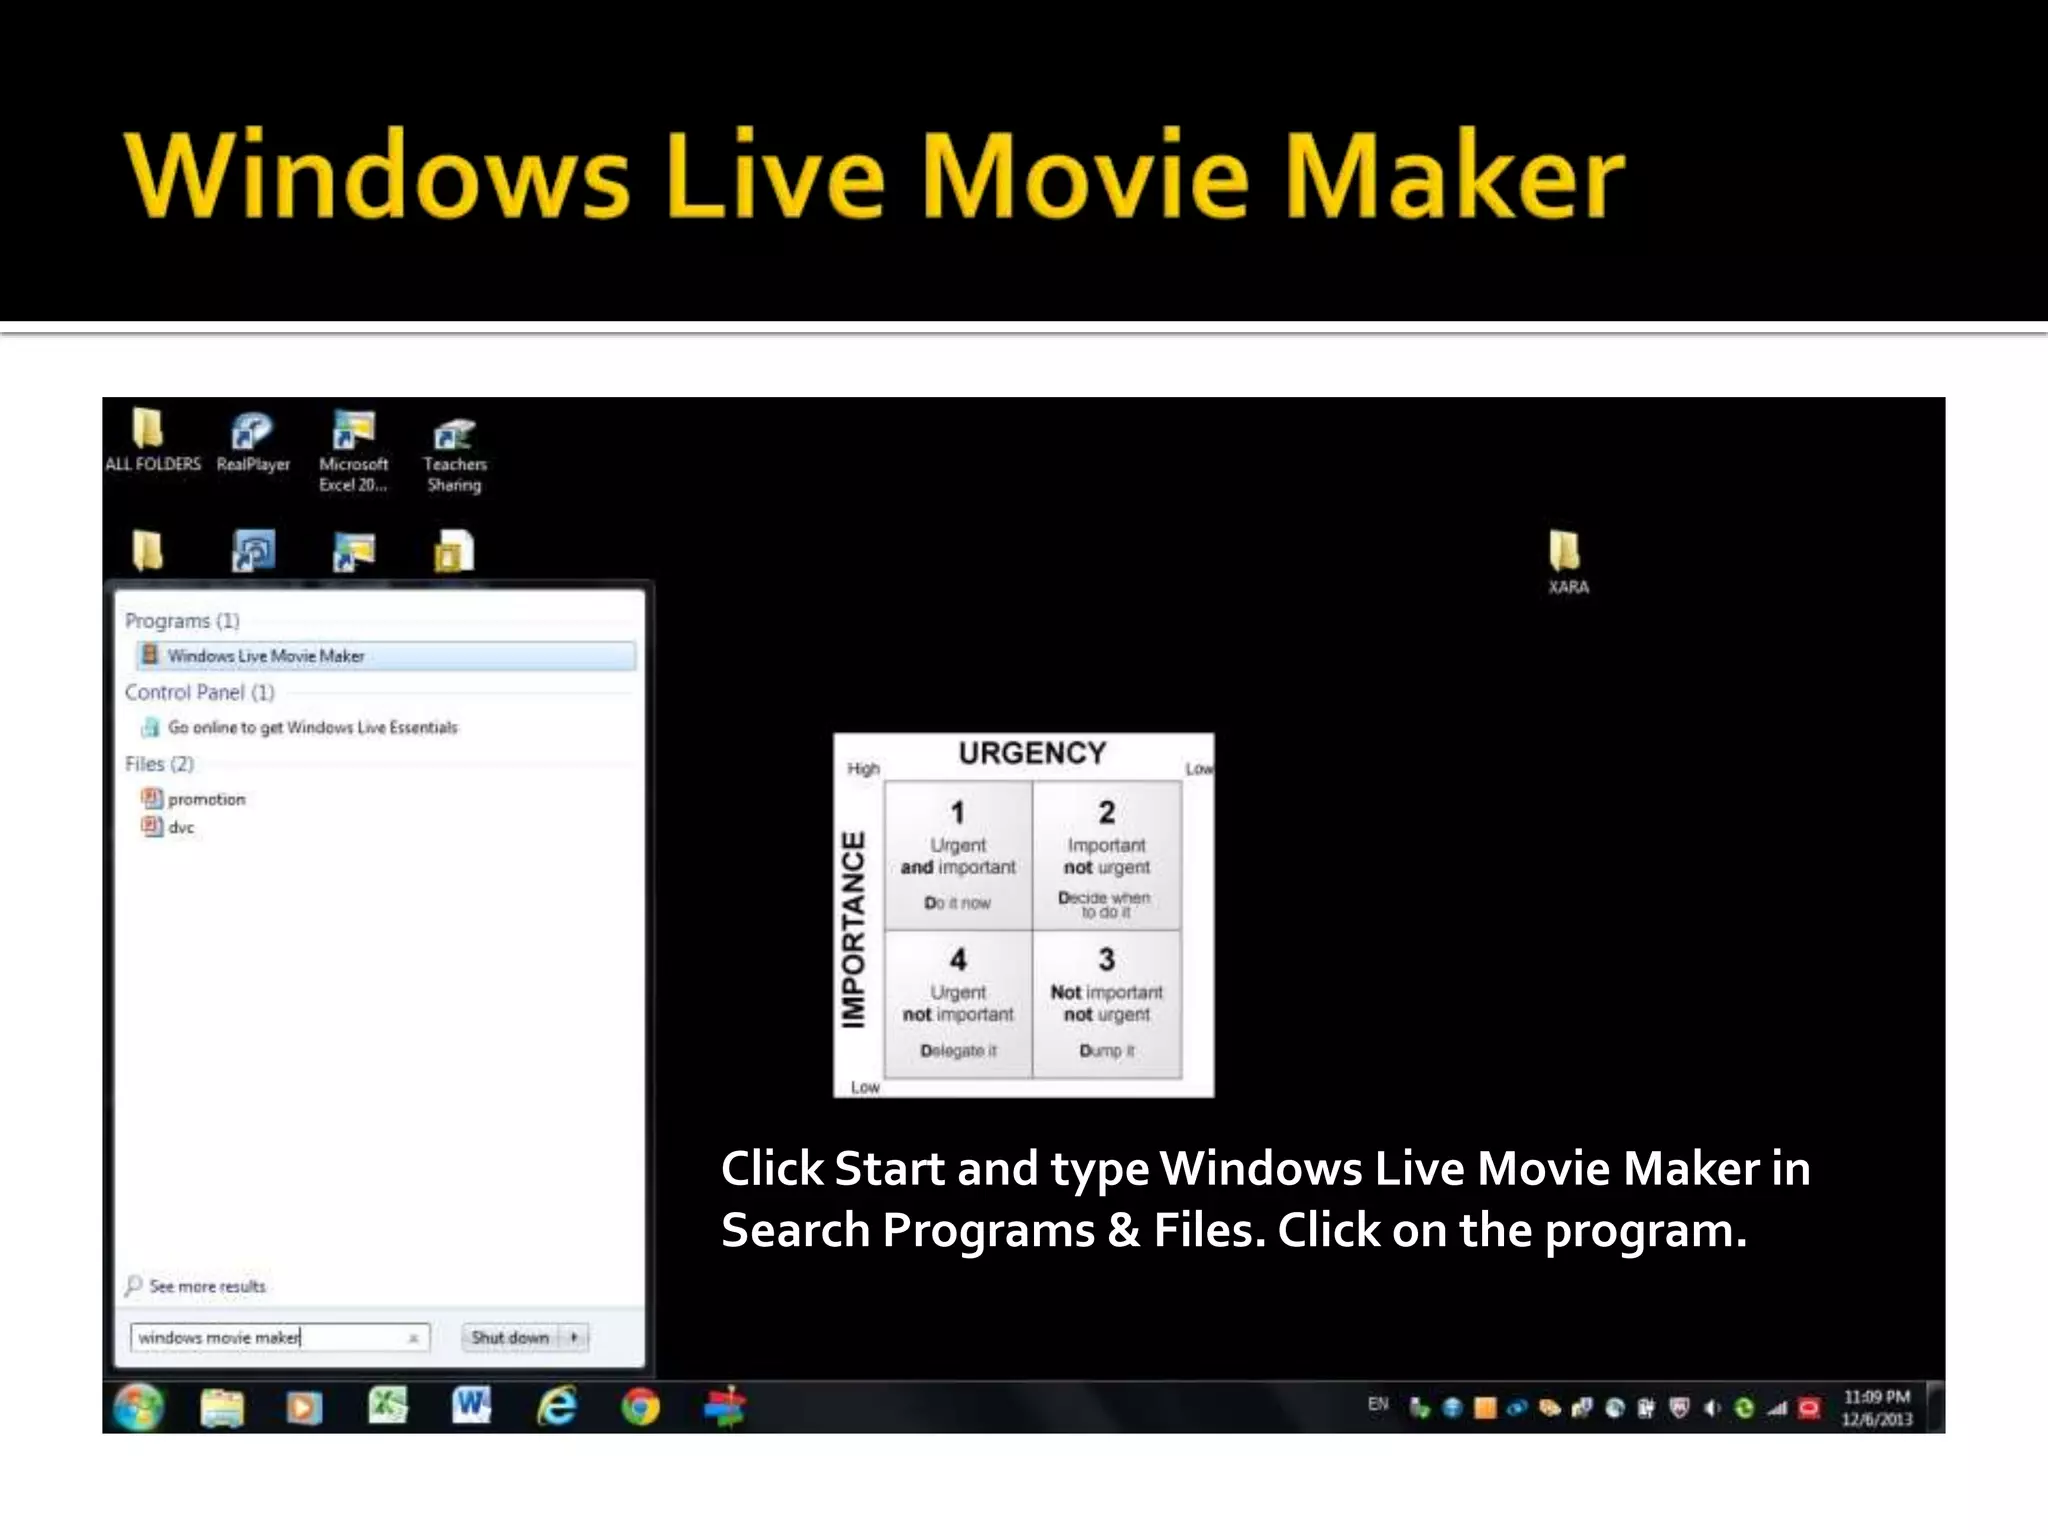
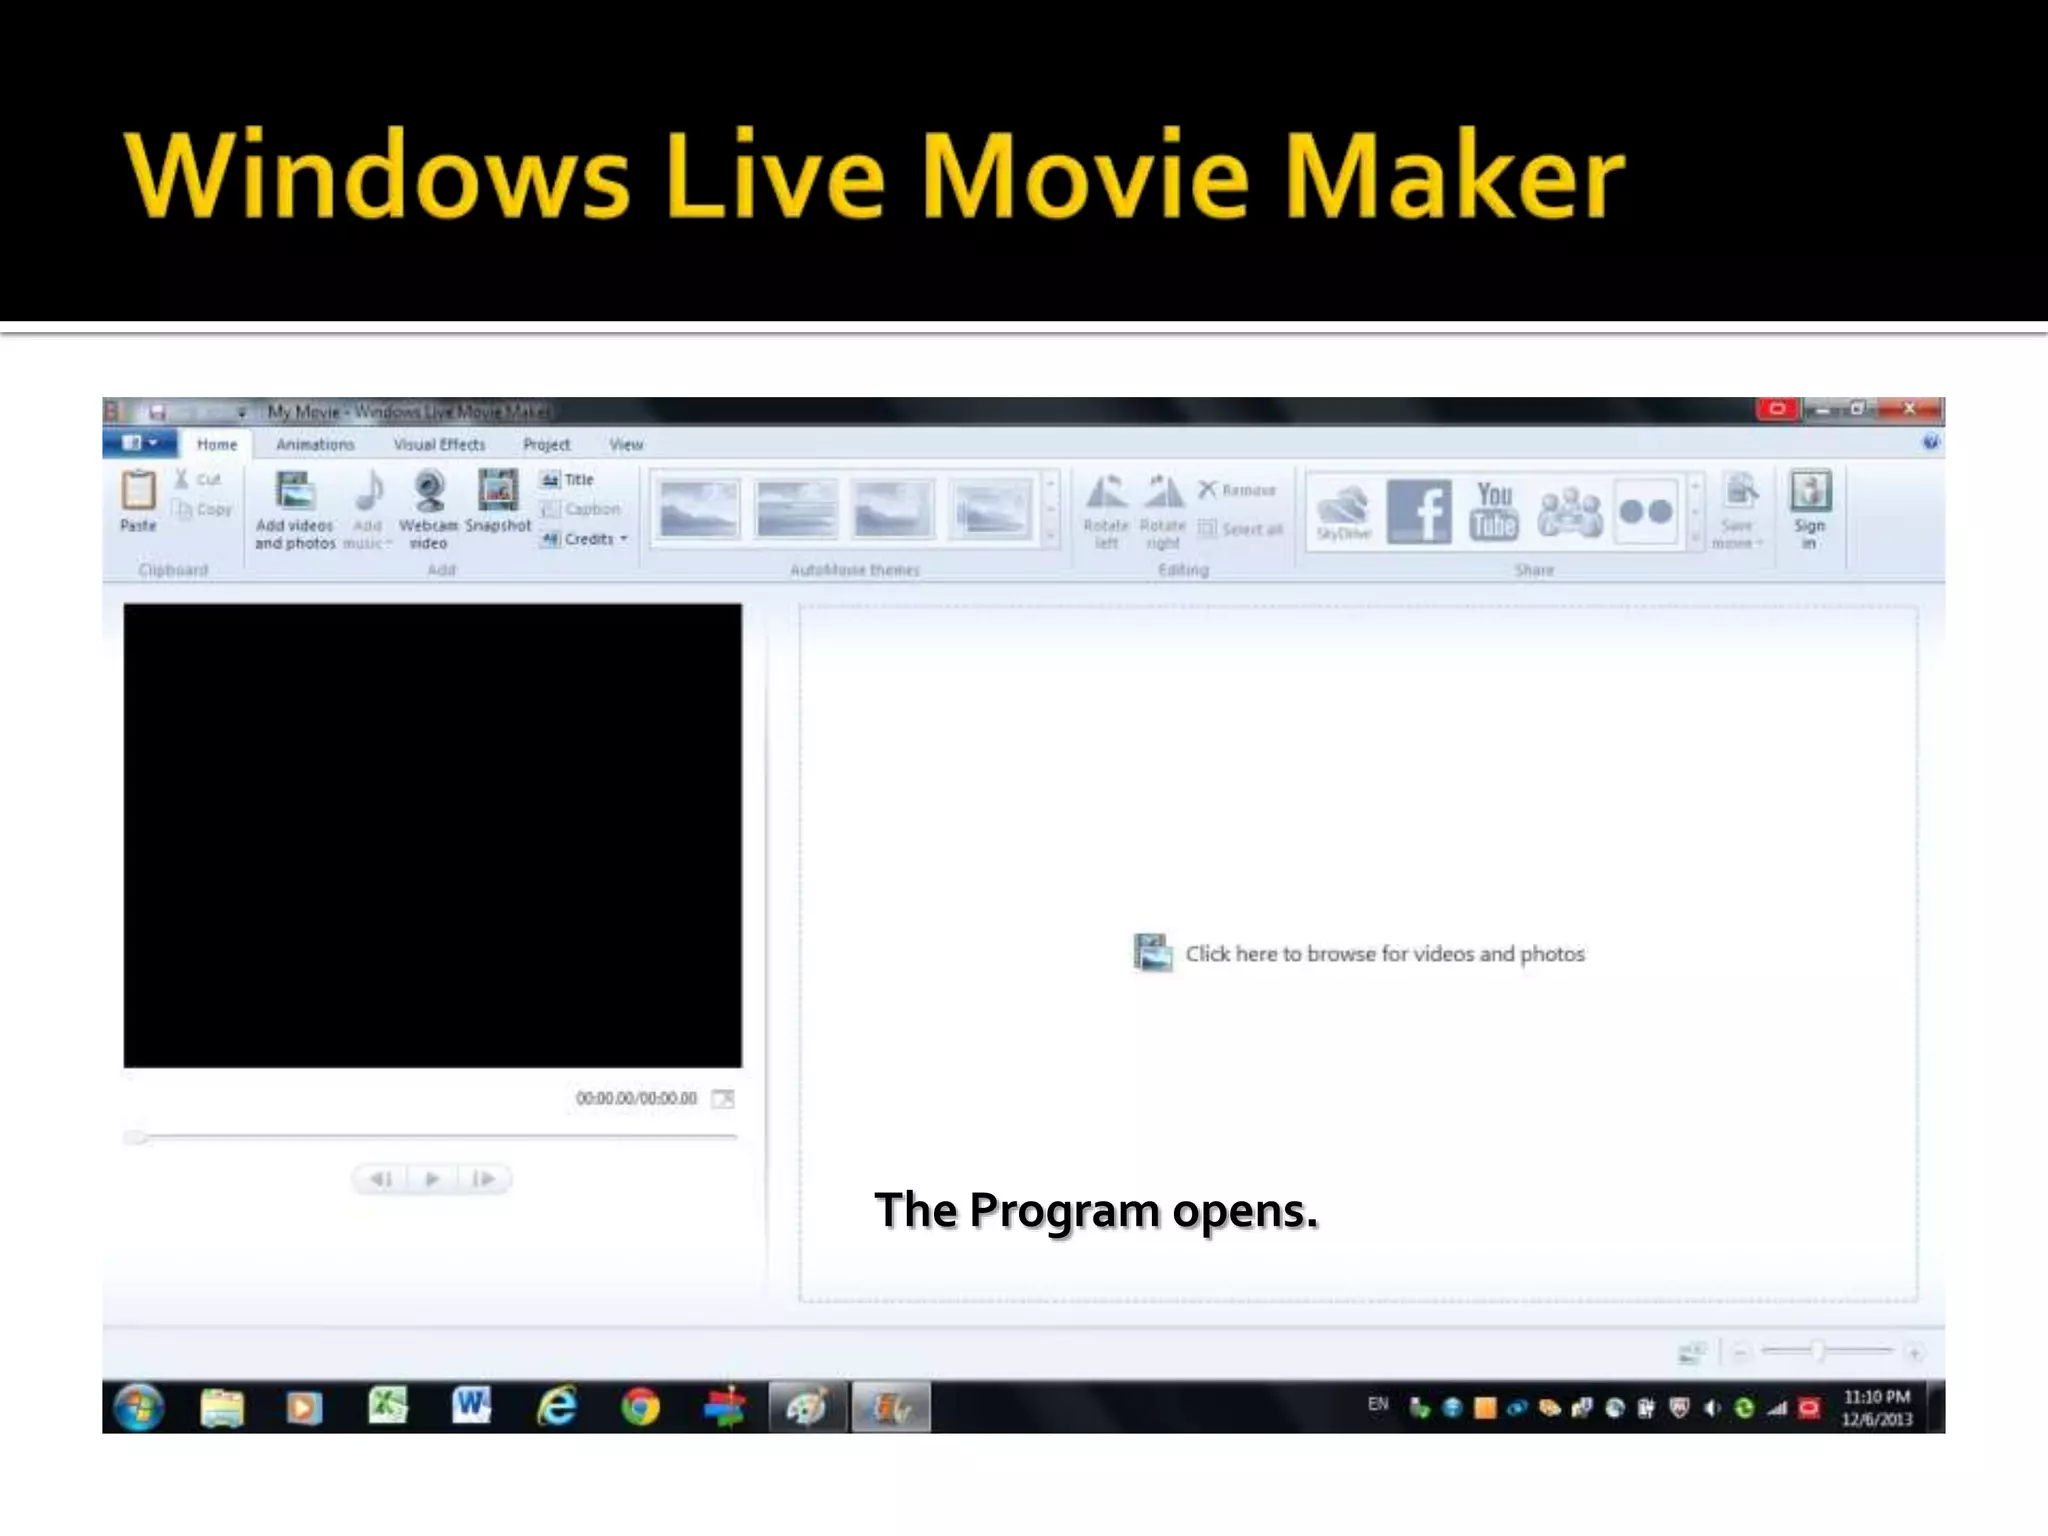
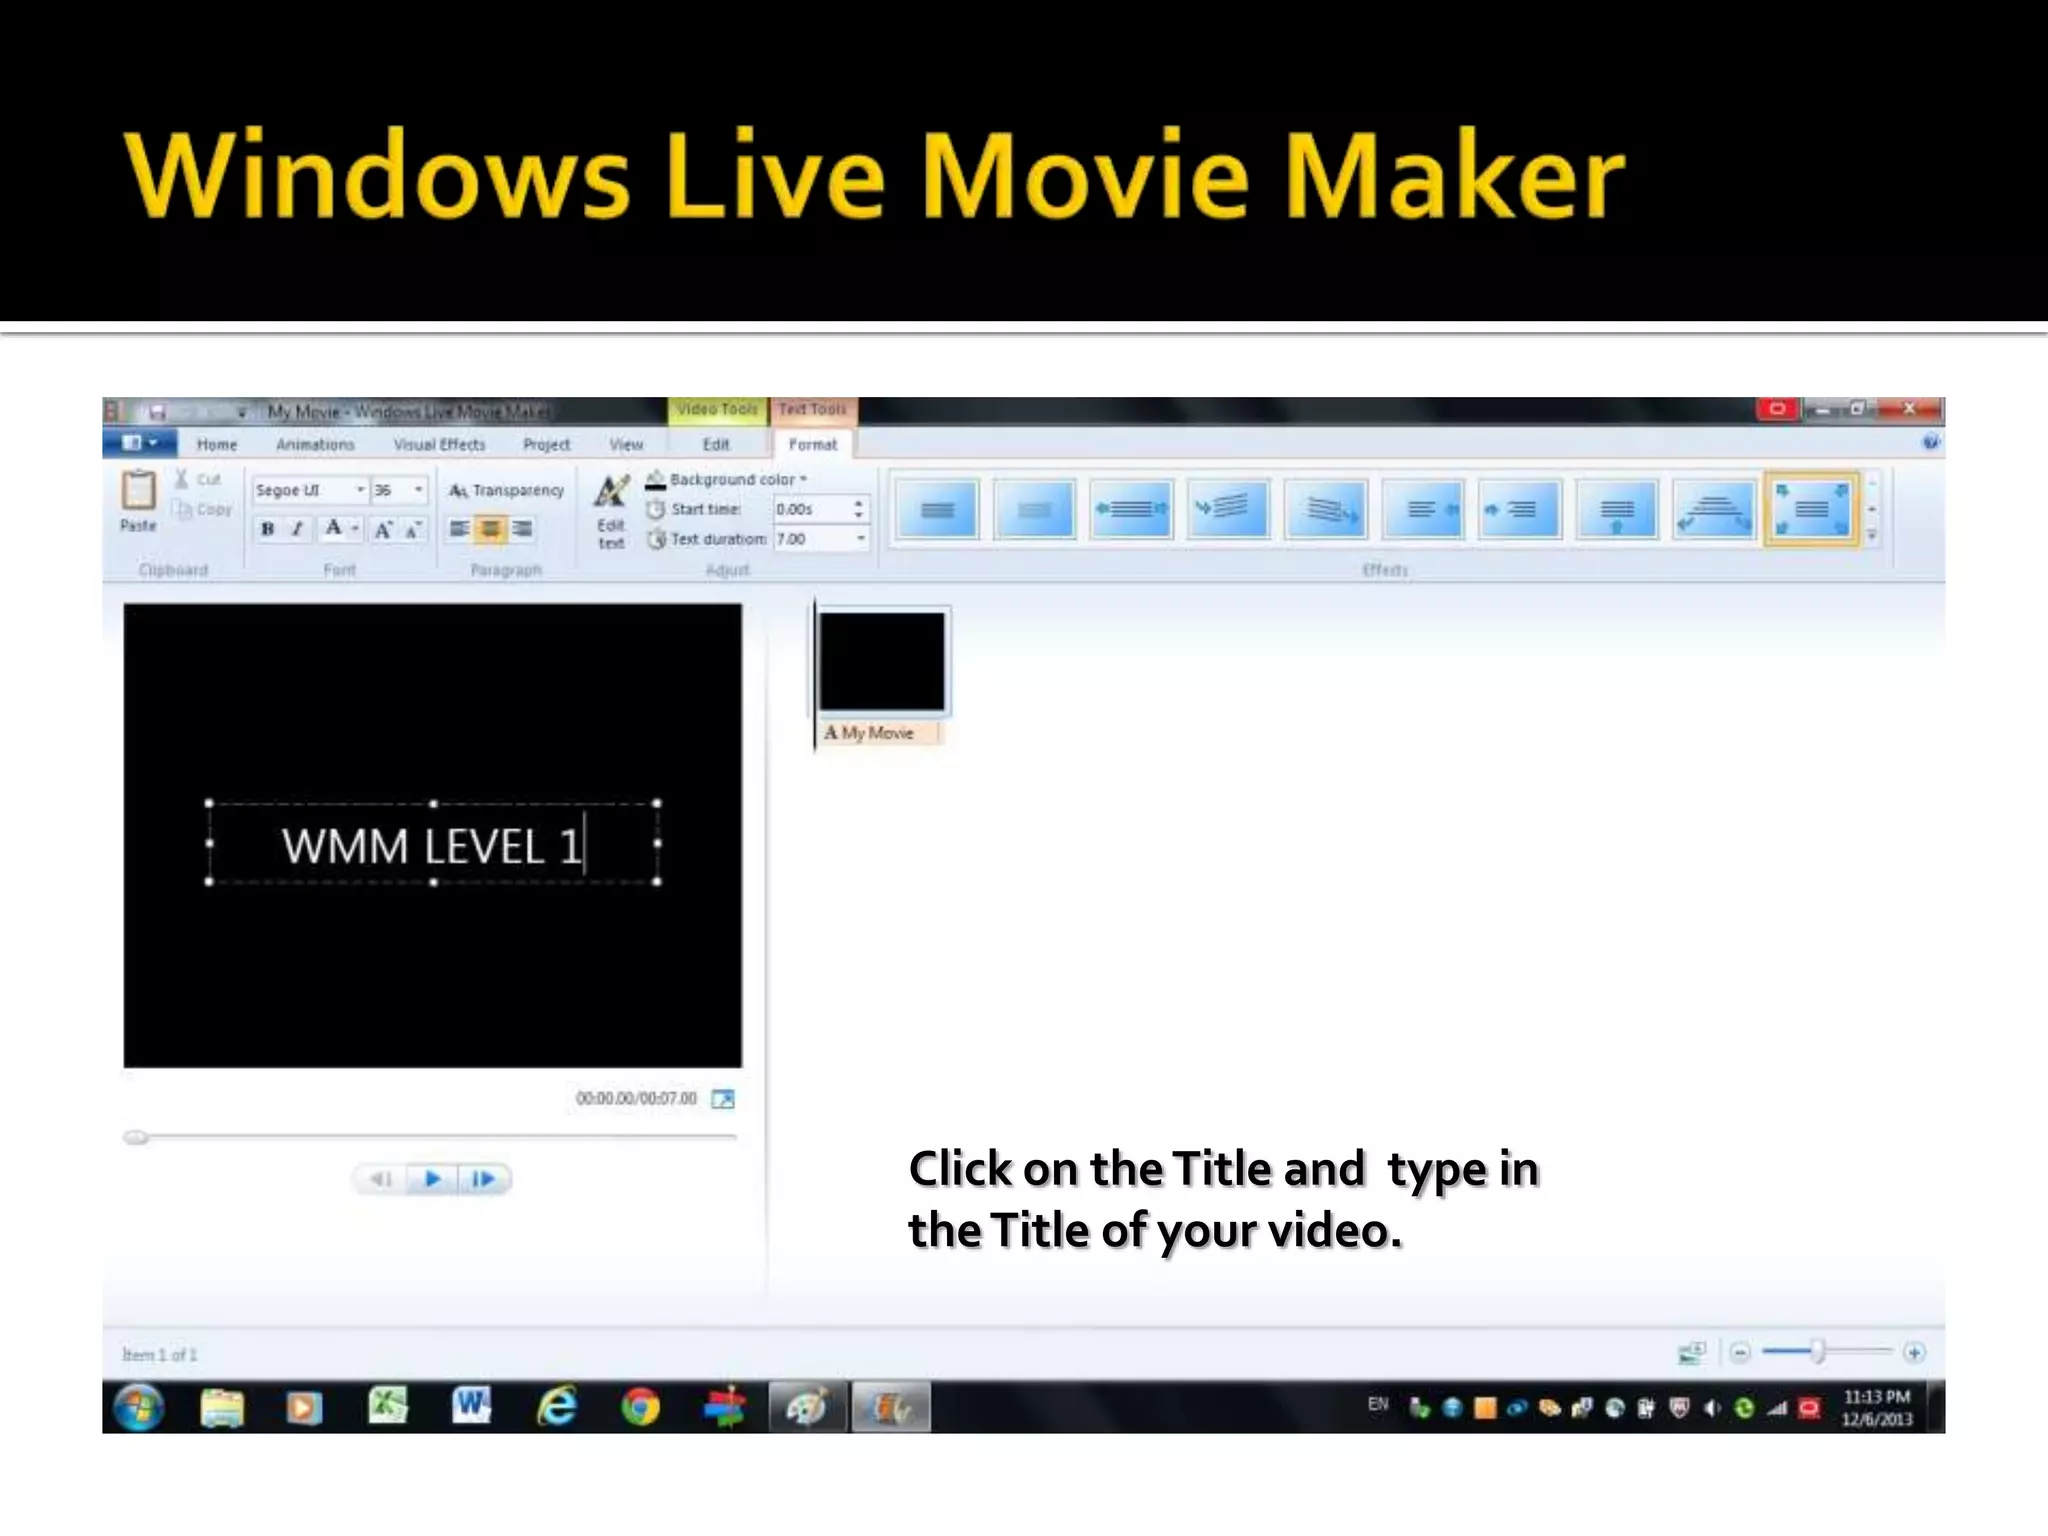
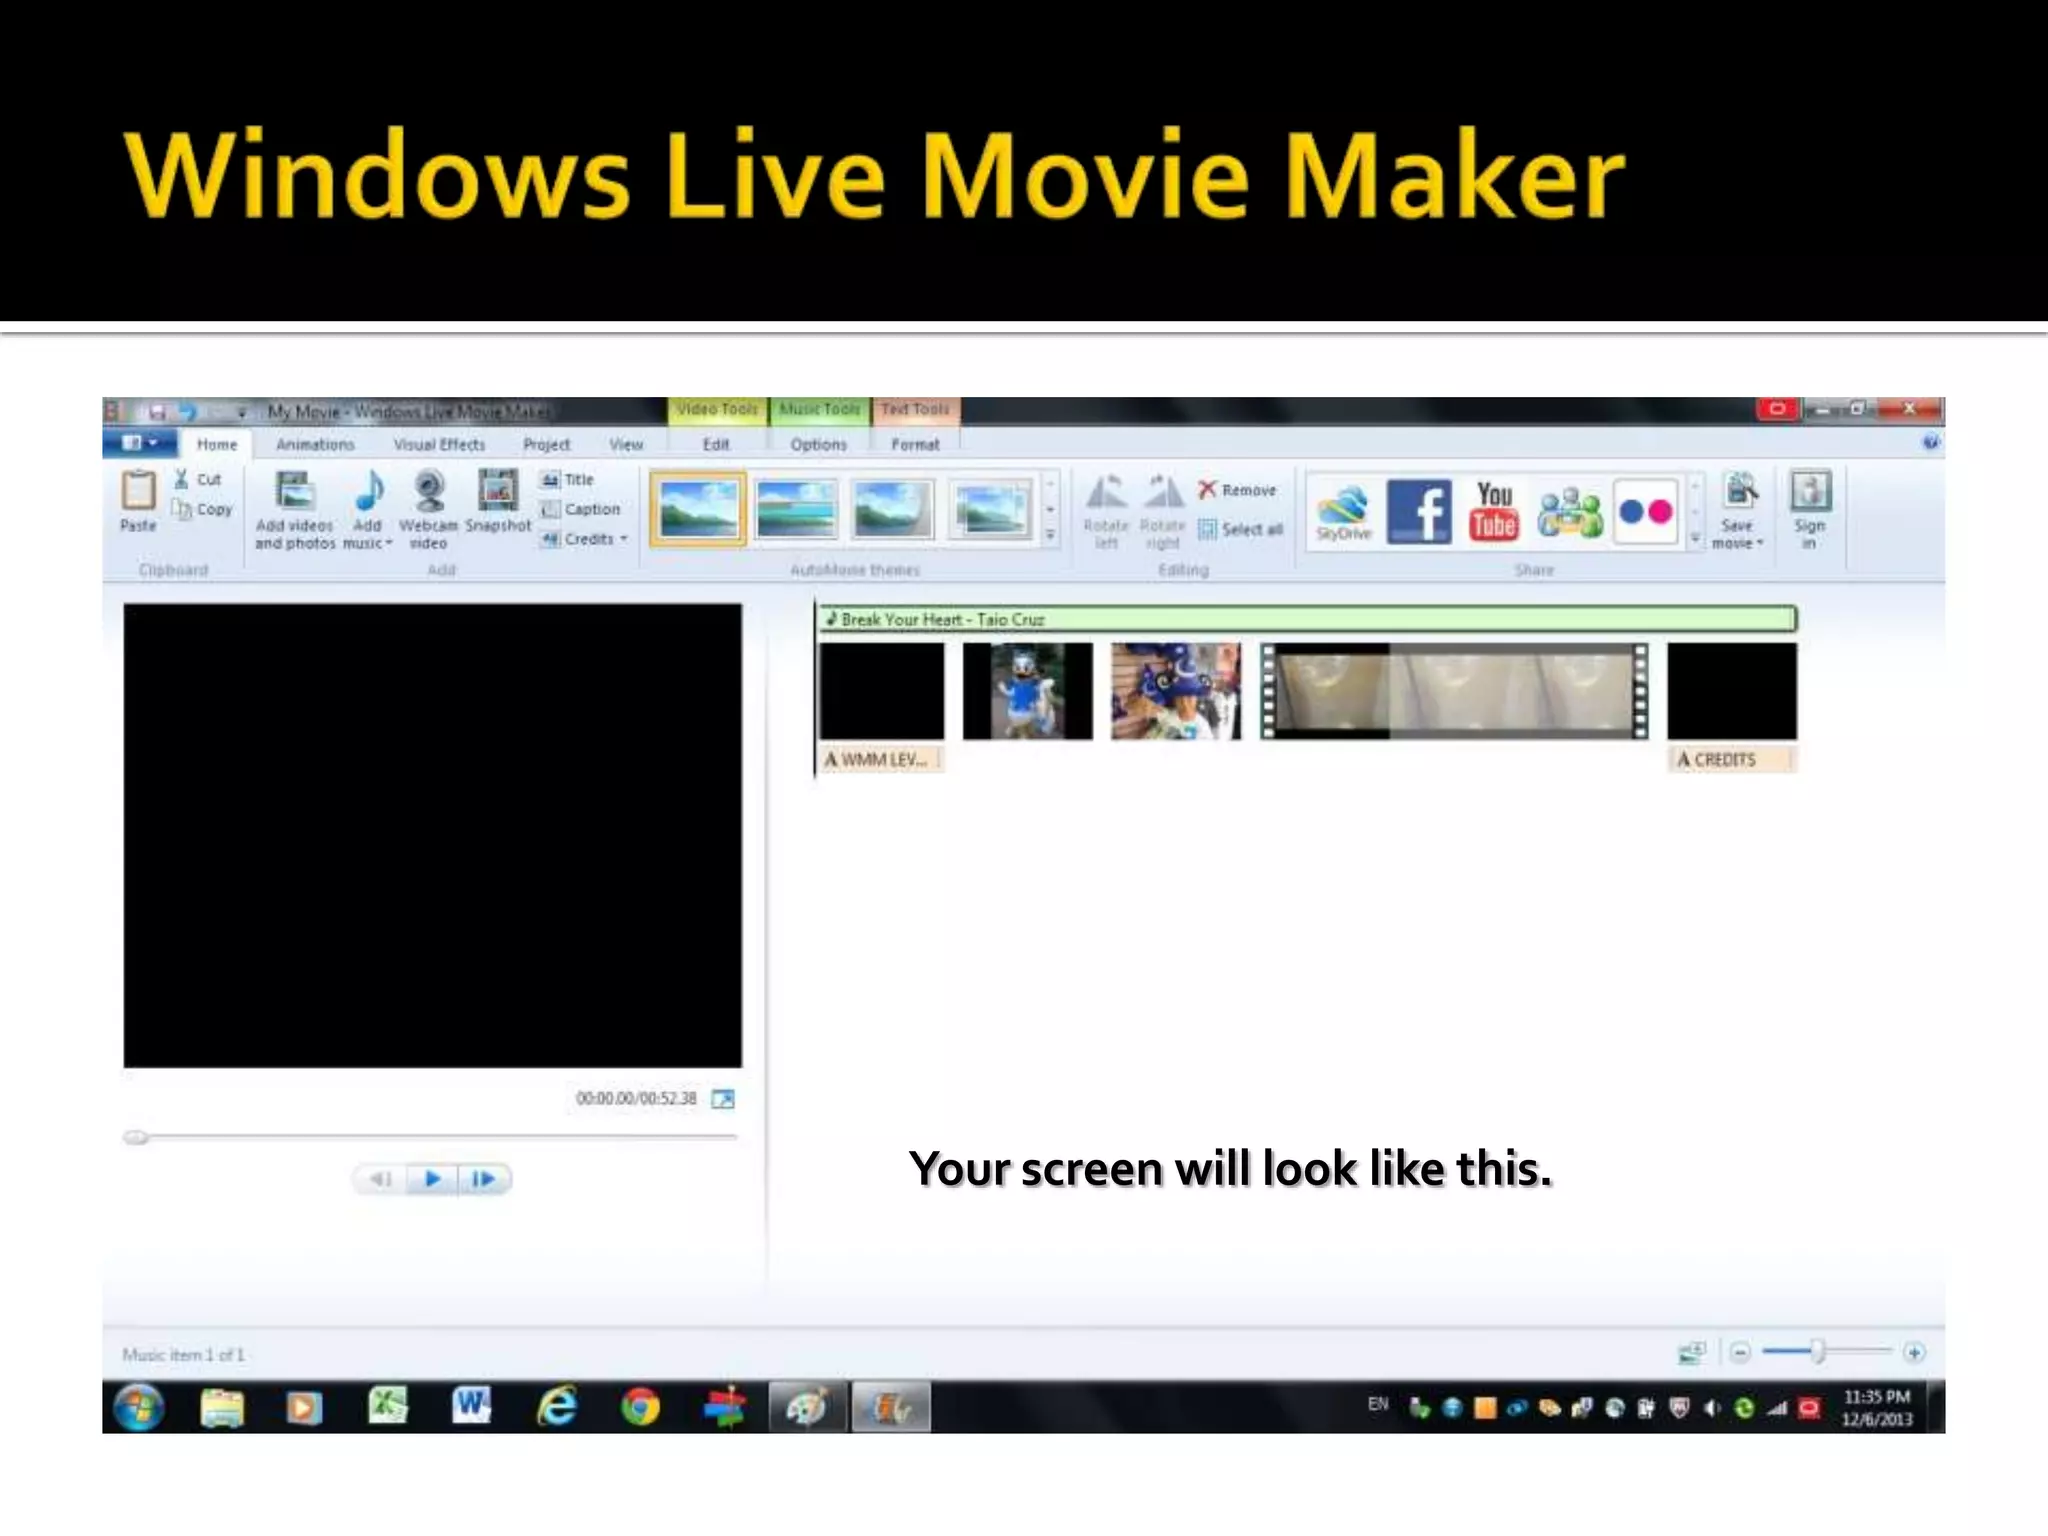
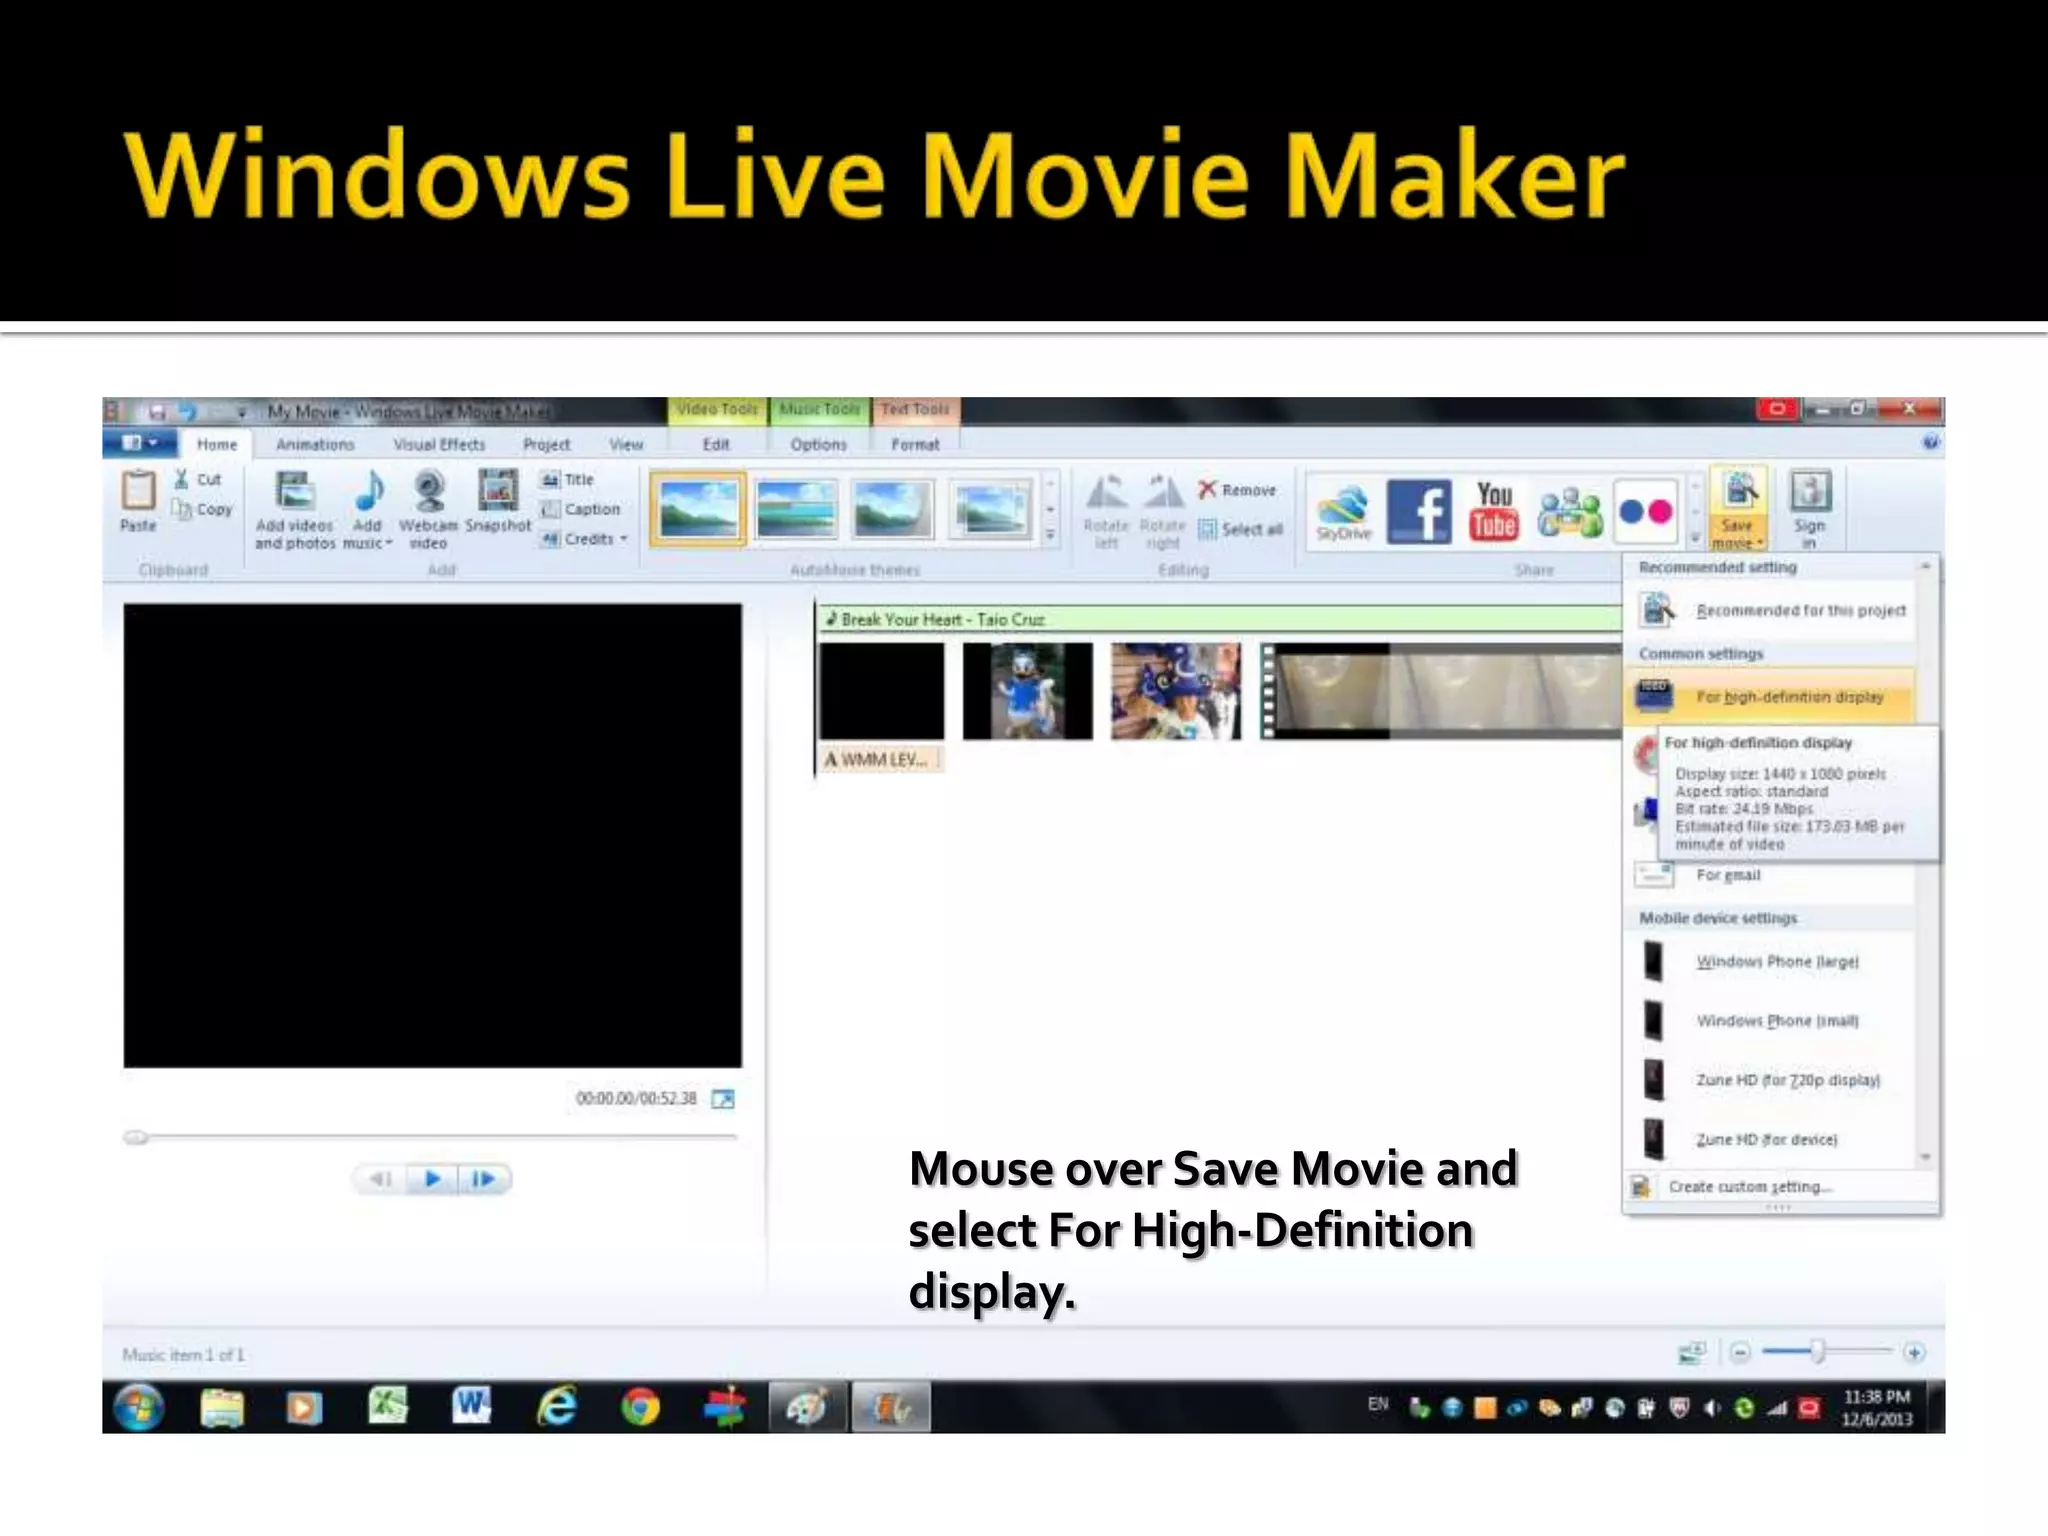
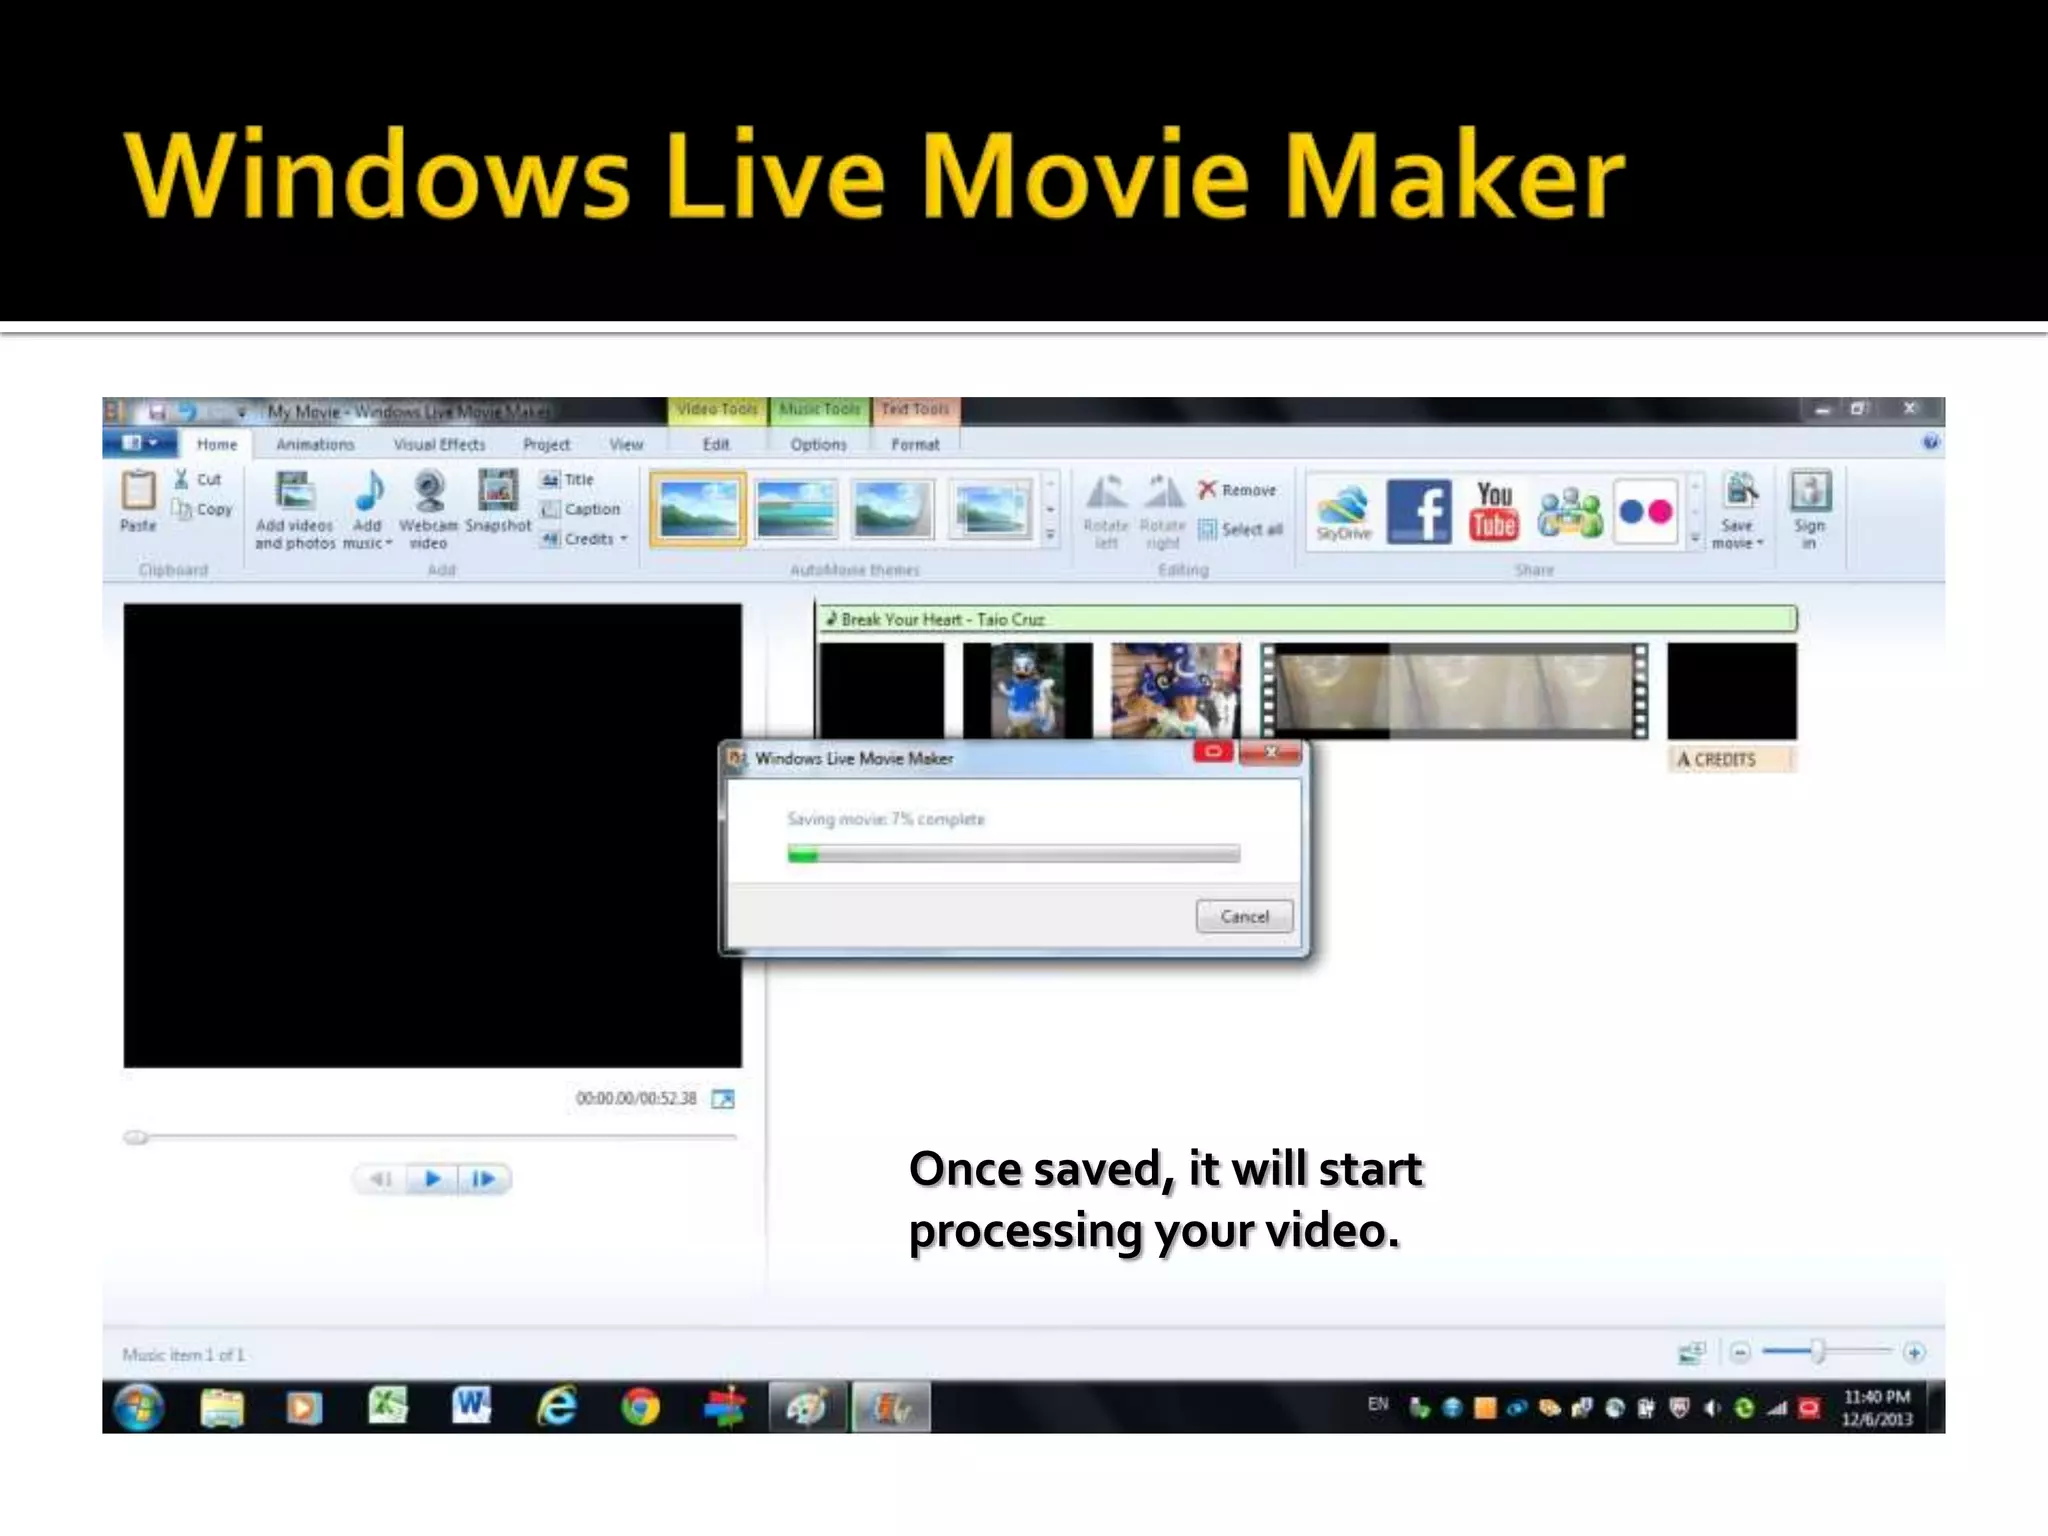
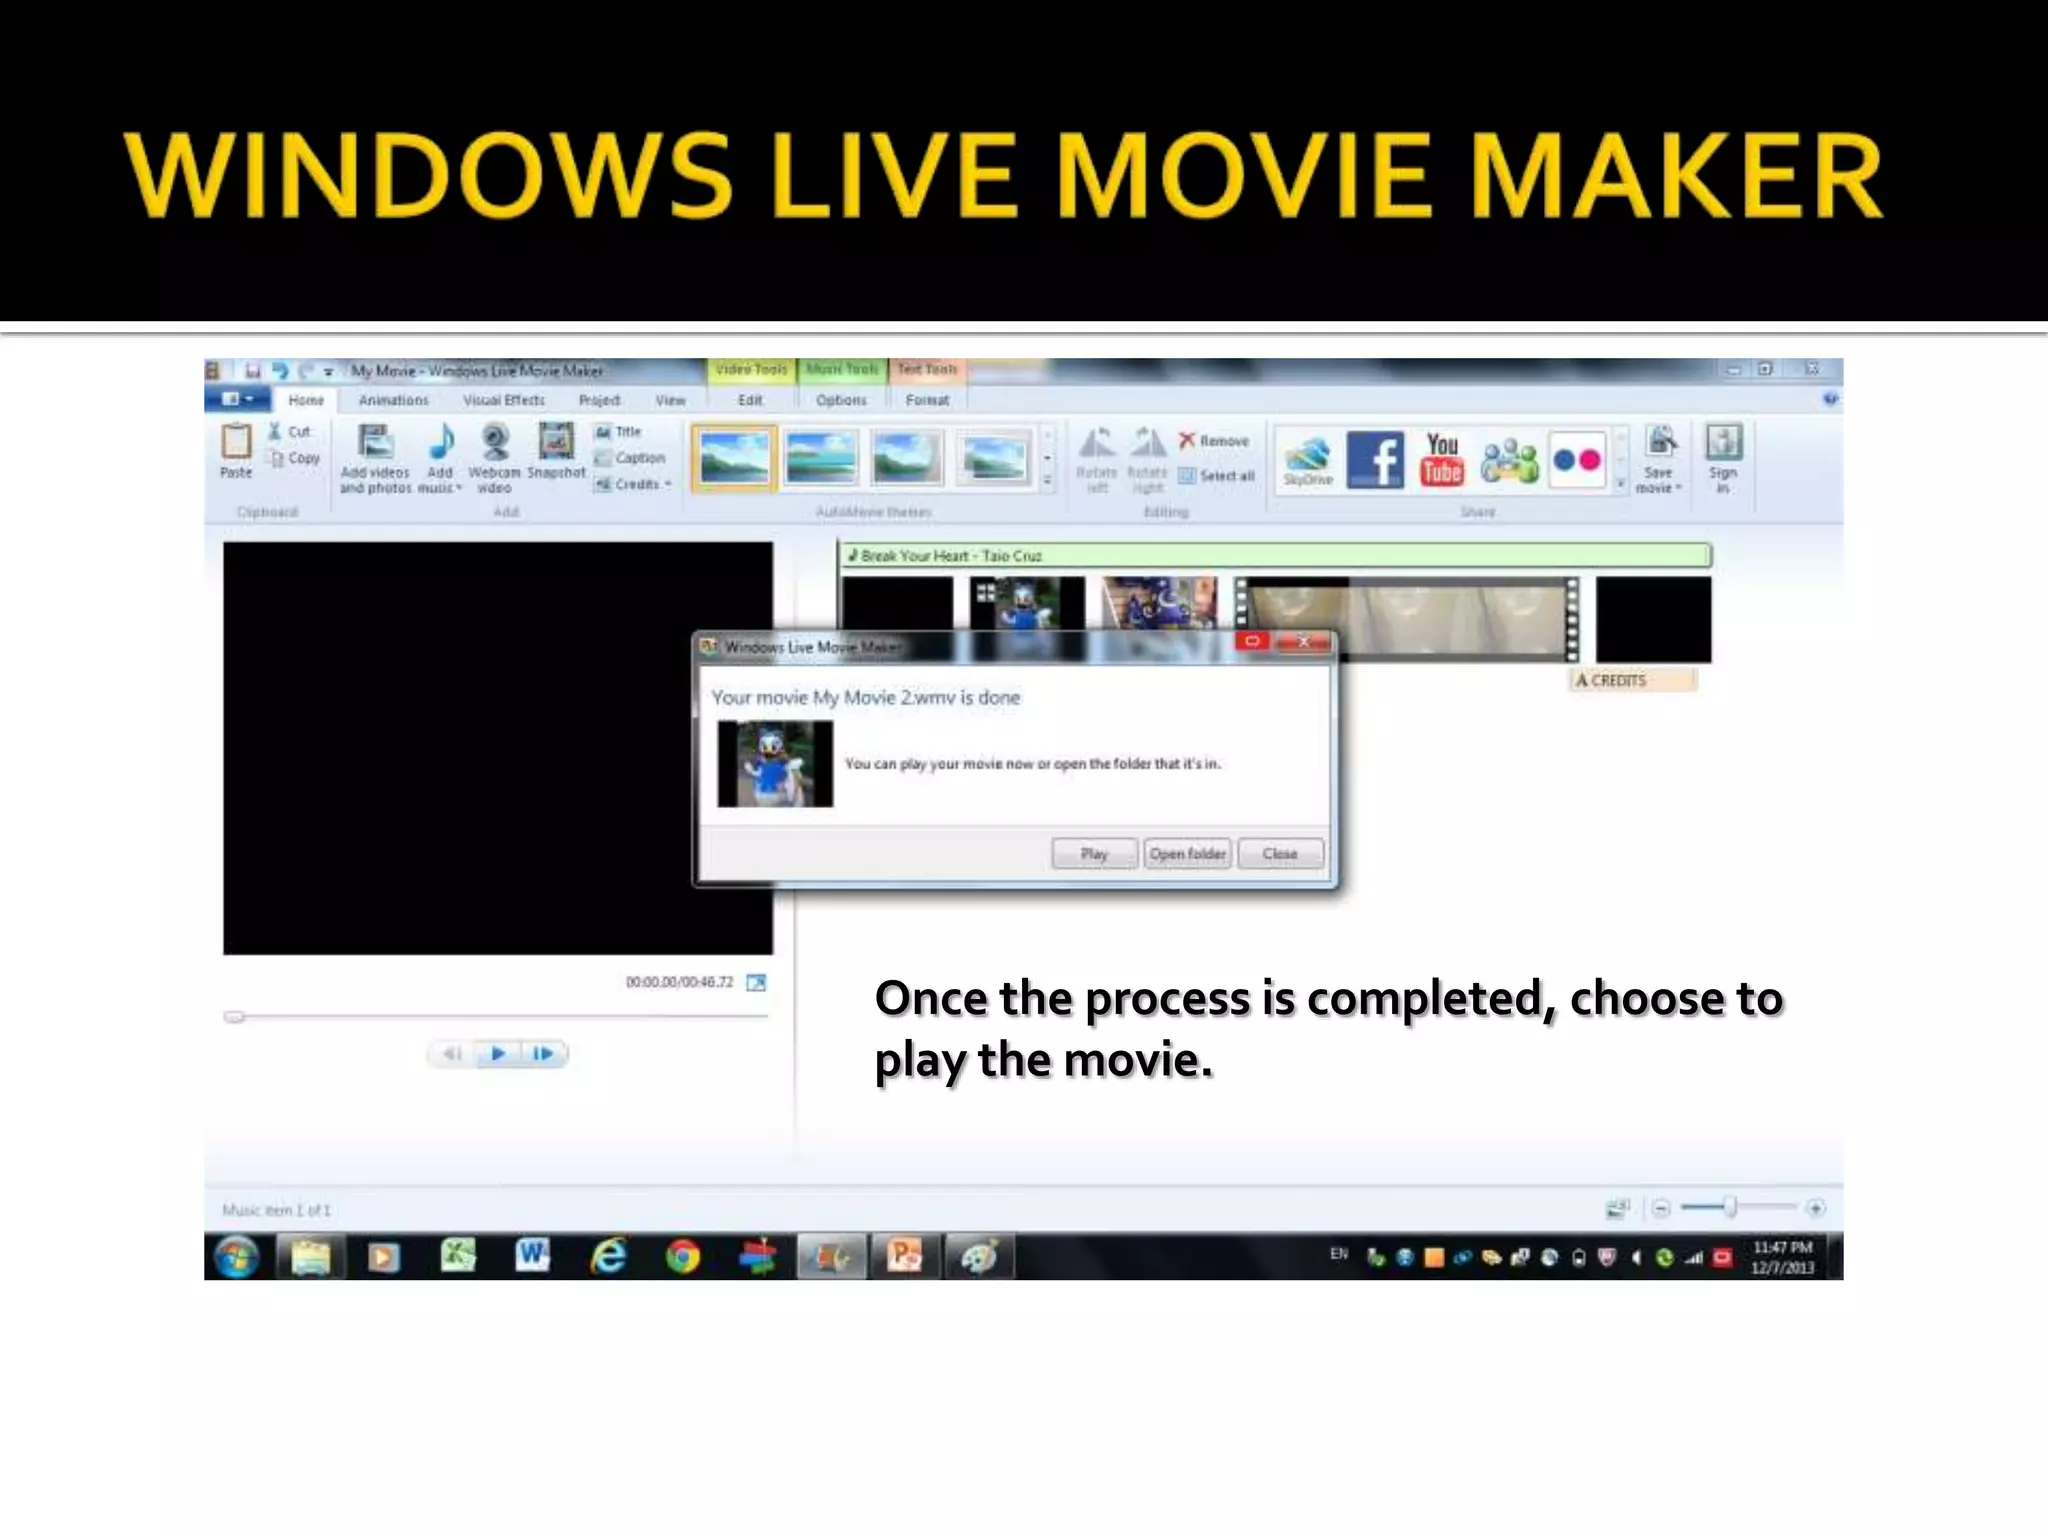
Basic Video Editing Level 1
Click Start and type Windows Live Movie Maker in
Search Programs & Files. Click on the program.
The Program opens.
Mouse over the icon “Add Title”
Click on the Title and type in
the Title of your video.
Mouse over Add Videos and
Photos.
Search for the photos in
Windows Live Movie Maker
Folder and select 2 pictures
and a video.
Mouse over Credits.
Type in the credits that you
want.
Mouse over Add Music.
Select your music from the
Windows Live Movie Maker
Folder and click open.
Your screen will look like this.
Mouse over Auto Movie
Themes and select the one
you like & click on it.
Mouse over Save Movie and
select For High-Definition
display.
Save the movie in Windows
Live Movie Maker Folder.
Once saved, it will start
processing your video.
Once the process is completed, choose to
play the movie.
Close the Program by clicking
here then click Yes.
Save your movie in the
Windows Live Movie Maker
Folder.
Windows live movie maker level 1 2014

Windows live movie maker level 1 2014