Download as PDF, PPTX

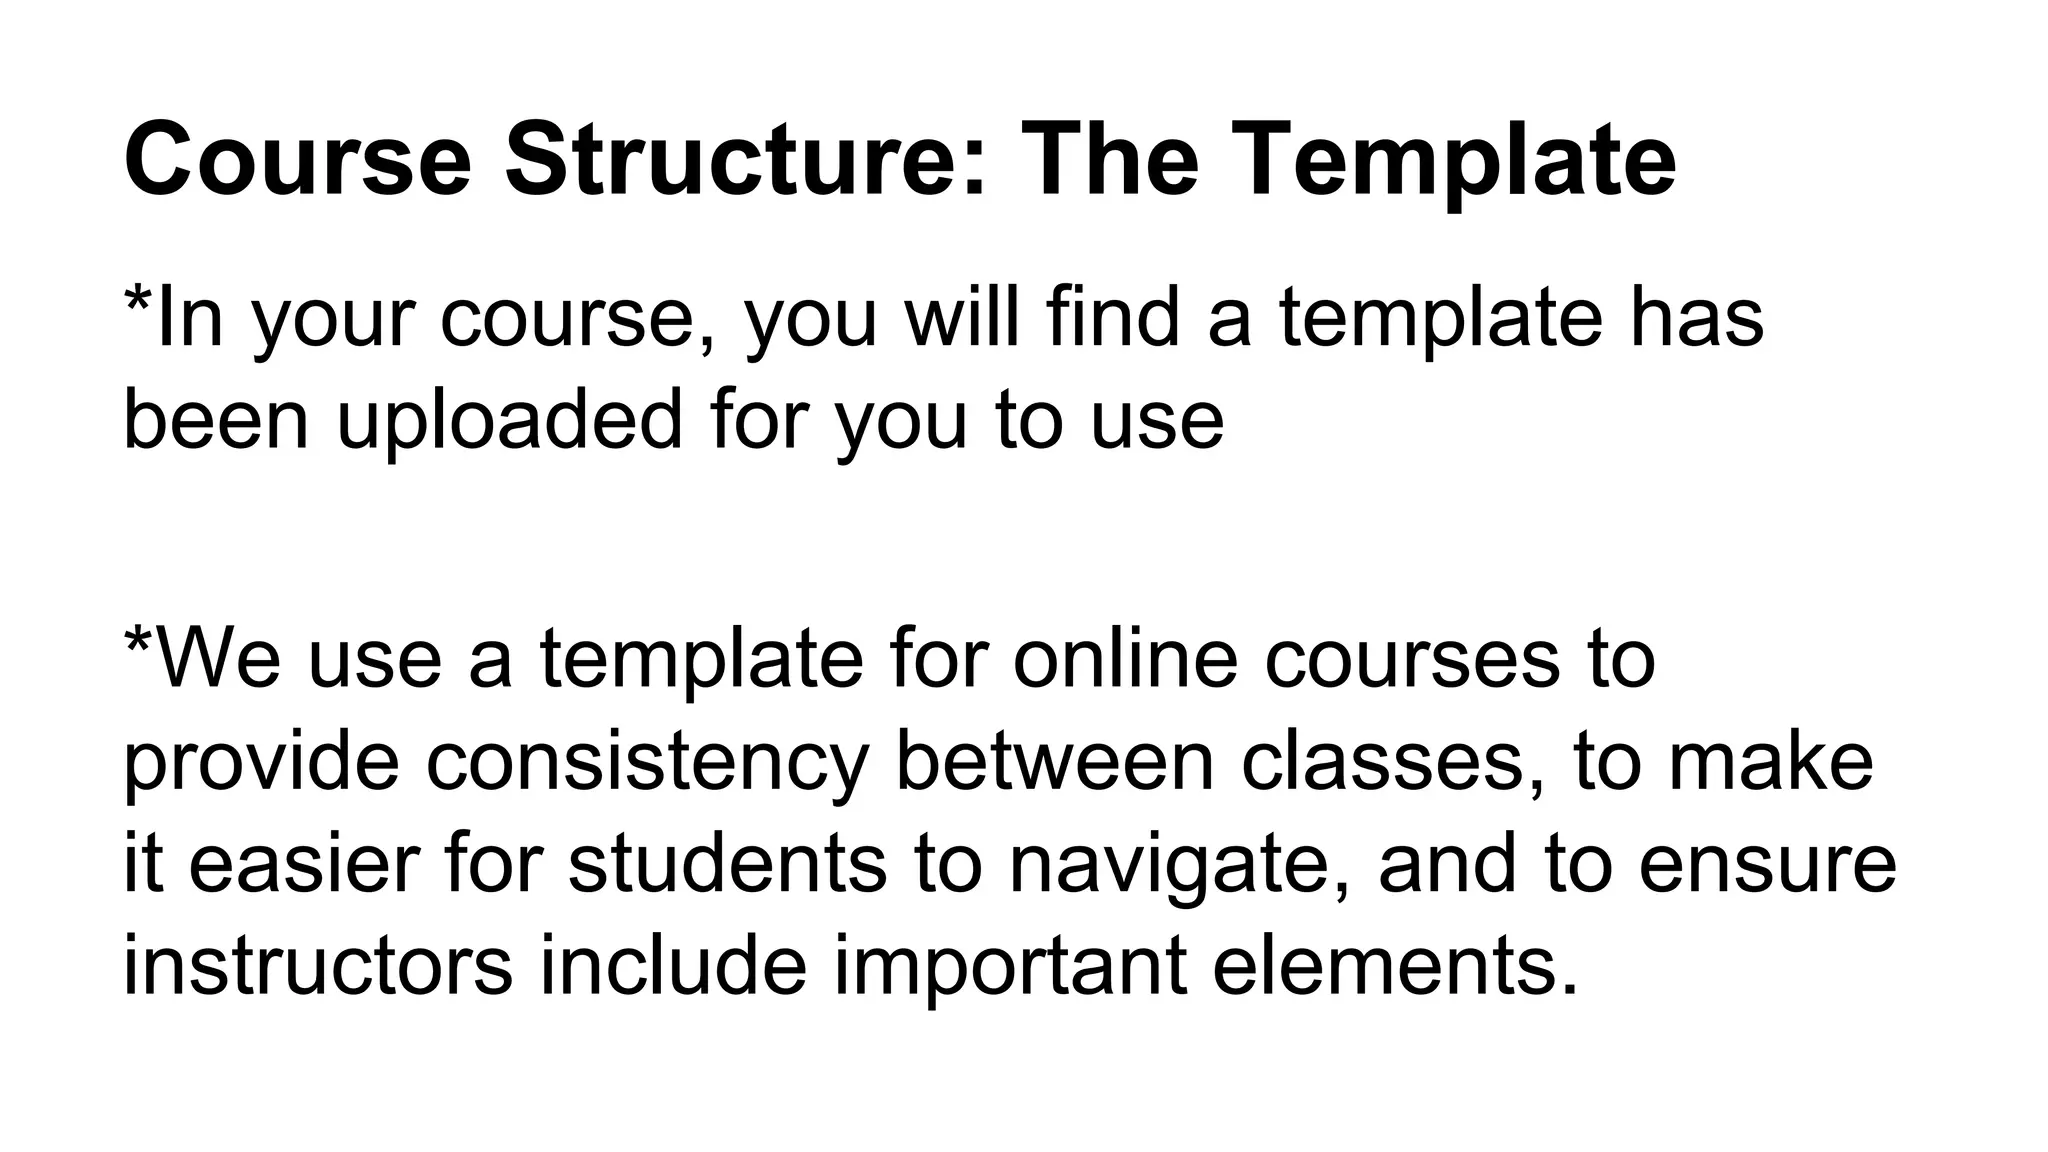
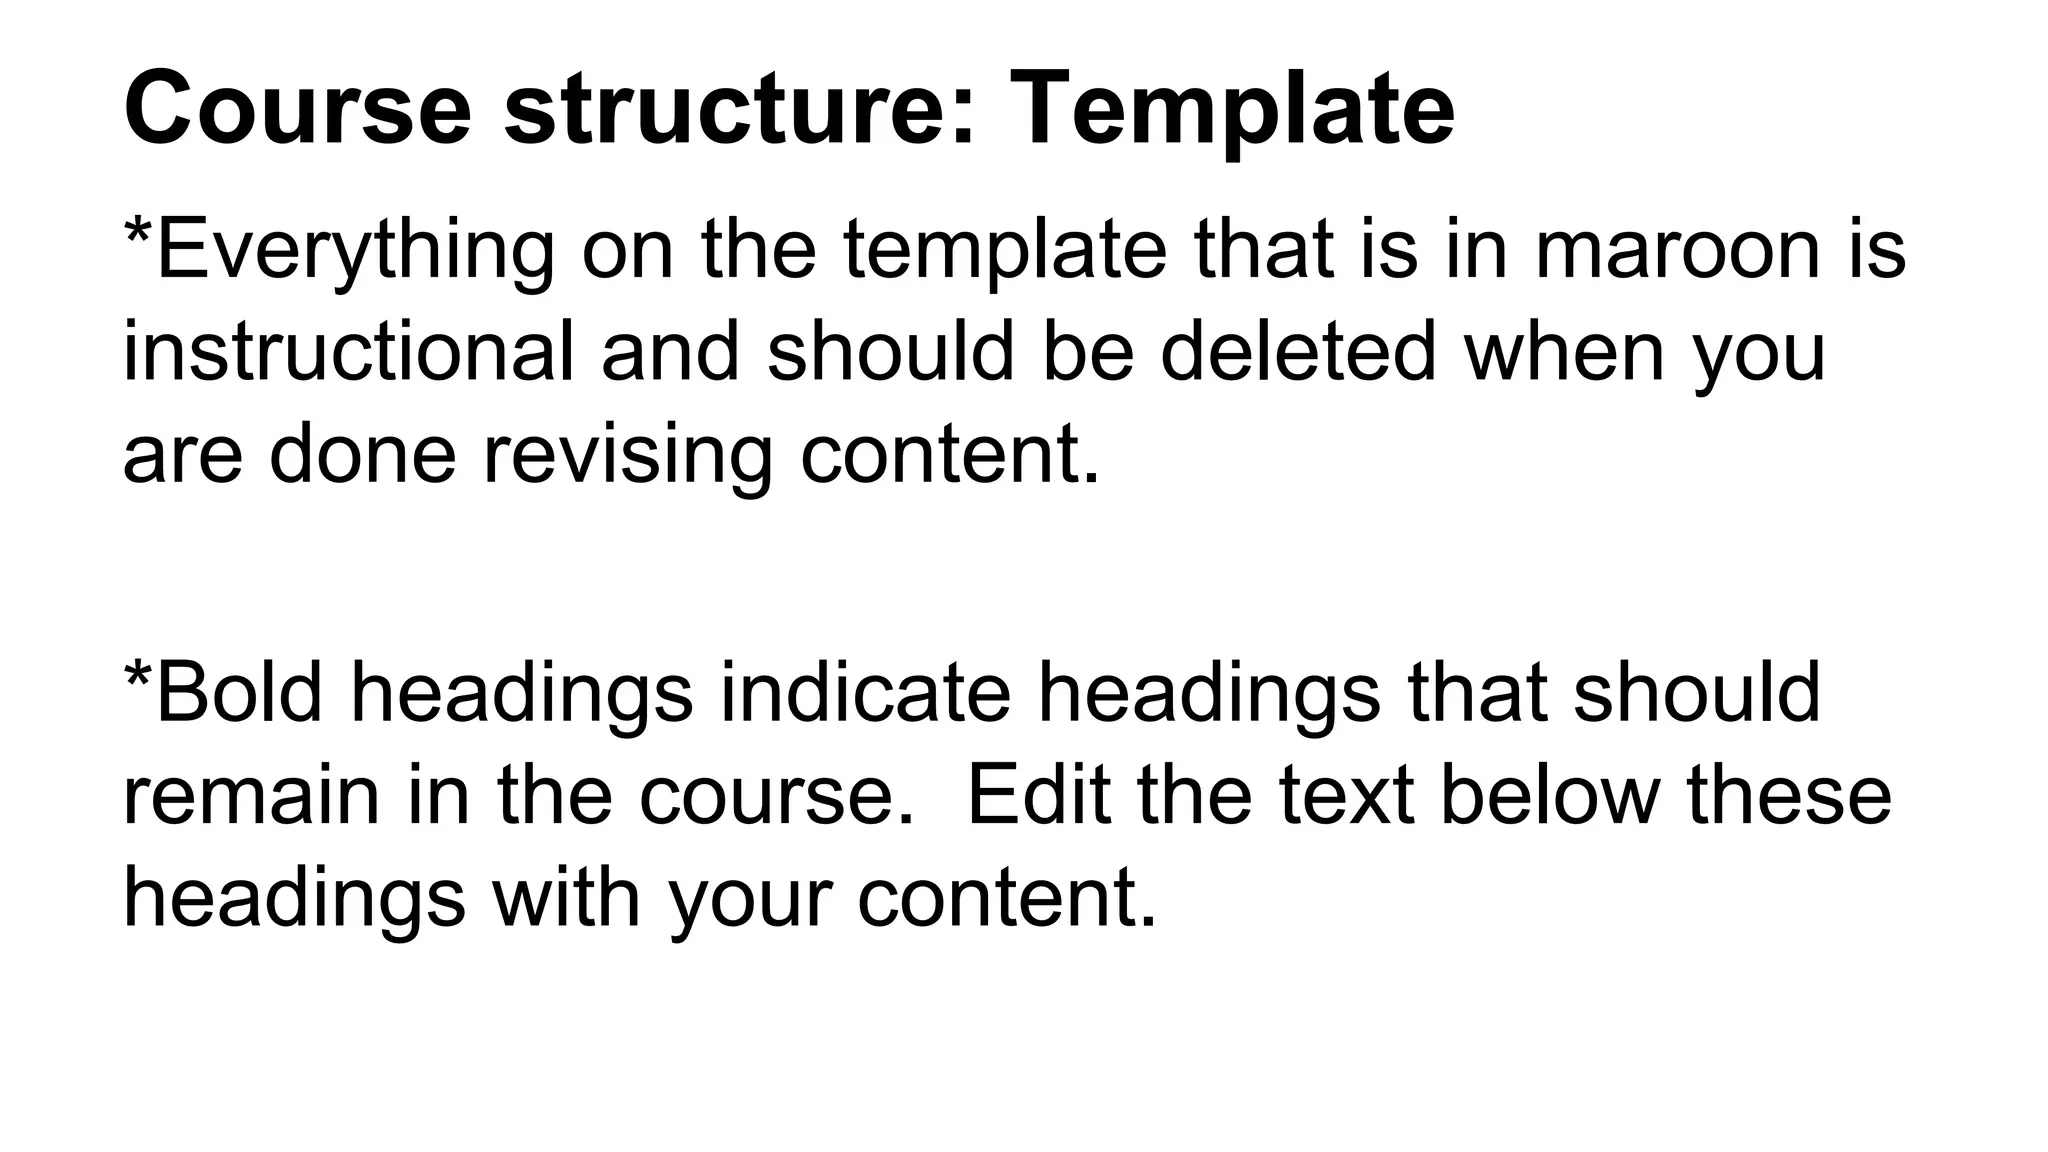
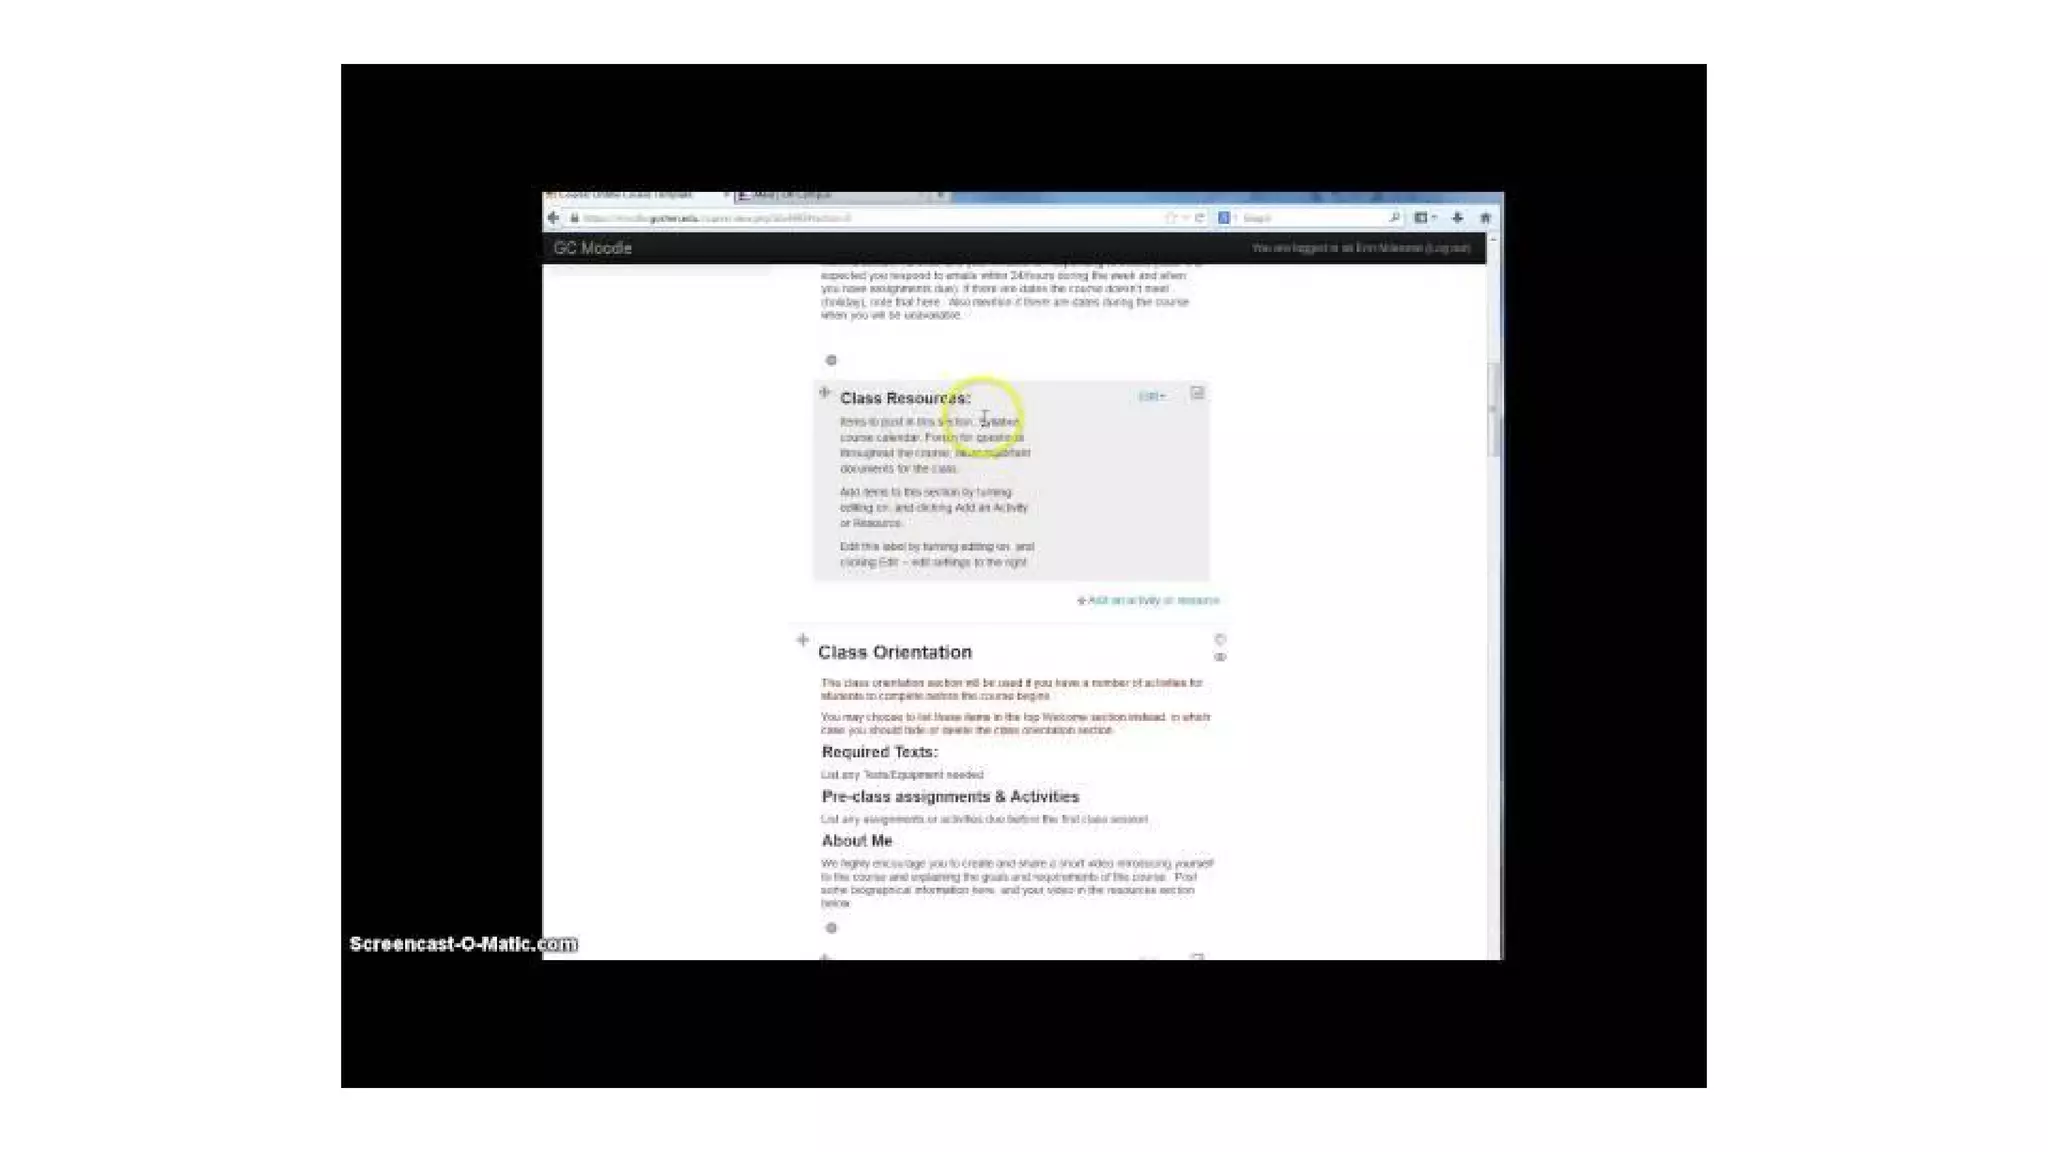
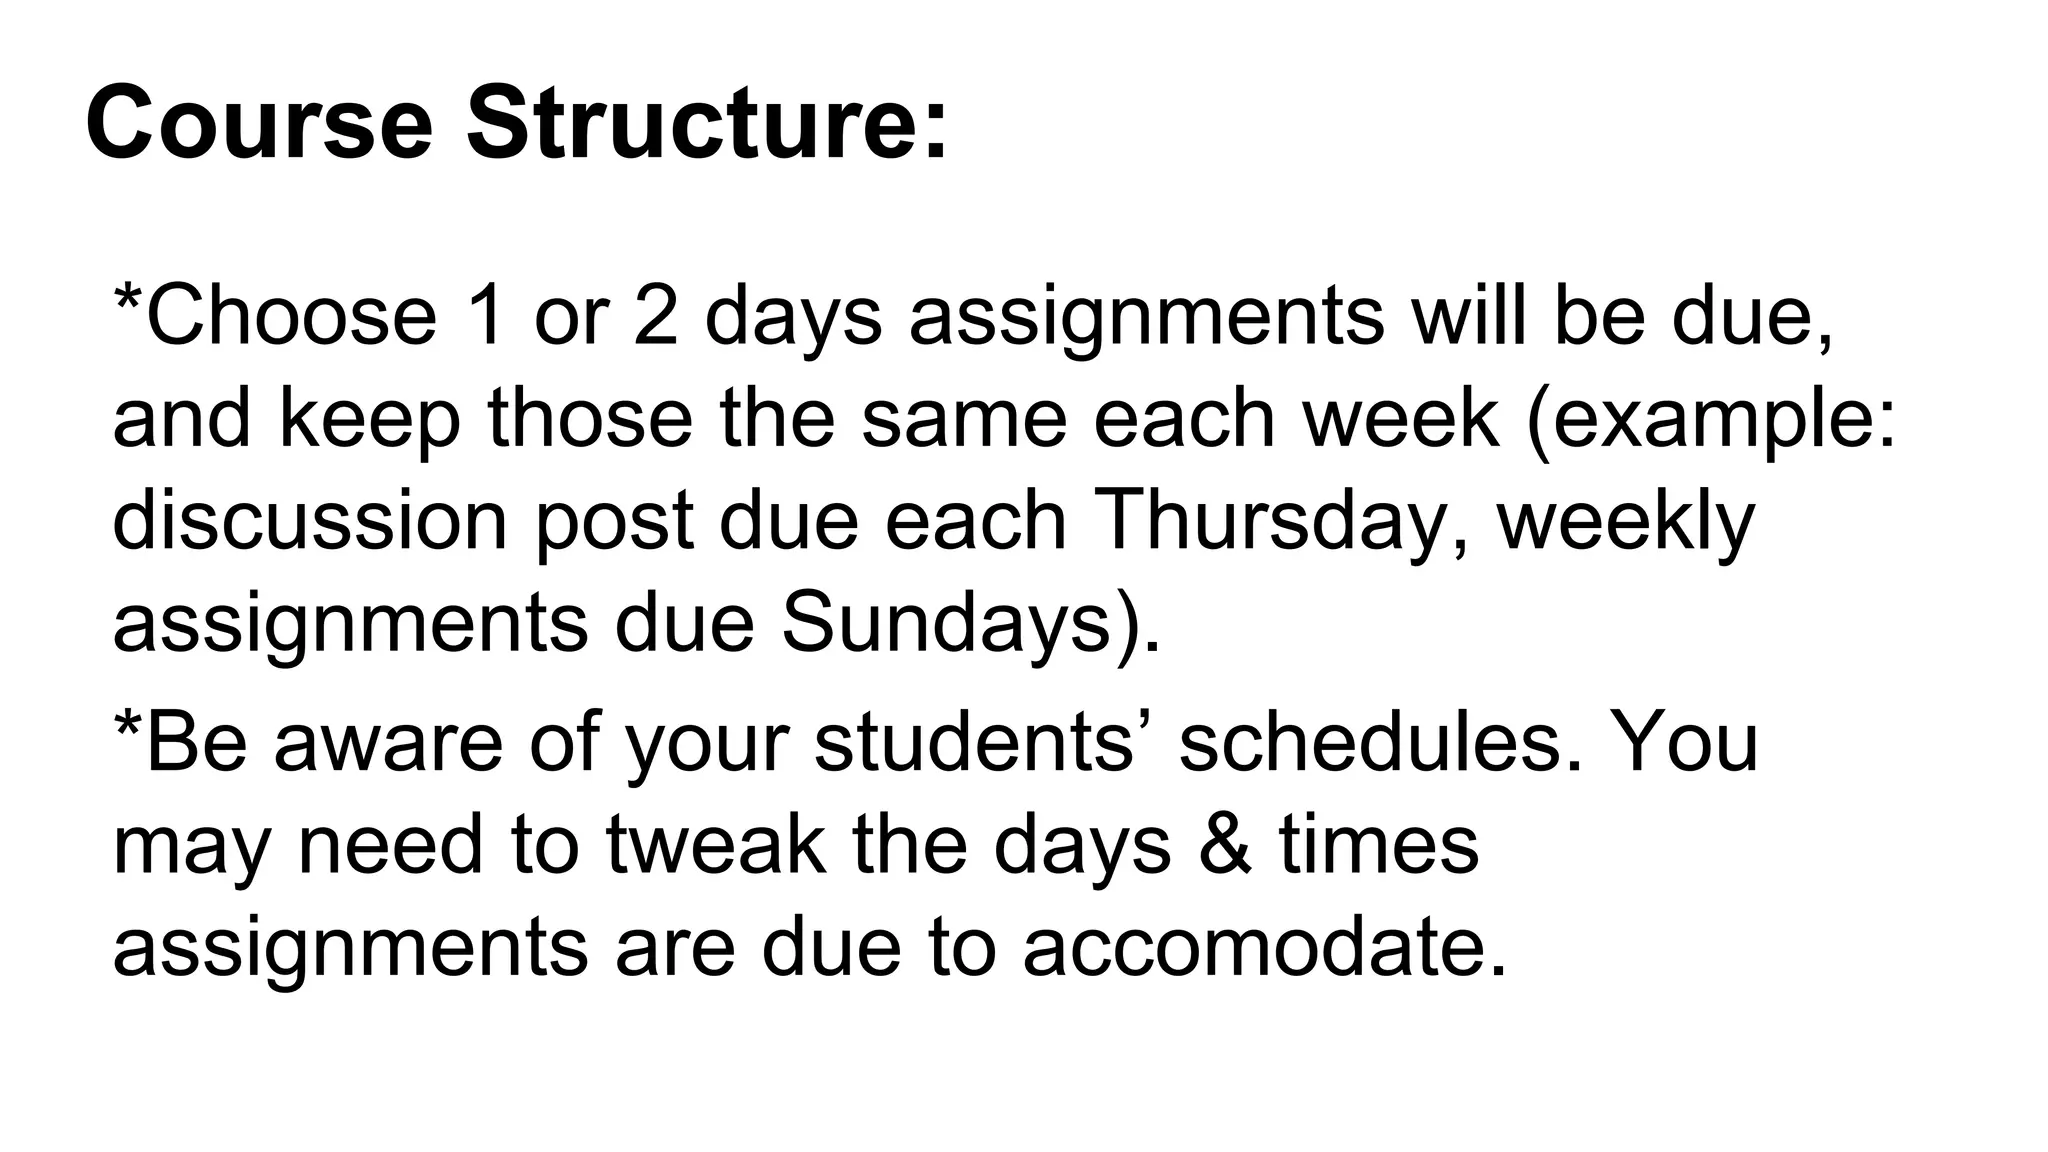
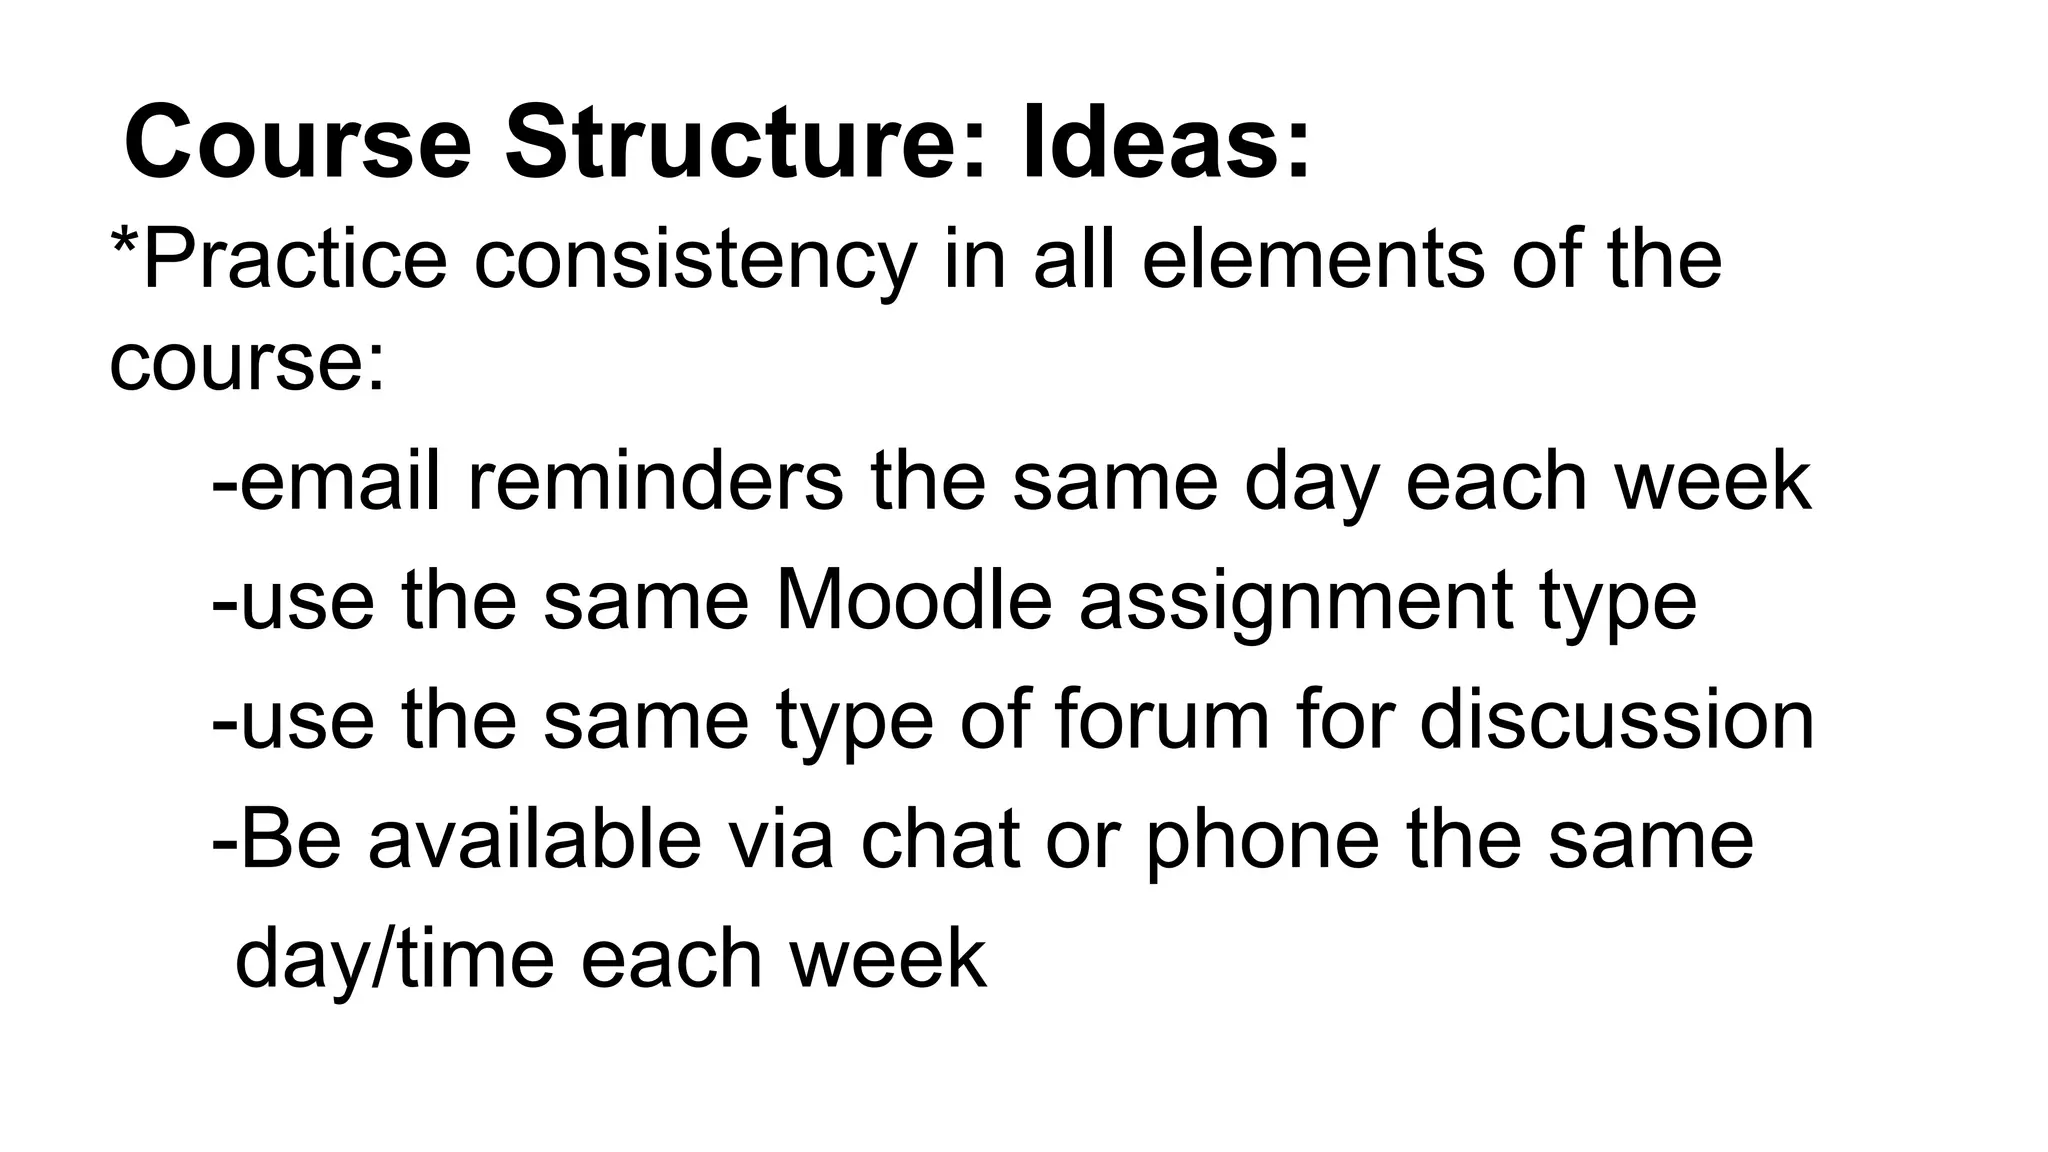
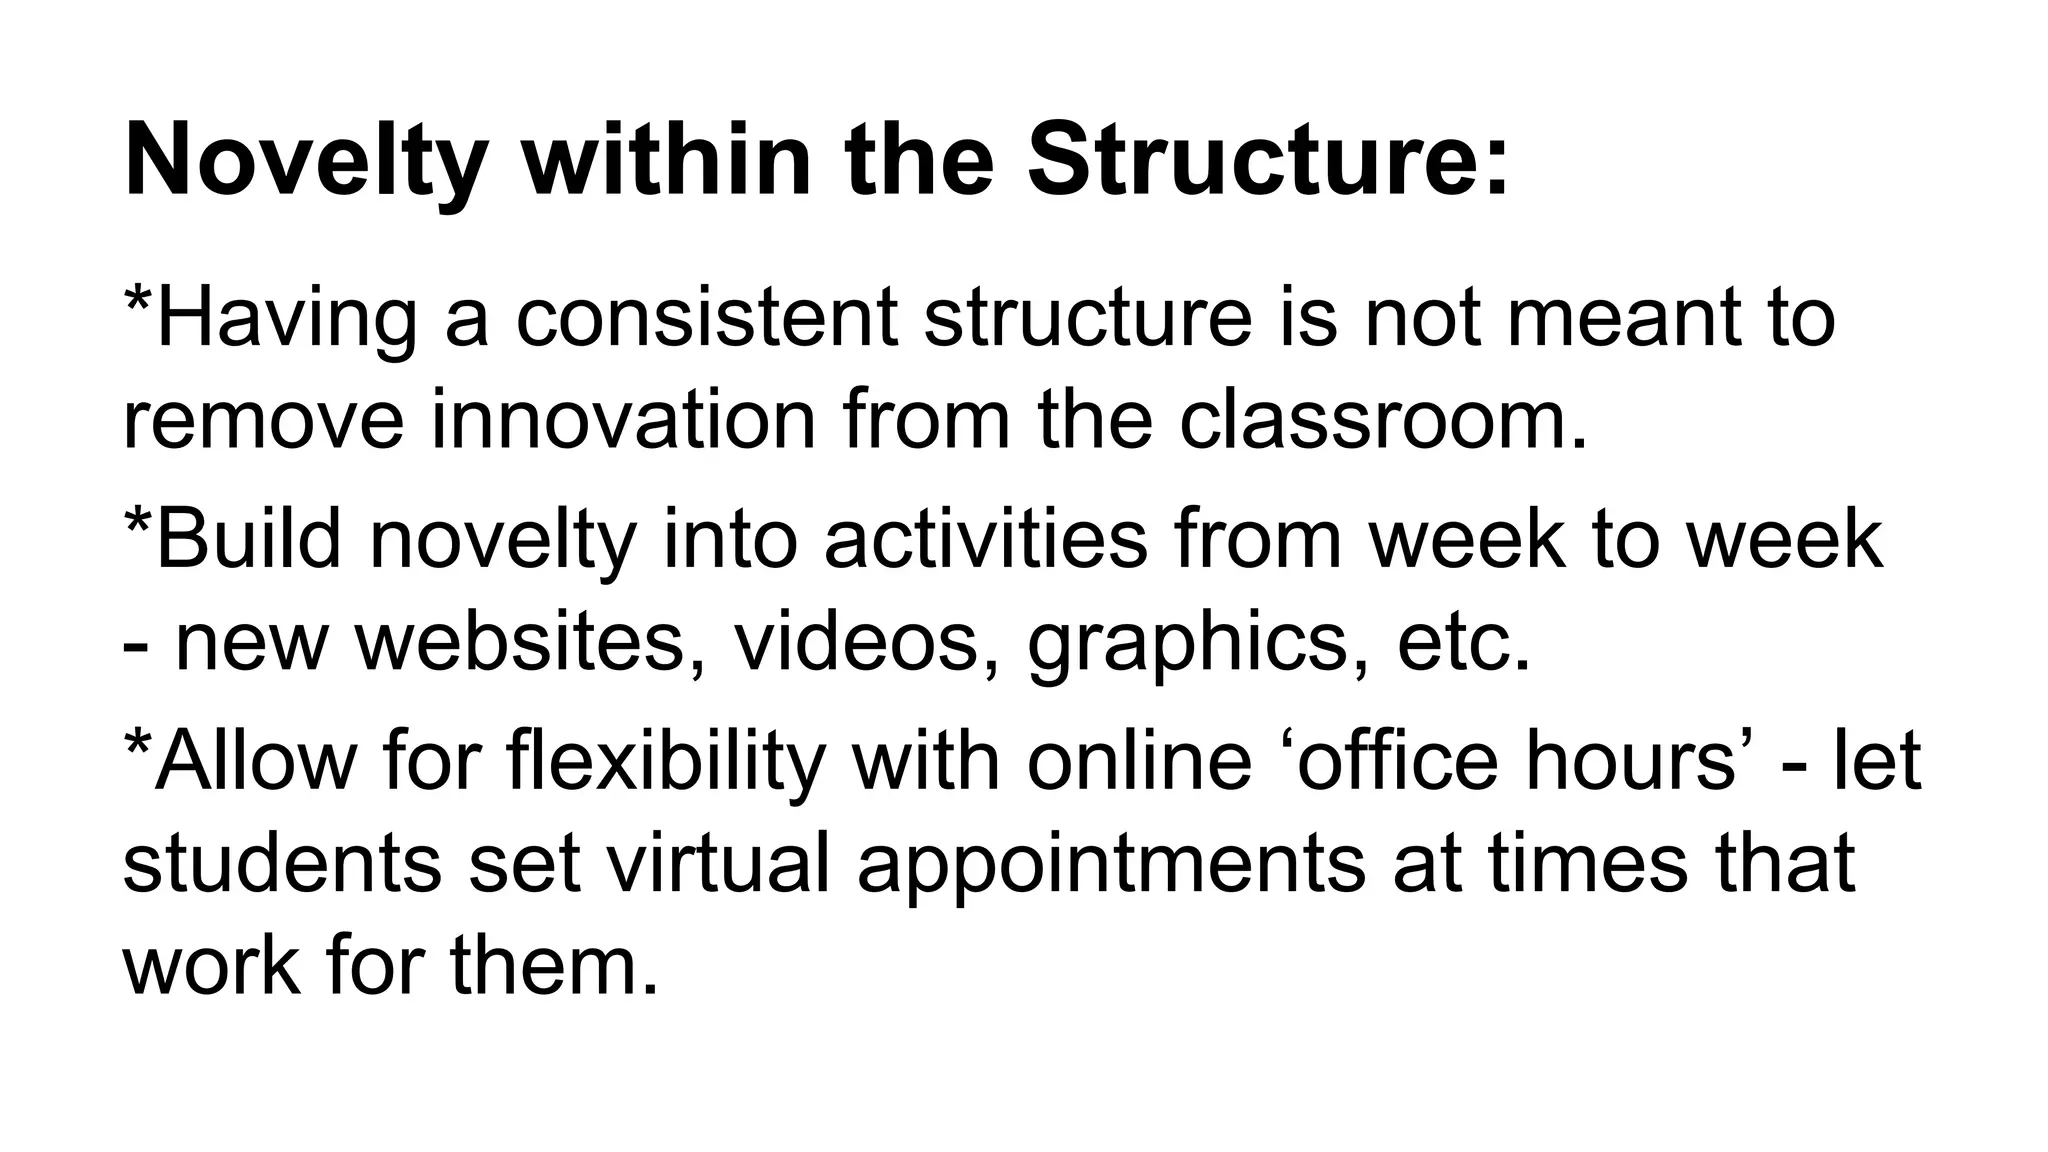
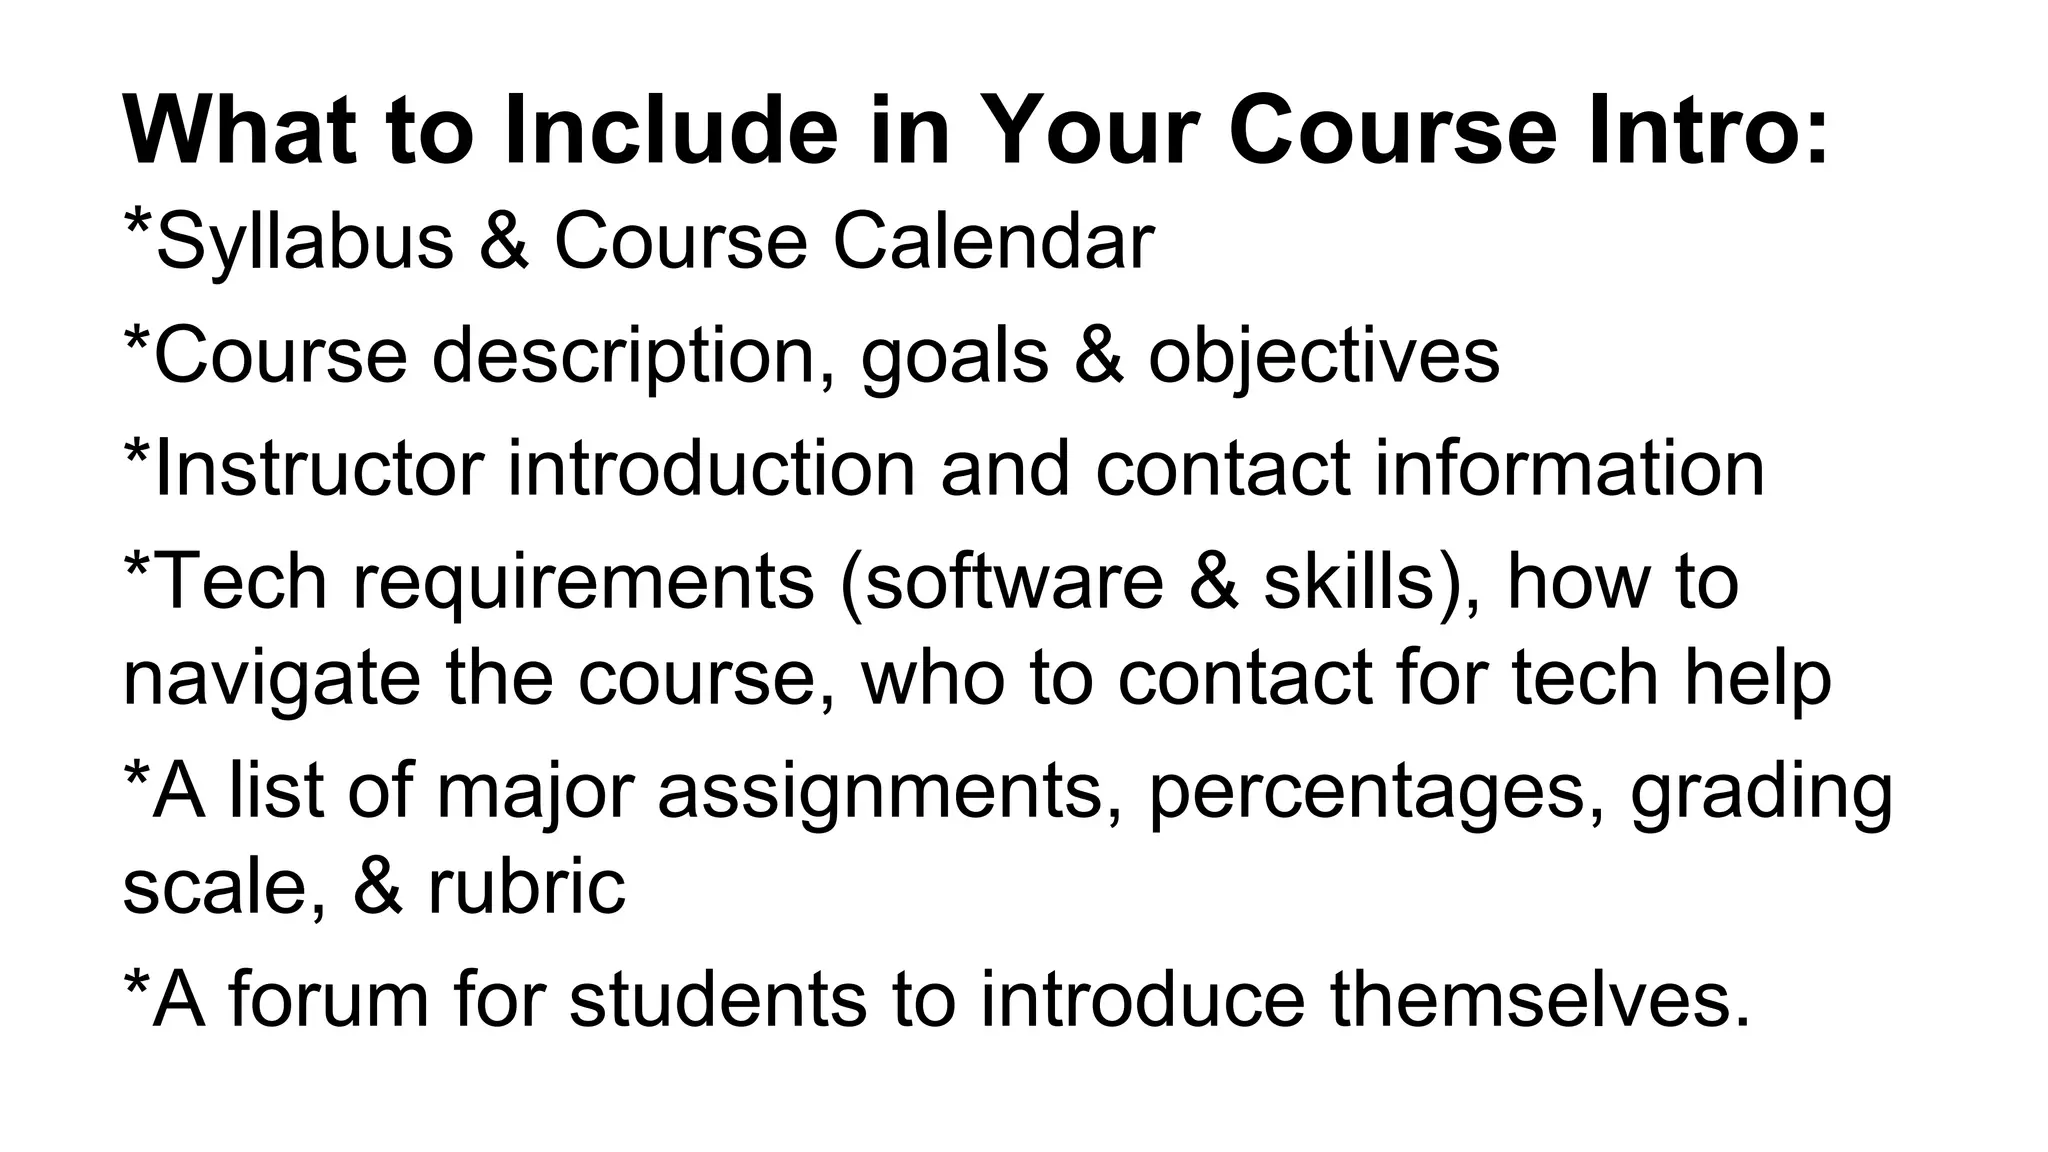
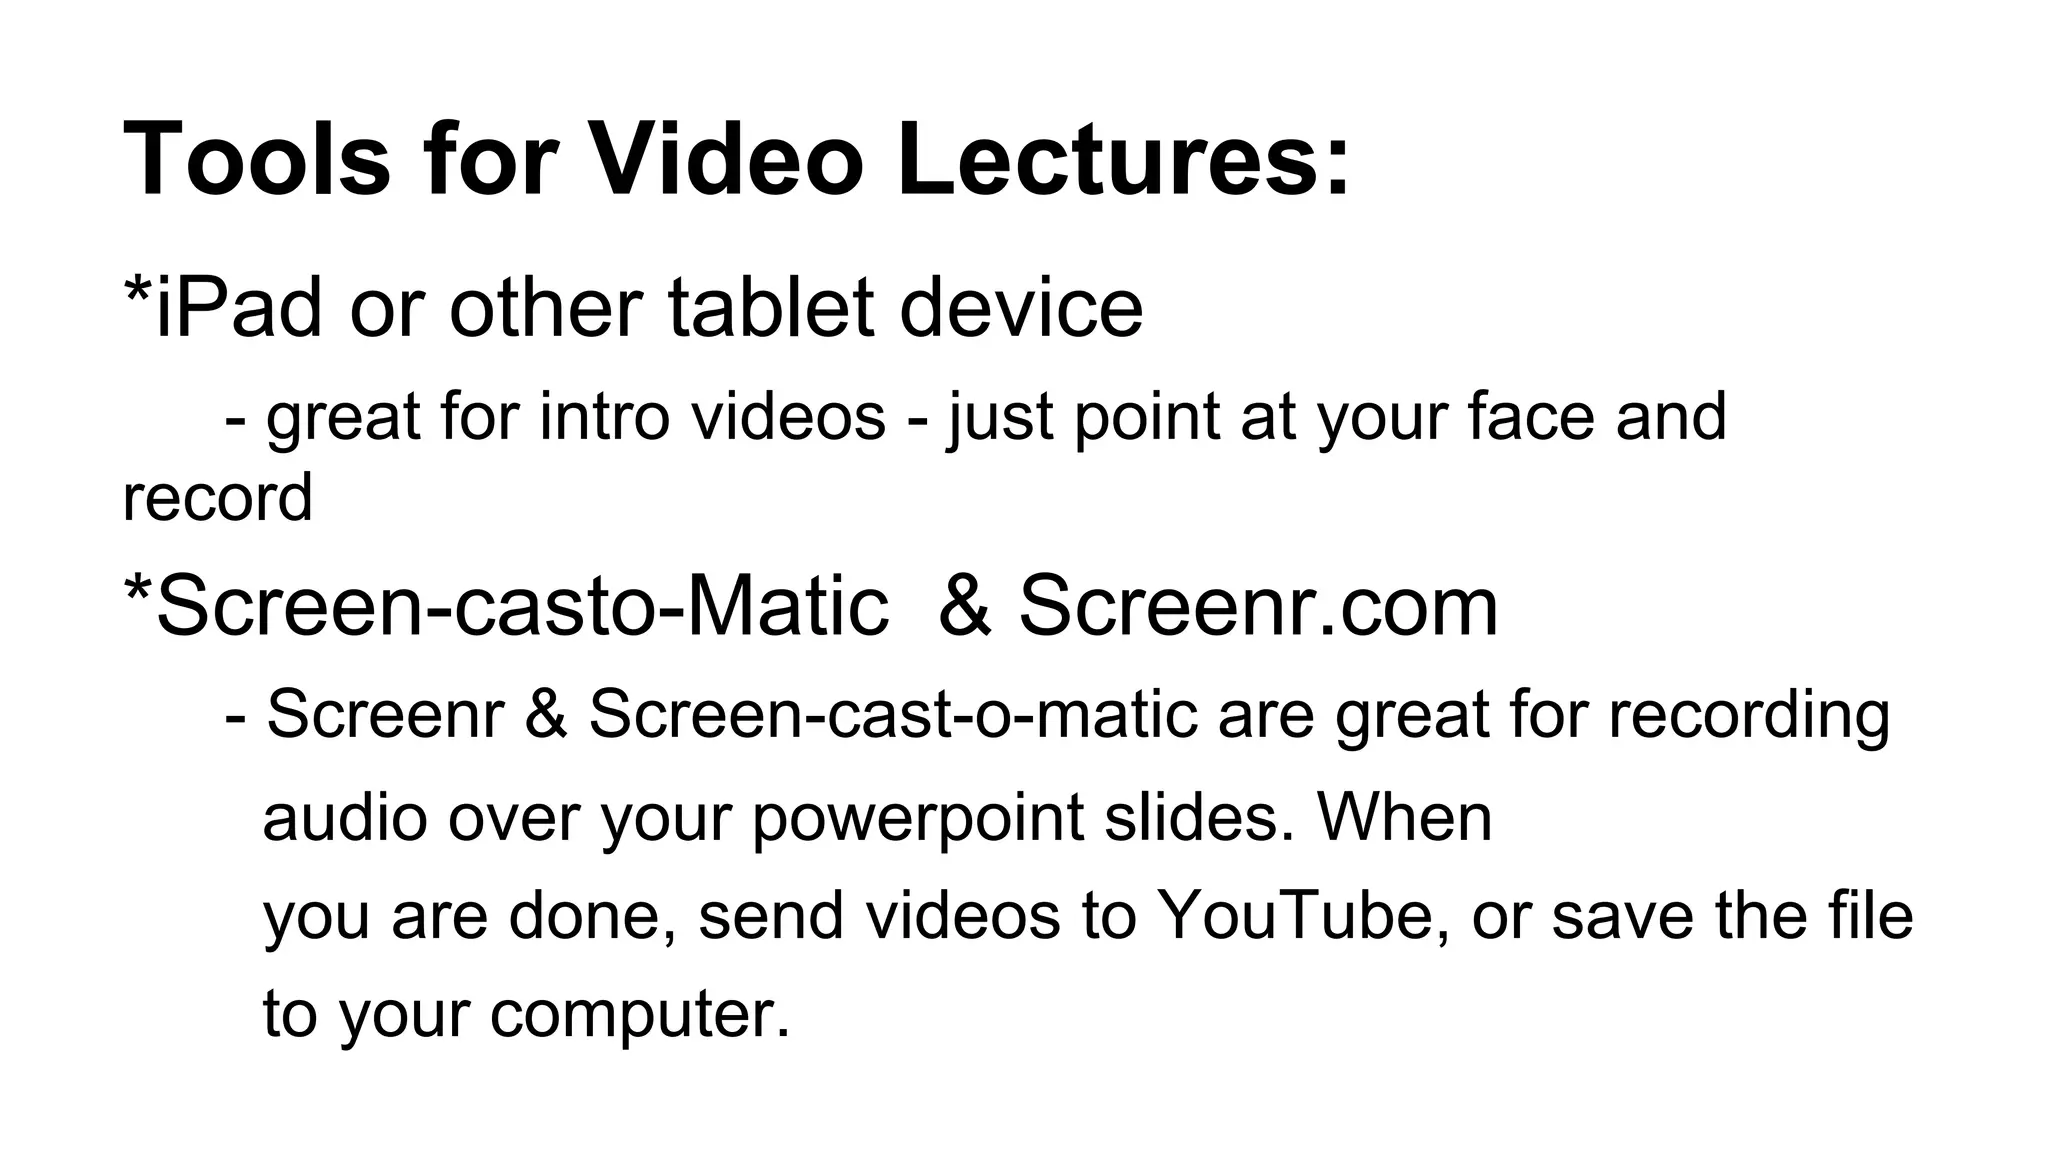
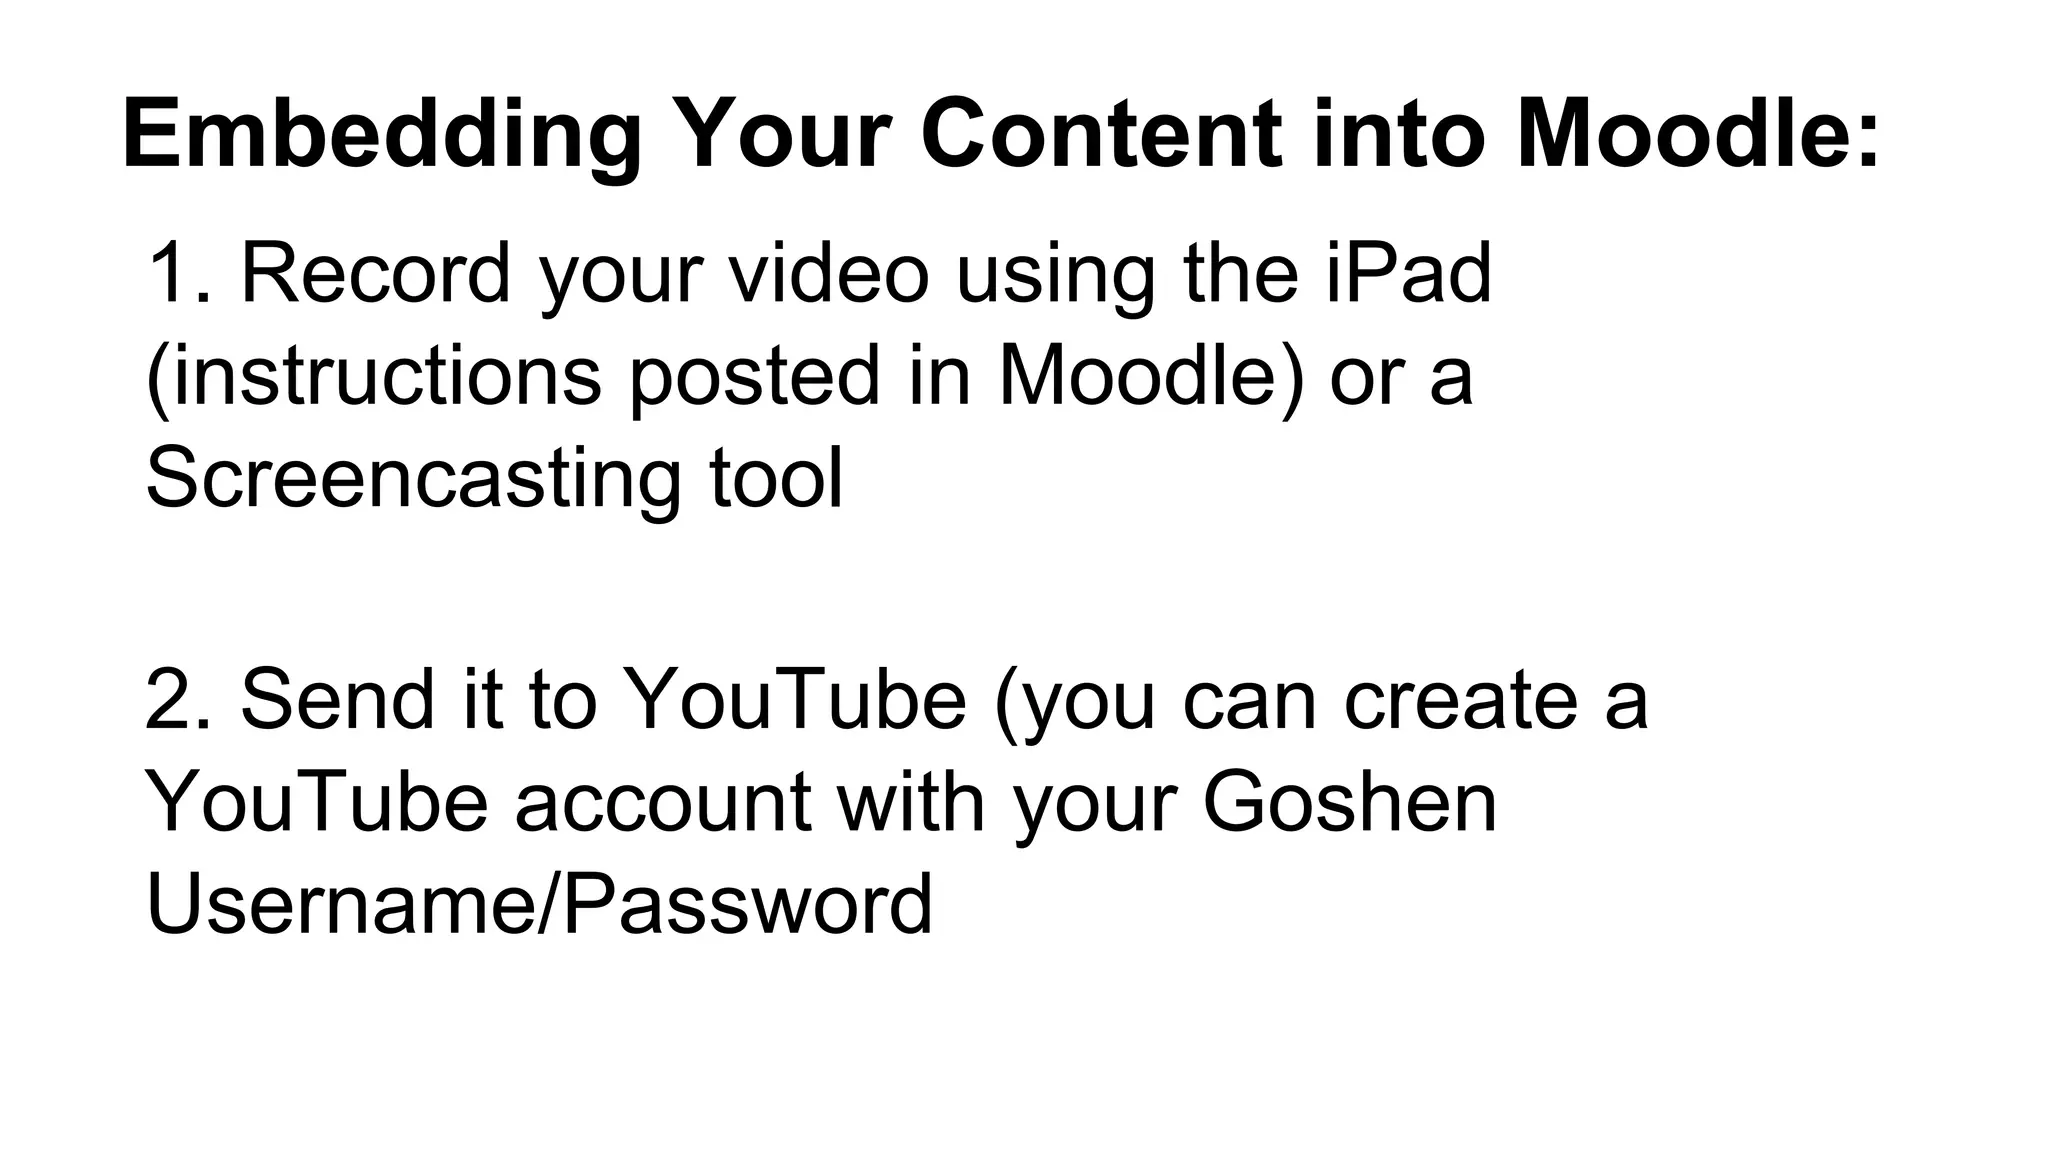
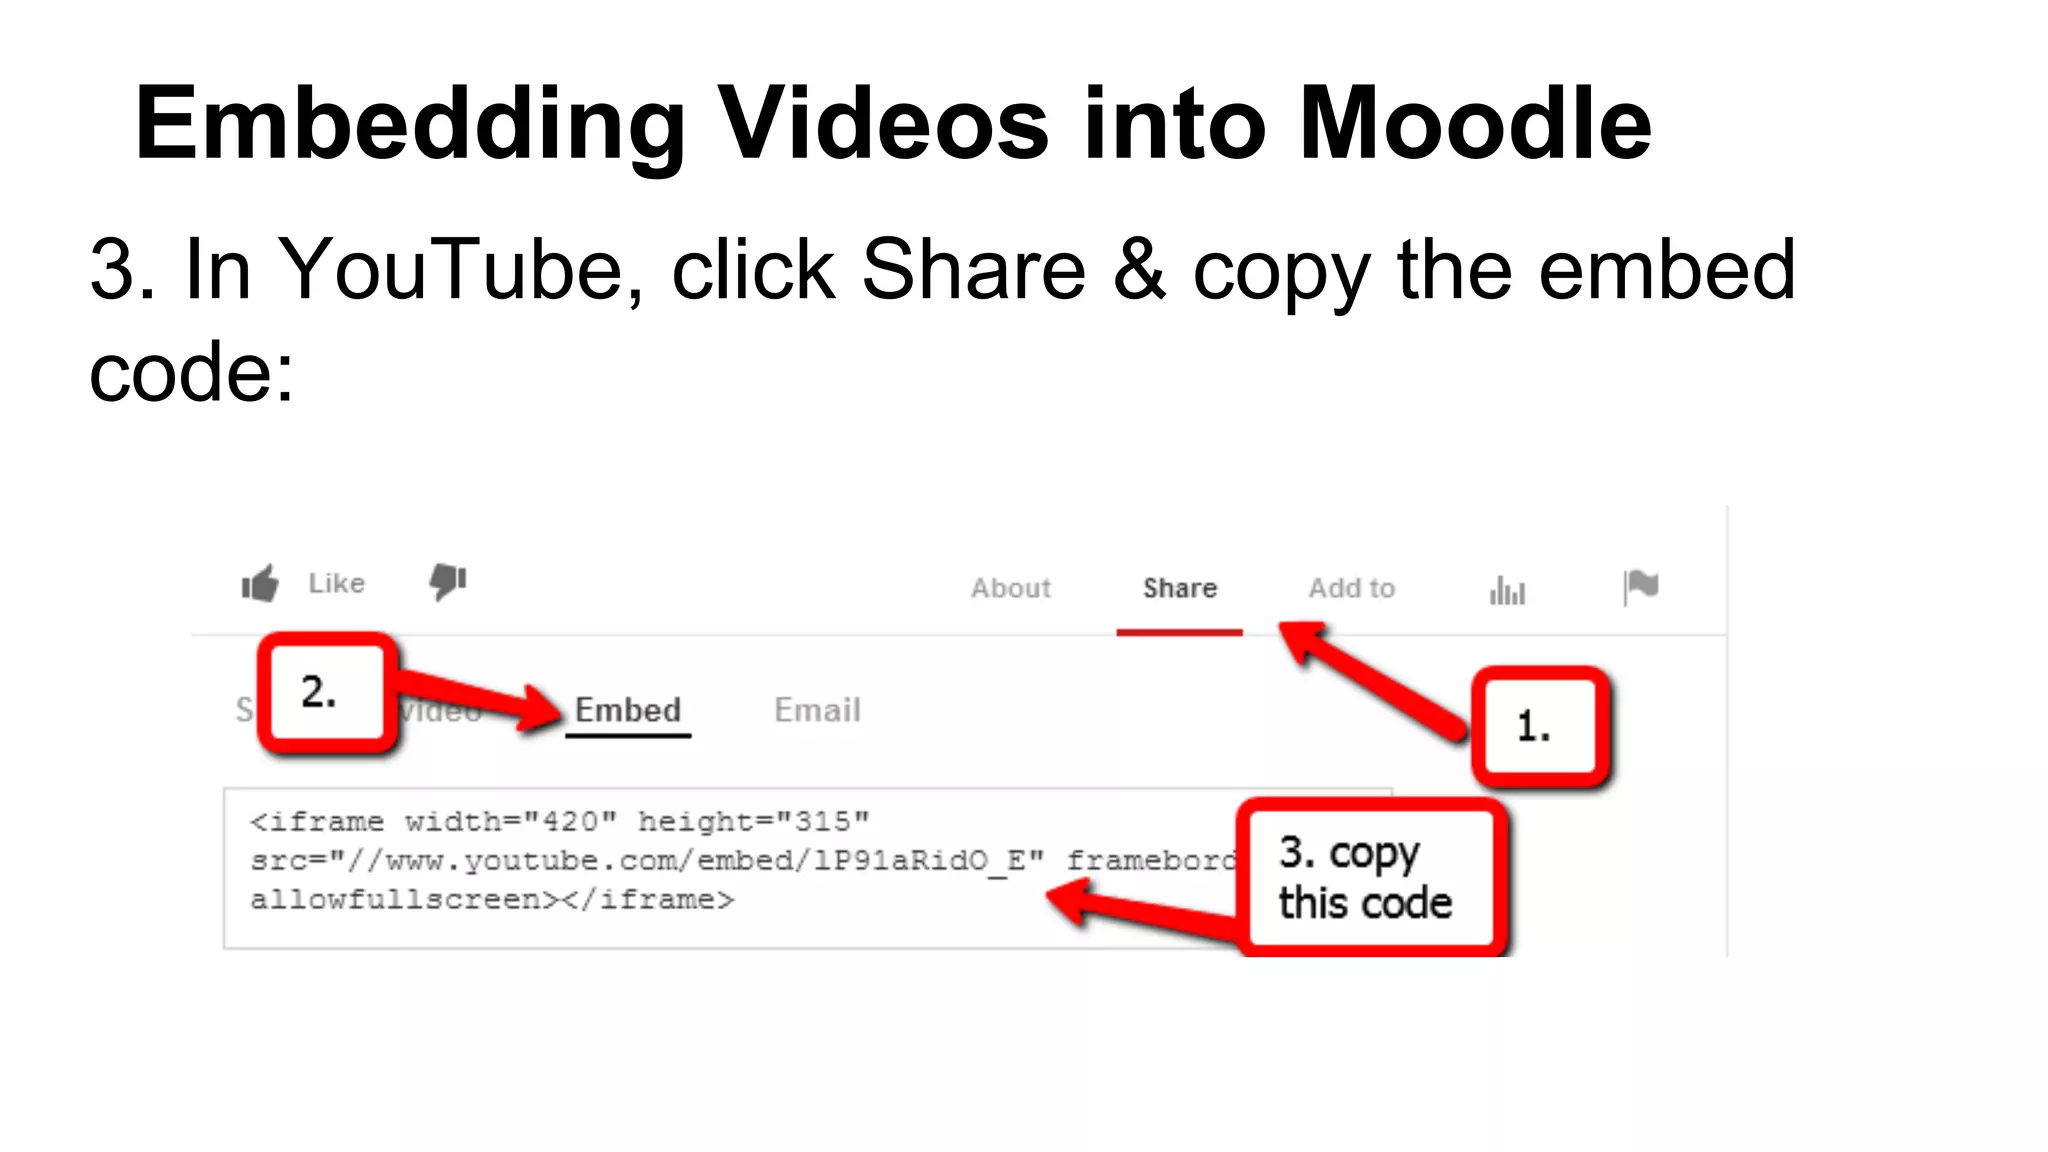
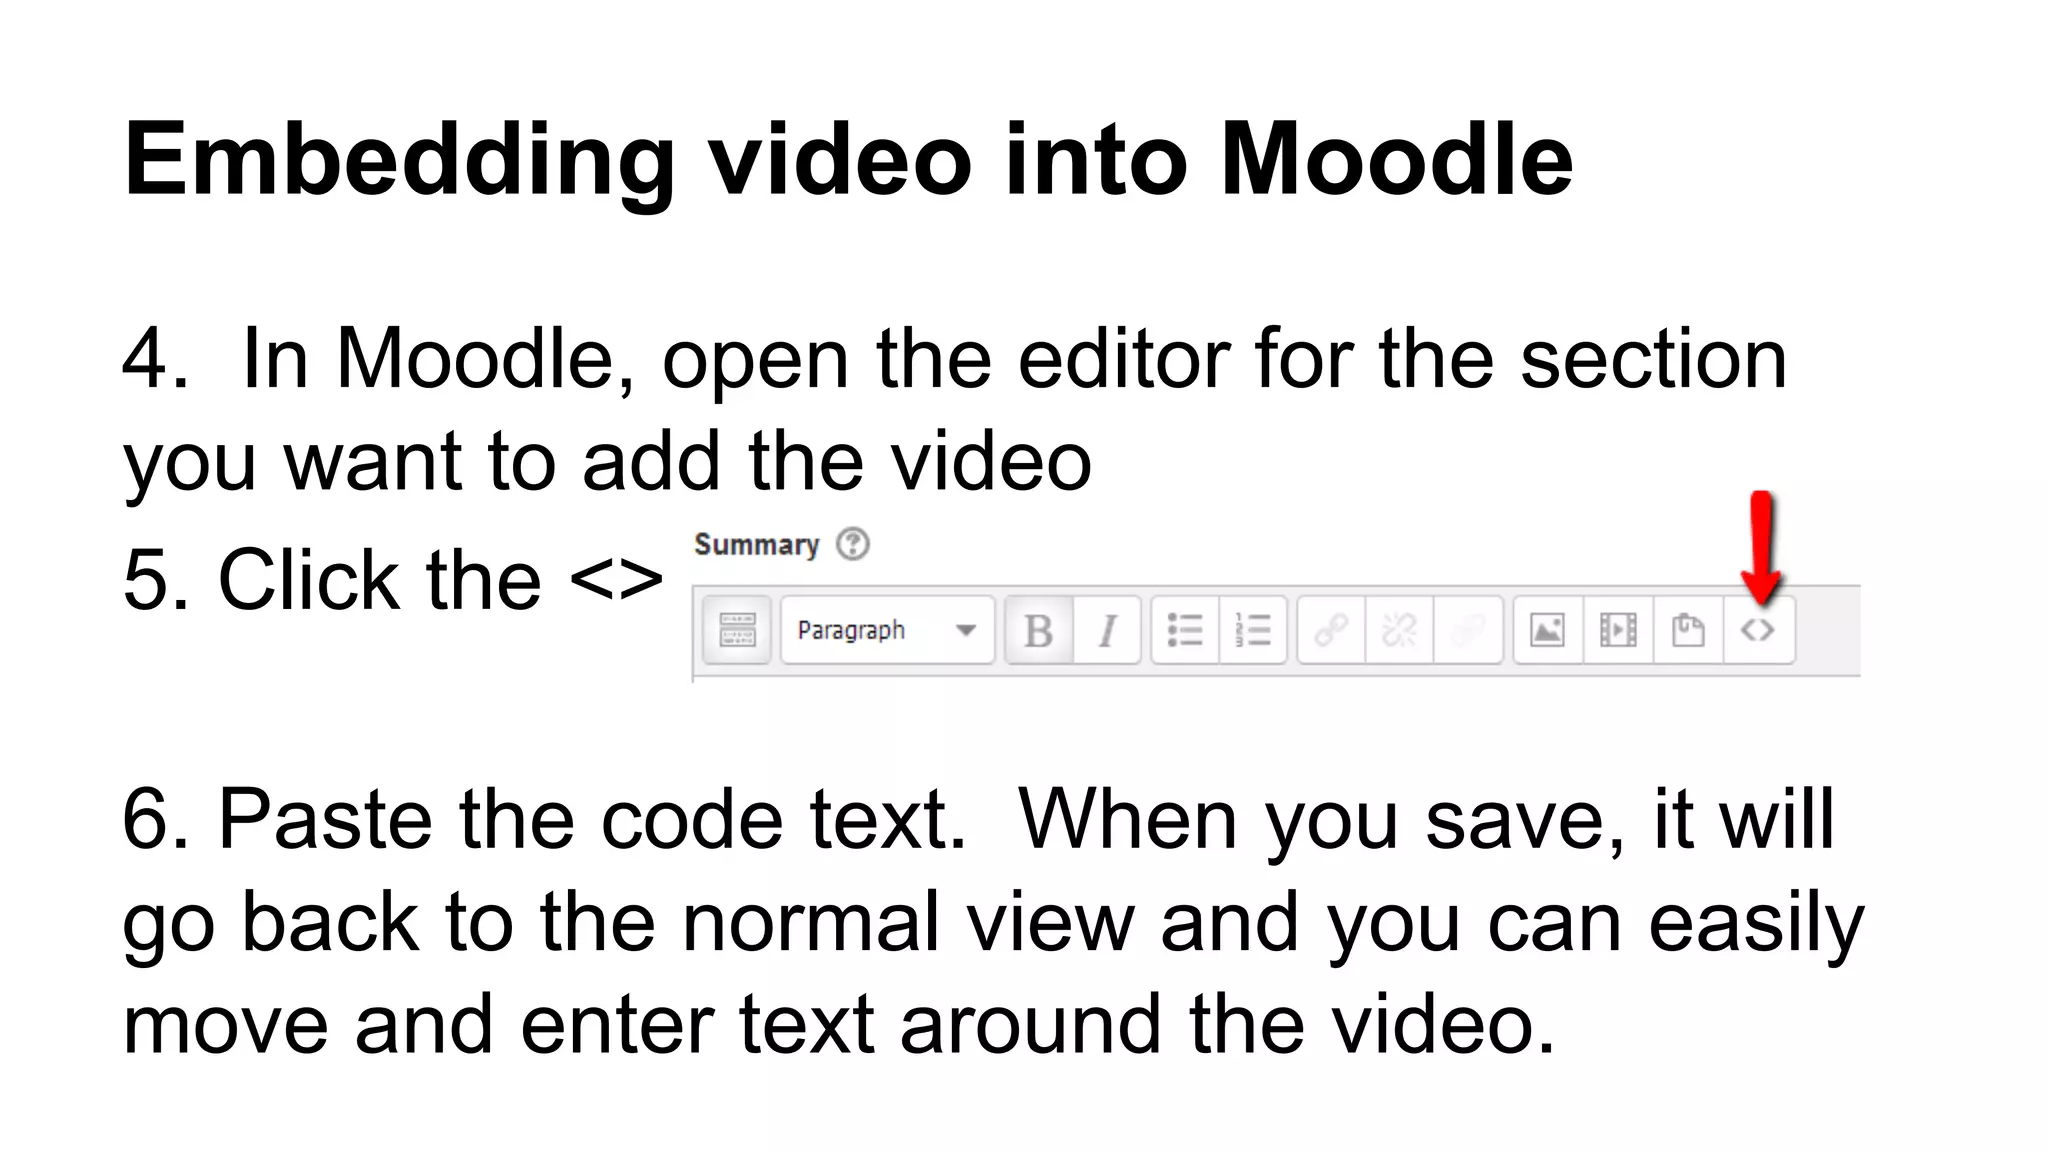


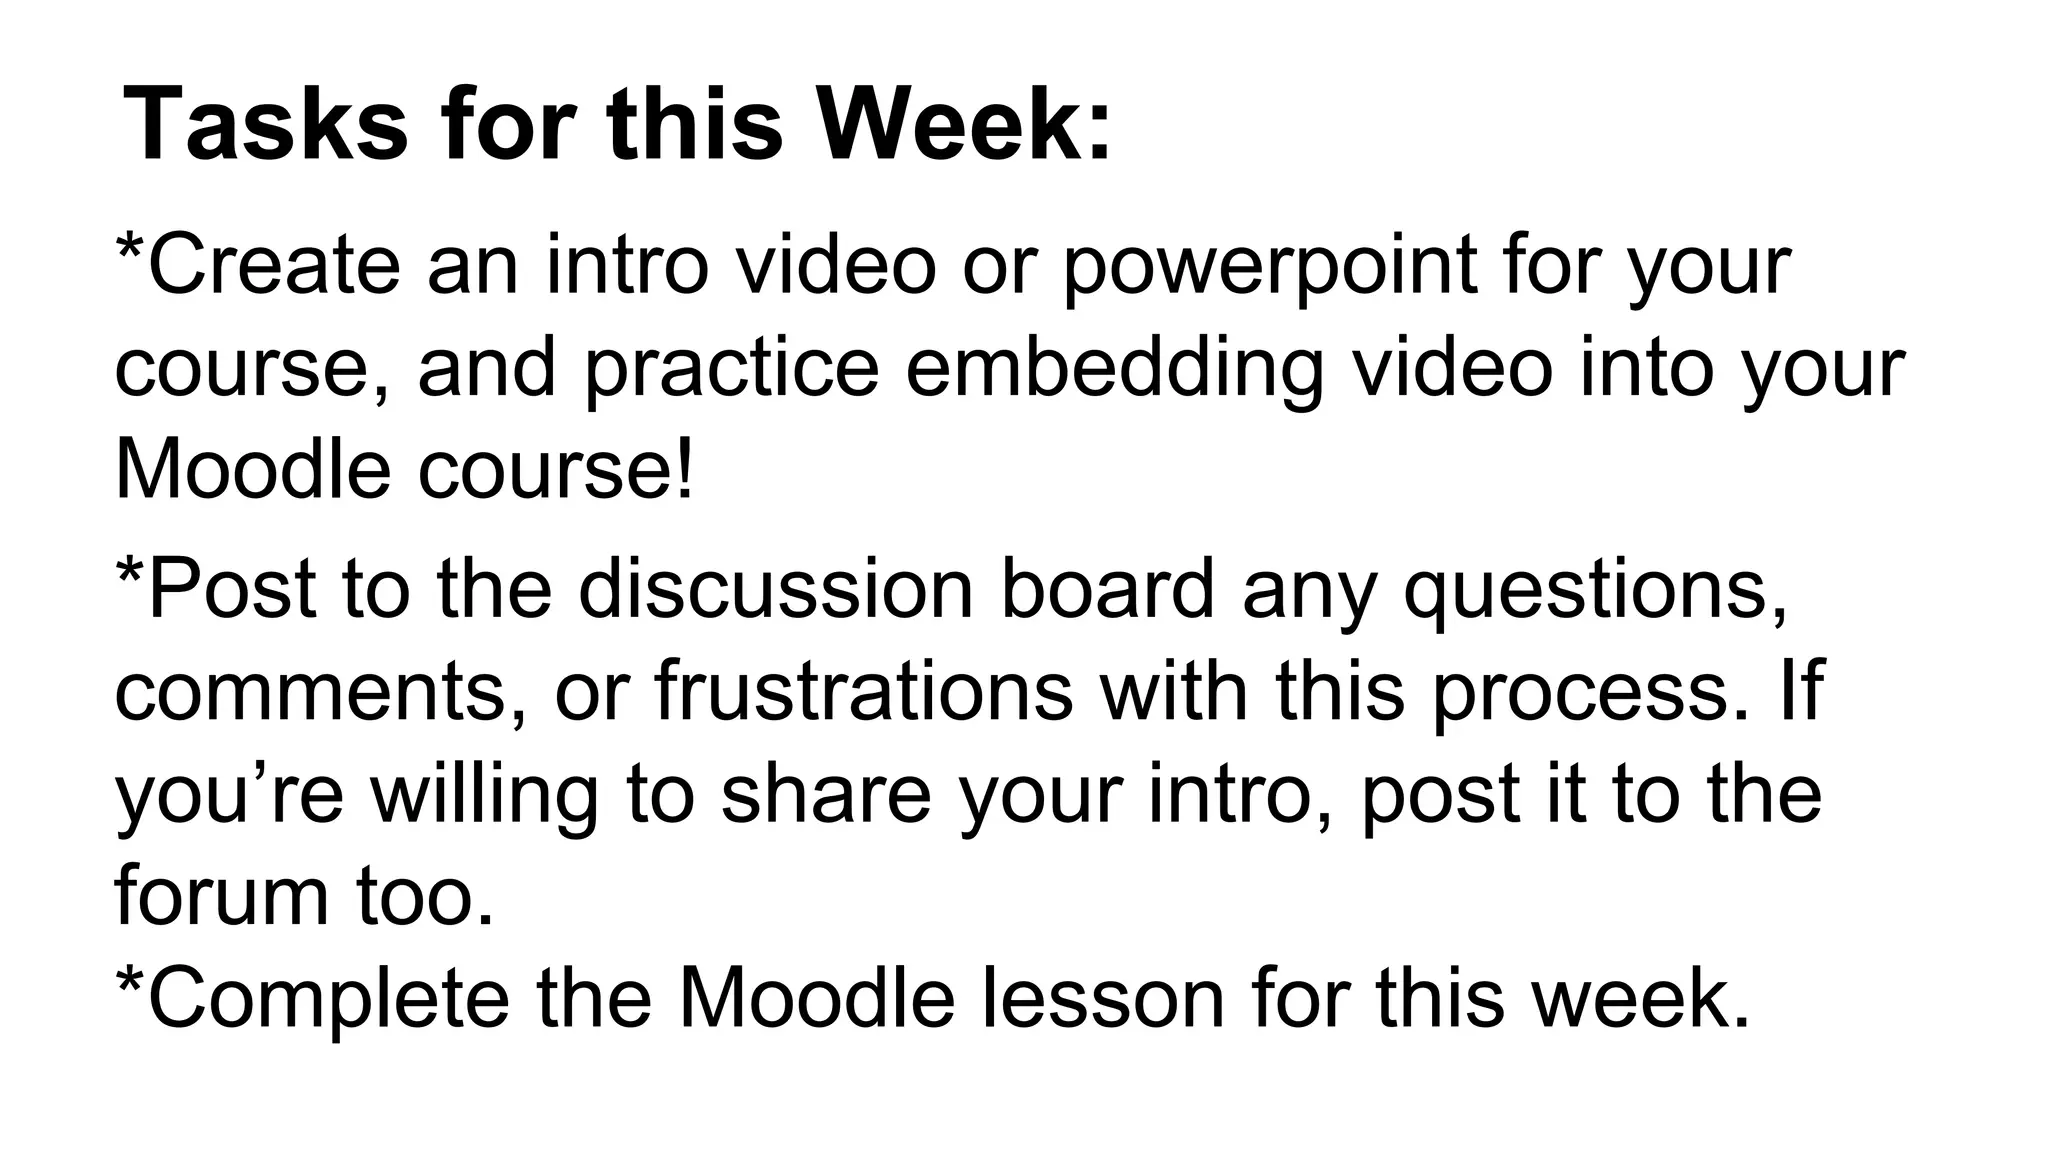

This document provides guidance on structuring online courses. It recommends: 1. Maintaining consistent structure from week to week so students can easily navigate. This includes using the same assignment types, due dates, and communication methods. 2. Using a template that includes headings and instructions to ensure all important elements are included. Non-essential template text should be deleted. 3. Including a syllabus, course goals, instructor intro, and student intro forum in the course intro section to prepare students. 4. Creating lessons that combine readings, PowerPoints, and short video lectures. Best practices for videos include keeping them under 5 minutes and writing a script beforehand. 5. Embedding videos and other


