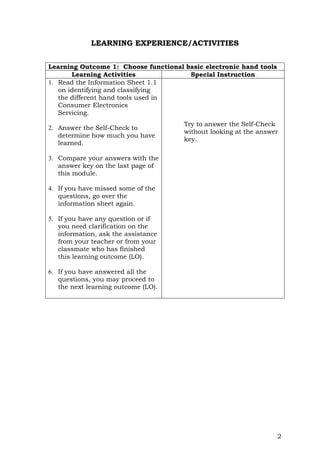
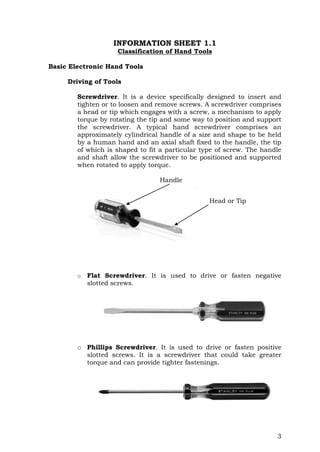
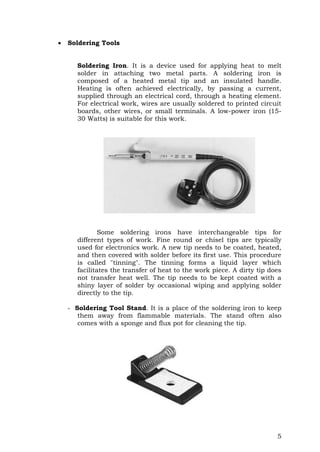
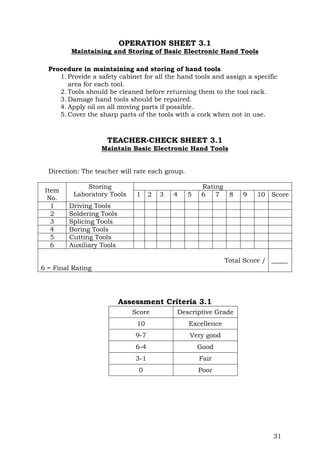
The document is a training module titled 'Using Basic Electronic Hand Tools' designed for the Consumer Electronic Servicing NC II program in the Philippines. It outlines learning outcomes for identifying, using, and maintaining basic electronic hand tools, along with various activities and assessment methods. The module includes technical terms, learning activities, and a structured approach to gain competency in using hand tools effectively and safely.


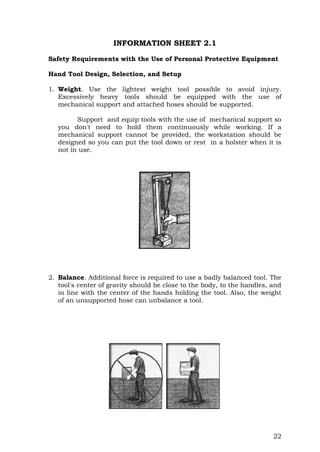

![32
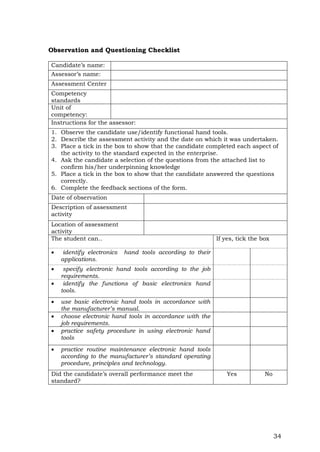
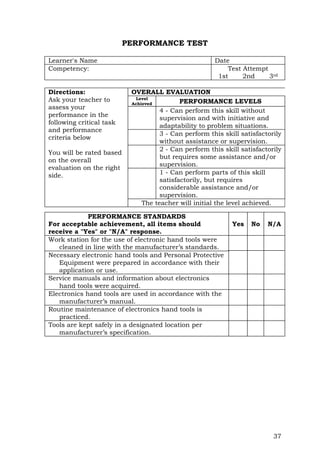
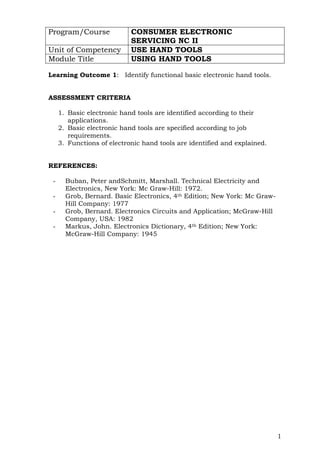
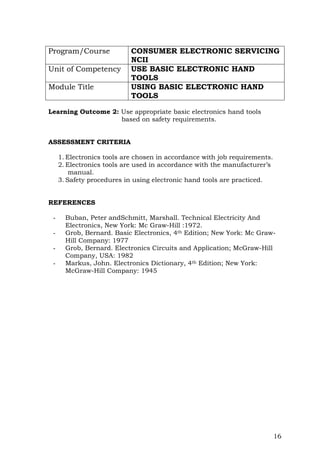
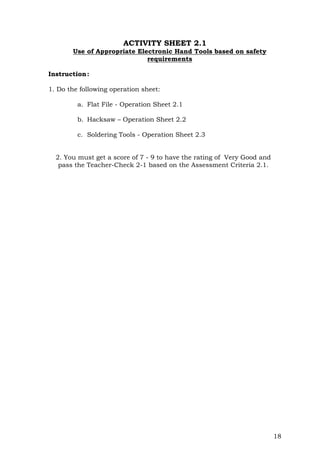
ASSESSMENT PLAN
Evidence Checklist
Competency standard: Consumer Electronic Servicing NC II
Unit of competency: Use Basic Electronic Hand Tools
Title of Module Using Basic Electronics Hand Tools
Ways in which evidence will be collected:
[tick the column]
Observation
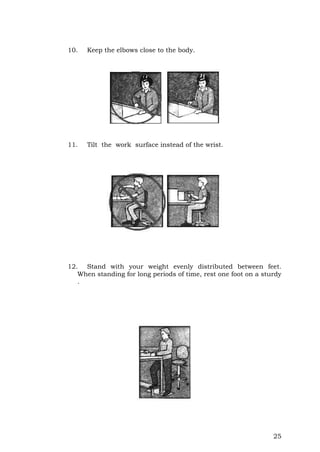
Questioning
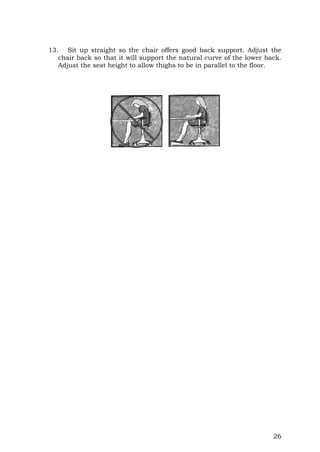
Third
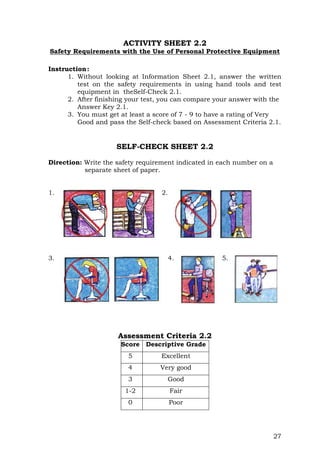
party
Report
Demonstration
Portfolio
Written
The evidence must show that the student can…
identify the basic electronic hand tools in
accordance with their applications.
Specify electronic hand tools according
to job requirements.
Identify functions of electronic hand tools.
choose electronic hand tools in
accordance with the job requirements.
use electronic hand tools in accordance
with the manufacturer’s manual.
practice safety procedures in using
electronic hand tools.
report defective electronic hand tools to
appropriate personnel.
practice routine maintenance of electronic
hand tools according to manufacturer’s
standard operating procedures, principles
and techniques.
keep safely electronic hand tools in a
designated location per manufacturer’s
specifications or standard operating
procedure.
Prepared
by:
Date:
Checked
by:
Date:](https://image.slidesharecdn.com/y2-module1-usingbasicelectronichandtools-221102134351-232b2cb0/85/TLE-CES-NC-II-Y2-Module-1-Using-Basic-Electronic-Hand-Tools-doc-39-320.jpg)