Download to read offline


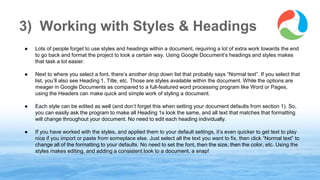


This document provides tips for customizing Google Docs default settings to make documents look consistent. It recommends setting default fonts, margins, and page size/color. It also suggests using Document Preferences to set how links are handled and using Auto-Correct for special characters. Finally, it advises using styles and headings to format documents consistently without manually changing formatting each time. Setting up these default options can help documents look polished with less effort.


