This document provides instructions for using Google Docs to create, edit, format, and share word documents. Key points include:
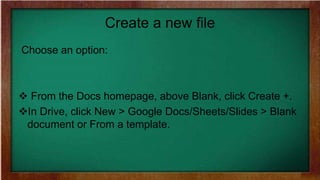
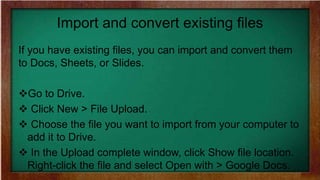
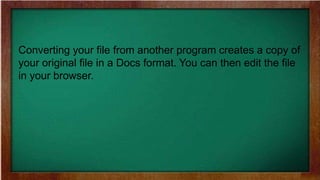
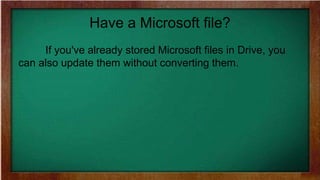
- You can create new documents from the Docs homepage or Google Drive. Existing files can be imported and converted to Docs format.
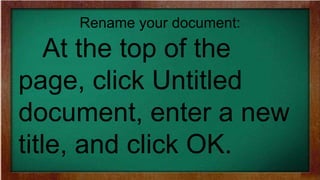
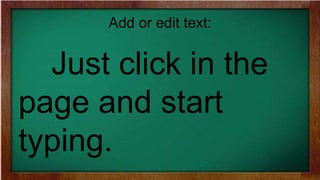
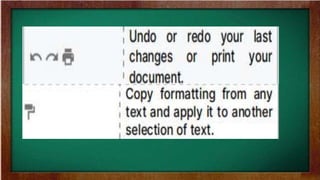
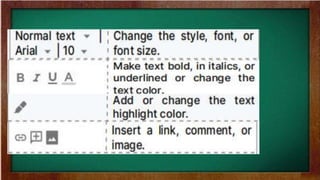
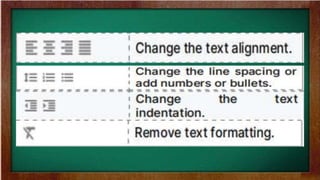
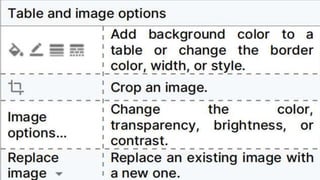
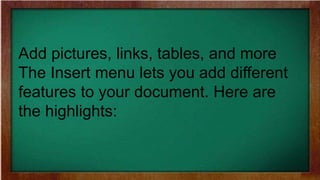
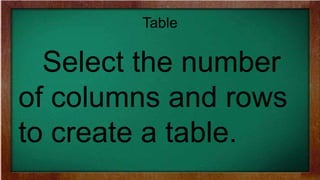
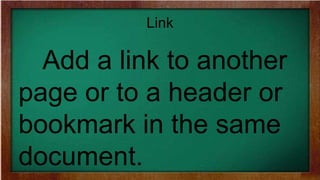
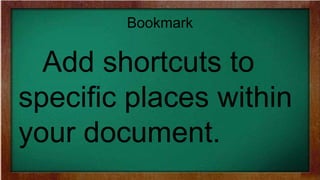
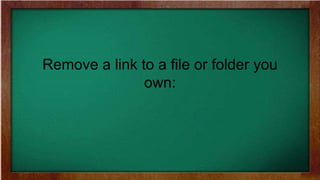
- Text can be added and edited directly in the document. Formatting options are available through the toolbar and File menu for things like page setup, columns, images, links, and tables.
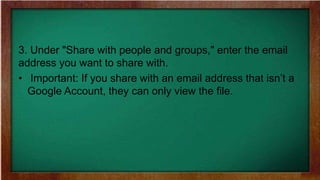
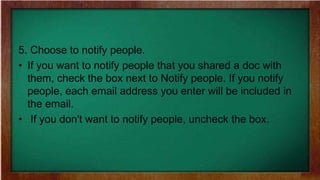
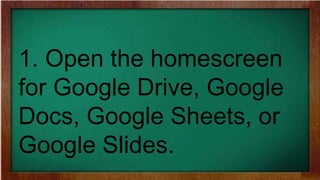
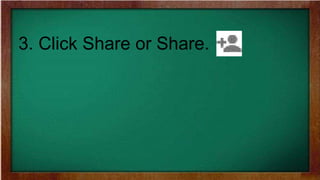
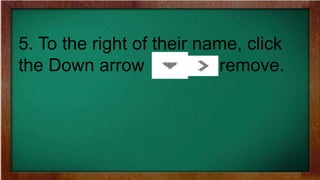
- Documents can be shared with other users for collaboration in real-time. Sharing options include viewing, commenting, or editing access levels.
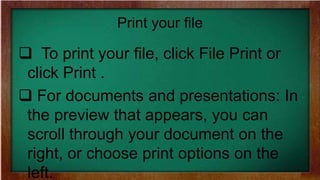
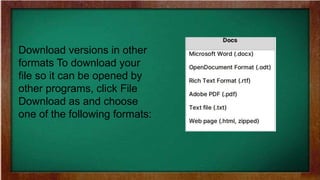
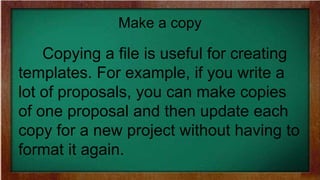
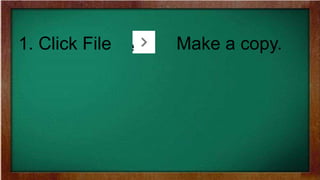
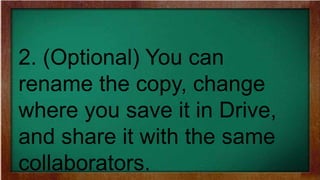
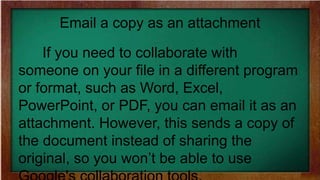
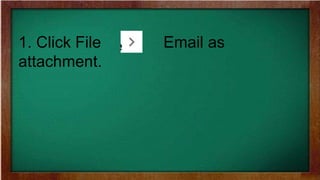
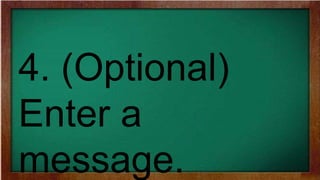
- Files can be printed, downloaded in other formats, copied to templates, or emailed as attachments