Download to read offline
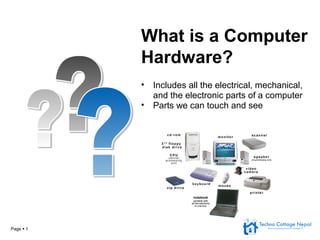
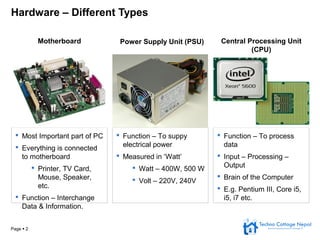
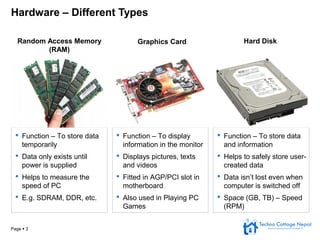
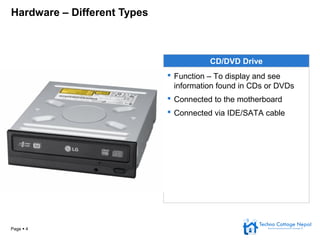

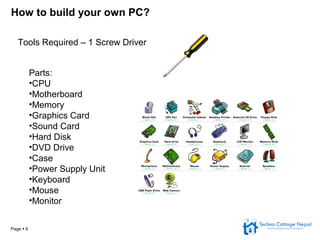
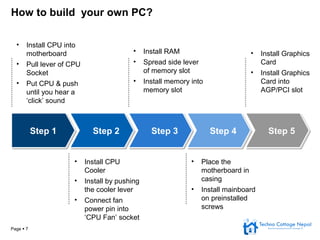


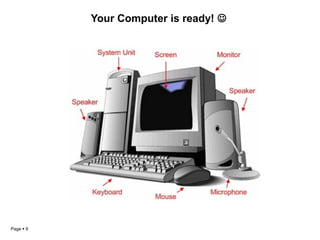

This document provides an overview of computer hardware components and how to build a PC. It defines hardware as the physical parts of a computer including the motherboard, CPU, RAM, graphics card, hard disk, DVD drive, power supply, case, keyboard, mouse and monitor. It then describes the functions of these core components and how they interconnect. The document concludes by outlining the step-by-step process for assembling these hardware parts into a fully functioning computer system, including installing the CPU and RAM into the motherboard, adding the graphics card, connecting power supplies, and setting up input/output devices.


