Downloaded 1,137 times


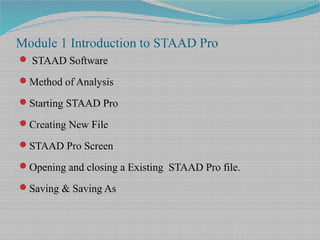
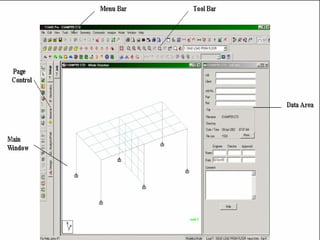
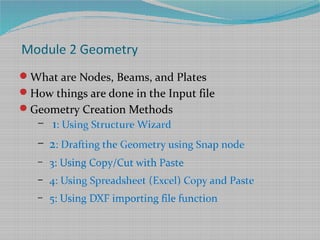
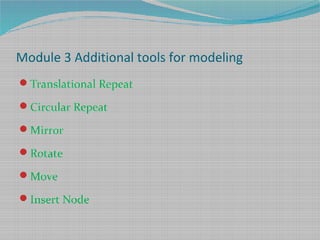
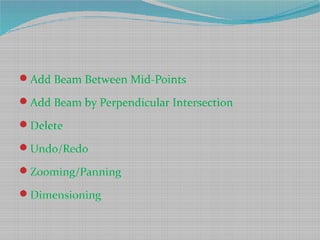
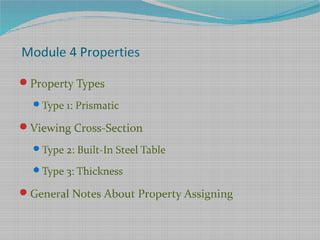
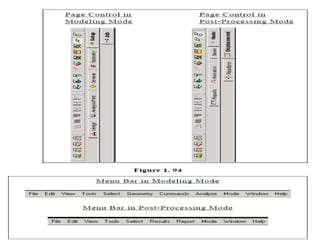


This document provides an introduction and overview of the modules covered in a training course on STAAD.Pro. It outlines 9 modules that will be covered: 1) Introduction, 2) Geometry creation, 3) Additional modeling tools, 4) Property assignments, 5) Constants, supports and specifications, 6) Loading, 7) Analysis, 8) Post-processing, and 9) Design. Each module provides a brief description of the topics and functionality that will be covered related to that aspect of using STAAD.Pro for structural analysis and design.


