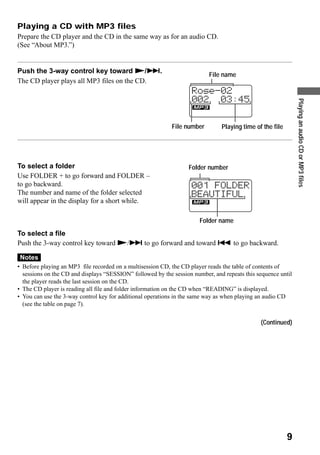
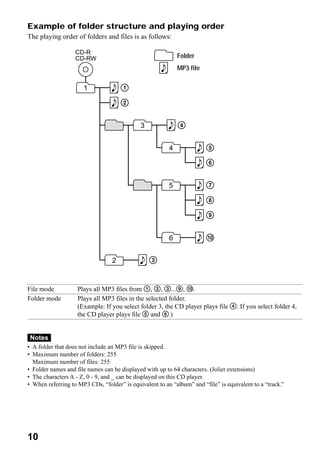
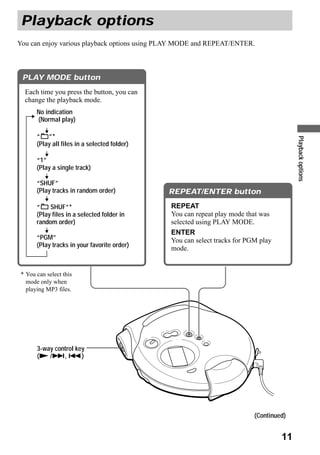
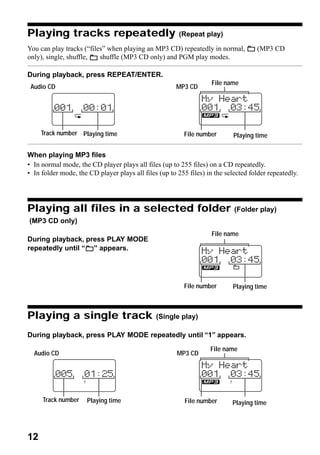
Download to read offline


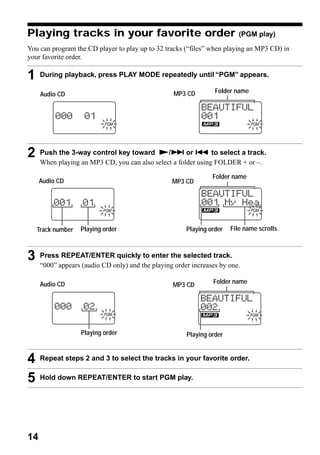
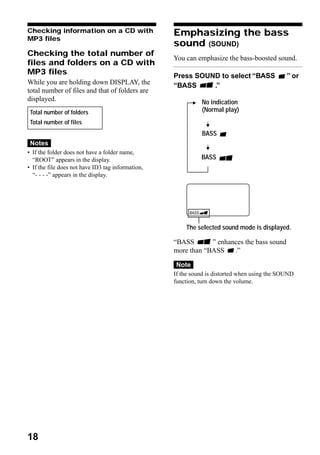
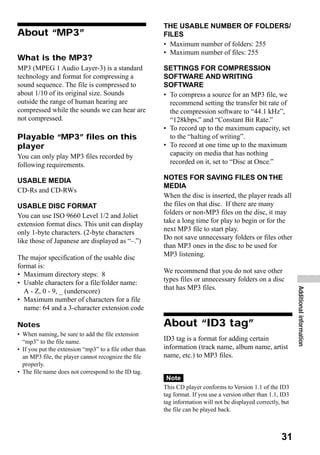
![Battery life* (approx. hours)
Specifications (When you use the CD player on a flat and stable
surface.)
System Playing time varies depending on how the CD
Compact disc digital audio system player is used.
Figures in brackets show the playing time of
Laser diode properties MP3 files.
Material: GaAlAs
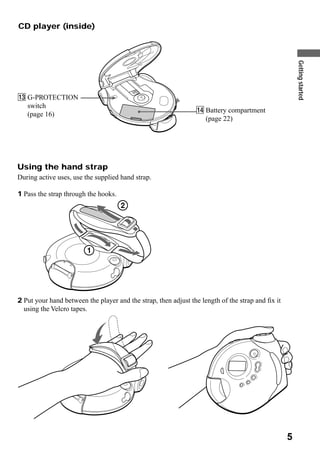
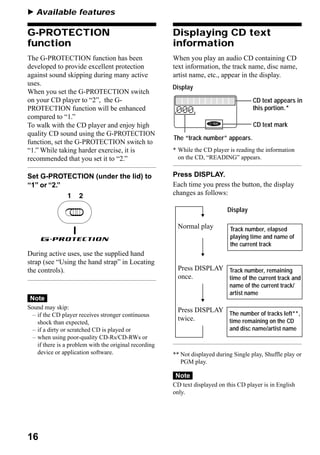
When using G-PROTECTION function
Wavelength: λ = 780 nm
“1” “2”
Emission duration: Continuous
Laser output: Less than 44.6 µW NH-WM2AA 22 23
(This output is the value measured at a distance (charged for [16] [16]
of 200 mm from the objective lens surface on about 5 hours**)
the optical pick-up block with 7 mm aperture.) Two Sony alkaline 37 38
D-A conversion batteries LR6 (SG) [24] [24]
1-bit quartz time-axis control (produced in Japan)
Frequency response * Measured value by the standard of JEITA (Japan
0
20 - 20 000 Hz –4.5 dB (measured by JEITA CP- Electronics and Information Technology
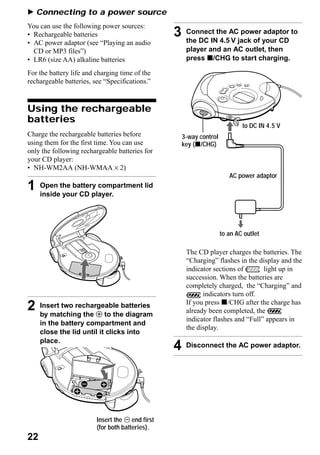
307) Industries Association).
Output (at 4.5 V input level) ** Charging time varies depending on how the
rechargeable battery is used.
Headphones (stereo minijack)
Approx. 5 mW + Approx. 5 mW at 16 Ω Operating temperature
5°C - 35°C (41°F - 95°F)
Power requirements
For the area code of the model you Dimensions (w/h/d) (including
purchased, check the upper left side of the projecting parts and controls)
bar code on the package. Approx. 134.1 × 38.5 × 147.8 mm
• Sony NH-WM2AA rechargeable batteries: (5 1⁄4 × 1 1⁄2 × 5 7⁄8 in.)
2.4 V DC
Mass (excluding accessories)
• Two LR6 (size AA) batteries: 3 V DC
Approx. 321 g (11.4 oz.)
• AC power adaptor (DC IN 4.5 V jack):
U/U2/CA2/E92/MX2/TW2/BR3 model:
Design and specifications are subject to change
120 V, 60 Hz
Additional information
without notice.
CED/CET/CEW/CEX/CE7/EE/EE1/E13/G5/
G6/G7/G8/BR1 model: 220 - 230 V, 50/60 Hz
CEK/3CE7 model: 230 - 240 V, 50 Hz
AU2 model: 240 V, 50 Hz
JE.W/E33/EA3/KR4 model: 100 - 240 V,
50/60 Hz
HK2 model: 220 V, 50/60 Hz
AR1/CNA model: 220 V, 50 Hz
29](https://image.slidesharecdn.com/sony-dcs901-operating-instructions-65e3daf-110524235857-phpapp02/85/Sony-dcs901-operating-instructions-65e3daf-29-320.jpg)

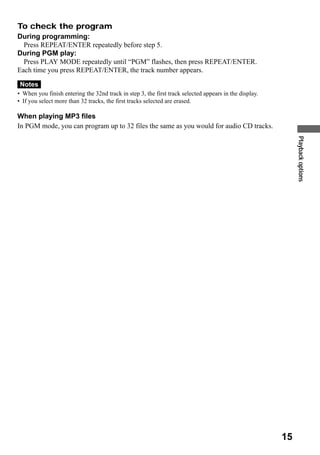
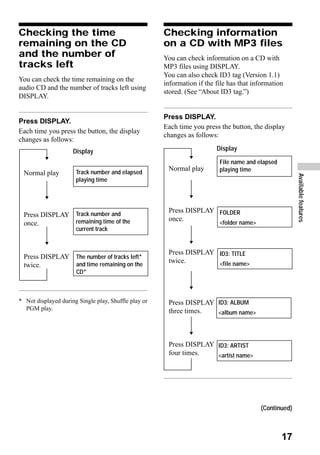
1. The document provides operating instructions for a portable CD player, including how to insert and play CDs and MP3 files, use playback options like repeat and shuffle play, and connect to external devices. 2. It also contains warnings, product registration information, technical specifications, and a list of accessories. 3. The CD player allows the user to enjoy audio CDs and MP3 files with options like programming playback order and repeating songs.


