Downloaded 448 times


![Configure Puppet on CentOS / RHEL Sample puppet.conf file (to see all values use # puppet –genconfig): # cat /etc/puppet/puppet.conf [main] vardir = /var/lib/puppet logdir = /var/log/puppet rundir = /var/run/puppet ssldir = $vardir/ssl tagmap = /etc/puppet/tagmail.conf reportfrom = puppet@sample.domain.com [puppetd] classfile = $vardir/classes.txt localconfig = $vardir/localconfig report = true [puppetmasterd] reports = tagmail autosign = /etc/puppet/autosign.conf](https://image.slidesharecdn.com/scalablesystemsmanagementwithpuppet-101220195321-phpapp01/75/Scalable-systems-management-with-puppet-44-2048.jpg)
![Configure Puppet on CentOS / RHEL After the certificate is accepted you can retest by starting the puppet client # /etc/init.d/puppet once –v In syslog you will see entries similar to the following: puppetd[18704]: Starting Puppet client version 0.25.4 puppetmasterd[18047]: Compiled catalog for server1.sample.domain.com in 0.25 seconds puppetd[18704]: Finished catalog run in 2.96 seconds Puppet client should start and should finish the catalog run without any errors](https://image.slidesharecdn.com/scalablesystemsmanagementwithpuppet-101220195321-phpapp01/75/Scalable-systems-management-with-puppet-51-2048.jpg)


![Sample module init.pp Below is a simple example of the named (DNS) class: class named { package { bind: ensure => installed; bind-chroot: ensure => installed; } service { "named": enable => true, ensure => running, require => [ Package["bind"], Package["bind-chroot"] ]; } file { "/var/named/chroot/etc/rndc.key": path => "/var/named/chroot/etc/rndc.key", source => "puppet:///named/var/named/chroot/etc/rndc.key", require => [ Package["bind"], Package["bind-chroot"] ]; } }](https://image.slidesharecdn.com/scalablesystemsmanagementwithpuppet-101220195321-phpapp01/75/Scalable-systems-management-with-puppet-60-2048.jpg)
![ERB variable declaration Ruby ERB variables can be set in different places They can be specified in the class that calls them: class resolv { $searchpath = "testing.com" $nameservers = ["192.168.0.1", "192.168.0.2"] file { "resolv.conf": name => "/etc/resolv.conf", content => template("resolv-template.erb") } }](https://image.slidesharecdn.com/scalablesystemsmanagementwithpuppet-101220195321-phpapp01/75/Scalable-systems-management-with-puppet-64-2048.jpg)
![ERB variable declaration Or you can set them for each node in /etc/puppet/manifests/nodes.pp node server1 { $searchpath = "testing.com" $nameservers = ["192.168.0.1", "192.168.0.2"] include resolv } node server2 { $searchpath = "testing.com" $nameservers = ["192.168.0.1", "192.168.0.2"] include resolv }](https://image.slidesharecdn.com/scalablesystemsmanagementwithpuppet-101220195321-phpapp01/75/Scalable-systems-management-with-puppet-65-2048.jpg)

![Intra-module dependencies Most of the time dependencies are in the context of the same module The application must be installed before it is configured class rt { package {"rt3": ensure => installed, } file { "/etc/rt3/RT_SiteConfig.pm": source => "puppet:///rt/etc/rt3/RT_SiteConfig.pm", ensure => present, owner => apache, group => apache, mode => 640, require => Package[rt3]; } }](https://image.slidesharecdn.com/scalablesystemsmanagementwithpuppet-101220195321-phpapp01/75/Scalable-systems-management-with-puppet-71-2048.jpg)
![Inter-module dependencies The more complex your Puppet environment becomes the greater the need for inter-module dependencies are. This is where a specific resource defined in module “A” is dependent on a resource in module “B” class rt { package { "rt3": ensure => installed, require => Yumrepo[epel]; "mod_fcgid": ensure => installed; "perl-Authen-PAM": ensure => installed; } }](https://image.slidesharecdn.com/scalablesystemsmanagementwithpuppet-101220195321-phpapp01/75/Scalable-systems-management-with-puppet-72-2048.jpg)
![Module Inheritance Inherit statements do exactly what they sound like they do Come in handy when you only need to change something specific for a node or two class ntp::verne inherits ntp { file { "/etc/sysconfig/ntpd": ensure => file, source => "puppet:///verne/etc/sysconfig/ntpd", owner => root, group => root, mode => 0644, notify => [ Service[ntpd], ], } }](https://image.slidesharecdn.com/scalablesystemsmanagementwithpuppet-101220195321-phpapp01/75/Scalable-systems-management-with-puppet-73-2048.jpg)
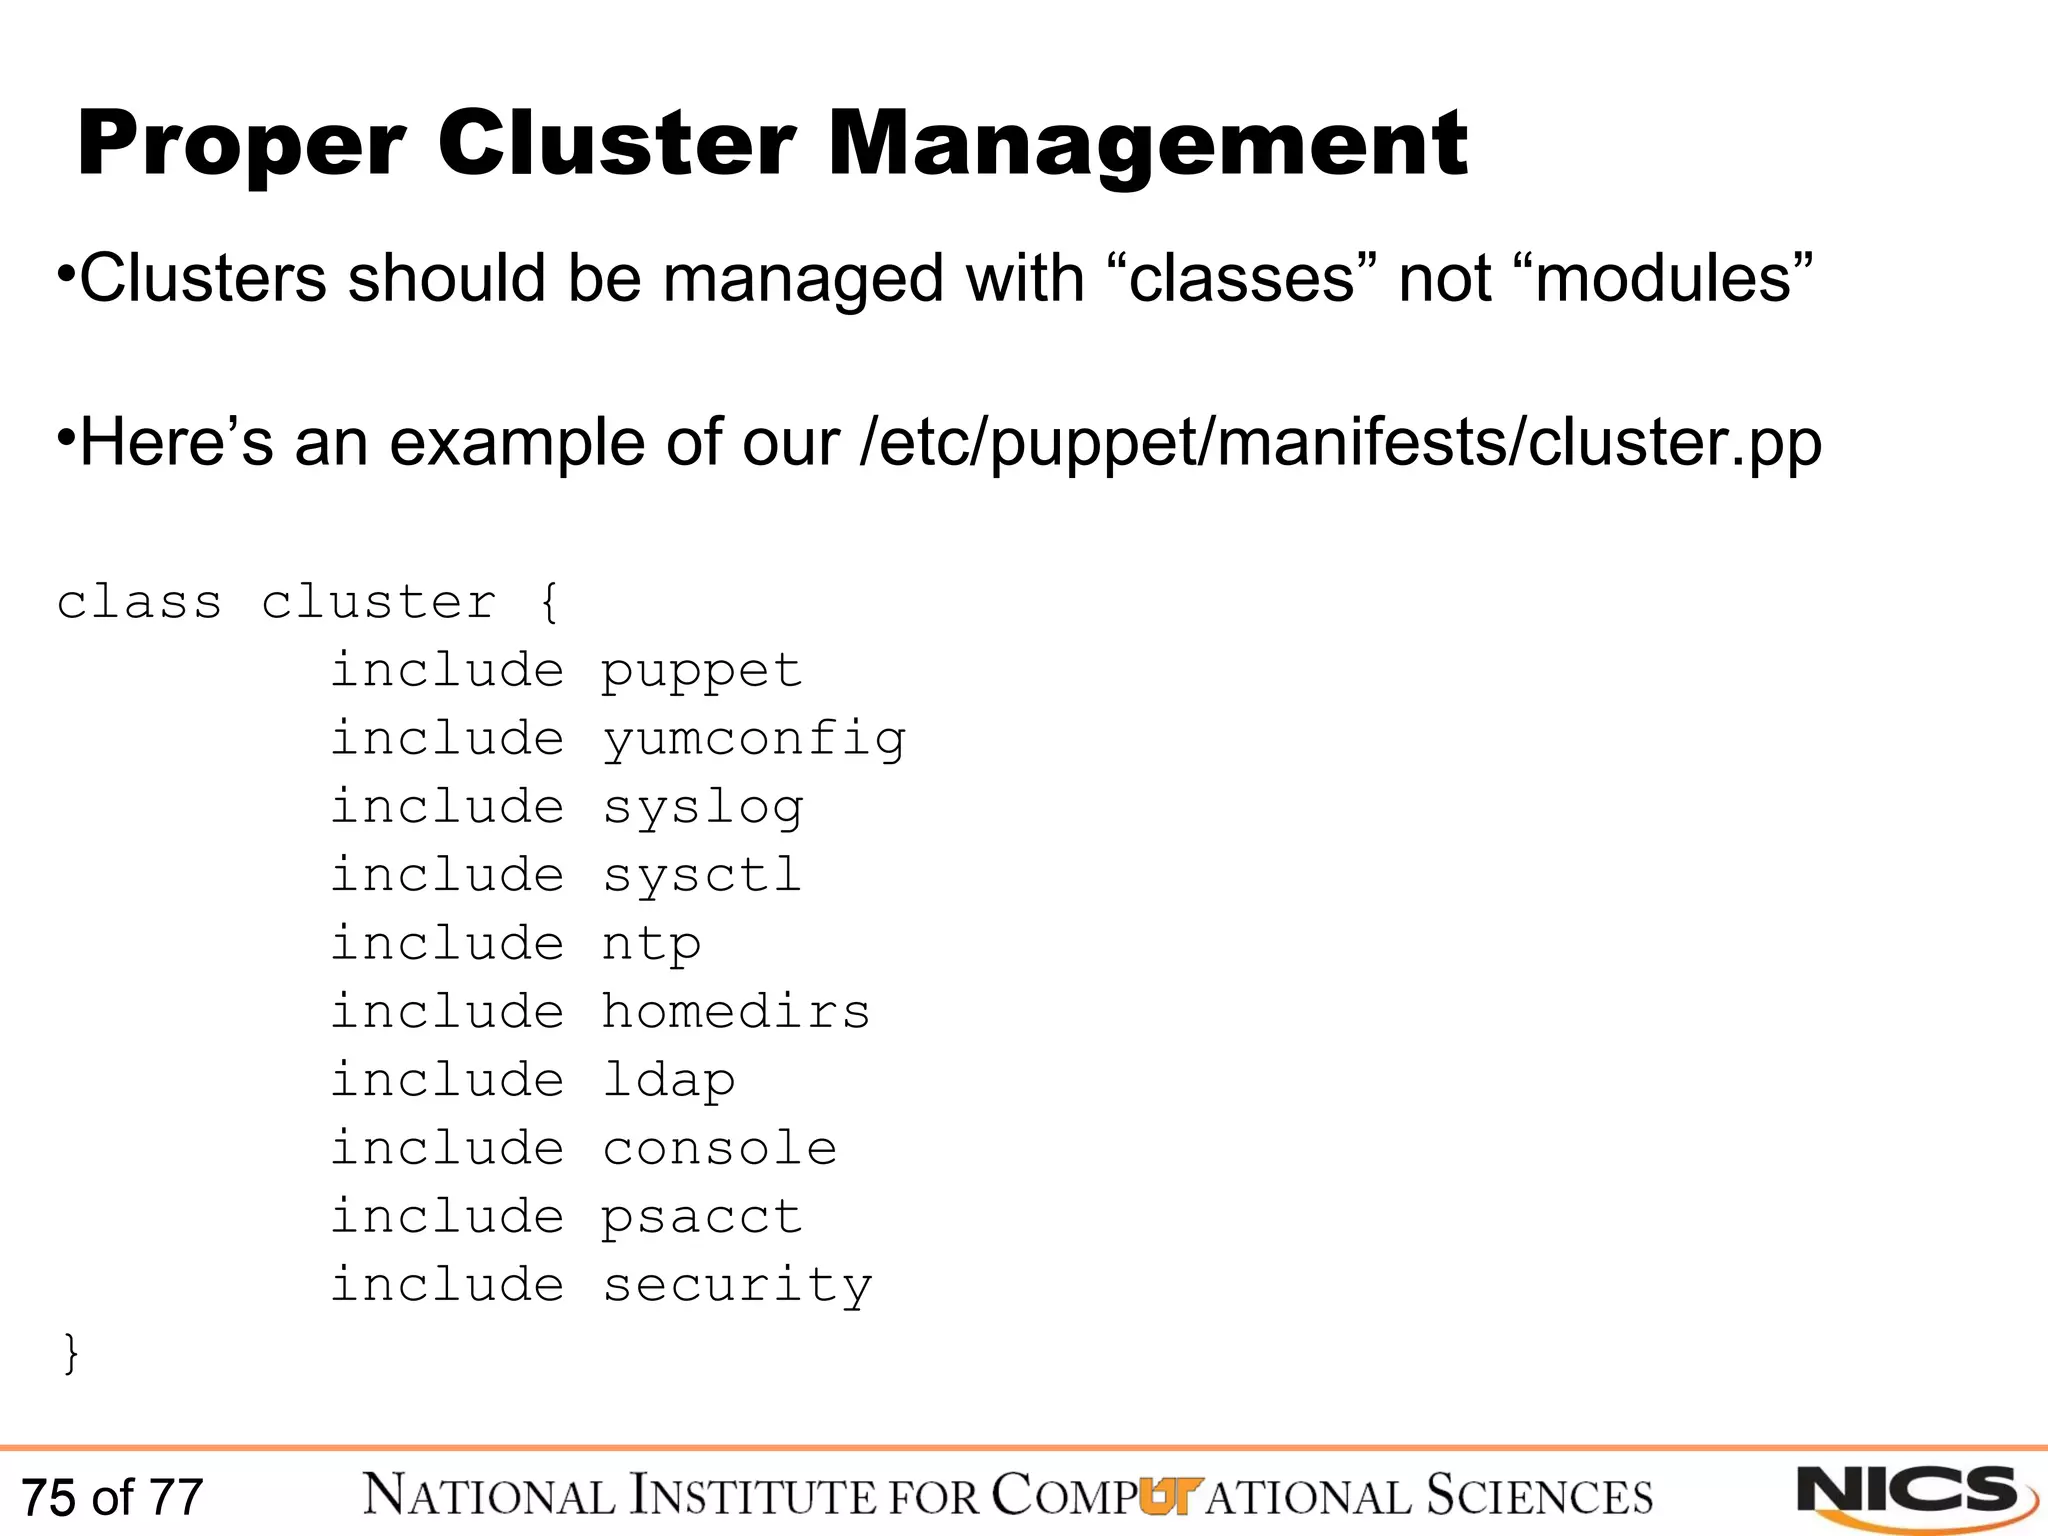
![Proper Cluster Management More recent version of Puppet support ruby regex Here’s an example of how to efficiently manage a cluster of 10 node /^clusternode[0-9]+/ { $disable_ipv6 = False include cluster include kernel-utils boot_kernel { "2.6.18-164.15.1.el5": } } To test out your ruby regex use: http://rubular.com/](https://image.slidesharecdn.com/scalablesystemsmanagementwithpuppet-101220195321-phpapp01/75/Scalable-systems-management-with-puppet-76-2048.jpg)
![Questions?? Nick Jones [email_address] Stephen McNally [email_address]](https://image.slidesharecdn.com/scalablesystemsmanagementwithpuppet-101220195321-phpapp01/75/Scalable-systems-management-with-puppet-77-2048.jpg)

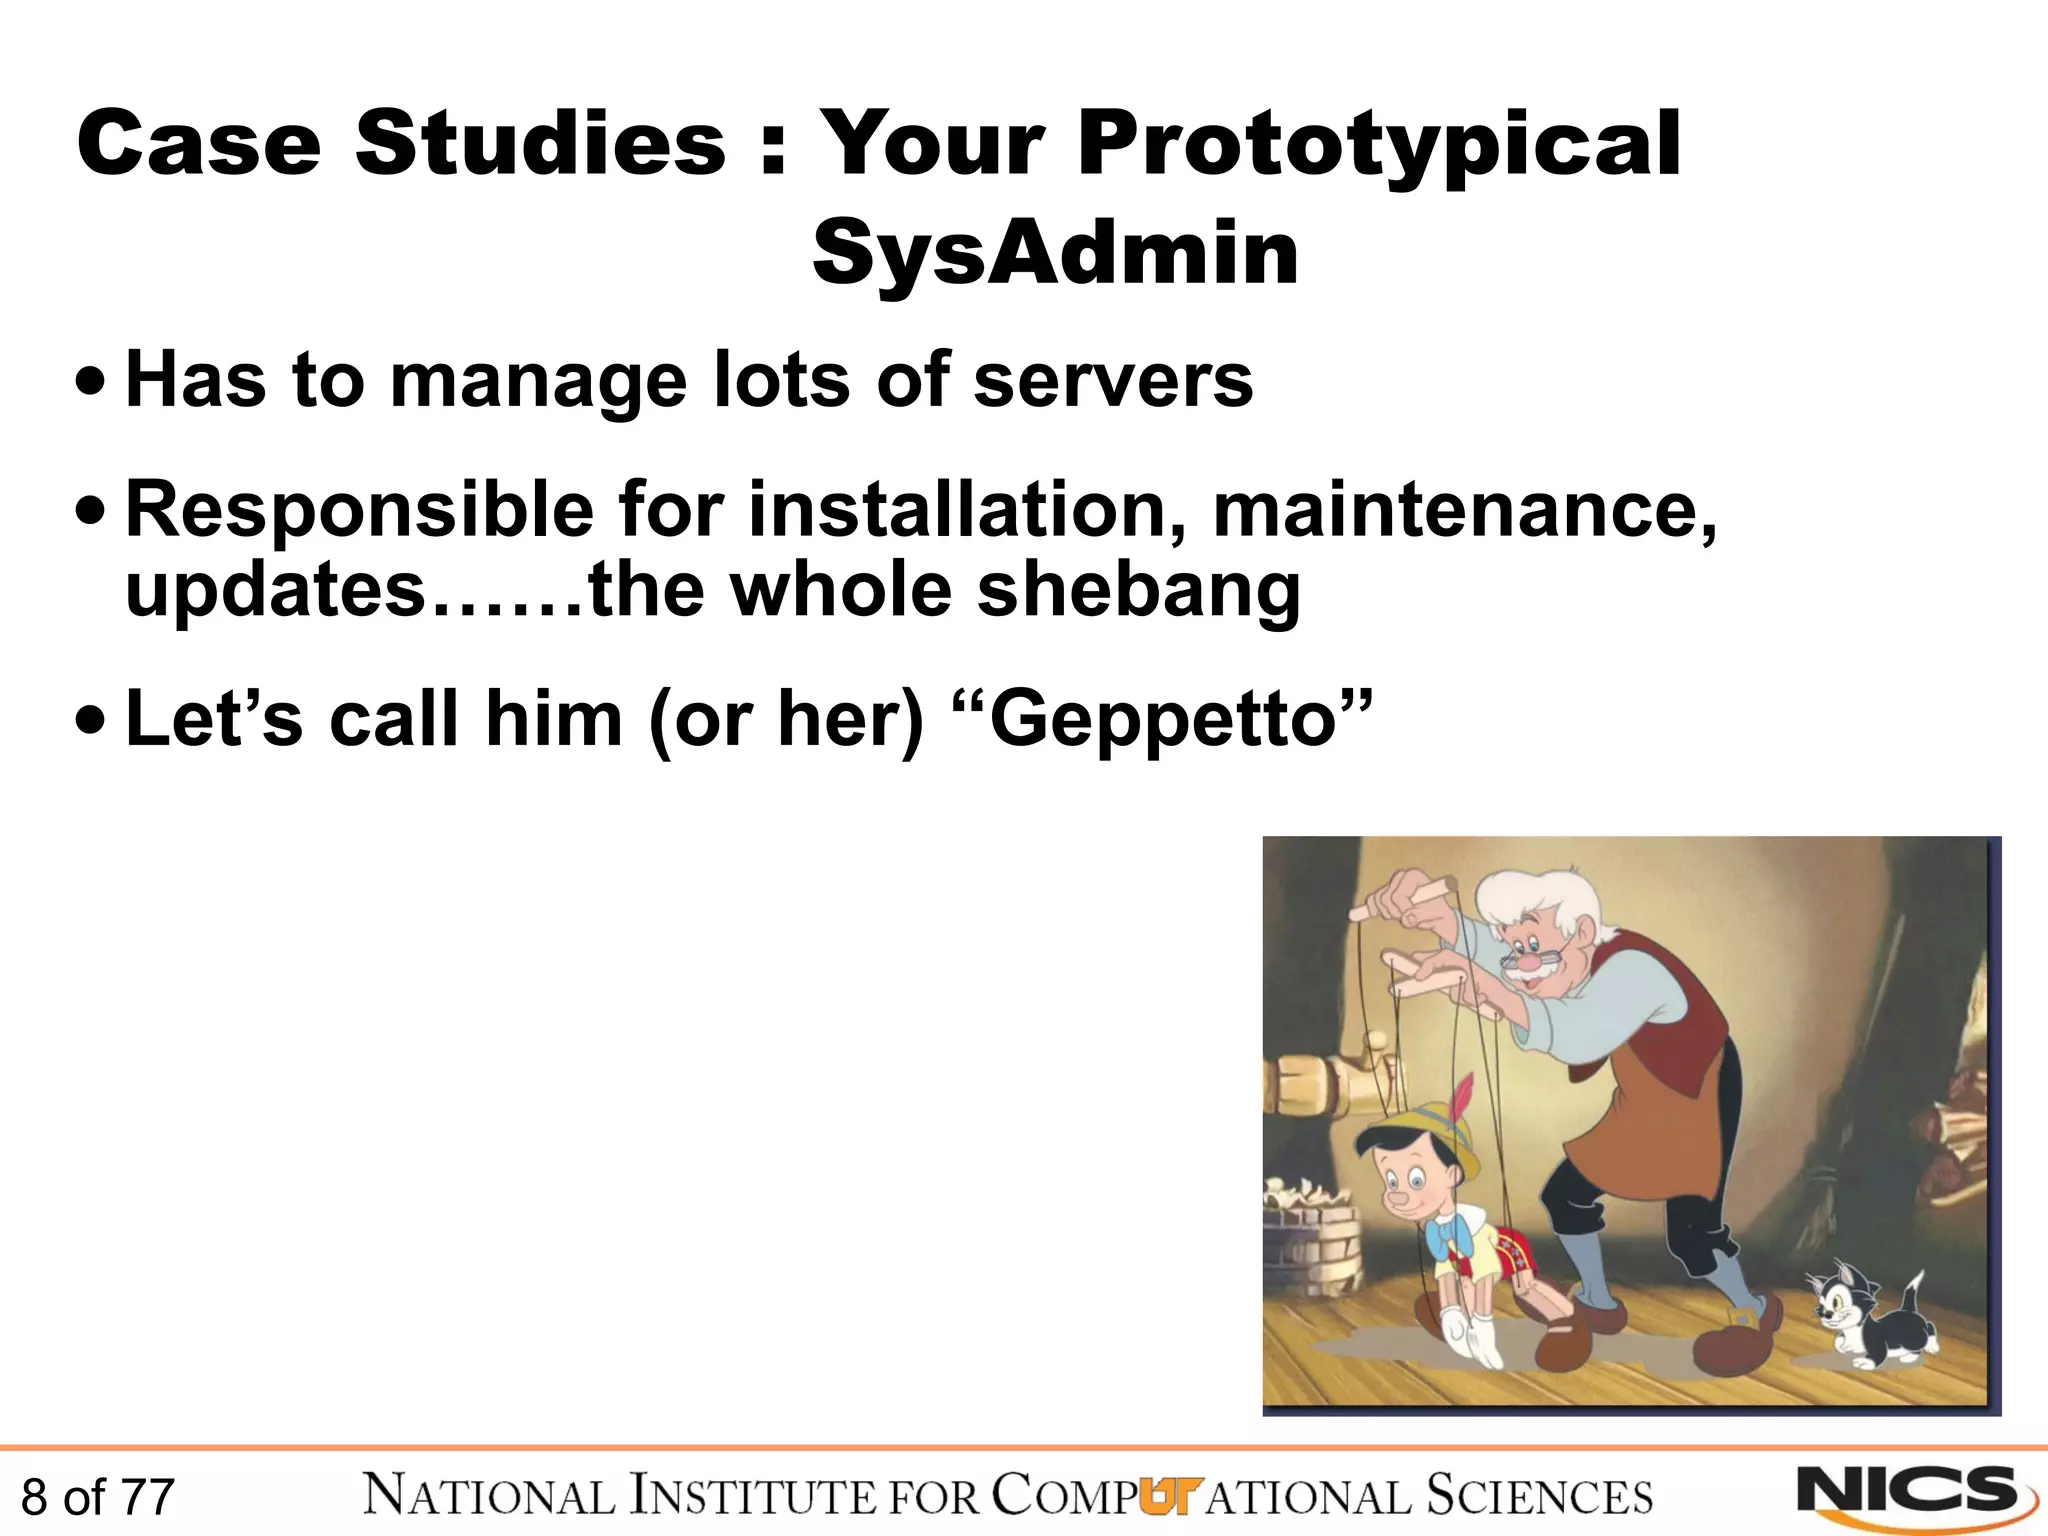
This document discusses using Puppet for scalable systems management. It begins with challenges faced by system administrators and an introduction to Puppet. It covers installing and configuring Puppet, including certificate signing. It also discusses managing infrastructure with Puppet through classes, modules, and templates. Examples of Puppet configuration are provided.