This document is the system administrator's guide for Oracle Applications Release 11 from March 1998. It provides information to administrators for managing Oracle Applications security, user and data auditing, help, user profiles, concurrent programs and reports, concurrent processing, printers, and other system administration tasks. The guide includes descriptions of configuration windows, reports, and other tools to help administrators set up and manage the Oracle Applications system. It contains chapters on security, auditing, help, profiles, concurrent processing, and printers.


![7– 57Managing Concurrent Processing
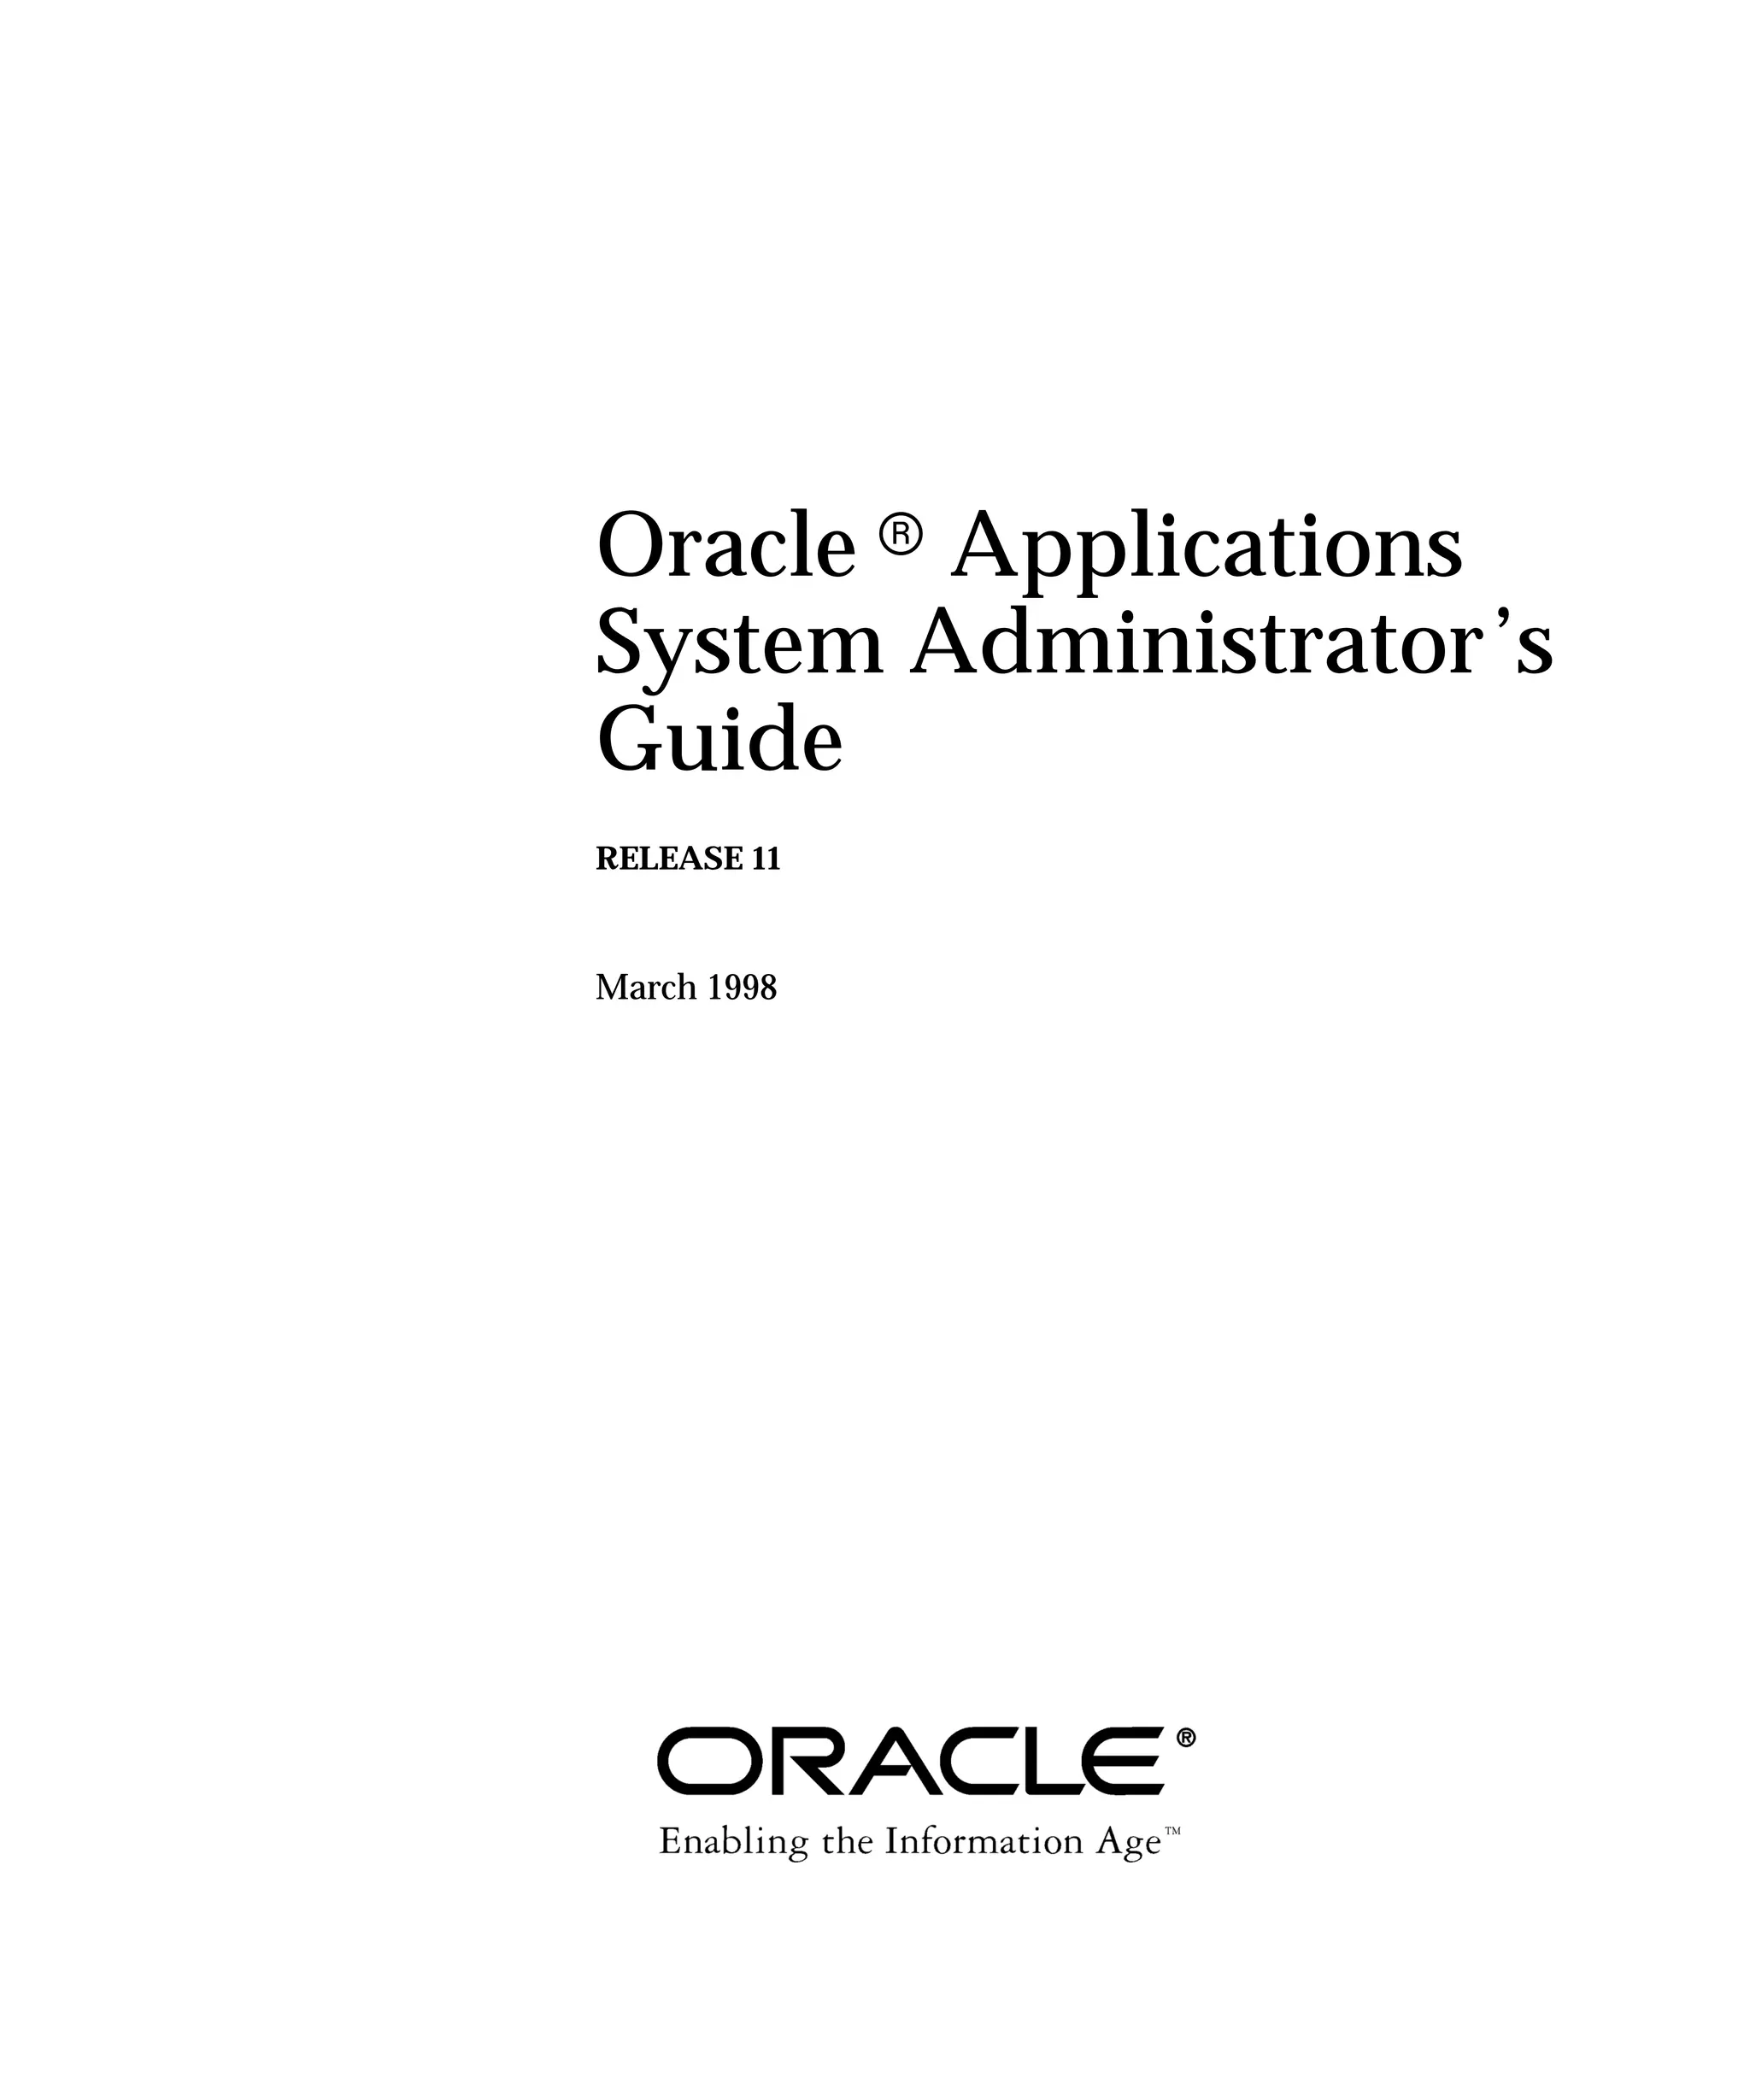
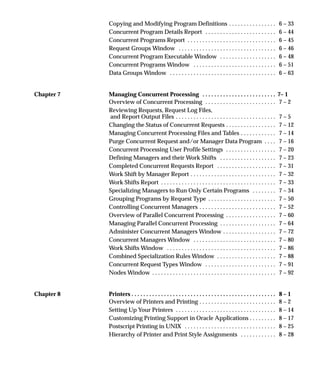
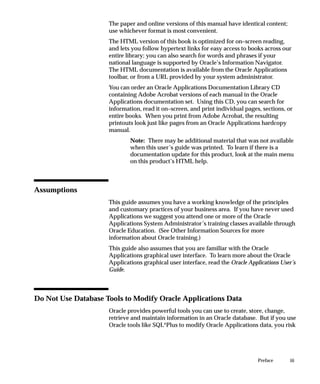
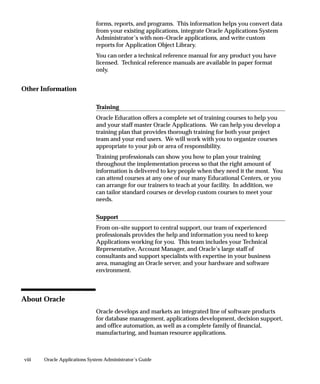
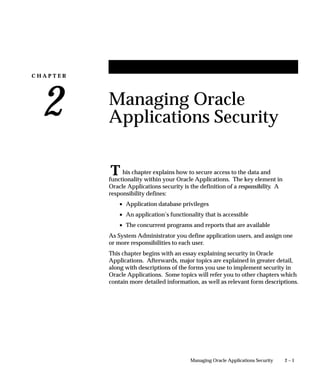
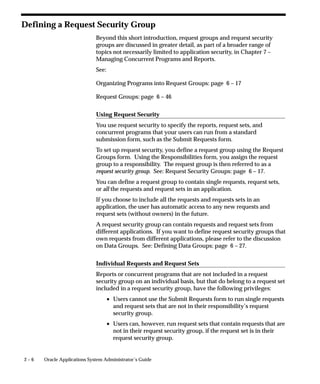
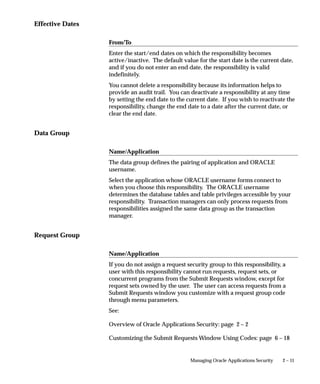
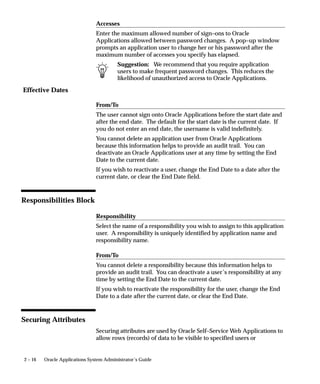
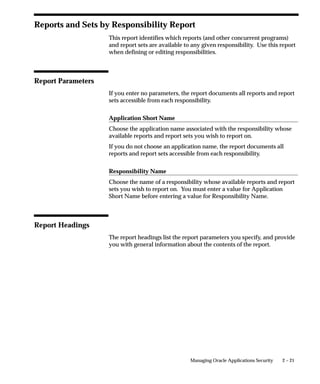
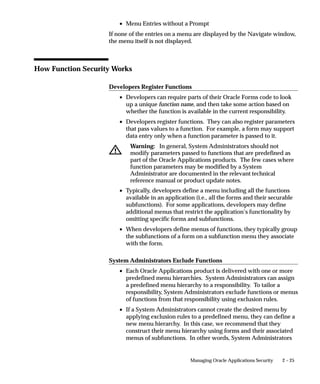
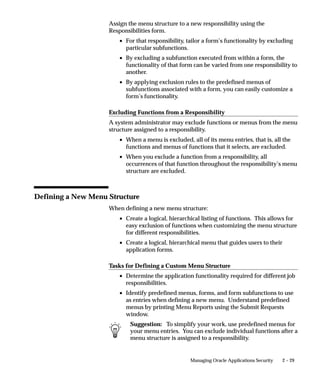
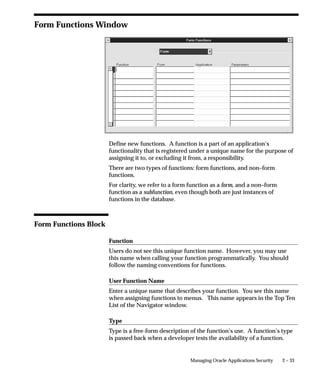
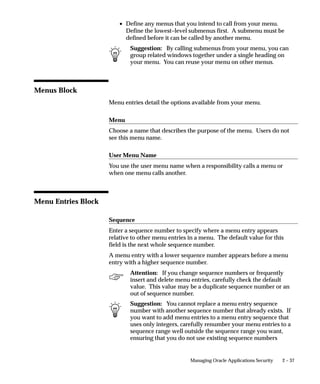
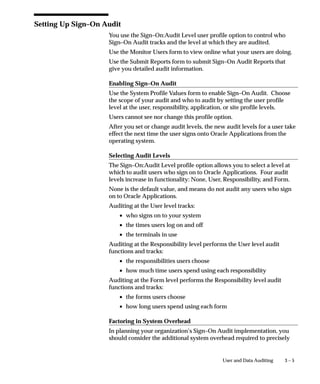
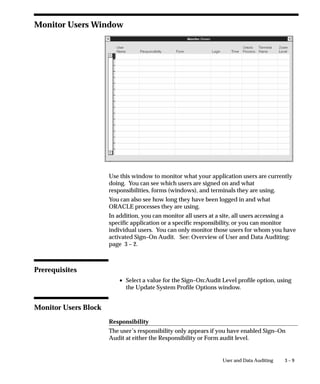
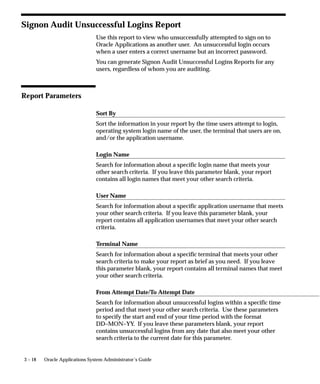
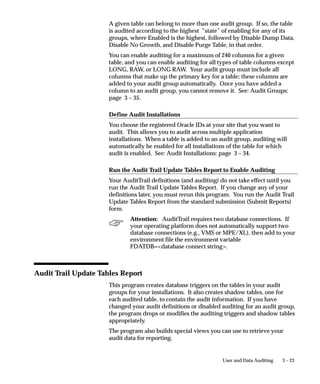
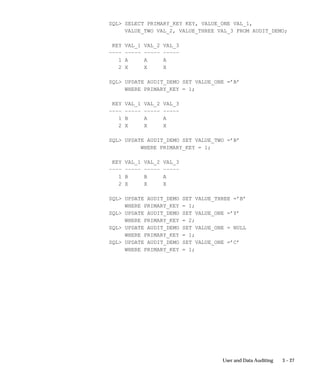
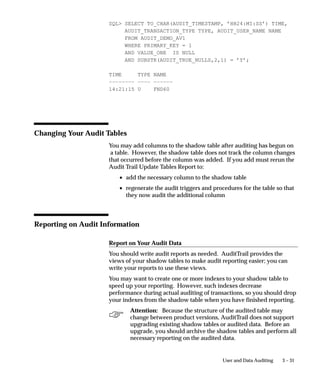
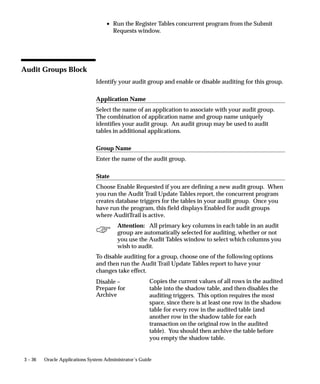
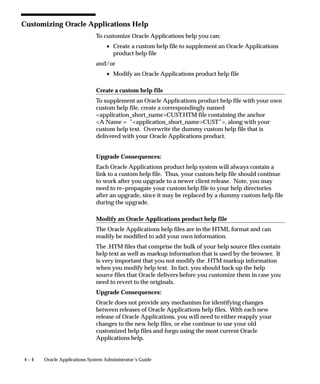
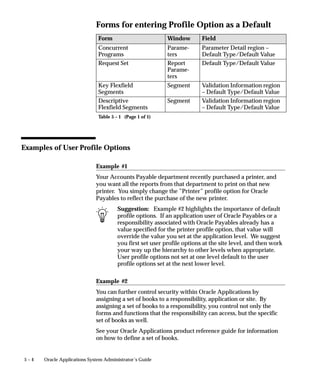
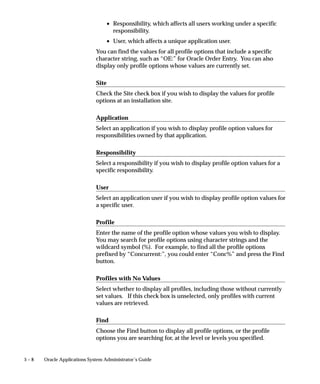
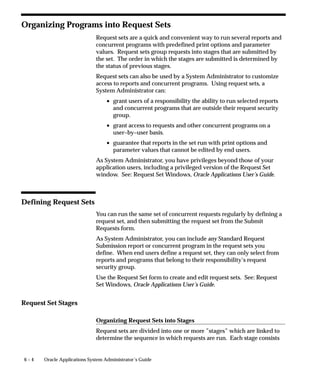
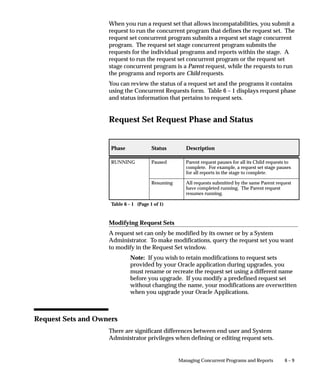
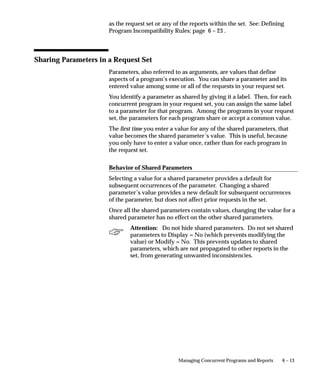
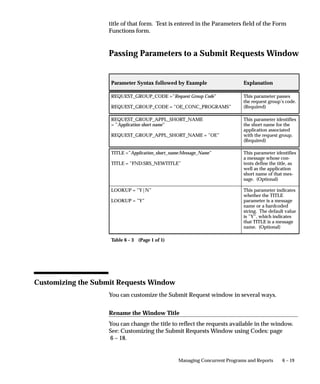
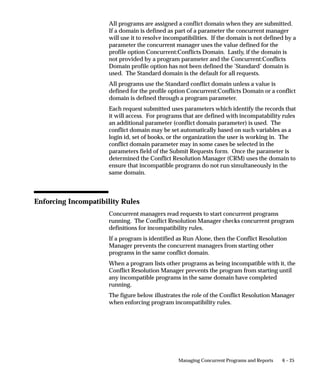
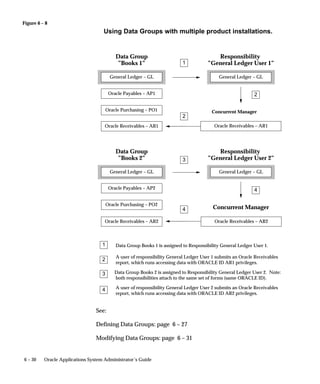
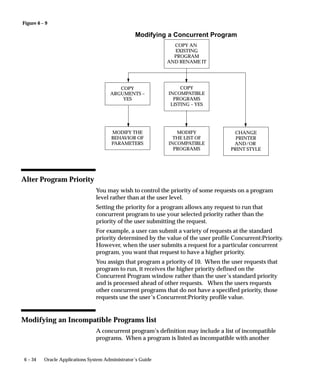
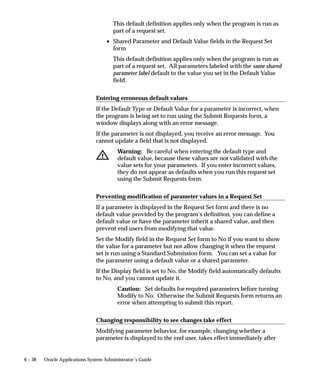
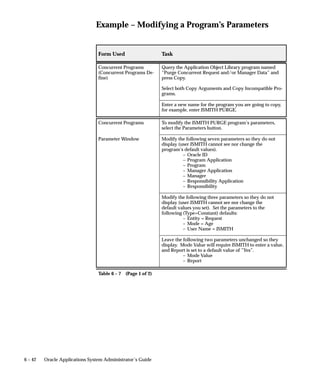
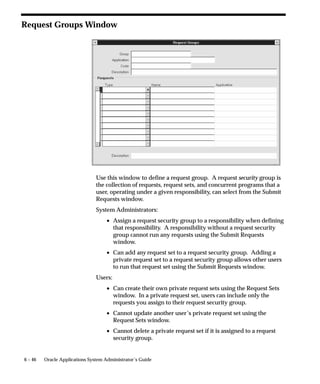
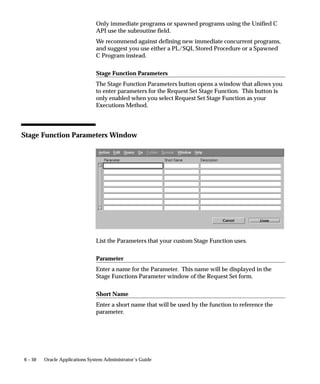
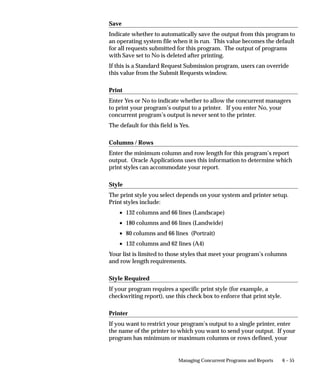
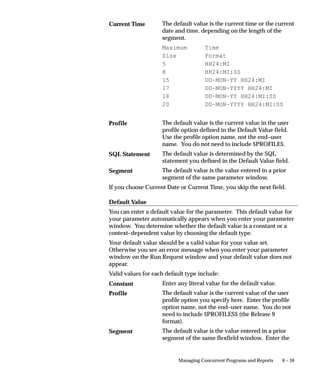
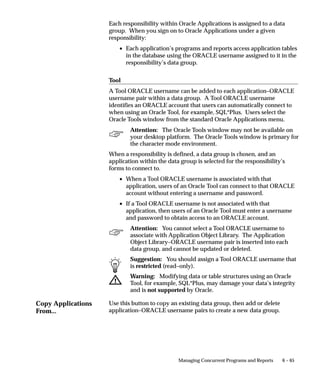
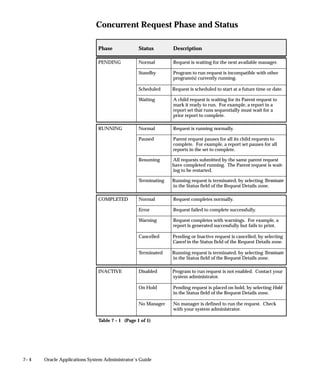
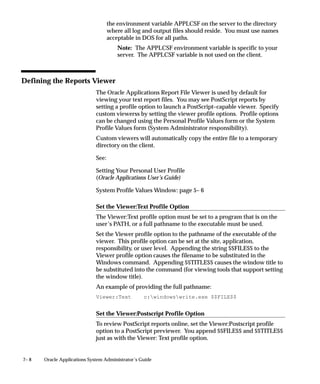
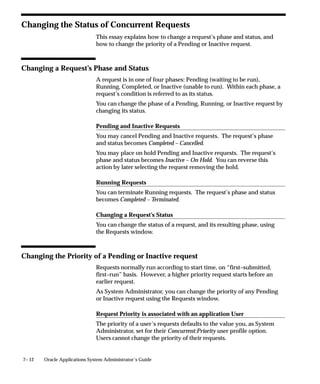
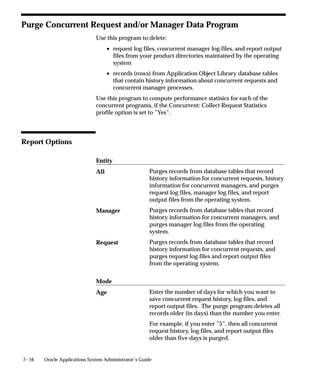
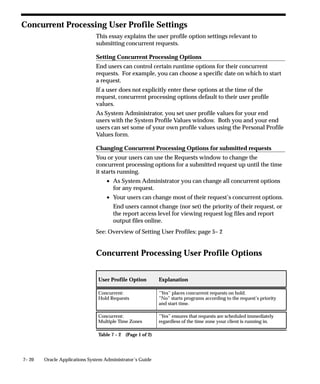
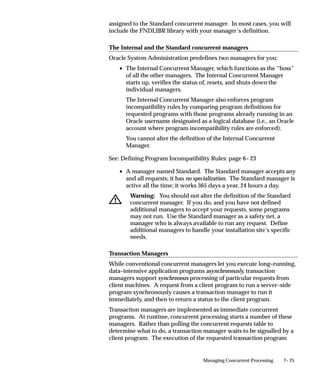
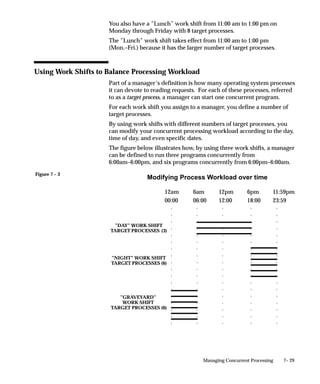
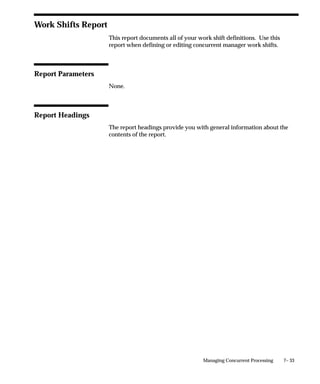
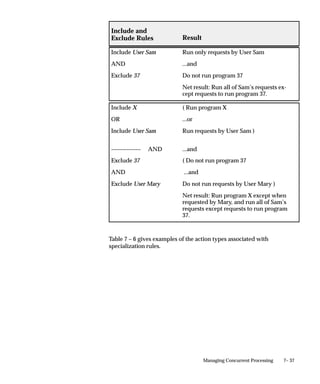
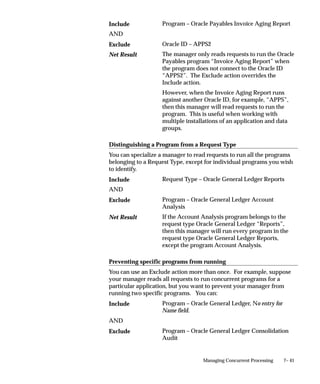
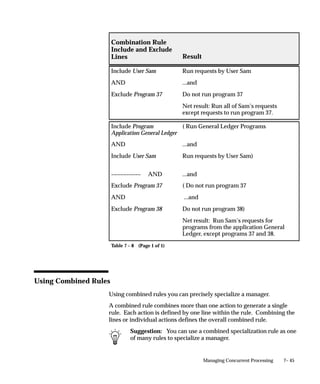
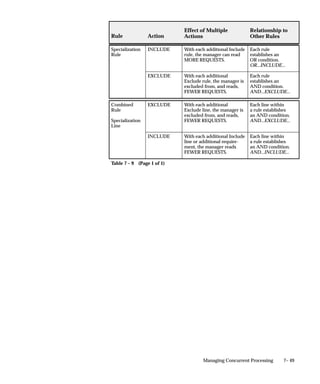
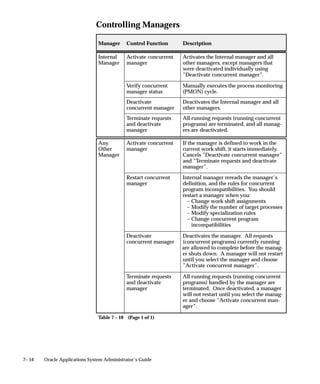
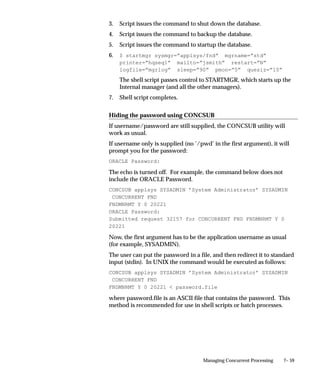
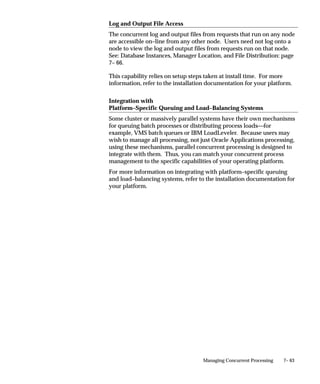
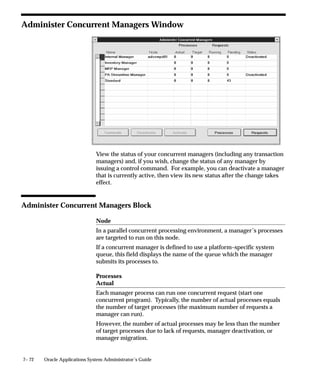
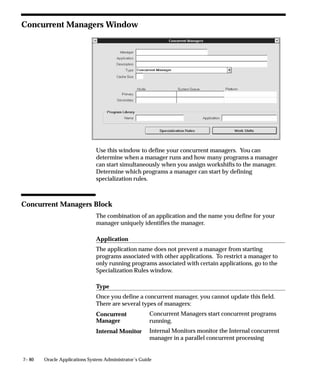
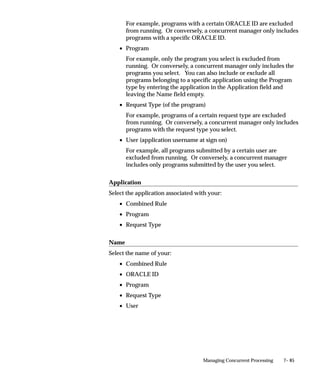
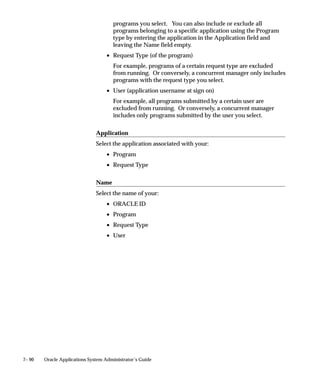
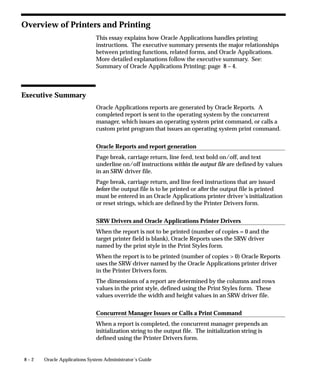
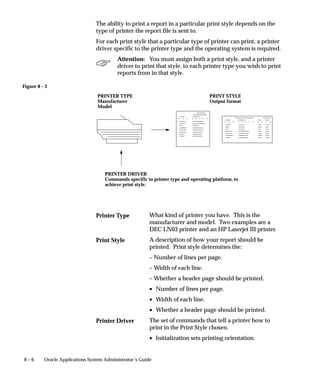
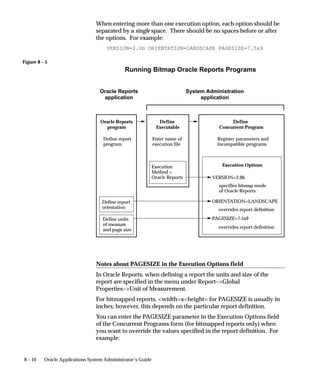
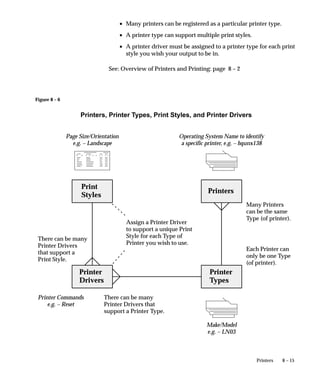
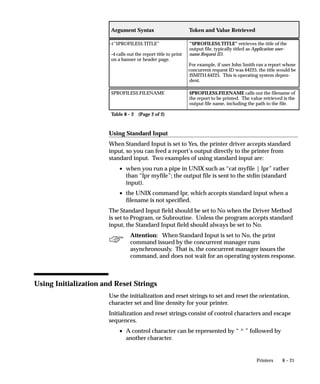
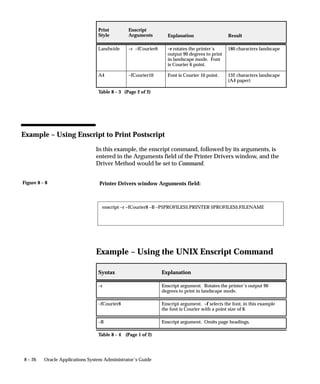
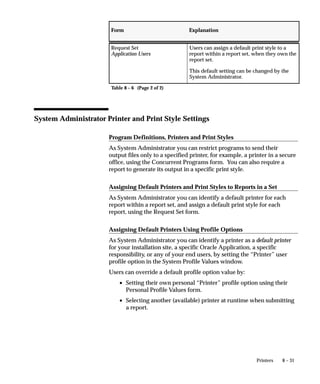
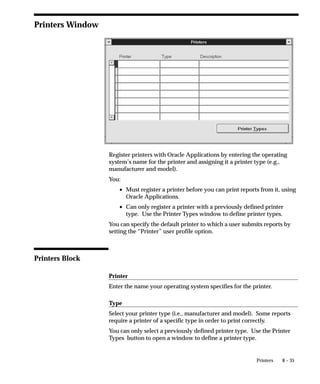
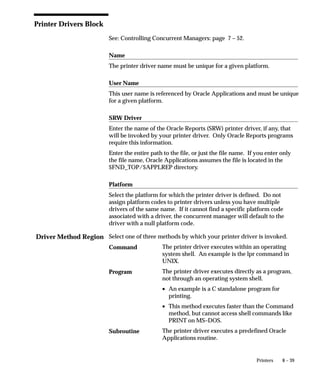
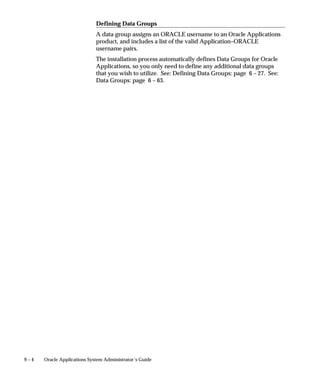
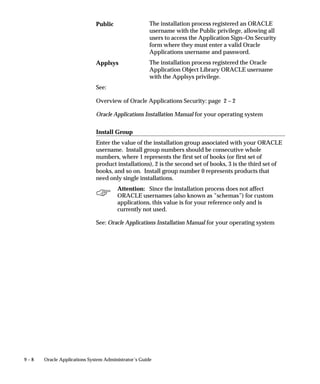
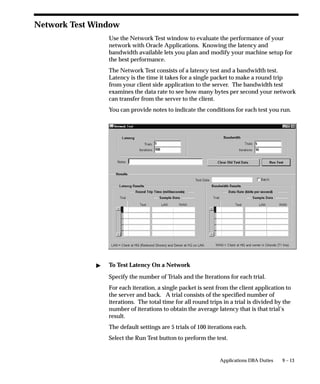
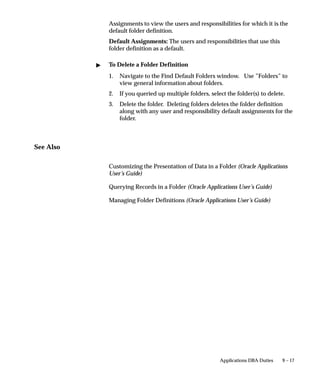
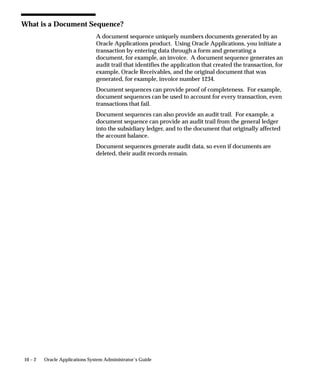
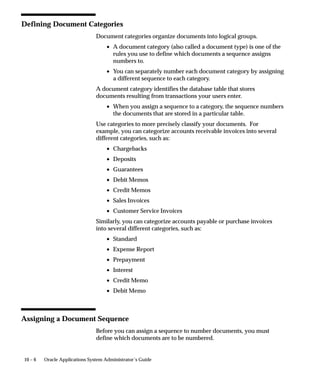
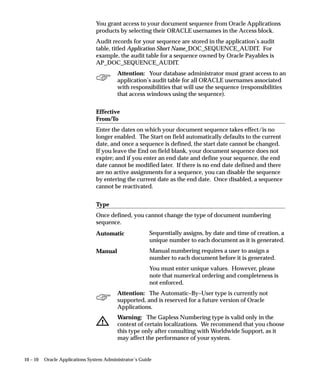
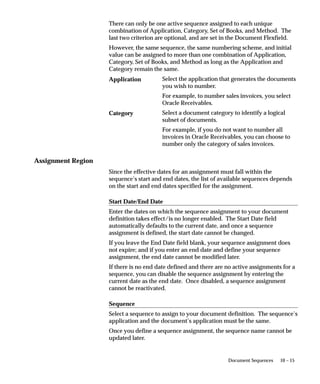
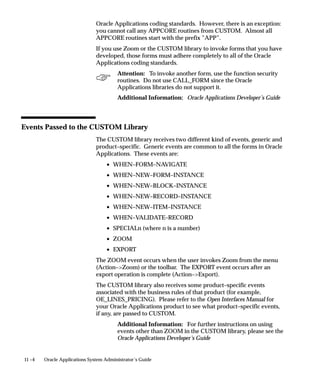
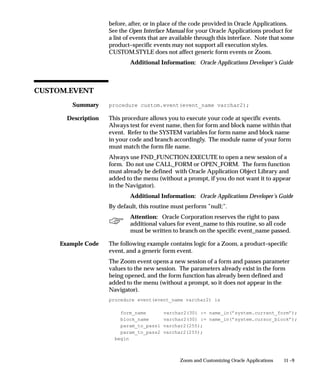
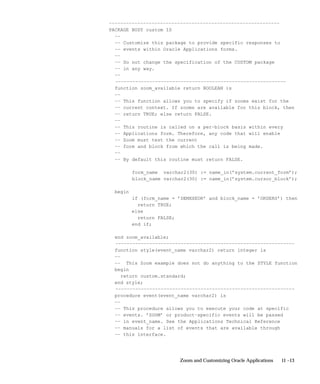
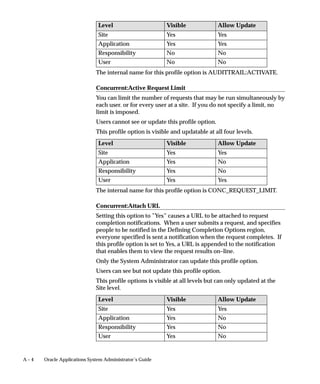
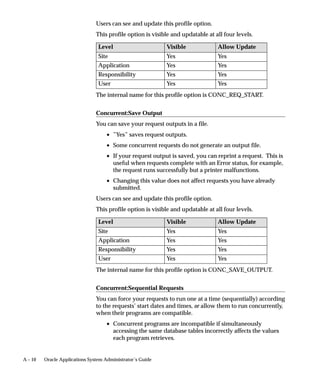
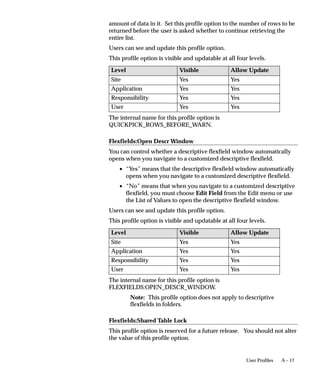
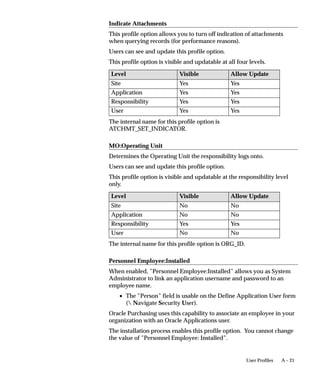
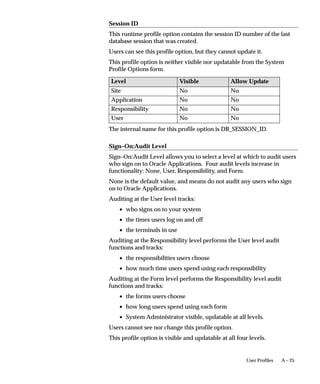
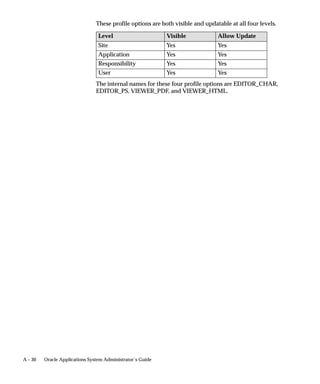
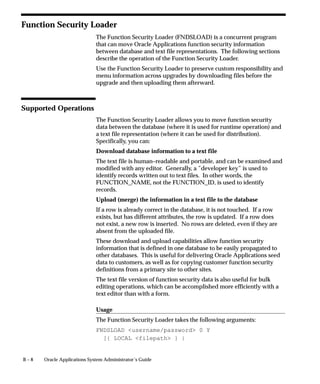
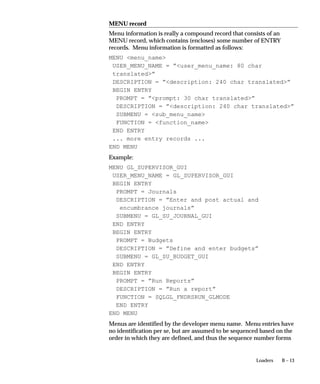
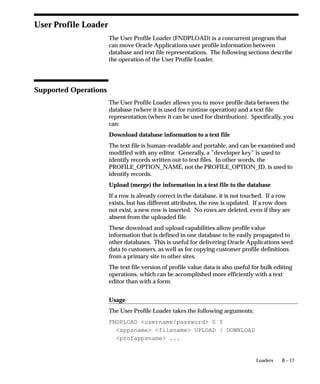
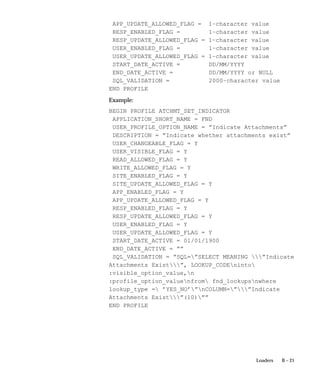
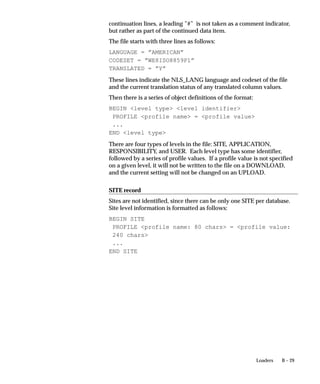
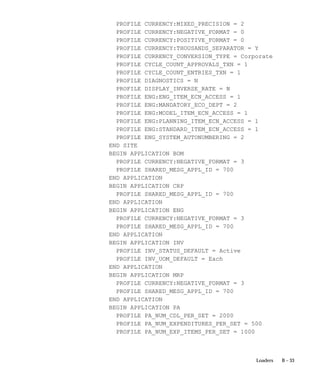
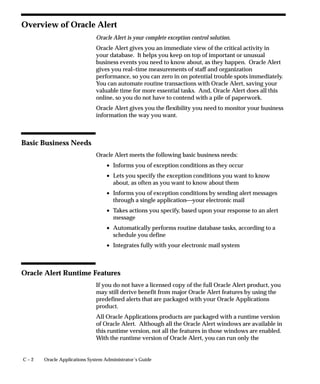
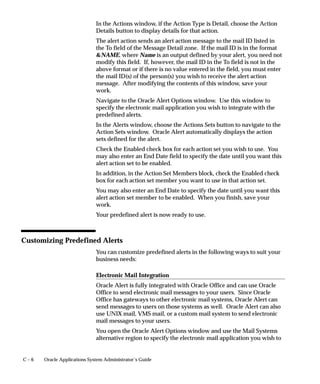
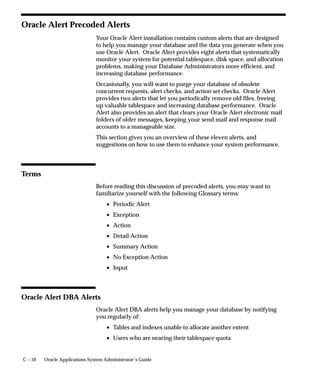
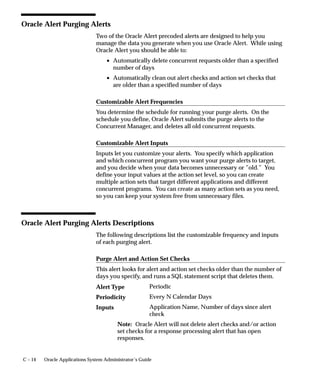
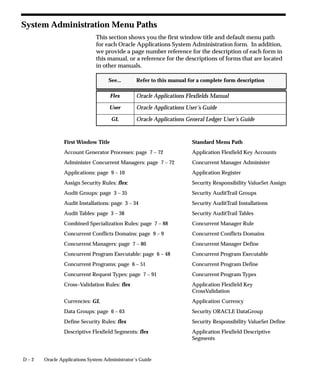
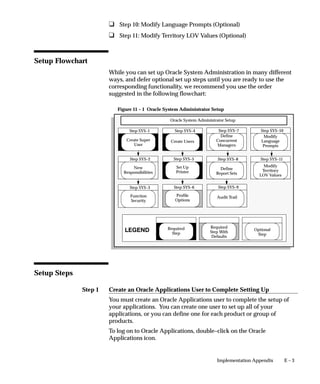
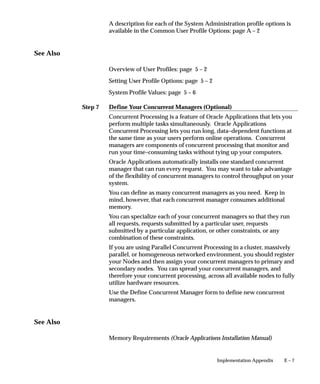
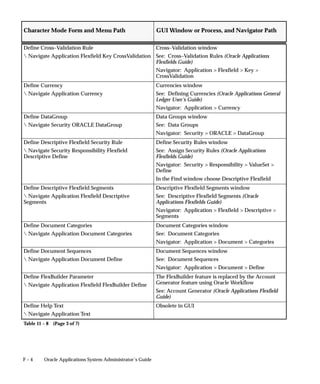
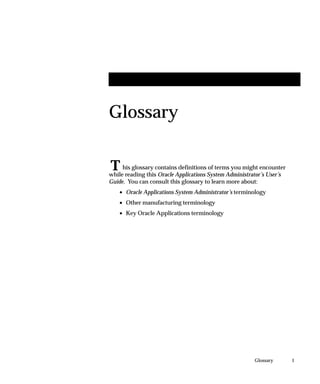
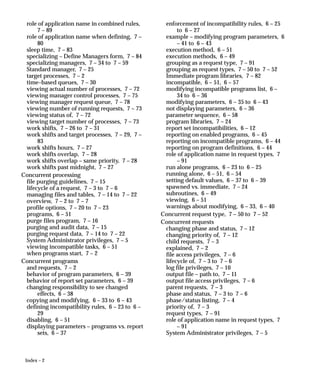
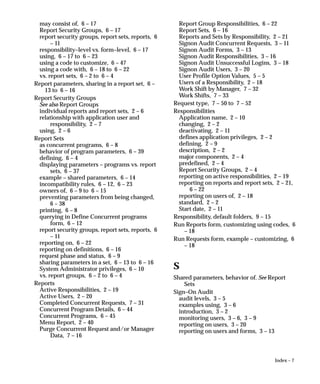
The CONCSUB utility submits a concurrent request and returns you to
the operating system prompt. You must wait until the concurrent
request completes.
To check on the status of your concurrent request, use the Concurrent
Requests form.
CONCSUB applsys/pwd ’Responsibility application shortname’
’Responsibility name’ ’Username’ [WAIT={Y|N|n}] CONCURRENT
’Program application shortname’ PROGRAM
Parameters
The ORACLE username and password that
connects to Oracle Application Object Library data.
The application shortname of the responsibility.
For the System Administrator responsibility, the
application shortname is SYSADMIN.
The name of the responsibility. For the System
Administrator responsibility, the responsibility
name is System Administrator.
The application username of the person who
submits the request. For example, SYSADMIN is
the username of the System Administrator.
Set WAIT to Y if you want CONCSUB to wait until
the request you submitted completes before
CONCSUB returns you to the operating system
prompt.
Set WAIT to N (the default value) if you do not
want CONCSUB to wait.
You can also enter an integer value of n seconds for
CONCSUB to wait before it exits.
When used, WAIT must be entered before
CONCURRENT.
The application shortname of the program. For the
DEACTIVATE, ABORT, and VERIFY programs, the
application shortname is FND.
To submit the Shutdown All Managers concurrent
request, use the program DEACTIVATE.
To submit the Shutdown Abort Managers
concurrent request, use the program ABORT.
To submit the Verify All Managers Status
concurrent request, use the program VERIFY.
applsys/pwd
Responsibility
application
shortname
Responsibility
name
Username
WAIT={Y|N|n}
Program
application
shortname
PROGRAM](https://image.slidesharecdn.com/saug-151112223140-lva1-app6891/85/Saug-233-320.jpg)


![8 – 22 Oracle Applications System Administrator’s Guide
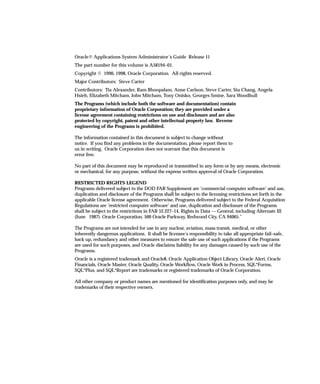
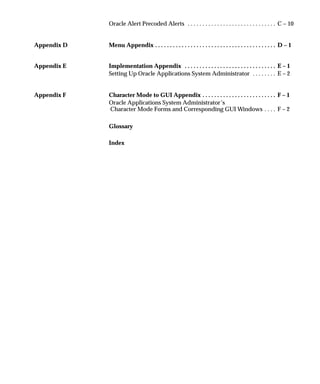
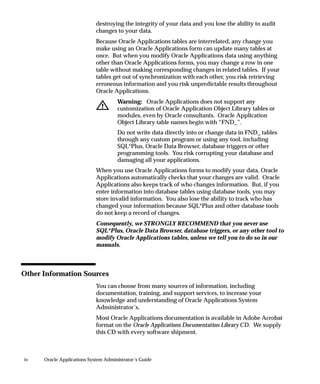
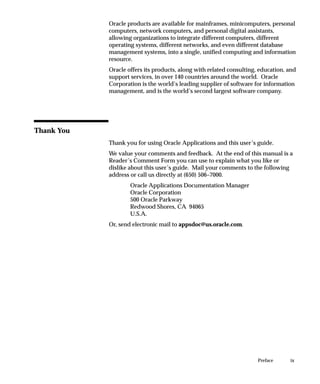
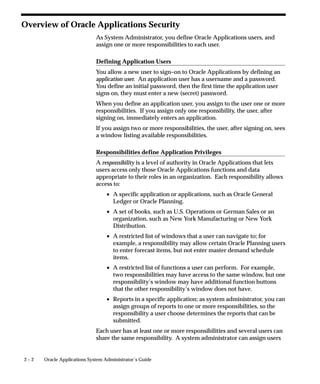
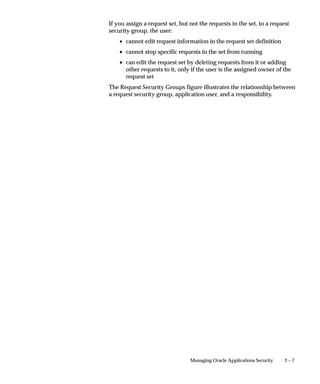
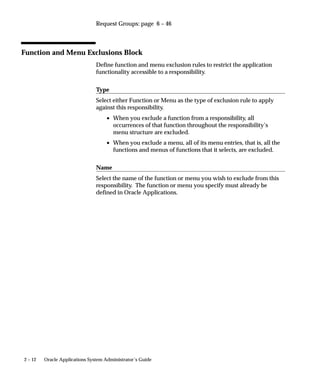
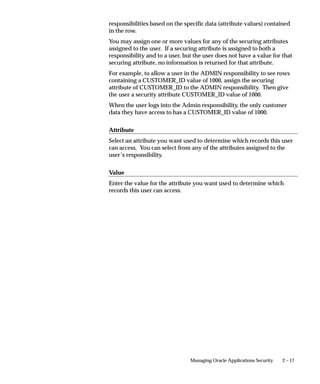
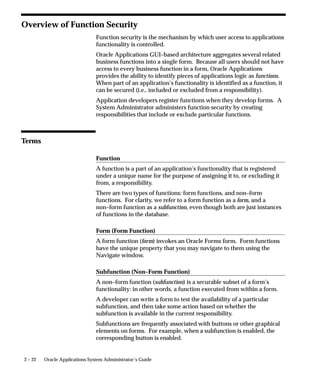
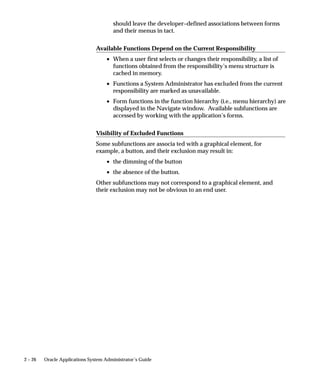
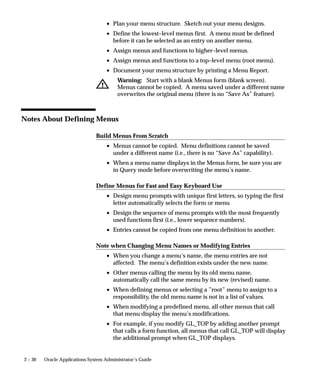
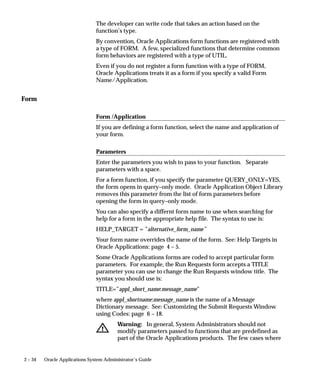
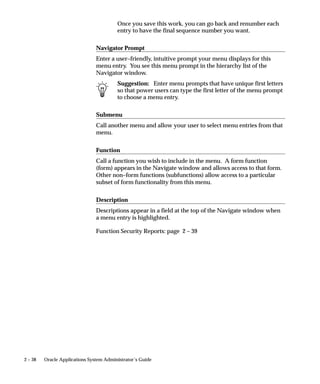
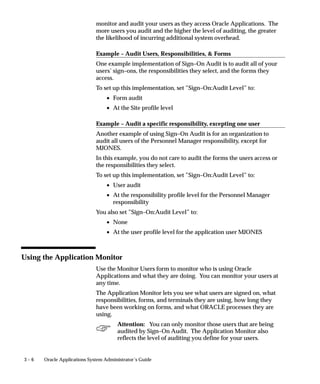
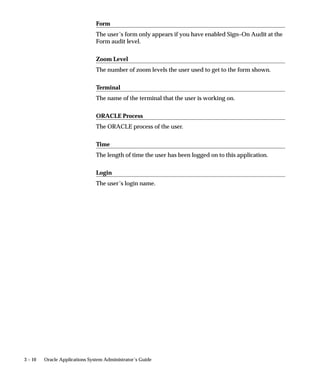
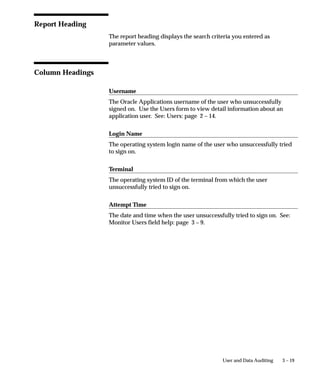
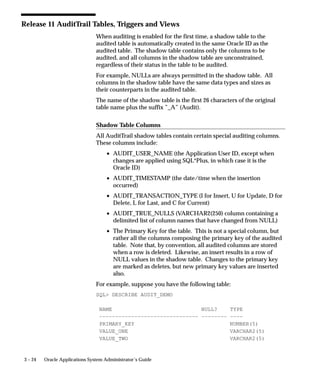
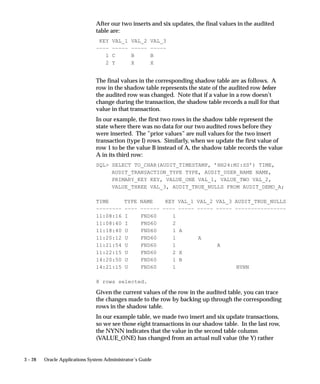
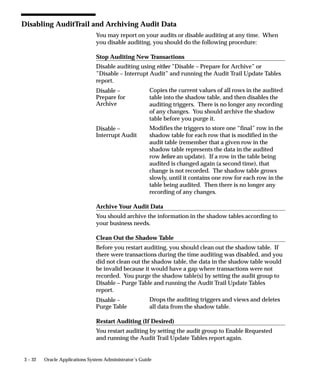
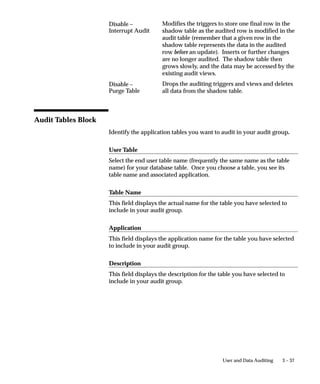
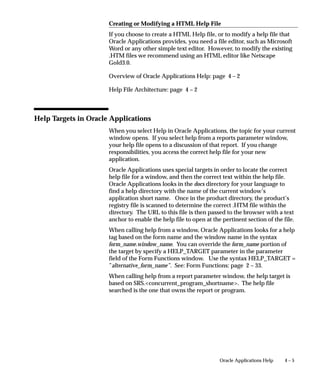
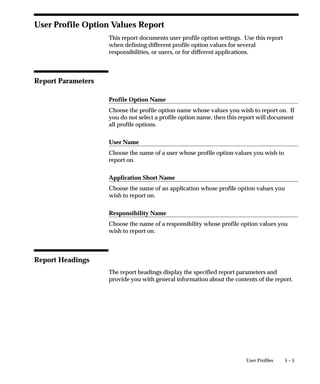
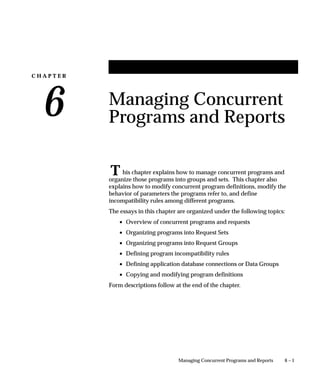
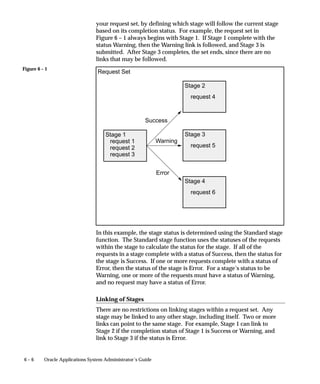
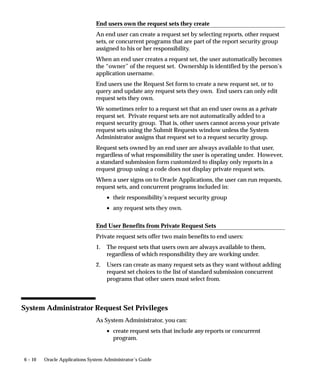
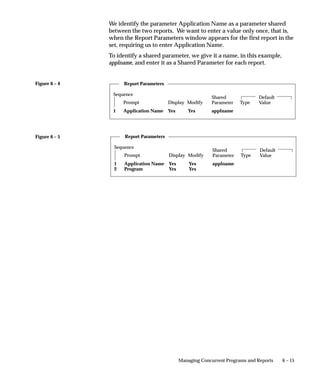
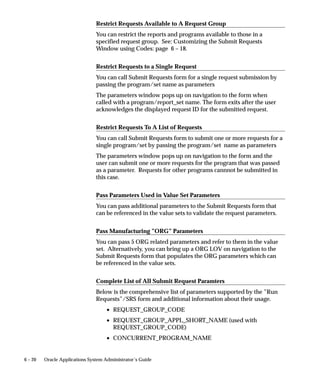
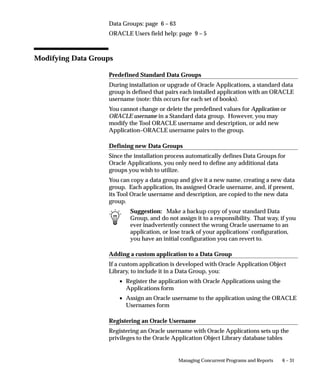
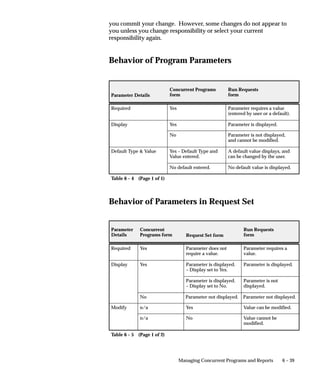
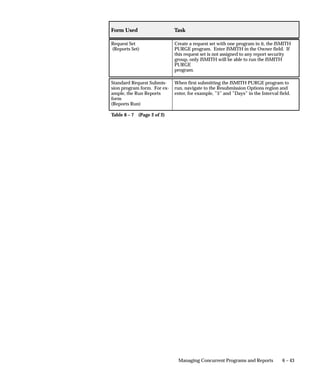
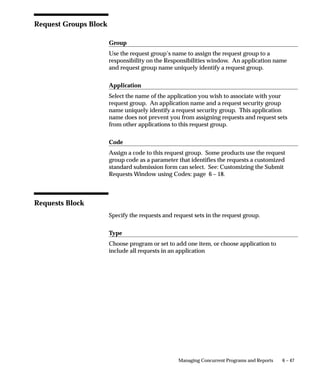
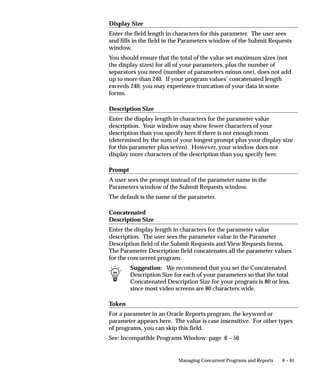
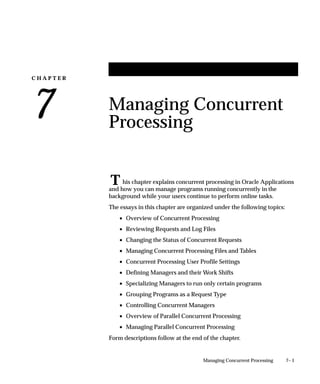
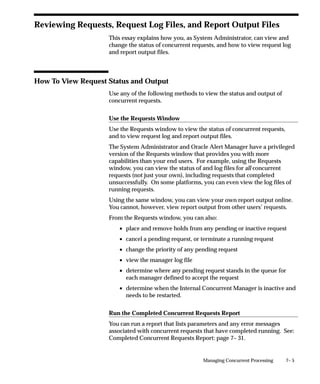
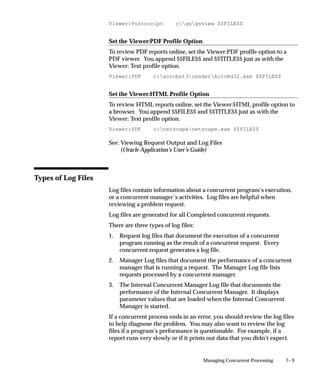
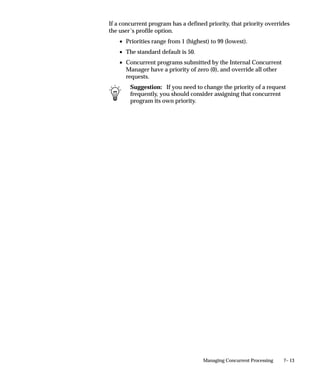
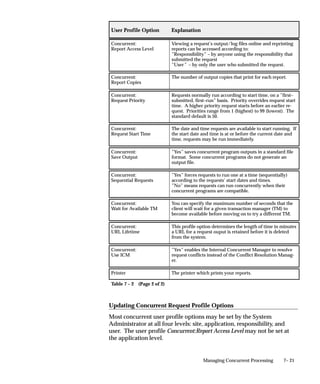
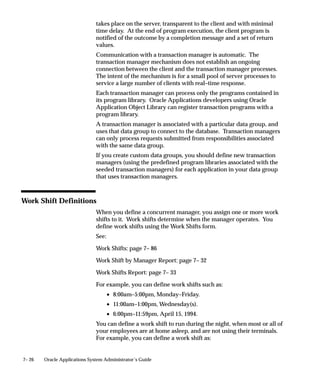
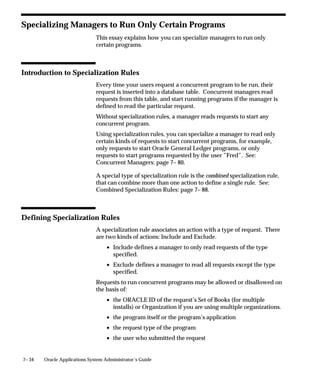
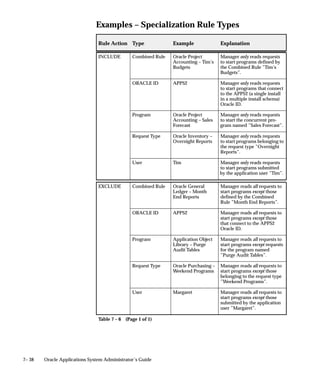
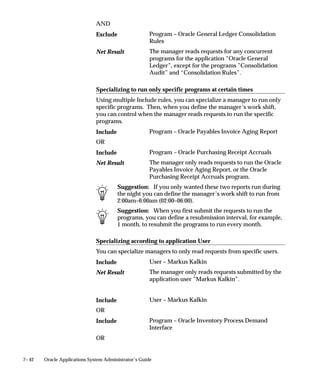
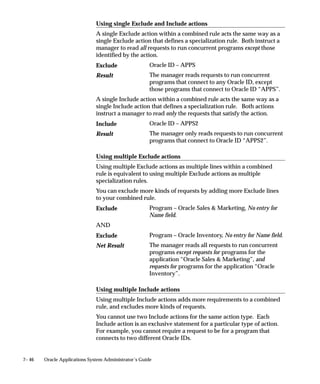
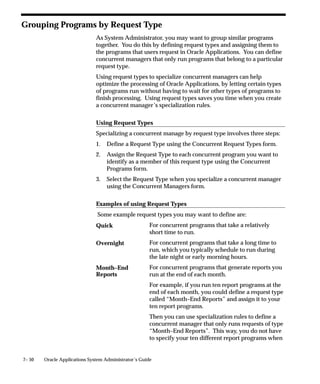
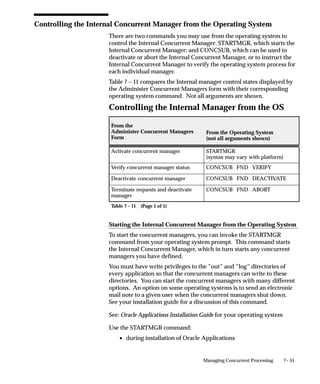
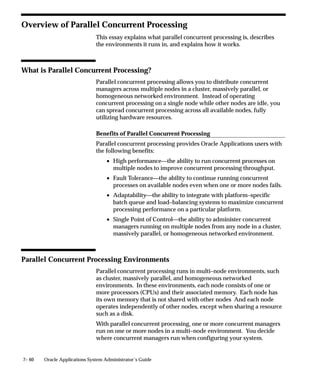
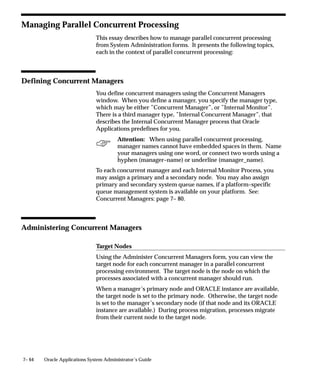
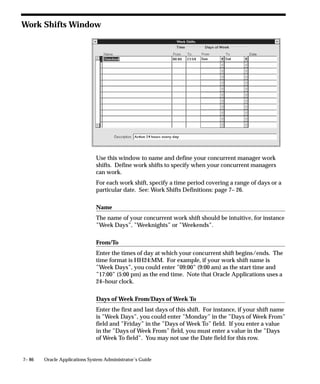
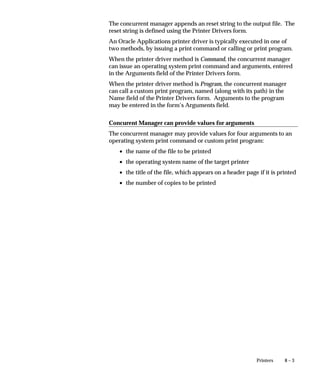
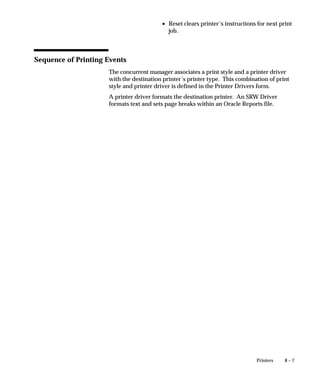
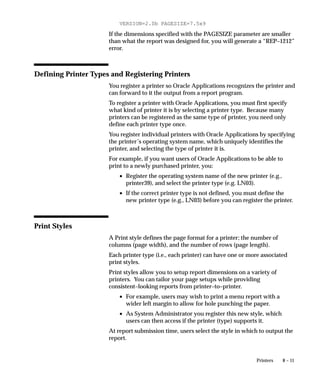
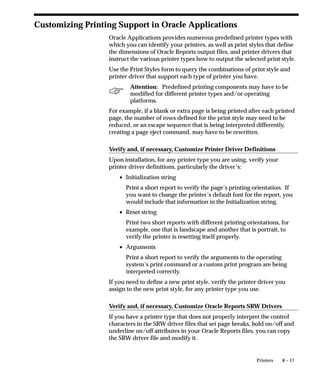
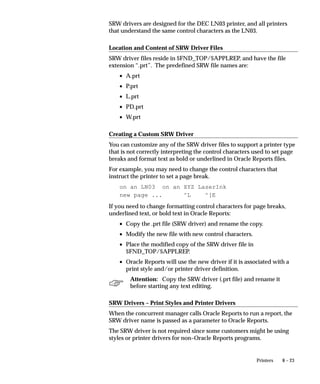
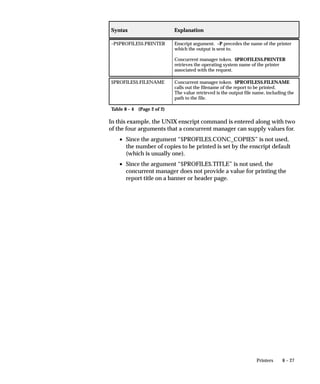
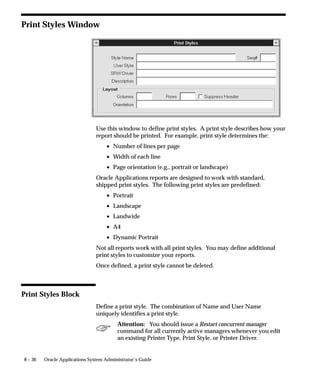
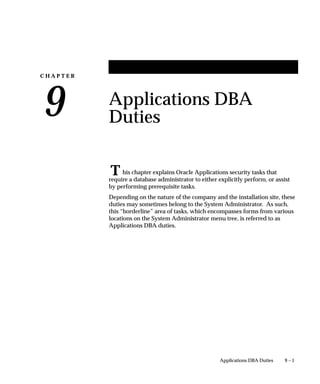
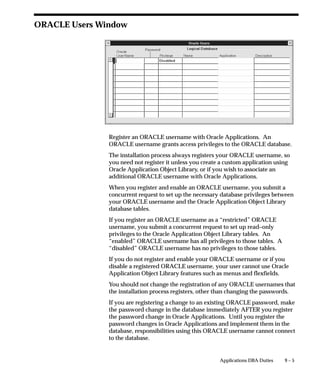
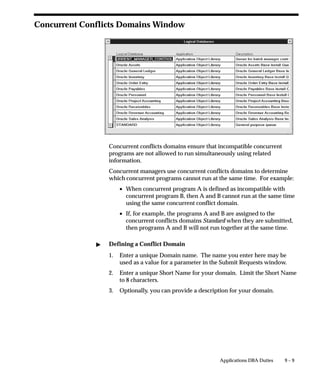
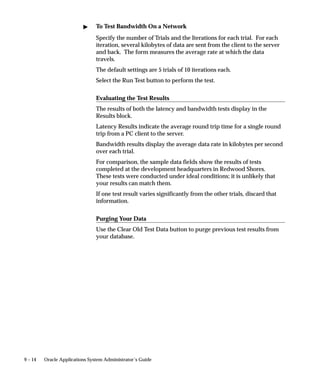
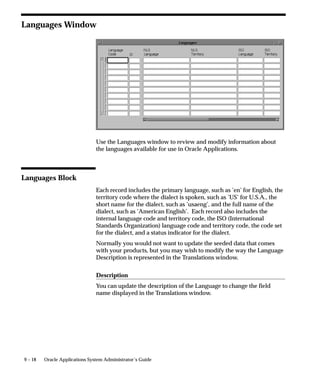
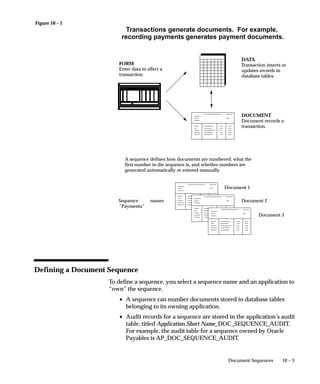
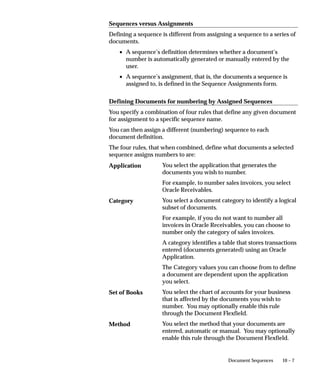
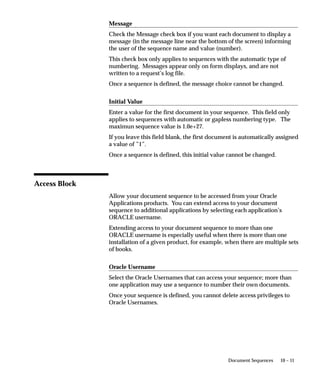
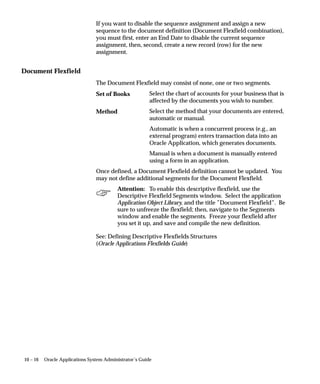
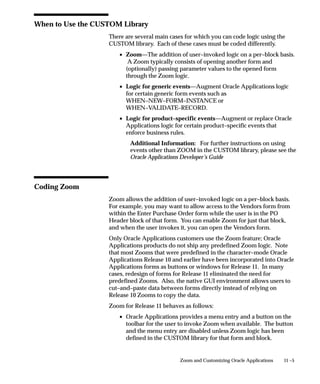
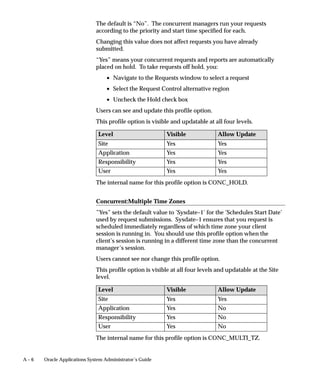
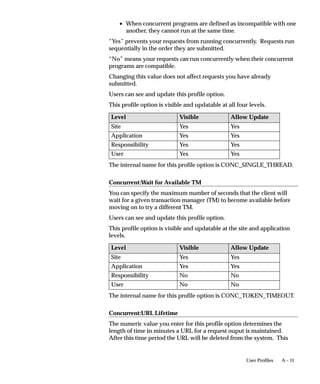
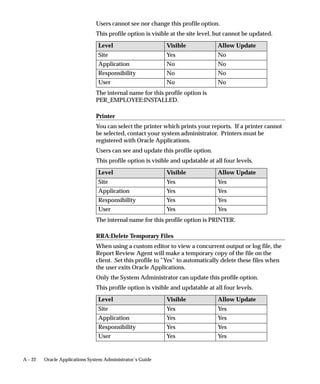
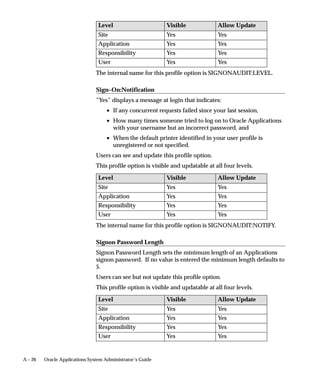
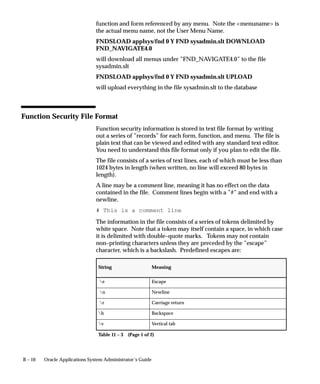
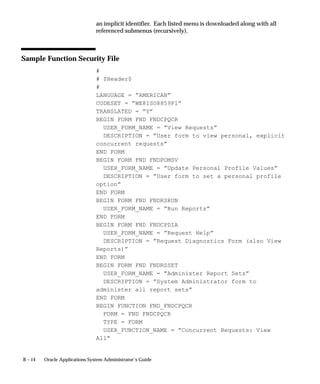
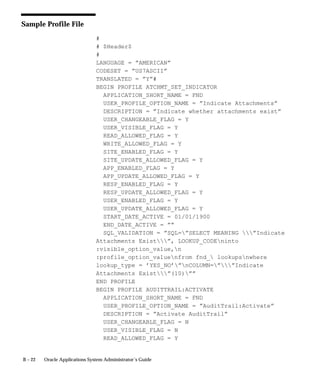
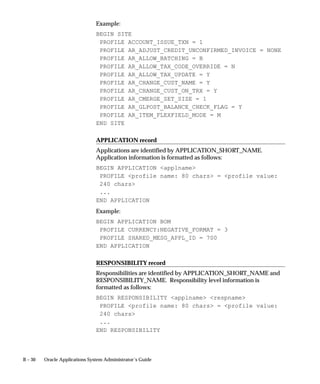
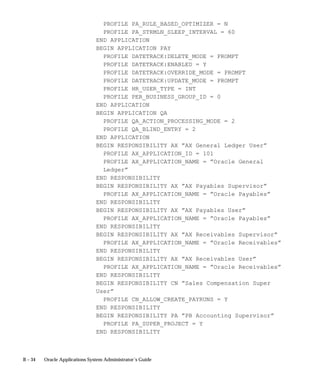
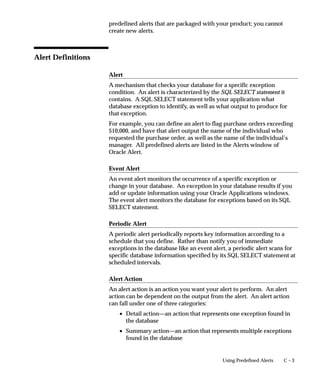
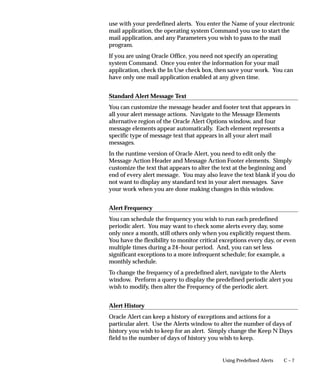
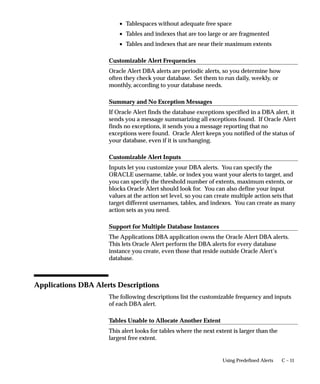
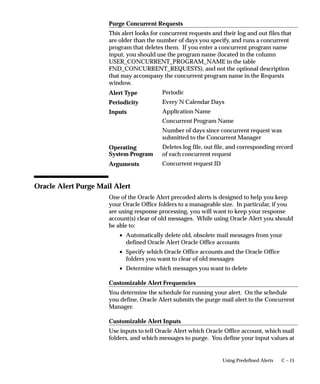
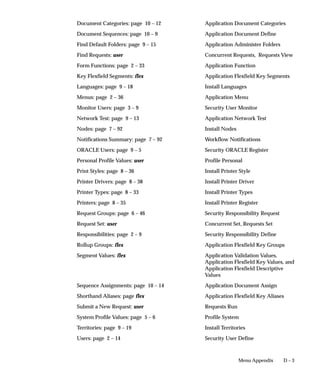
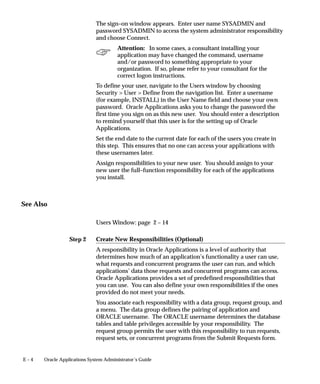
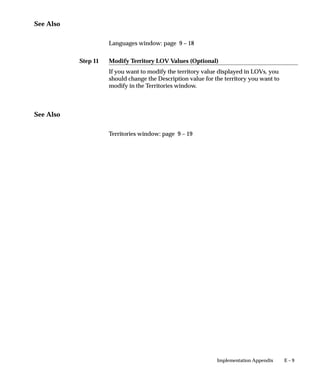
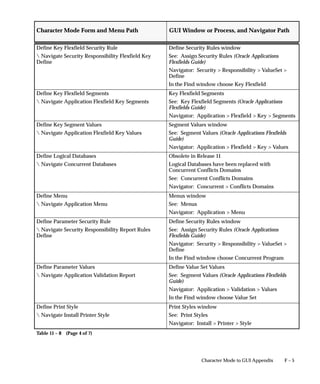
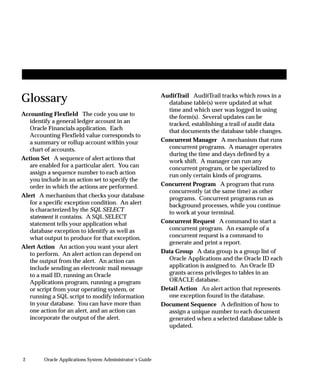
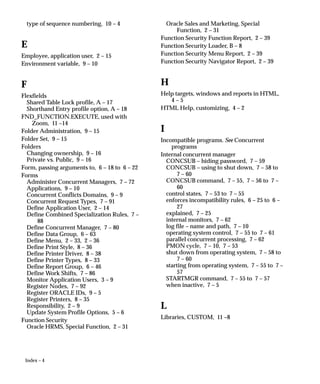
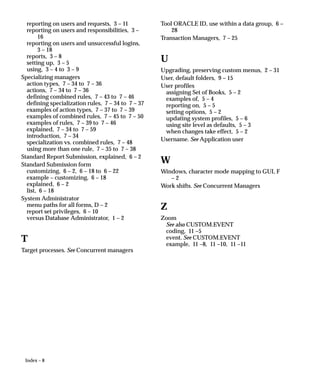
• An escape sequence can be identified by either “ /e ” or “ e ”.
Attention: You see “/e” for escape sequences defined using
the Printer Drivers form (because you cannot enter the
backslash ( ) character into a form when your terminal
definition uses backslash as the [Menu] key). You see “e” for
escape sequences originally defined in .pdf files that were
upgraded to release 11 printer drivers.
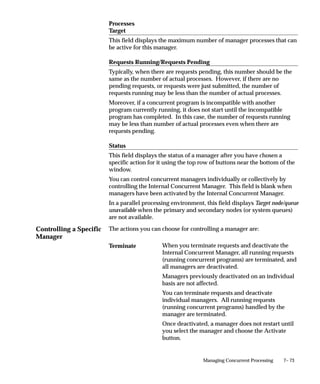
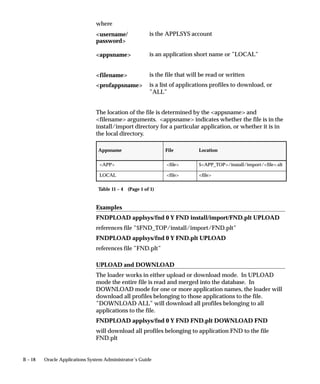
For non–printable characters, you may represent their value in octal
mode. For example, 0x26 is represented as “ /046 ”. As an example, if
you need to represent the escape sequence:
^ [ ^ L ^ [ l 6 D ( 0 x 26 )
you can represent it as:
/ e ^ L / e l 6 D / 0 4 6
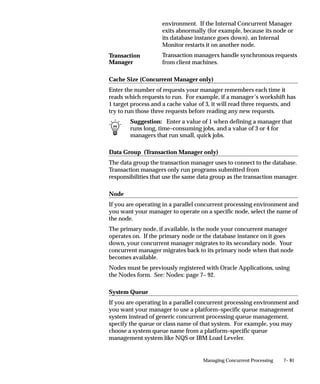
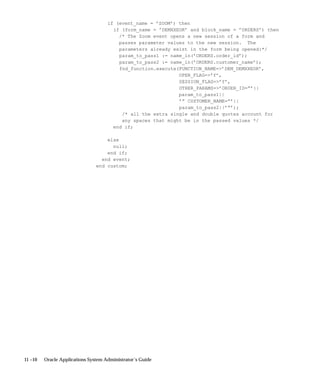
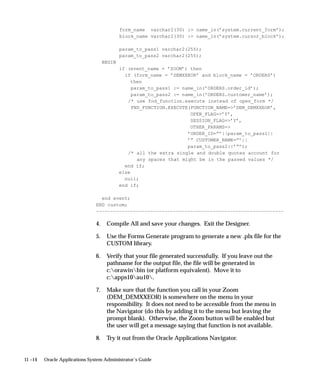
Using a Spool File
When Spool File is set to No, then a temporary file is created where the
initialization and reset strings are inserted, and the file is sent to the
print command or program.
Set the Spool File to Yes only if the print program creates its own temp
file. This option is recommended when using the Program driver
method and the print program creates its own temp file.
This option helps to reduce the creation of temp files, since the
concurrent manager will not create a temp file when Spool File is set to
Yes.
When Spool File is set to Yes, it is recommended that the:
• Standard Input be set to No
• Initialization and reset fields are null (i.e., fields are blank).
This option does not apply to the Subroutine driver method.
Creating Custom SRW Drivers
SRW drivers are read by Oracle Reports when a report is generated,
and insert control characters that tell the destination printer where to
set page breaks, and which characters to format as bold or underlined.
SRW drivers only pertain to Oracle Reports output files. An SRW
driver is used during the generation of a report. A printer driver is
used when the completed output file is sent to the printer.](https://image.slidesharecdn.com/saug-151112223140-lva1-app6891/85/Saug-290-320.jpg)


![8 – 41Printers
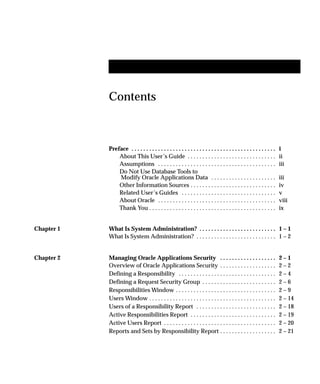
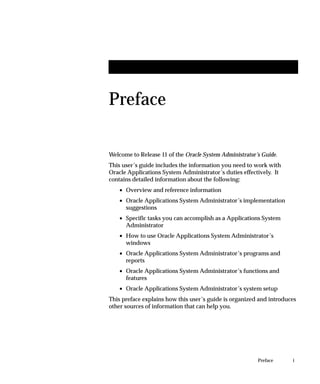
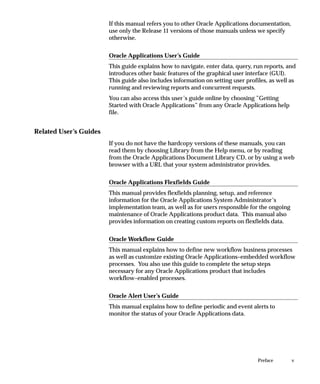
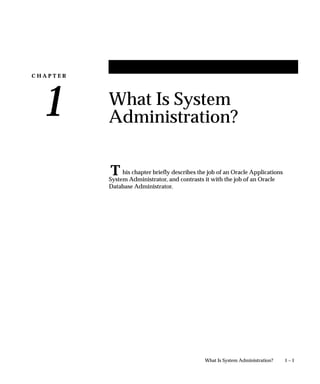
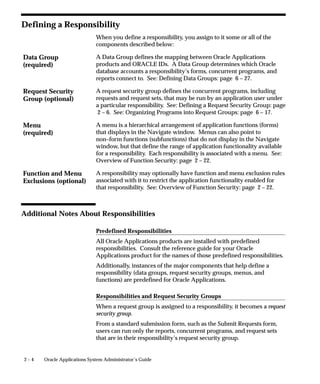
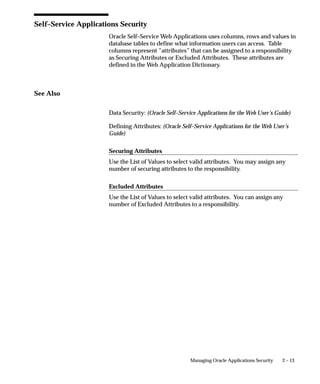
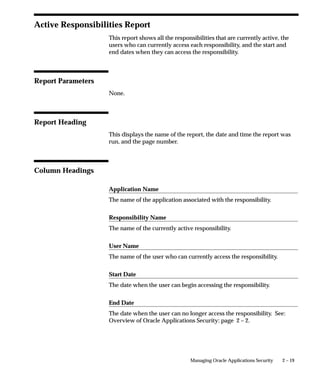
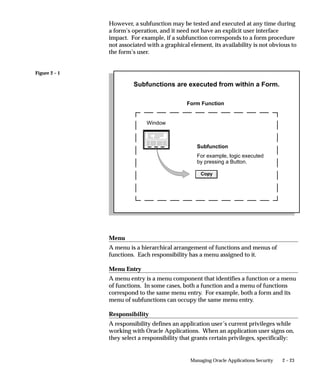
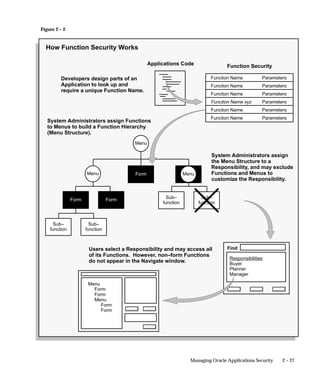
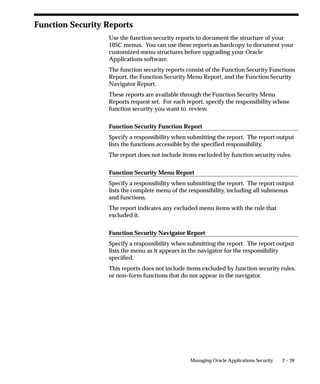
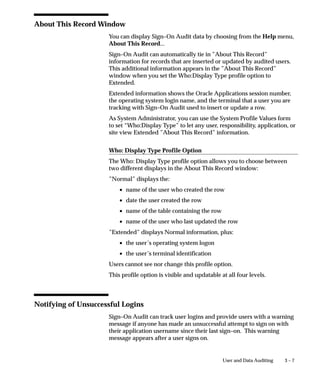
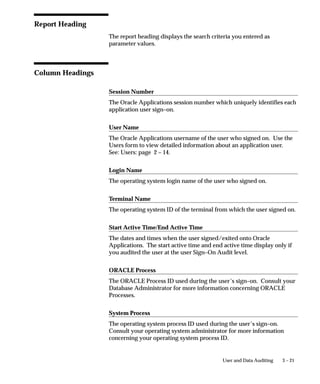
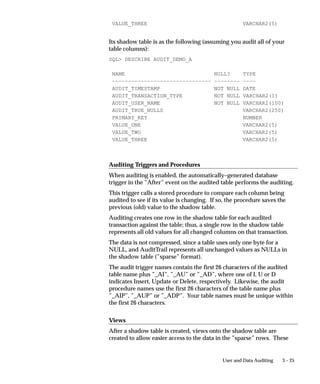
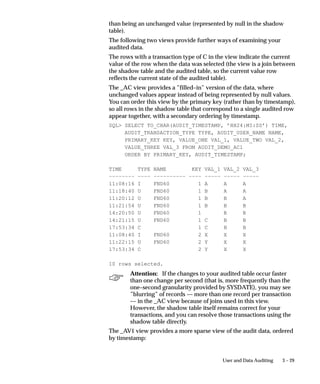
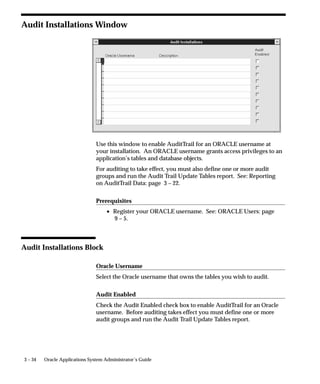
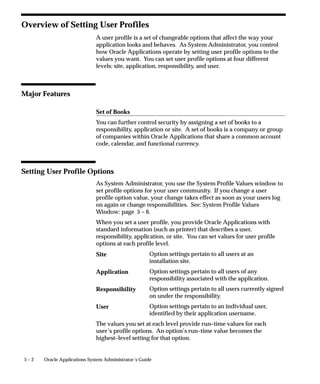
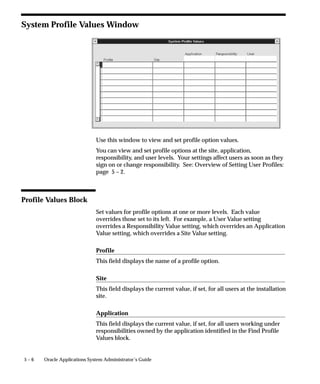
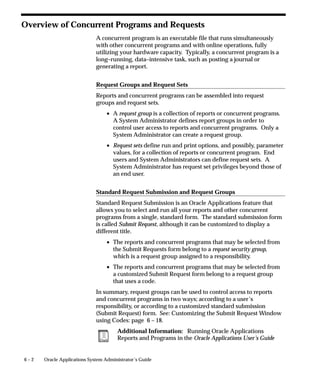
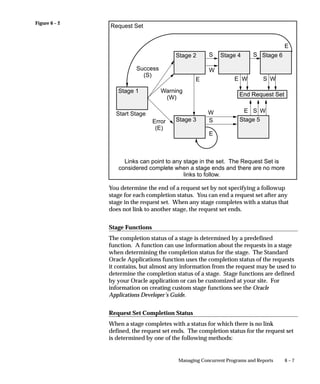
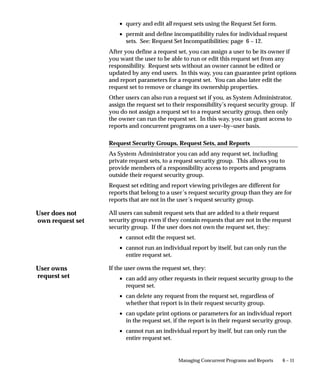
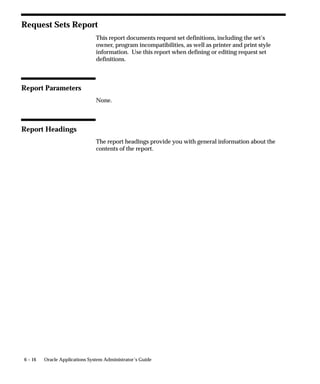
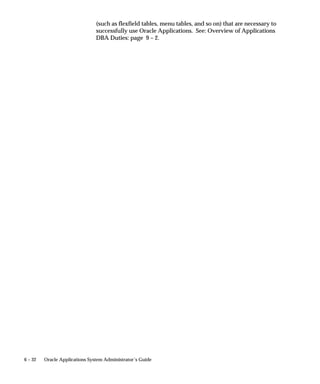
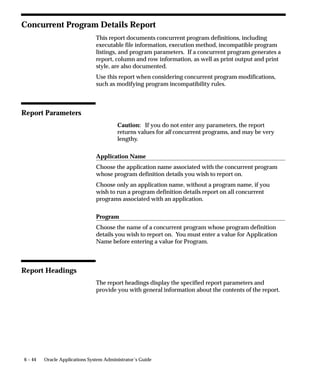
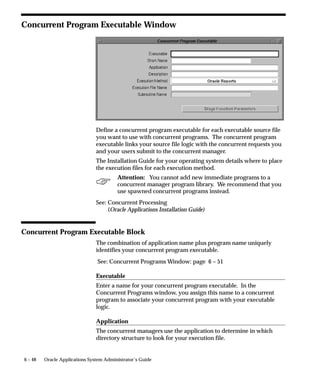
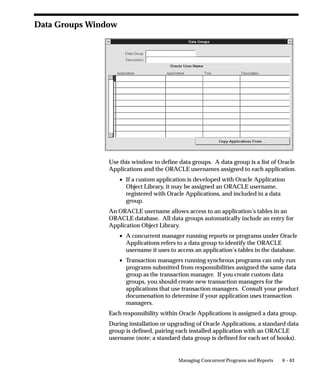
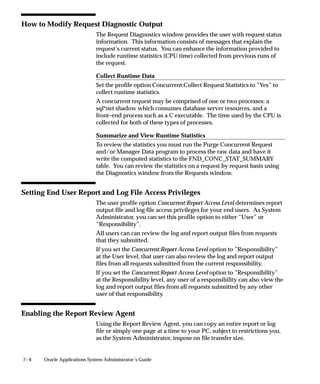
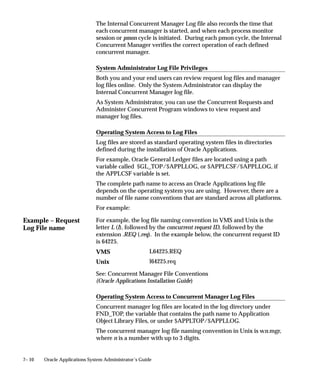
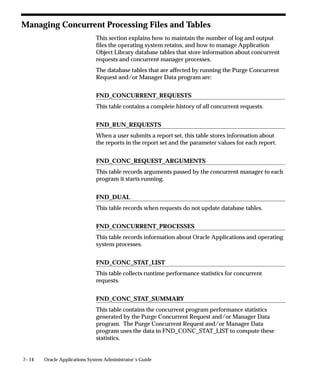
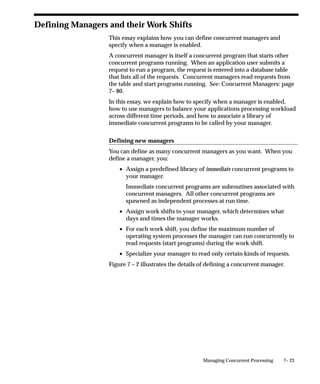
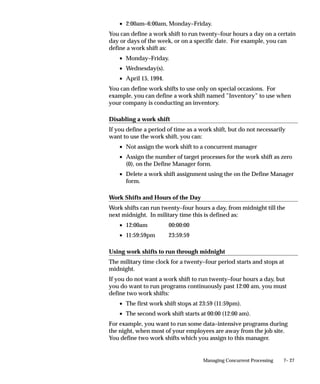
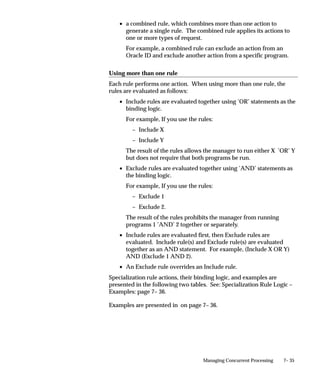
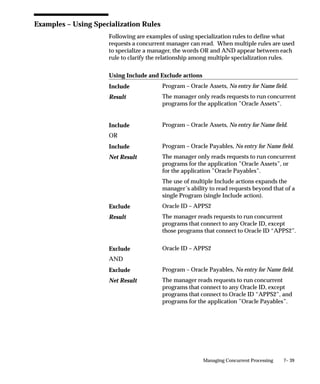
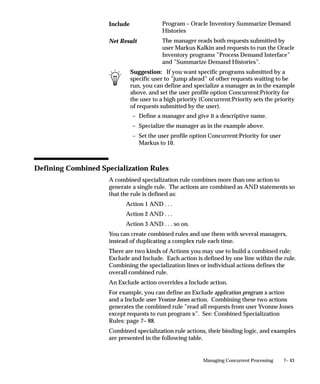
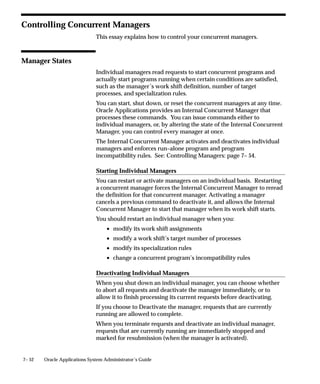
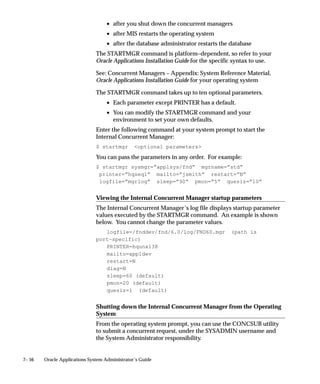
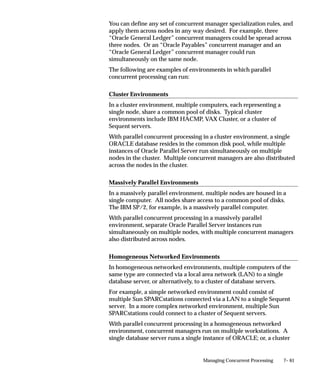
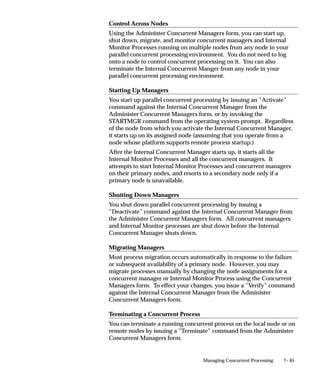
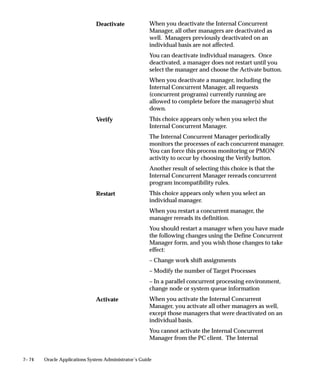
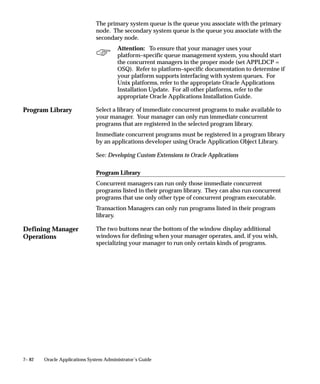
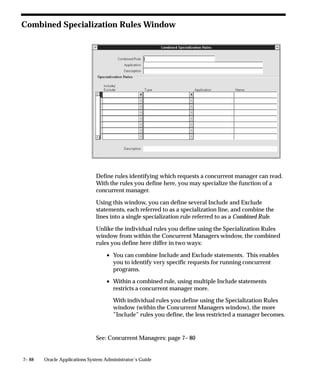
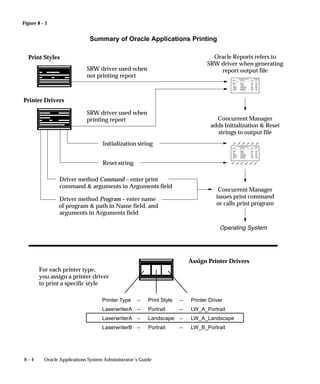
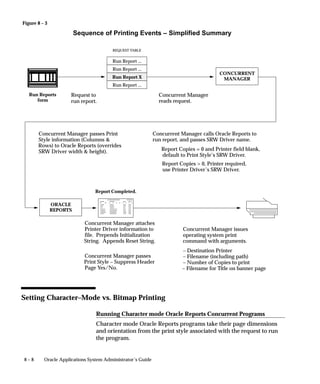
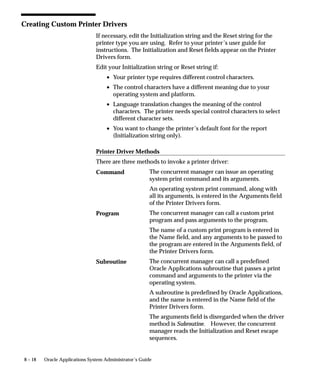
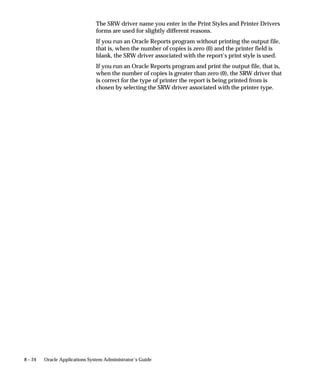
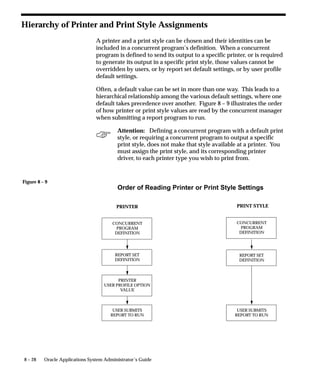
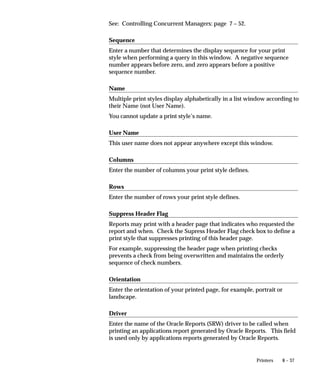
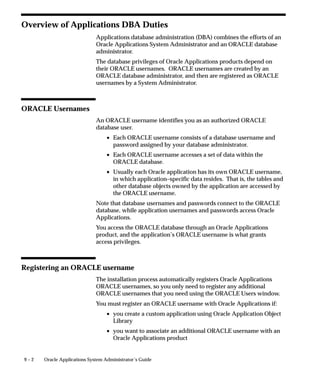
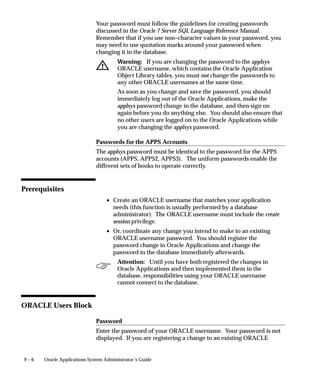
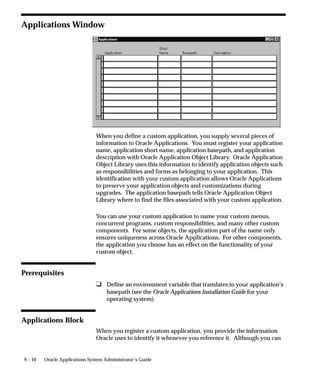
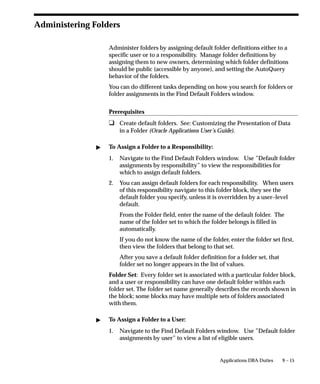
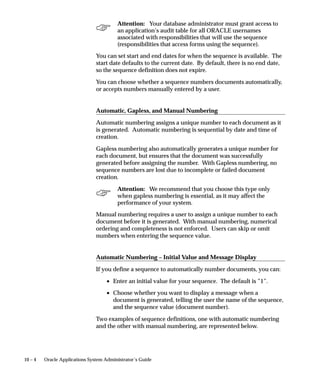
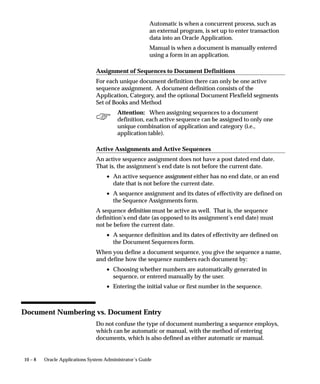
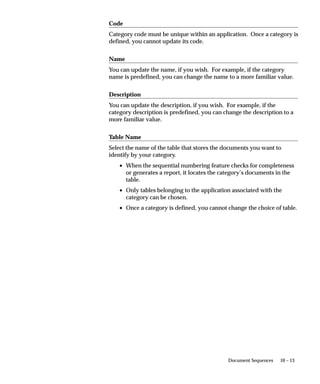
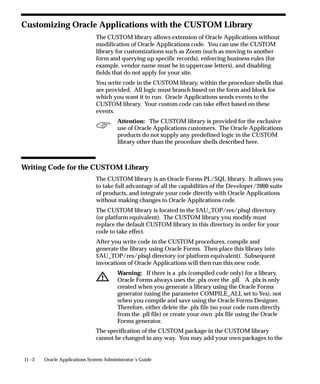
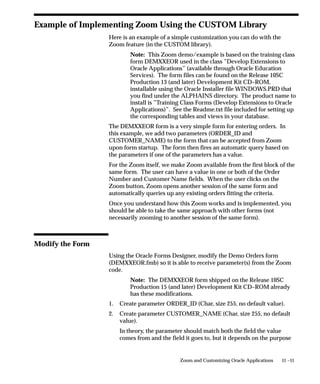
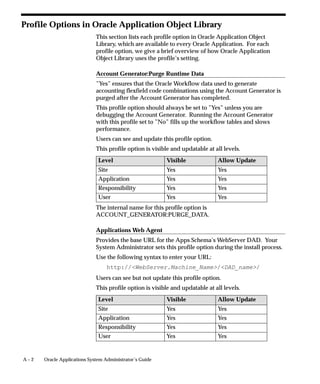
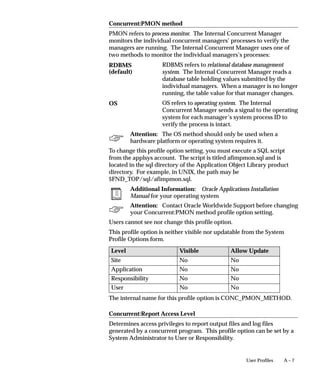
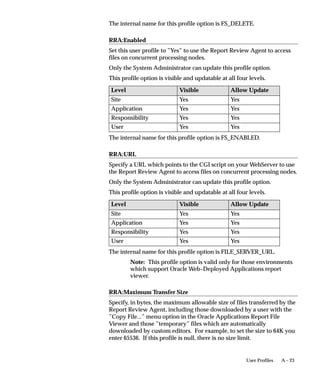
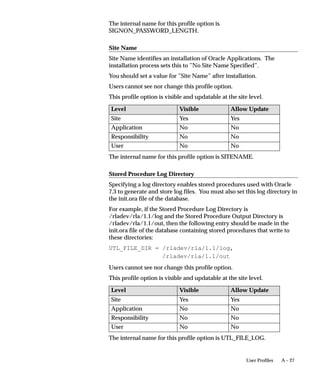
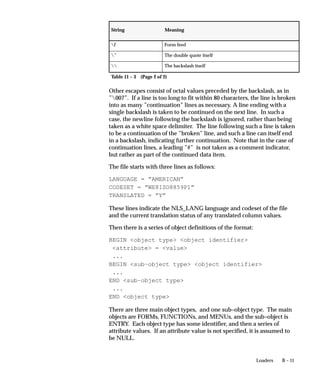
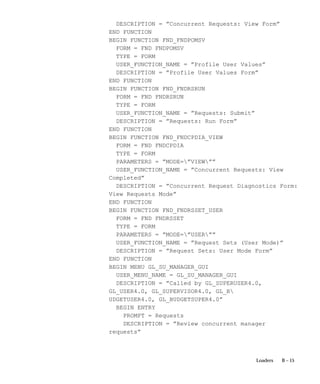
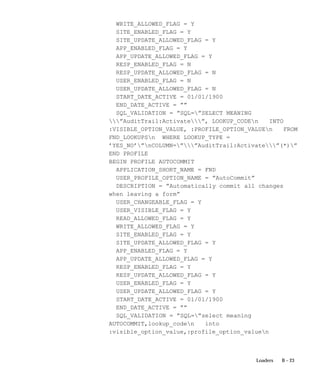
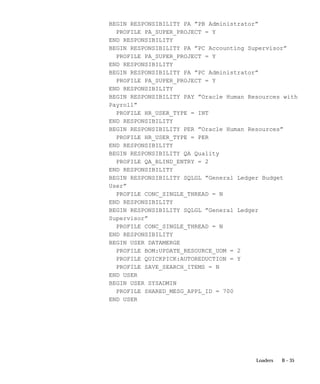
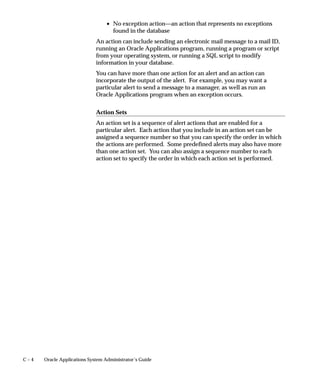
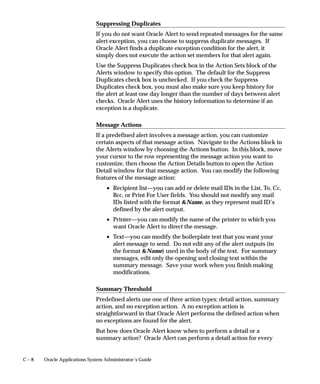
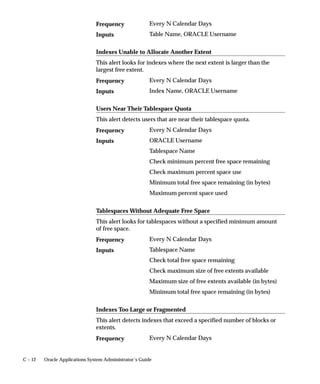
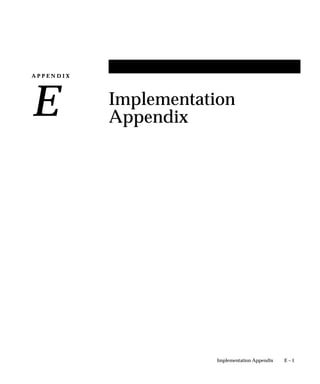
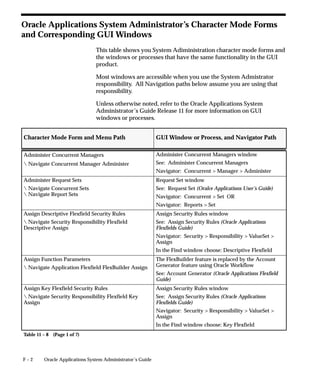
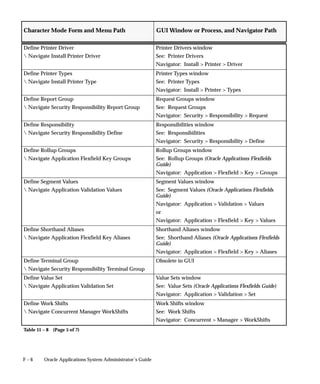
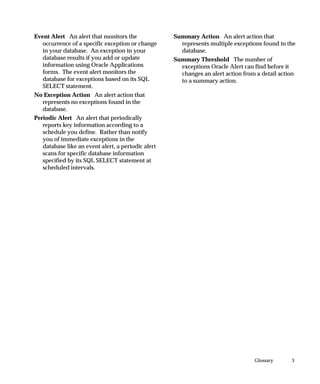
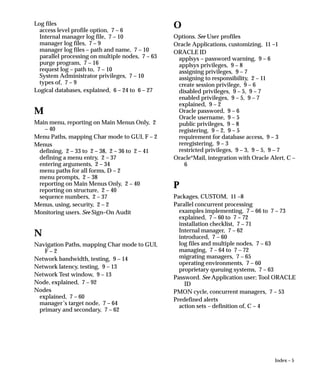
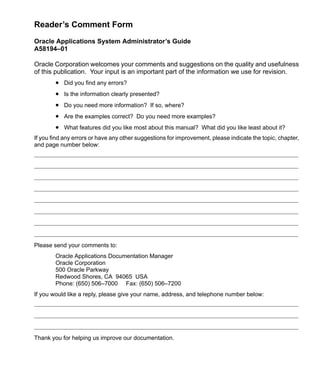
Reset
Enter the reset string that returns the printer to its ready state when
printing is complete
[ ]
The double brackets ([ ]) identify a descriptive flexfield that you can use
to add data fields to this form without programming.
This descriptive flexfield allows you to define special commands
specific to your printer driver and/or the platform it runs on.](https://image.slidesharecdn.com/saug-151112223140-lva1-app6891/85/Saug-309-320.jpg)


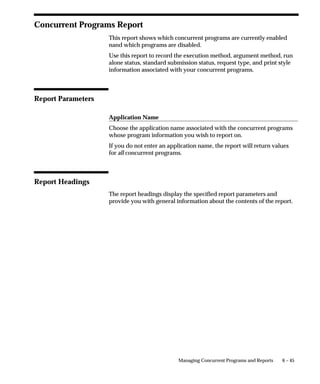
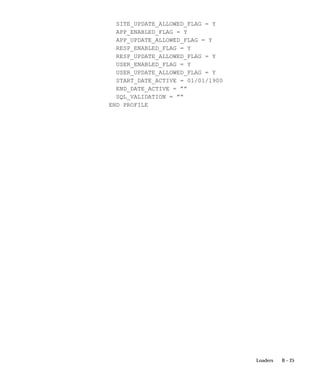
![A – 13User Profiles
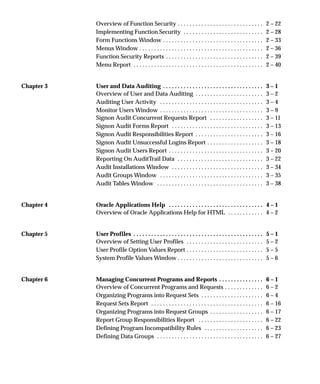
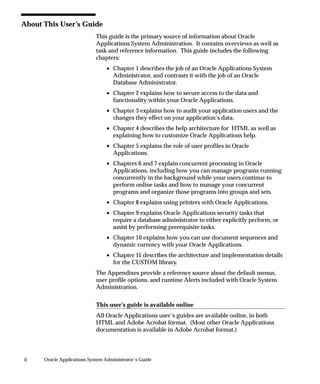
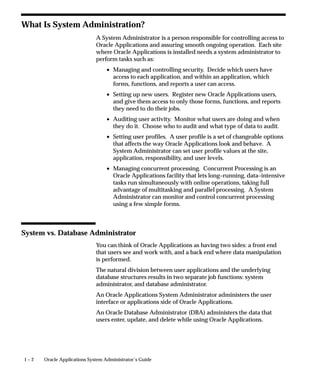
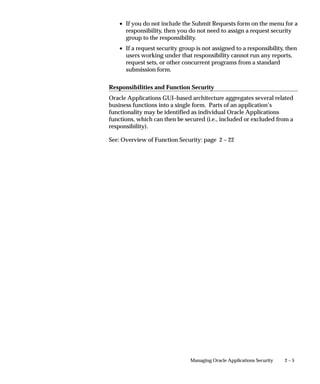
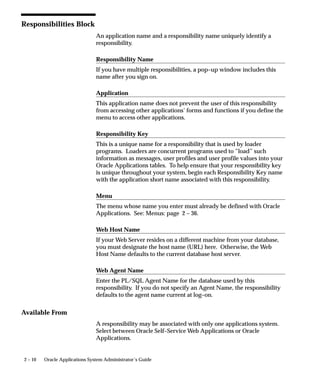
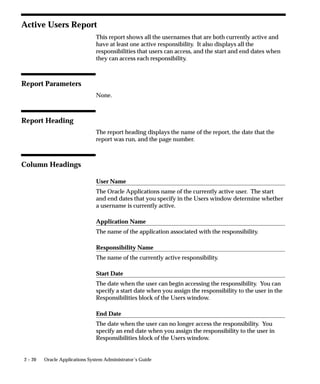
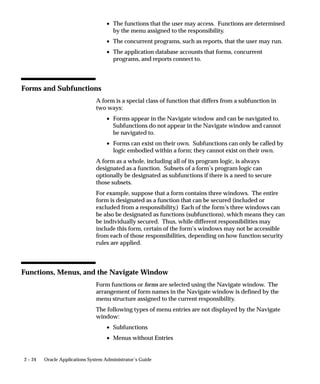
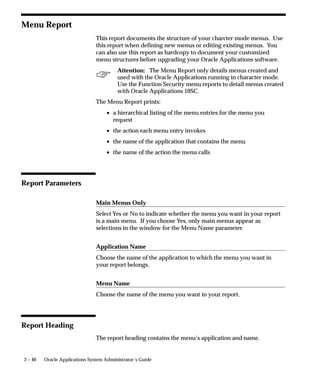
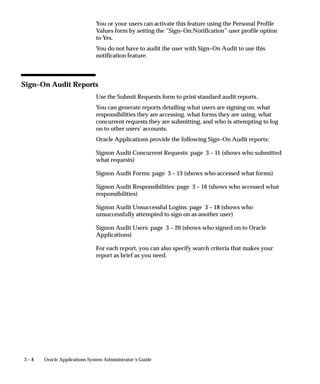
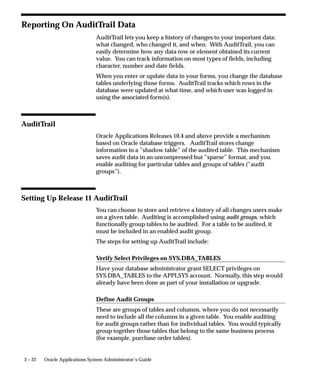
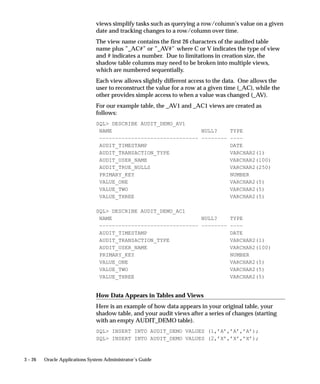
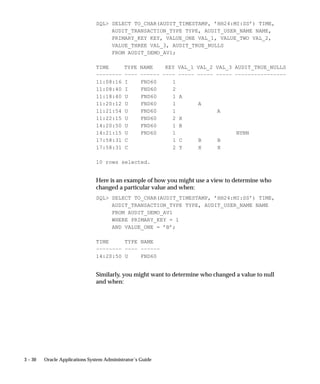
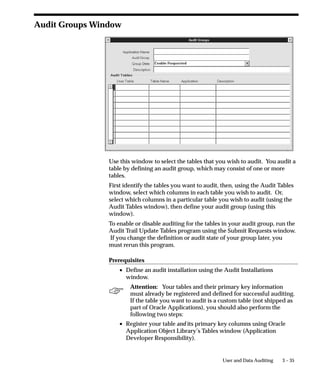
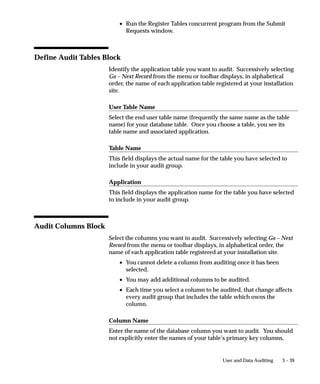
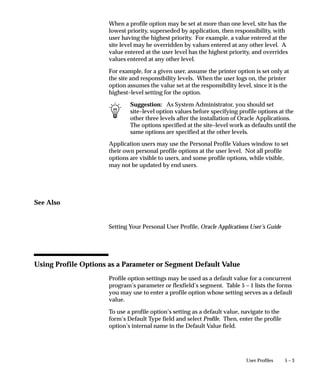
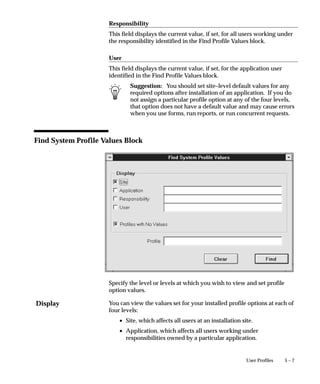
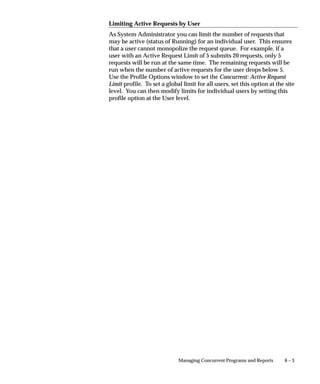
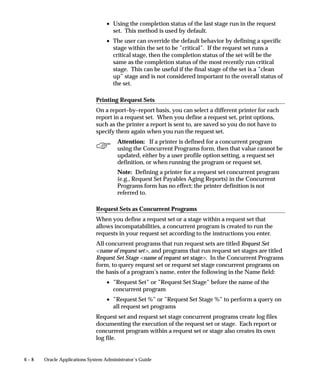
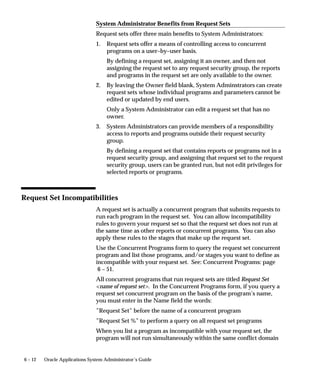
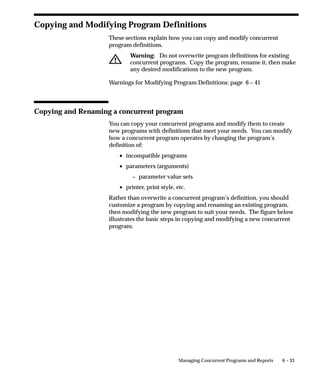
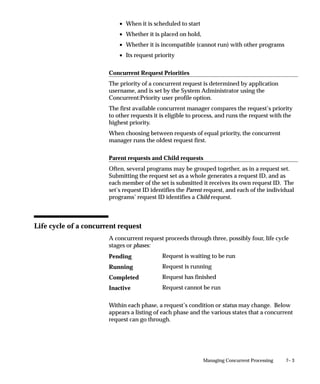
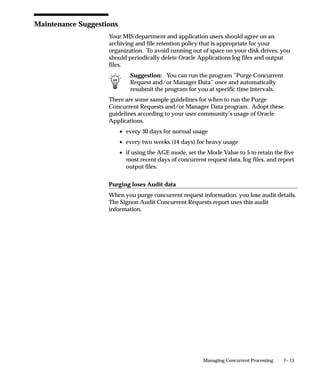
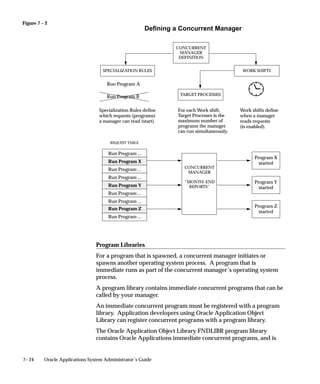
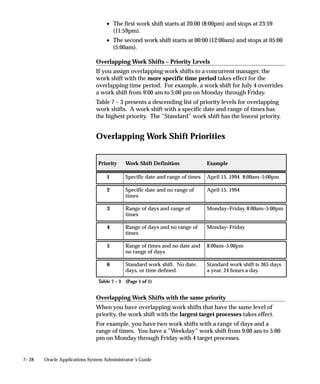
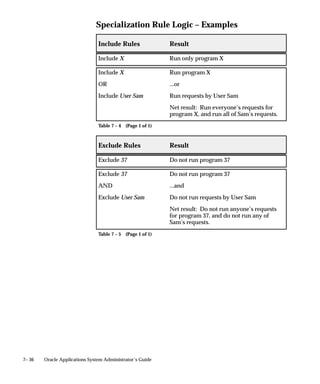
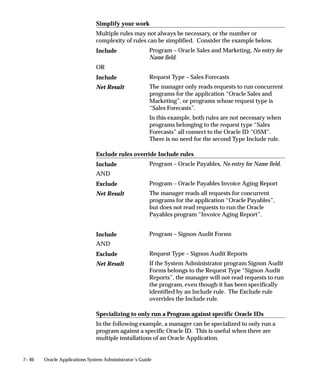
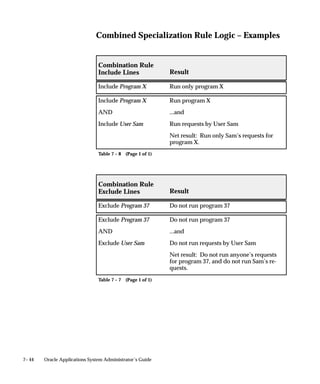
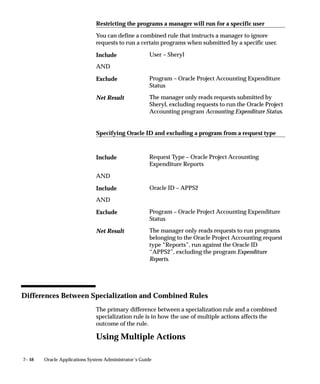
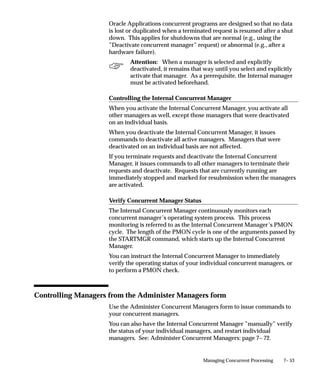
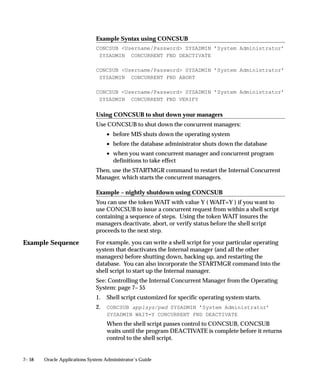
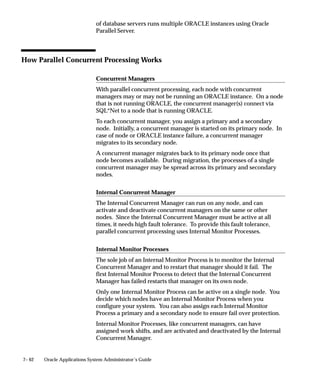
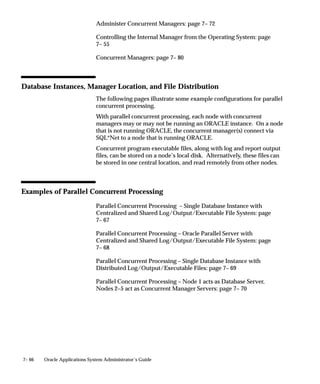
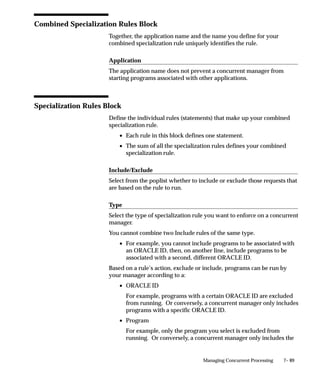
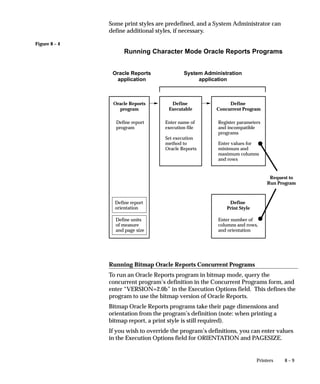
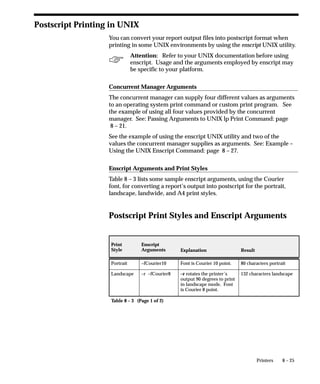
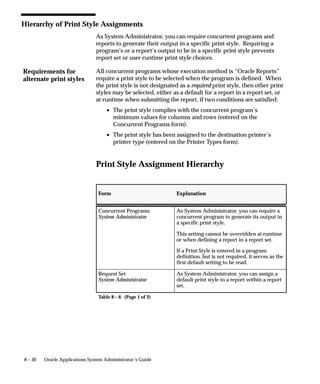
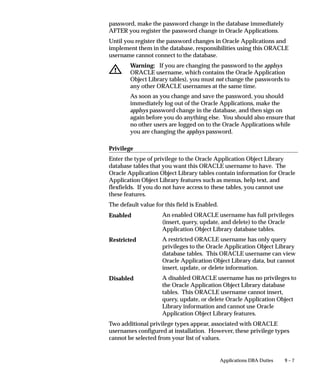
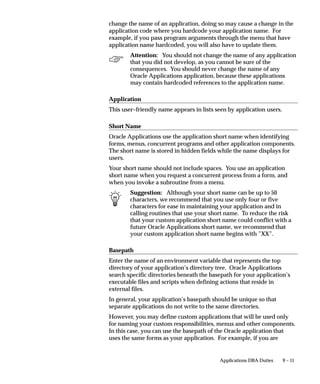
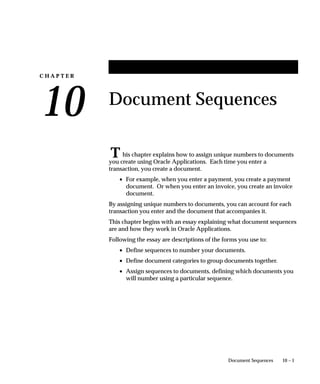
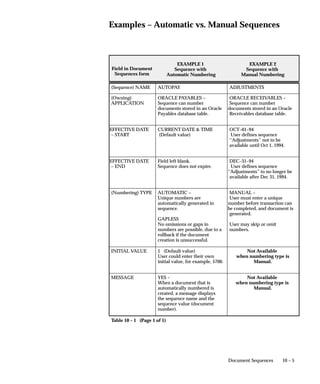
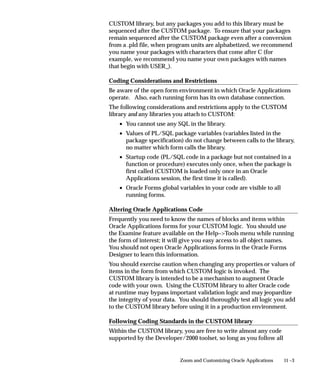
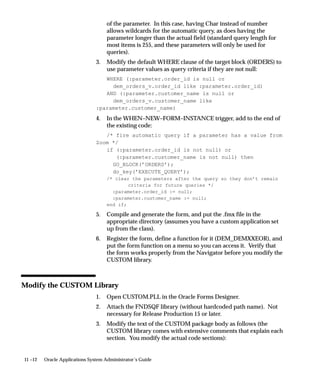
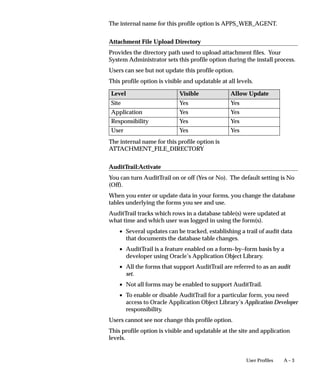
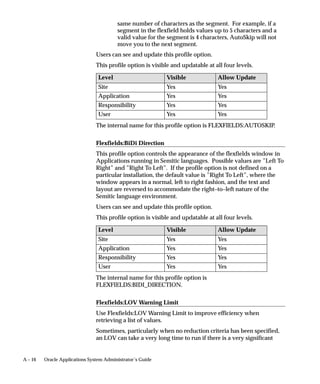
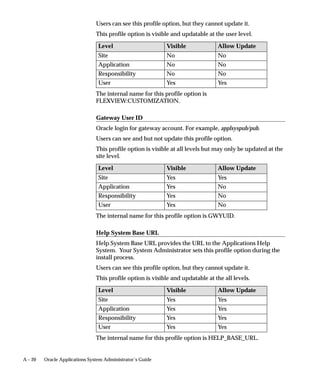
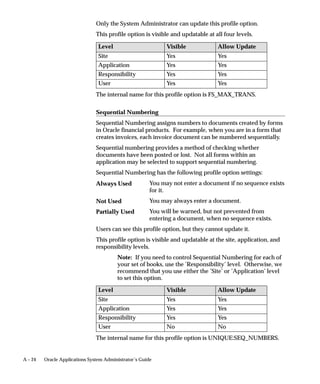
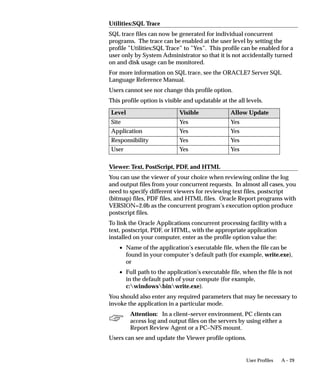
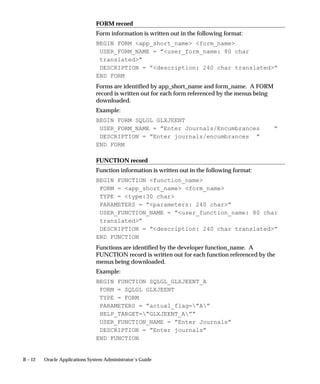
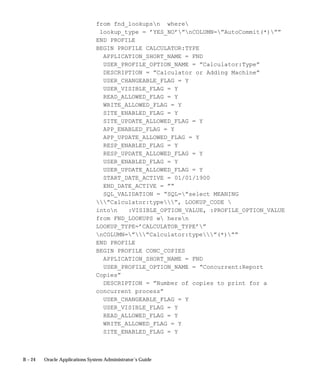
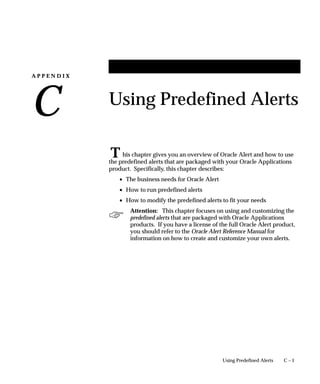
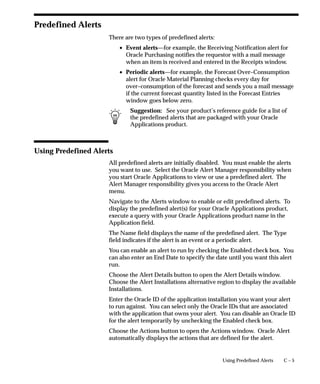
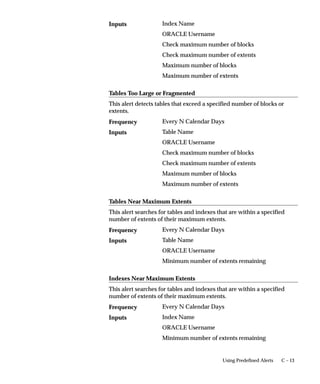
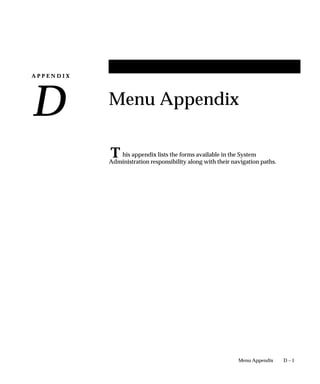
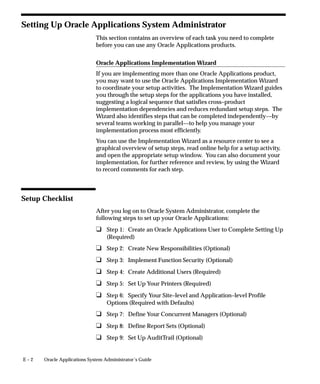
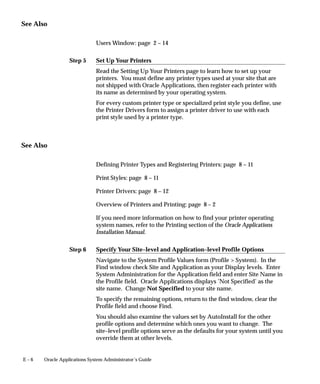
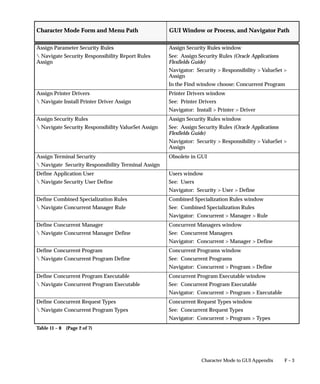
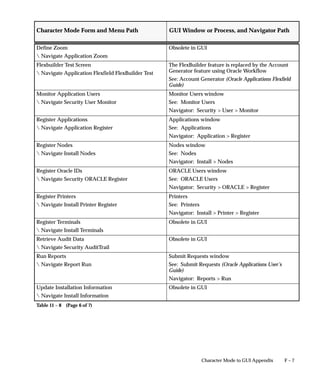
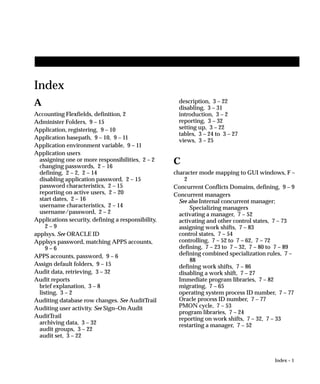
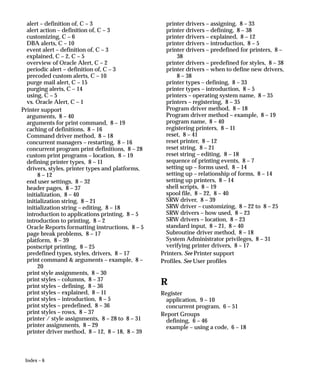
• Set Mixed Currency Precision to be equal to or greater than the
maximum precision value of the currencies you are displaying.
For example, if you are reporting on rows displaying U.S. dollars
(precision=2), Japanese yen (precision=0), and Bahraini dinar
(precision=3), set Mixed Currency Precision=3.
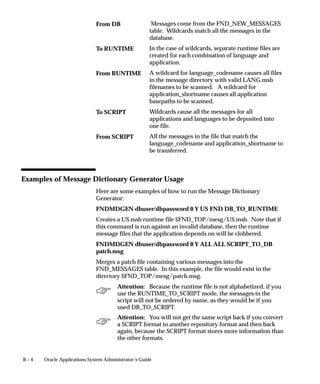
Users can see and update this profile option.
This profile option is visible and updatable at all four levels.
Level Visible Allow Update
Site Yes Yes
Application Yes Yes
Responsibility Yes Yes
User Yes Yes
The internal name for this profile option is
CURRENCY:MIXED_PRECISION.
Currency:Negative Format
You can use different formats to identify negative currency. The default
identifier is a hyphen ( – ) preceding the currency amount, as in ”–xxx”.
You can also select:
Angle brackets xxx
Trailing hyphen – xxx –
Parentheses ( ) ( xxx )
Square Brackets [ ] [ xxx ]
If you use the negative number formats of “(xxx)” or “[xxx],” in Oracle
Applications Release 11, your negative numbers appear as “xxx”.
Users can see and update this profile option.
This profile option is visible and updatable at all four levels.
Level Visible Allow Update
Site Yes Yes
Application Yes Yes
Responsibility Yes Yes
User Yes Yes
The internal name for this profile option is
CURRENCY:NEGATIVE_FORMAT.](https://image.slidesharecdn.com/saug-151112223140-lva1-app6891/85/Saug-371-320.jpg)
![A – 15User Profiles
Users can see this profile option, but they cannot update it.
This profile option is visible and updatable at all four levels.
Level Visible Allow Update
Site Yes Yes
Application Yes Yes
Responsibility Yes Yes
User Yes Yes
The internal name for this profile option is INSTANCE_PATH.
Default Country
This is the default source for the Country field for all address zones and
is used by the Flexible Address Formats feature, the Flexible Bank
Structures feature and the Tax Registration Number and Taxpayer ID
validation routines.
The profile can be set to any valid country listed in the Maintain
Countries and Territories form and can be set to a different value for
each user.
Users can see and update this profile option.
This profile option is visible and updatable at all four levels.
Level Visible Allow Update
Site Yes Yes
Application Yes Yes
Responsibility Yes Yes
User Yes Yes
The internal name for this profile option is DEFAULT_COUNTRY.
Flexfields:AutoSkip
You can save keystrokes when entering data in your flexfields by
automatically skipping to the next segment as soon as you enter a
complete valid value into a segment.
• “Yes” means after entering a valid value in a segment, you
automatically move to the next segment.
• “No” means after entering a valid value in a segment, you must
press [Return] to go to the next segment.
Note: You may still be required to use tab to leave some
segments if the valid value for the segment does not have the](https://image.slidesharecdn.com/saug-151112223140-lva1-app6891/85/Saug-373-320.jpg)

![B – 3Loaders
languages and applications, it normally contains only one language and
one application.
Script files end with the suffix ”.msg”. The default file name for script
files is ”text.msg”. The script format stores the listed attributes, as well
as others that are for use by the Oracle Applications translation team.
Script Attributes: APPLICATION, LANGUAGE, NAME, NUMBER,
TEXT, DESCRIPTION, MAX_LENGTH, TYPE
Usage
The help that you get when you invoke the Message Dictionary
Generator without any program arguments (i.e., FNDMDGEN
dbuser/dbpassword 0 Y) is:
FNDMDGEN Oracle ID/password 0 Y language codename
[application shortname] [mode] [filename]
where mode is one of:
From Database to Runtime file (.msb)
From Database to Script file (.msg)
From Runtime file (.msb) to Database
From Script file (.msg) to Database
The argument filename is used only for script files. The default script
filename, if none is specified, is text.msg. Otherwise, the script file is
found relative to the current directory.
Wildcards
Normally, the Message Dictionary Generator is run to transfer
messages for a specific application/language pair from one repository
to another. Either language codename or [application shortname]
can be wildcarded by passing the value ”ALL”. The following list
describes how wildcards are used in the various modes:
Messages get merged into the
FND_NEW_MESSAGES table. If a message
already exists (same application, language, and
message name), it is updated; otherwise, a new
message is inserted. Other messages remain
untouched.
DB_TO_
RUNTIME
DB_TO_SCRIPT
RUNTIME_TO_
DB
SCRIPT_TO_DB
To DB](https://image.slidesharecdn.com/saug-151112223140-lva1-app6891/85/Saug-391-320.jpg)
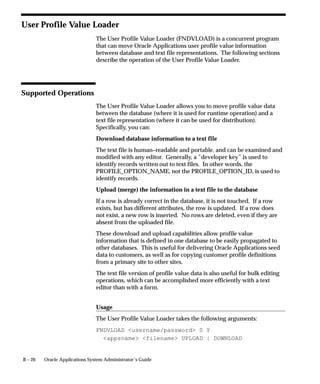
![B – 5Loaders
Script File Format
A script file looks like this:
HEADER
APPLICATION=FND
CHARACTER_SET=WE8ISO8859P1
LANGUAGE=US
RCS_HEADER=$Header$
VERSION=
LEVEL=
TRANSLATOR=
TRANSLATED_DATE=
REVIEWER=
REVIEWED_DATE=
TESTER=
TESTED_DATE=
MESSAGES
NAME=AUDIT–START END DATE1
NUMBER=718
TOKEN=START, END
TYPE=
DESCRIPTION=
STATUS=NEW
NOTES=
MAX_LENGTH=#432
TEXT=
Please enter a start date less than or equal to the
end date[n]
[n]
Cause:[t]You entered a start date [START] that is
greater than the end date
[END].[n]
[n]
Action:[t]Enter a start date less than or equal to
the end date.[n]
[n]
Action:[t]Change the end date to be greater than or
equal to the start date.
You must temporarily change the start date to be
less than or equal to the](https://image.slidesharecdn.com/saug-151112223140-lva1-app6891/85/Saug-393-320.jpg)
![B – 6 Oracle Applications System Administrator’s Guide
end date in order to move from the start date field
to the end date field.[n]
NAME=CONC–FDPSEV NO ENV VAR
NUMBER=1362
TOKEN=
TYPE=
DESCRIPTION=This is a description of the message for
translators. It
can span multiple lines if necessary, but shouldn’t
have newlines in it.
STATUS=NEW
NOTES=
MAX_LENGTH=#353
TEXT=
You have specified invalid arguments for concurrent
program FDPSEV[n]
[n]
Cause:[t]You entered an incorrect number of
arguments to the concurrent
program FDPSEV, or the arguments you entered are not
the type expected.[n]
[n]
Action:[t]Enter the correct arguments for FDPSEV as
follows.[n]
[n]
Syntax: FDPSEV Environment Variable=Value
Environment
Variable=Value ...[n]
....
...
..
All of the messages in the MESSAGES section belong to the language
and application specified in the HEADER section. There can be
multiple HEADER and MESSAGE sections in the file, each with a
different language/application combination.
This SCRIPT format contains many tags, but some are ignored by the
generator when reading the SCRIPT file. The only tags read by the
generator are:
The application short nameAPPLICATION](https://image.slidesharecdn.com/saug-151112223140-lva1-app6891/85/Saug-394-320.jpg)
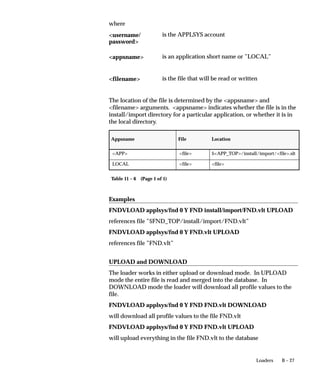
![B – 7Loaders
The language code set name
The message name
The message number
A description of the context of the message for
translators.
The translated message text. The message text is
the only tag that appears on a separate line from its
tag.
String Meaning
[t] Tab (only valid at the beginning of a line)
[n] Newline (really means ”end of paragraph”)
[[ Literal ’[’
]] Literal ’]’
Literal ’’
Literal ’’
Table 11 – 1 (Page 1 of 1)
Upon reading the text from a script file:
• Blank lines are ignored
• Spaces are inserted after lines that are not blank and do not end
in newline ([n])
• Character conversions are performed as per the above table.
• [TOKEN] goes to TOKEN
Upon converting the text into a script file:
• The message text and description are word wrapped
• Character conversions are performed as per the above table
• TOKEN goes to [TOKEN]
These conversions occur for all of the tag values, not just the TEXT.
Also note that any spaces at the end of a message will be stripped on
conversion of the message into script format. So there is no way to
represent messages that have trailing spaces.
LANGUAGE
NAME
NUMBER
DESCRIPTION
TEXT](https://image.slidesharecdn.com/saug-151112223140-lva1-app6891/85/Saug-395-320.jpg)
![B – 9Loaders
{ appsname subdir/.../subdir/fname.ext}]
[UPLOAD | {DOWNLOAD menuname ... menuname}]
where
is the APPLSYS account
is an application short name or ”LOCAL”
is the file that will be read or written
is a list of menu names to download
The location of the file is determined by the appsname and fname
arguments. appsname indicates whether the file is in the
install/import directory for a particular application, or whether it is in
the local directory.
Appsname File Location
APP file $APP_TOP/install/import/file.slt
LOCAL file file
Table 11 – 2 (Page 1 of 1)
Examples
FNDSLOAD applsys/fnd 0 Y FND install/import/sysadmin.slt
UPLOAD
references file ”$FND_TOP/install/import/sysadmin.slt”
FNDSLOAD applsys/fnd 0 Y LOCAL sysadmin.slt UPLOAD
references file ”sysadmin.slt”
UPLOAD and DOWNLOAD
The loader works in either upload or download mode. In UPLOAD
mode the entire file is read and merged into the database. (Any existing
entries for a menu are deleted in favor of the entry list in the file, if
conflicts occur.)
In DOWNLOAD mode the menu tree rooted at each menuname
listed is read from the database and written to the file, along with every
username/
password
appsname
fname
menuname](https://image.slidesharecdn.com/saug-151112223140-lva1-app6891/85/Saug-397-320.jpg)


![[Oracle数据库11 g初学者指南].oracle.database.11g,.a.beginner's.guide](https://cdn.slidesharecdn.com/ss_thumbnails/oracle11g-oracle-database-11g-a-beginners-guide-100617013656-phpapp01-thumbnail.jpg?width=640&height=640&fit=bounds)


