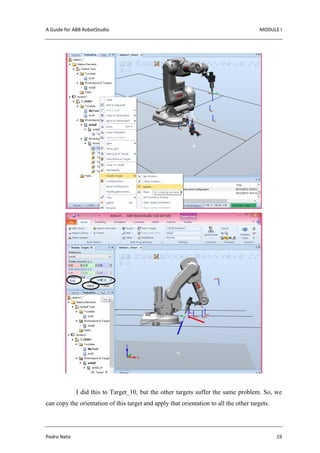
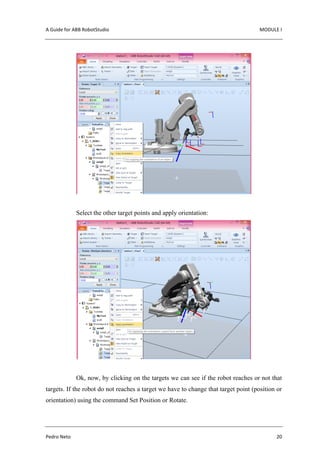
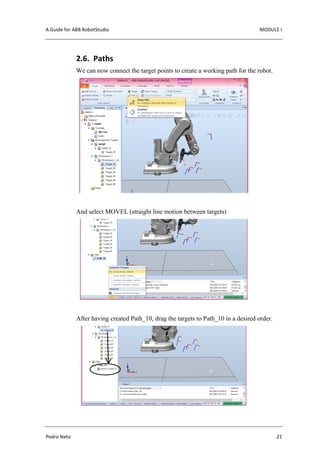
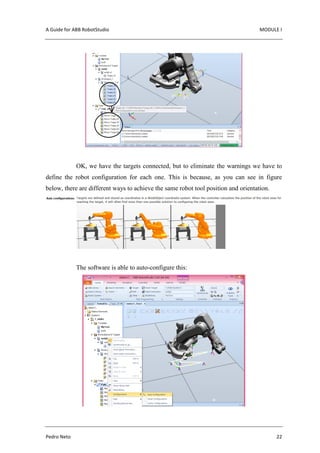
Downloaded 93 times
![A Guide for ABB RobotStudio INTRODUCTION
[Nome do Aluno] 1
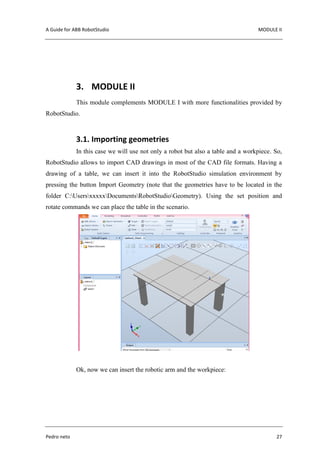
1. INTRODUCTION
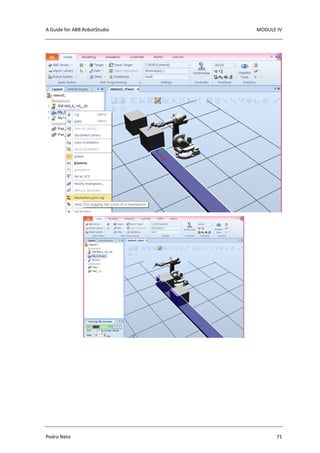
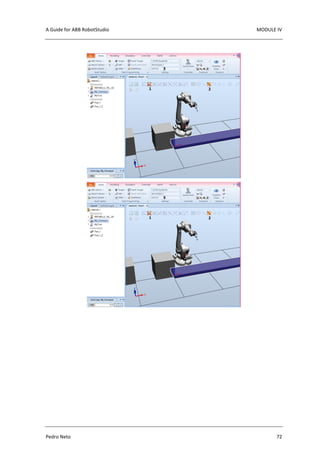
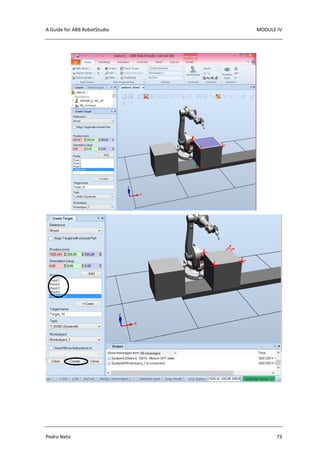
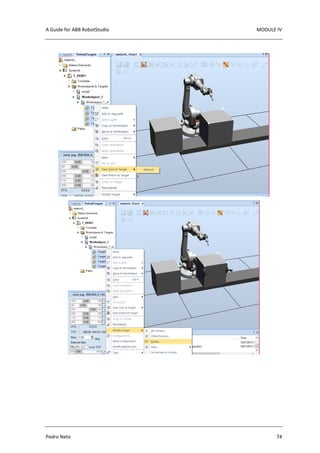
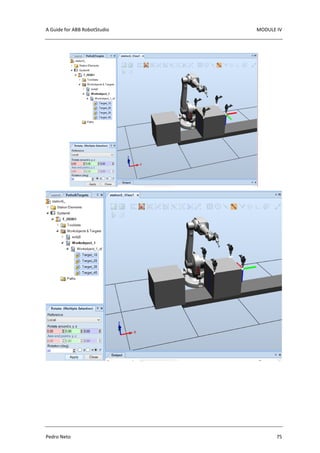
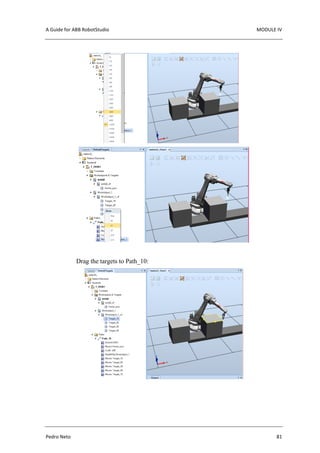
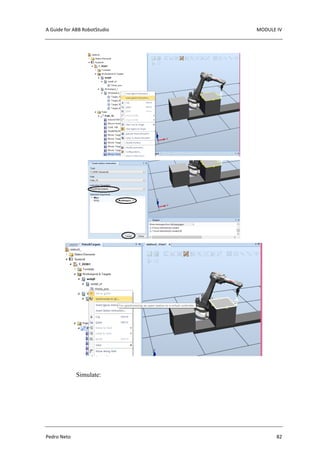
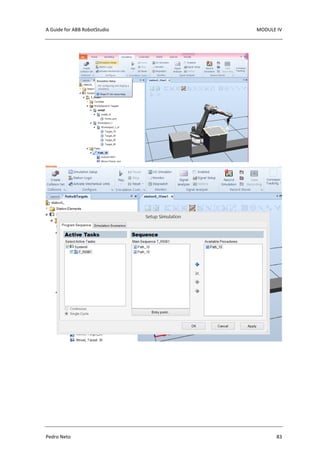
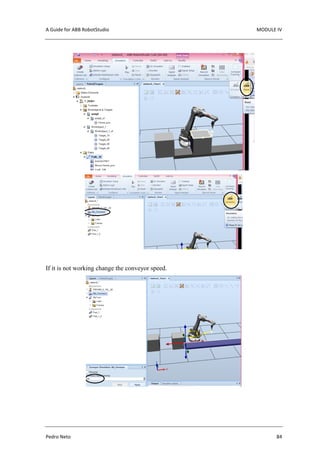
This guide contains the basic commands to start using ABB RobotStudio. It is
divided in 4 modules in which each module is a different exercise. All the necessary
procedures to create a given robot application are described, step-by-step. Several print
screens from RobotStudio help to understand in a better way the process to operate
RobotStudio and create robot programs off-line.](https://image.slidesharecdn.com/robotstudioabb-160913222153/85/Robot-studio-abb-3-320.jpg)
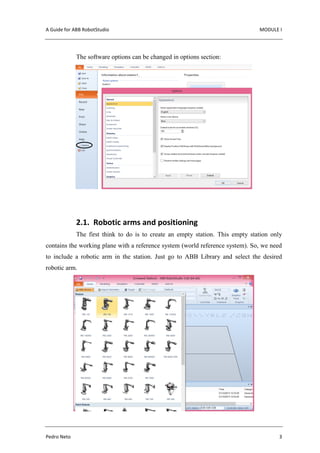
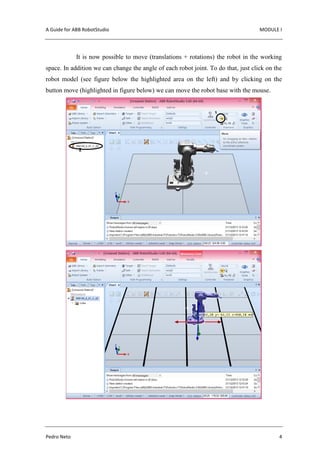
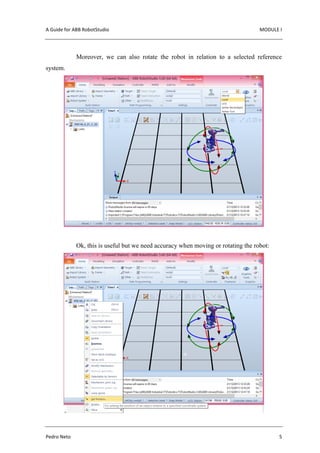

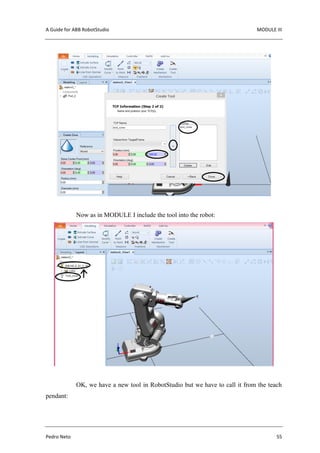
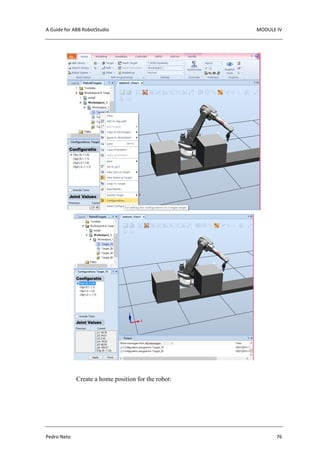
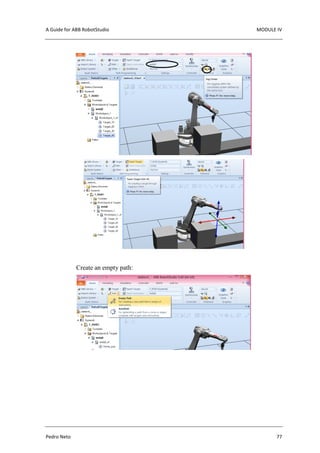
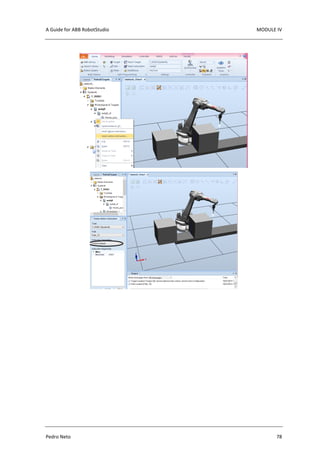


This document provides a guide for using ABB RobotStudio software. It is divided into modules that explain how to: 1) add robotic arms and position them correctly, 2) create workobjects and targets to define positions, 3) connect targets to create motion paths for simulation, and 4) use the virtual teach pendant to manually move the robot and create programs. The guide demonstrates basic functions for setting up and programming a robotic workcell in RobotStudio's offline programming environment.