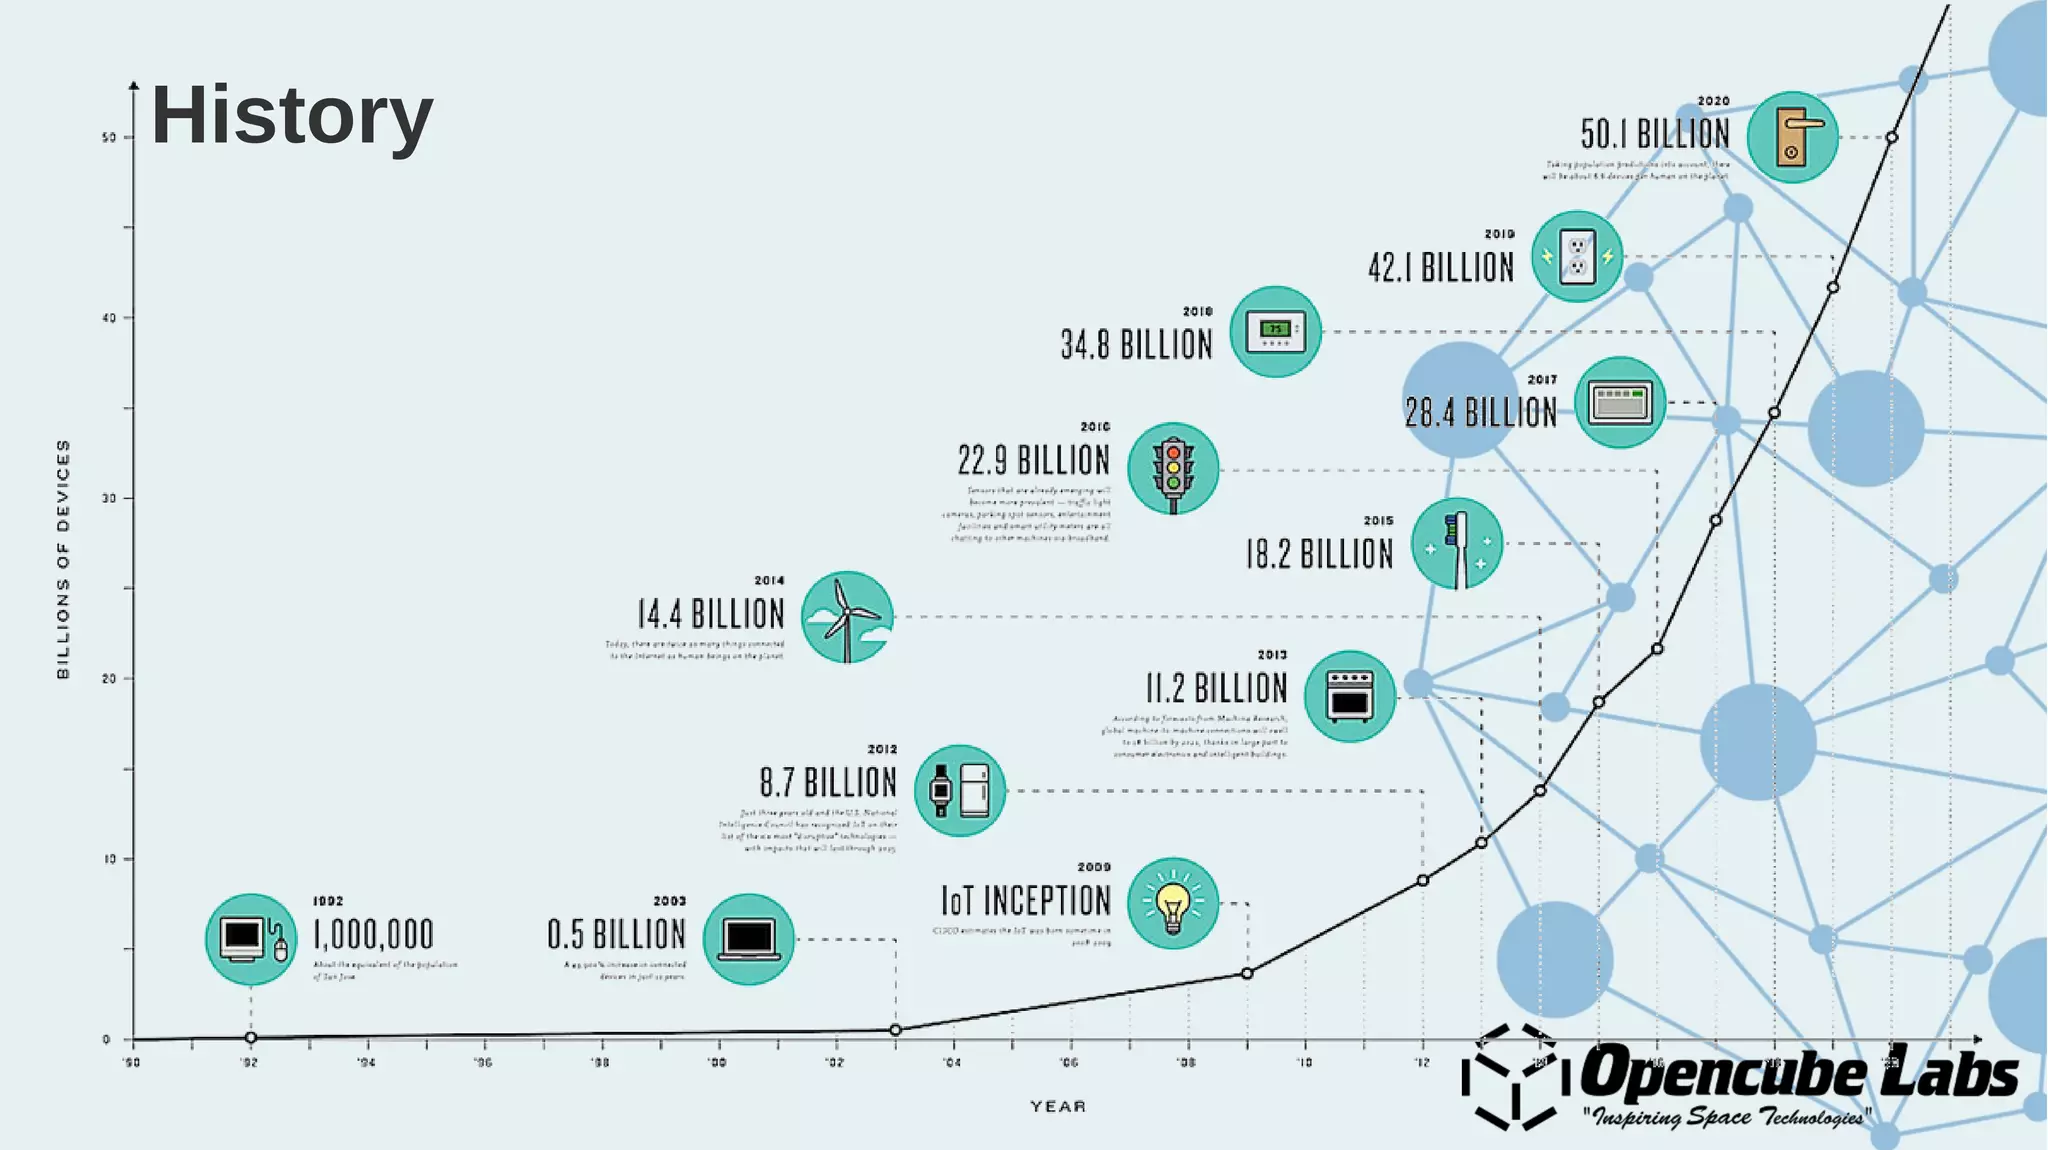
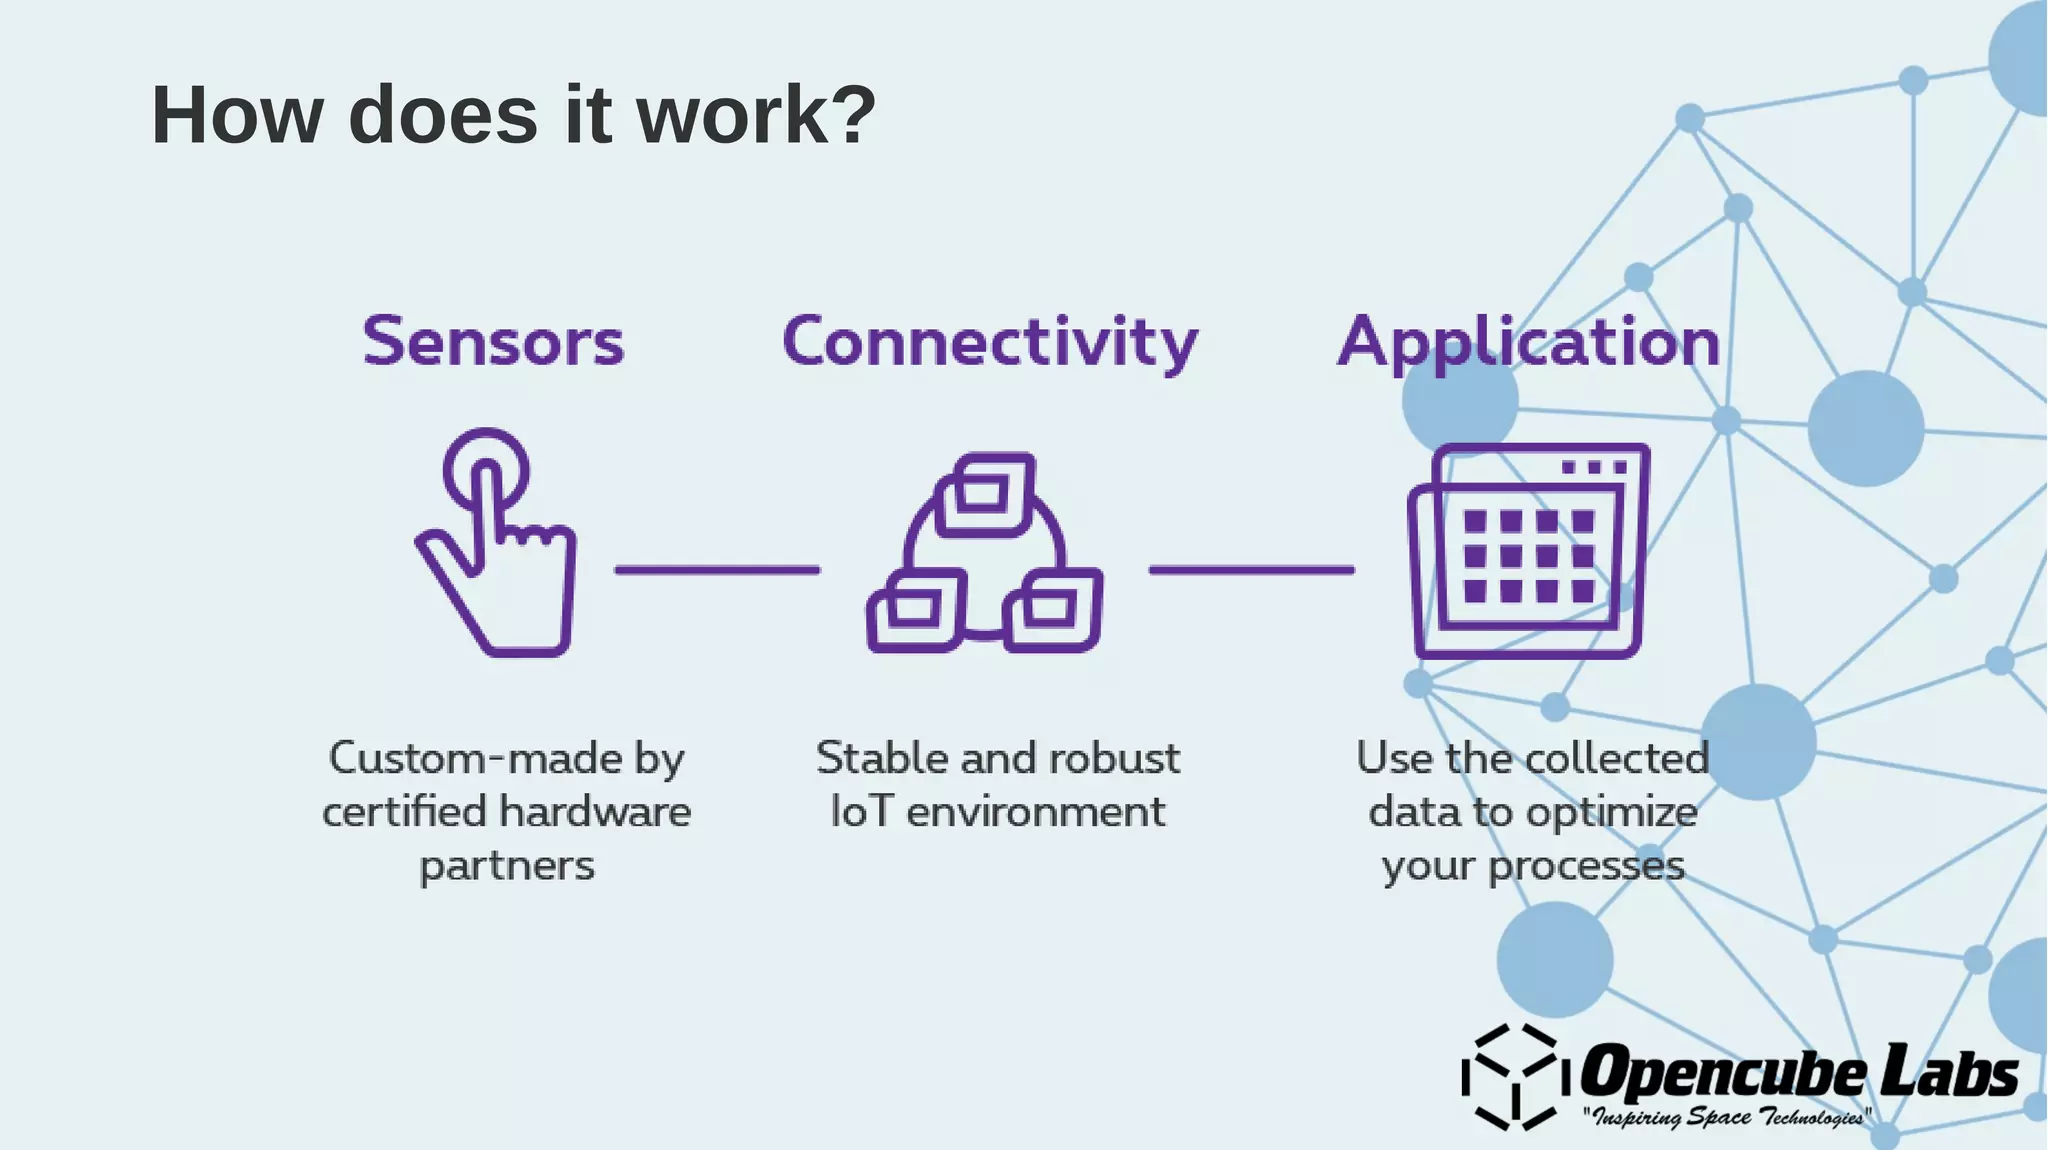
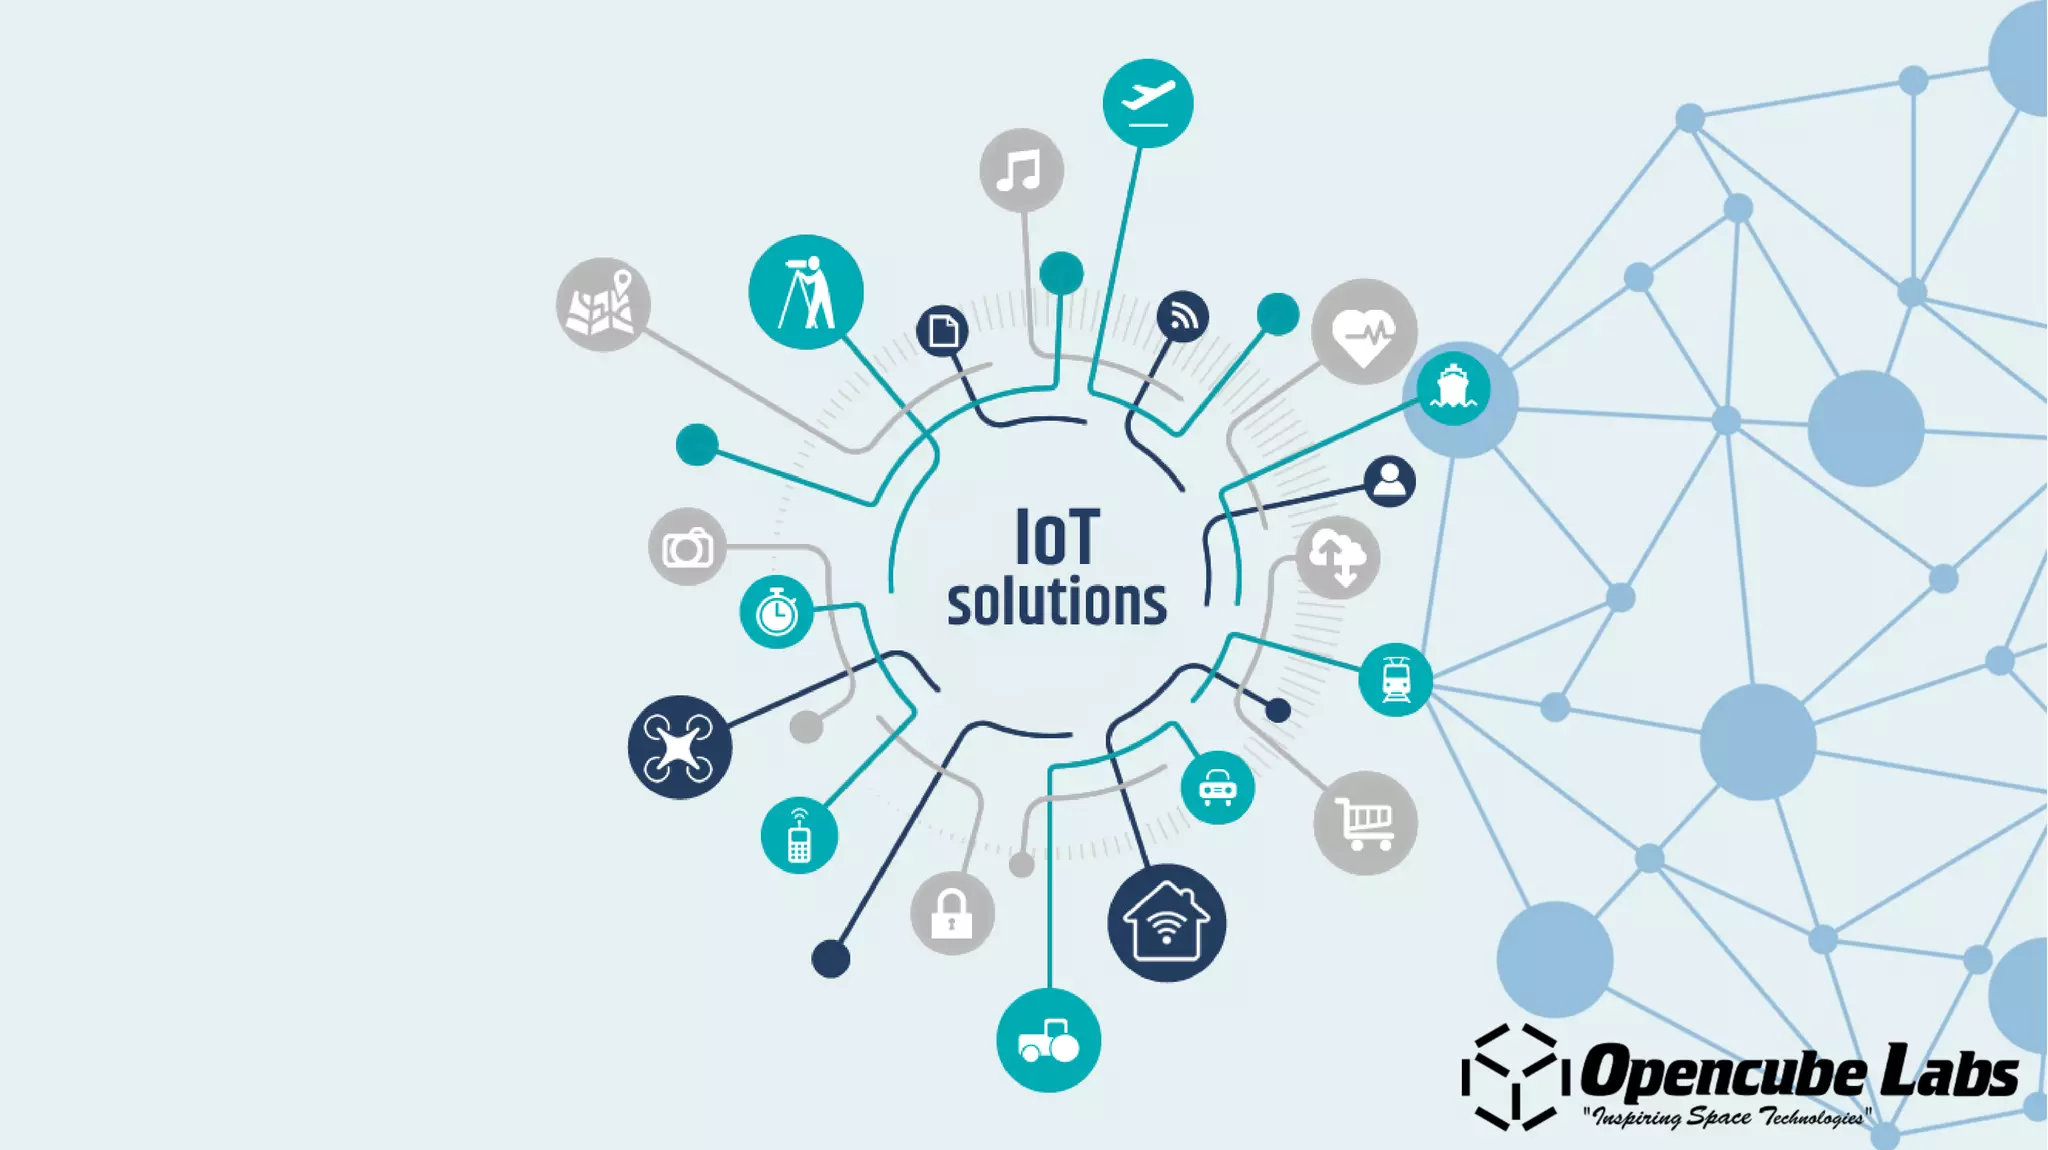
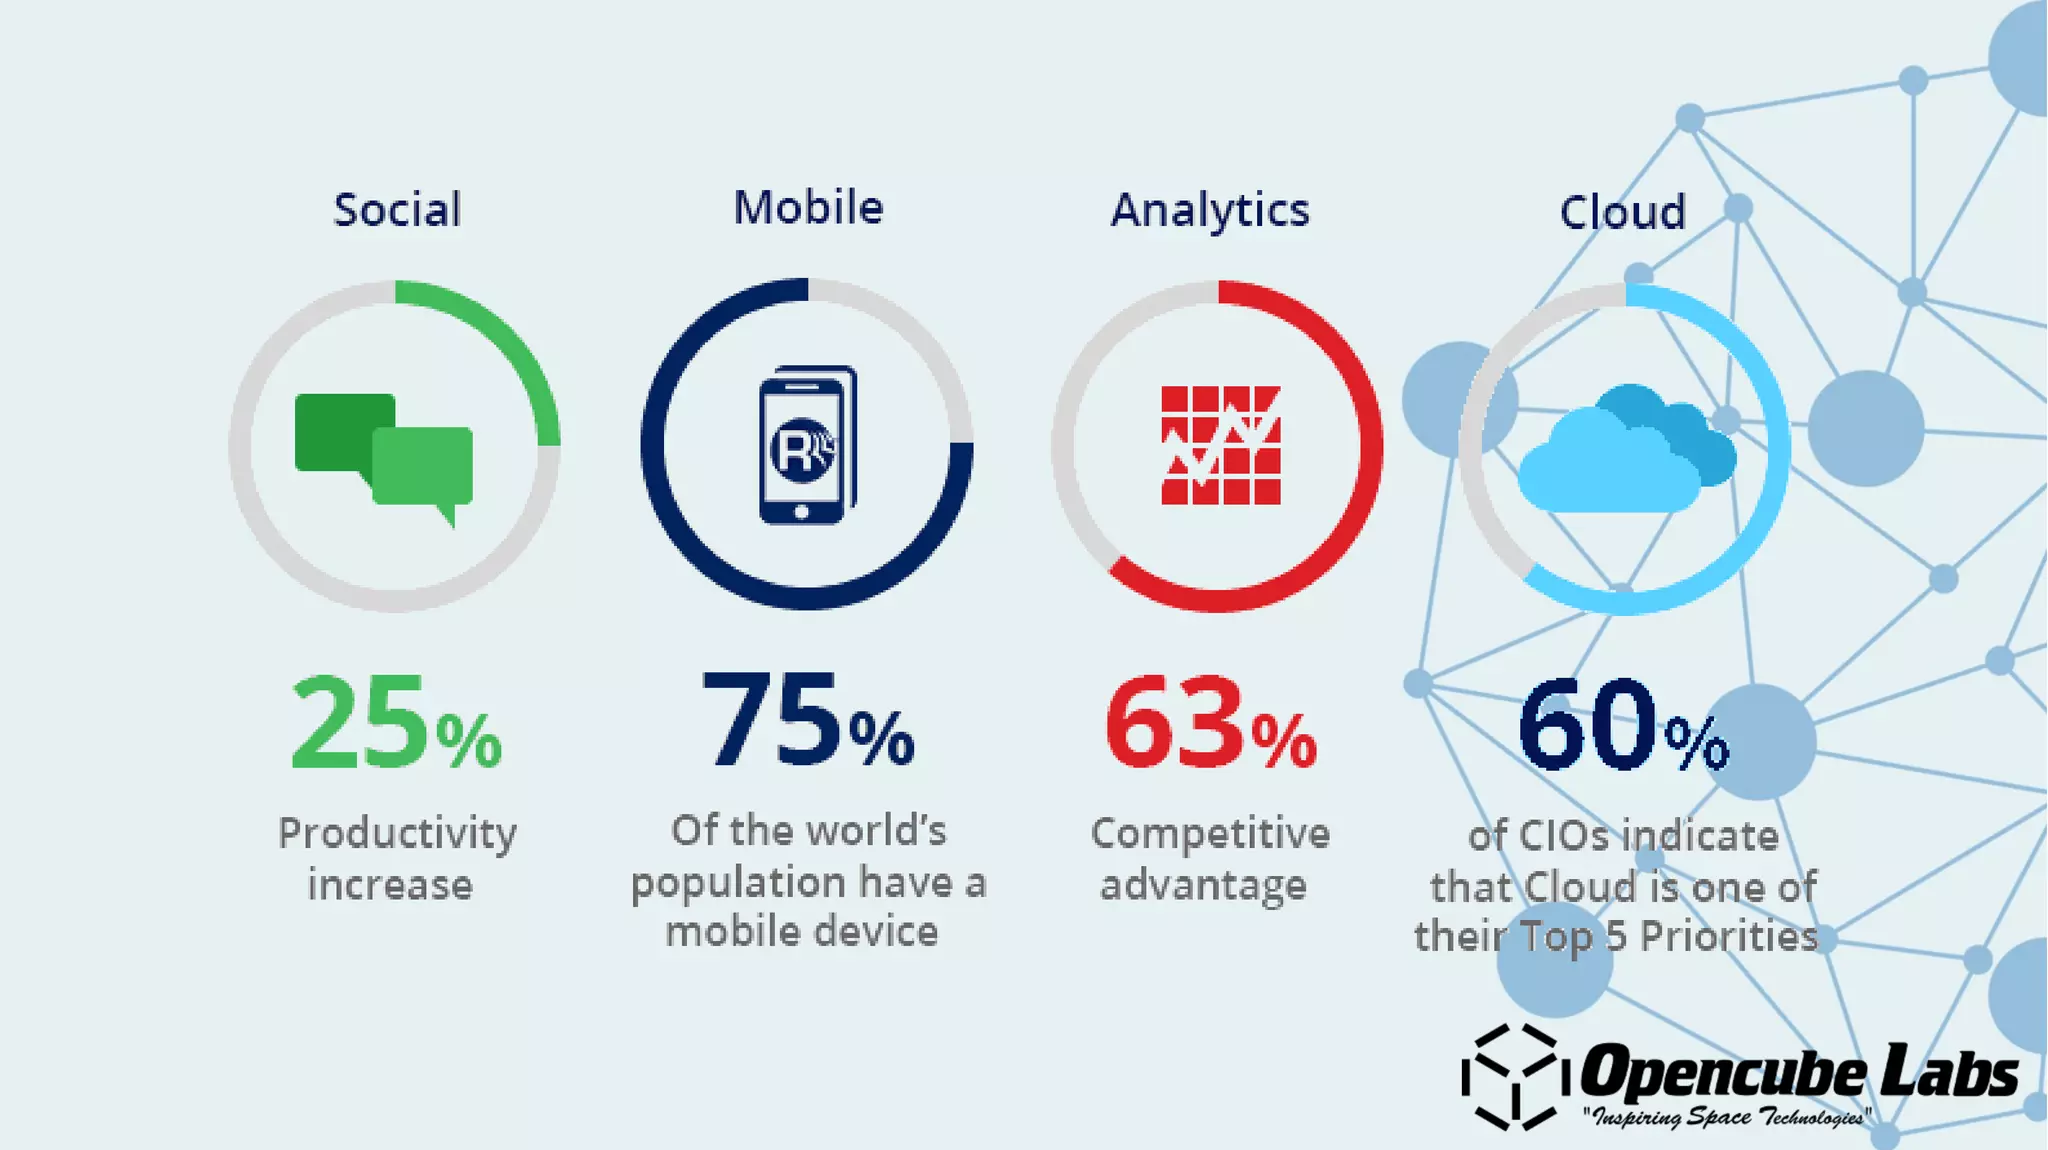
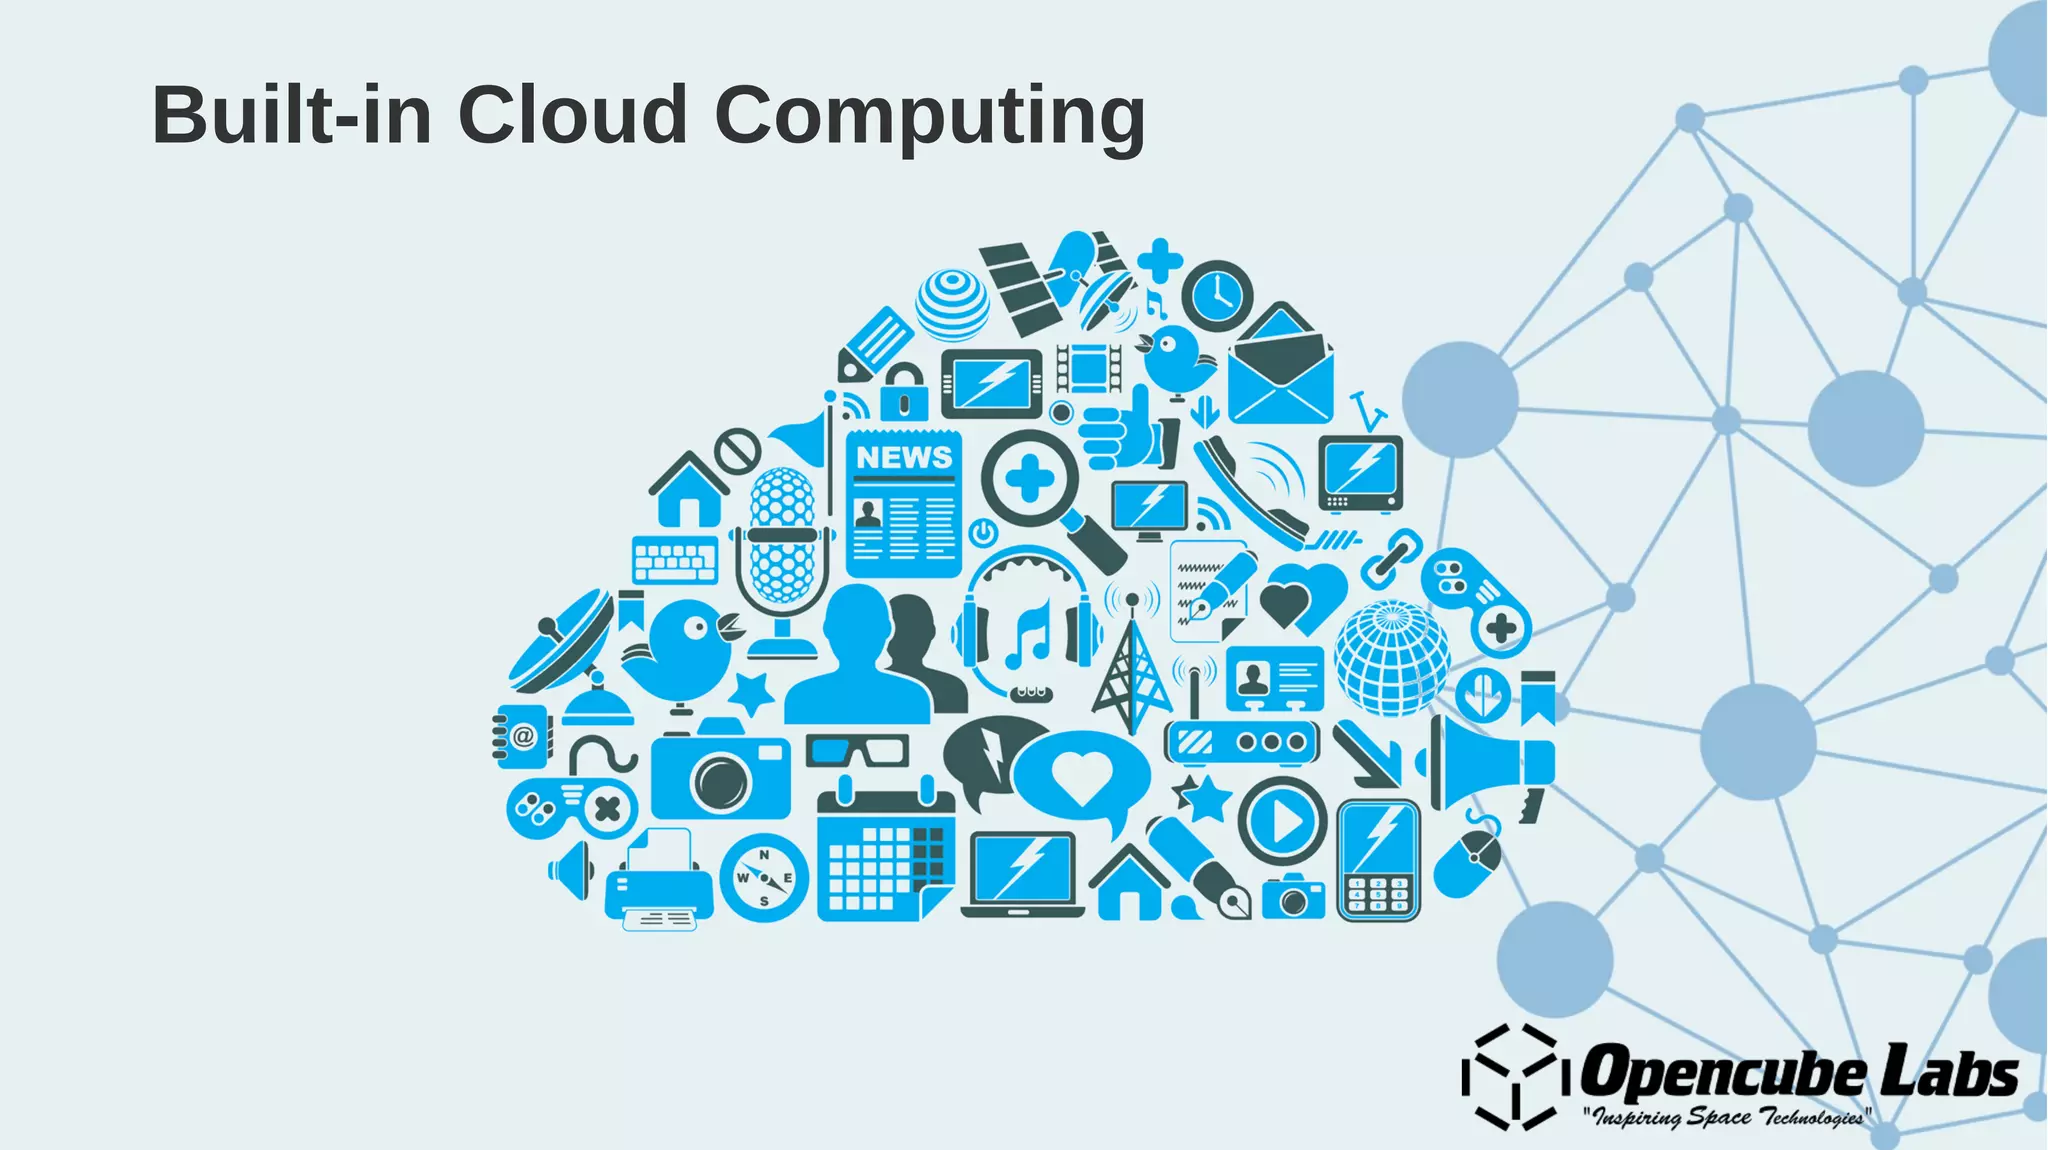
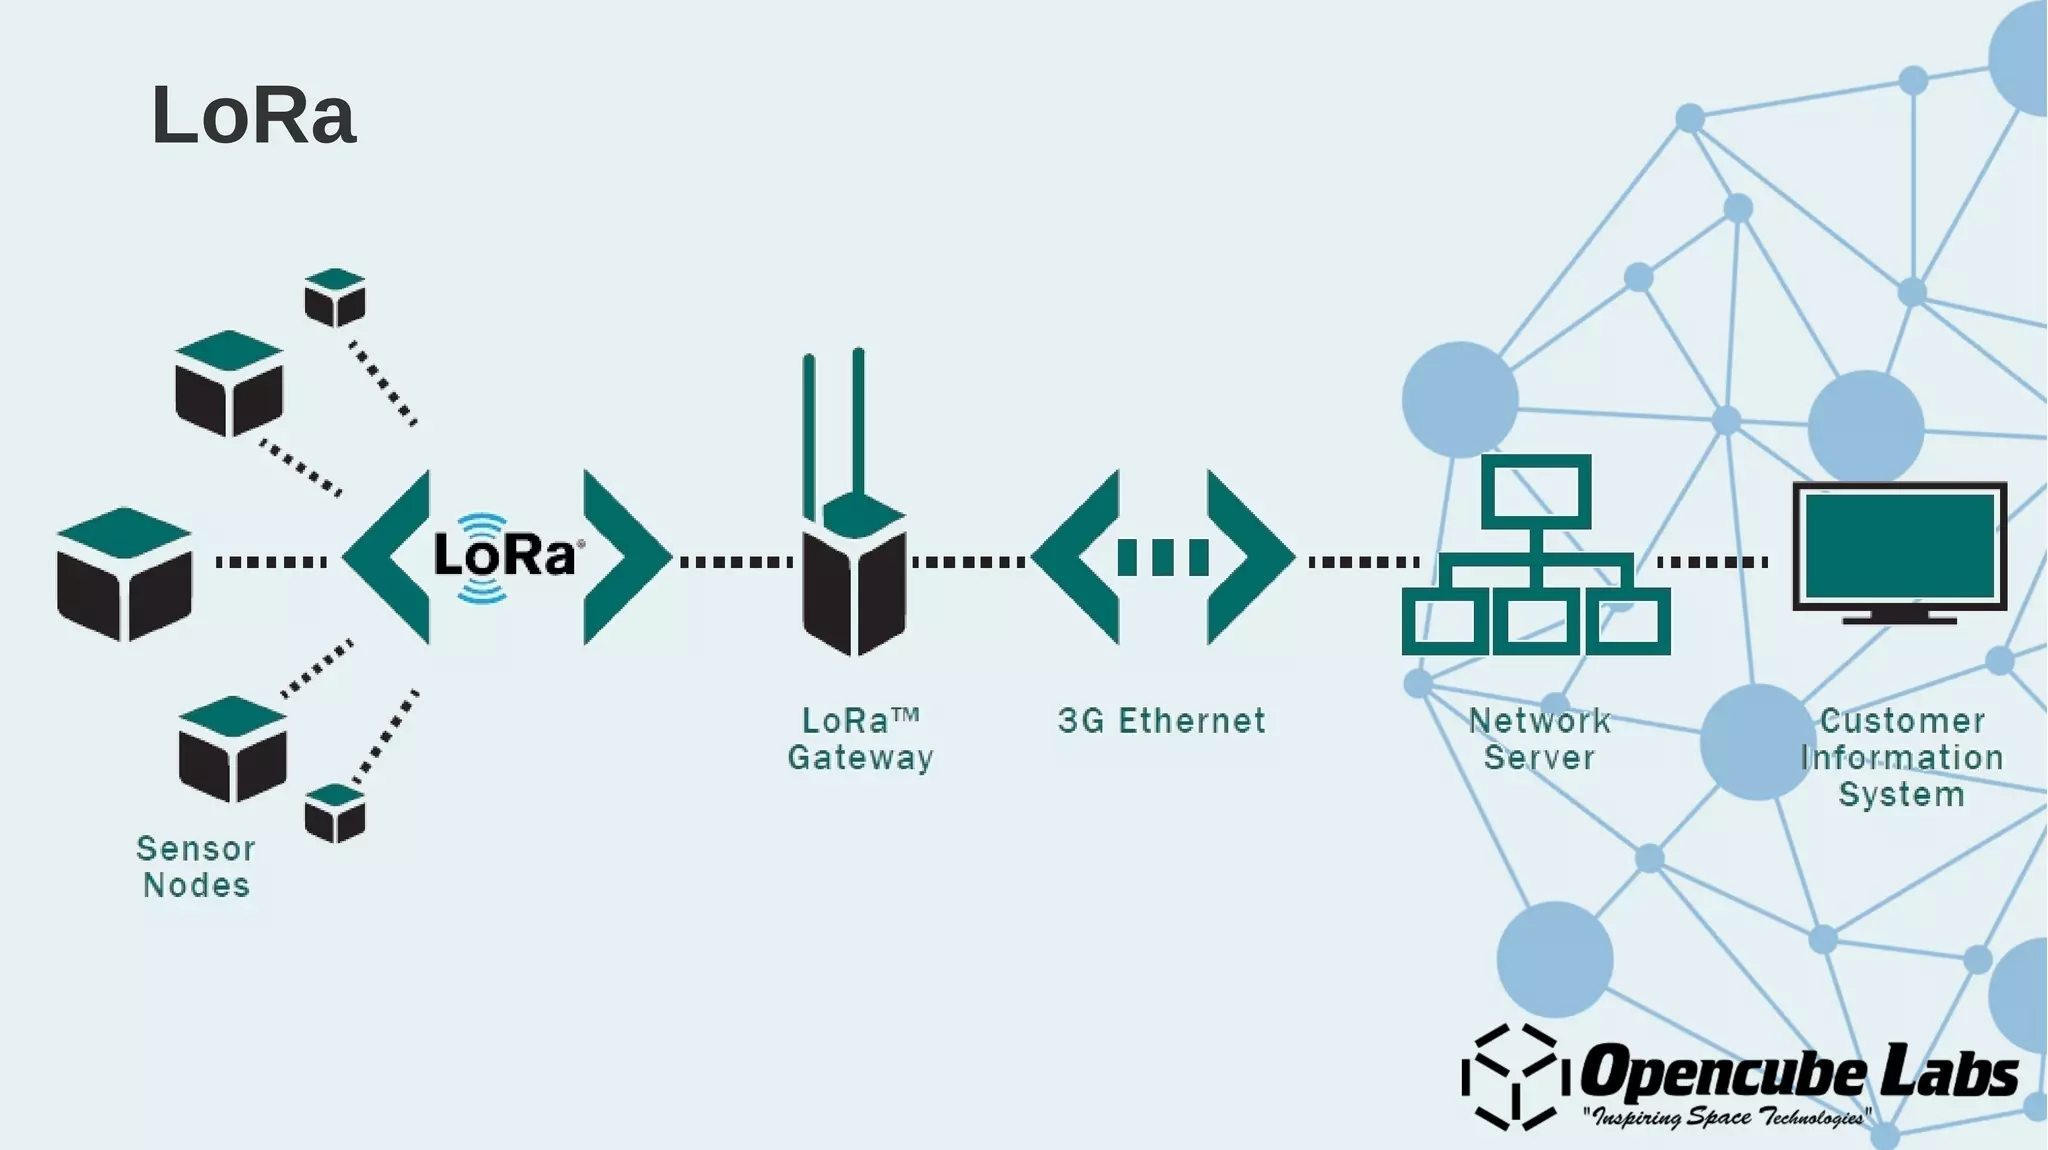
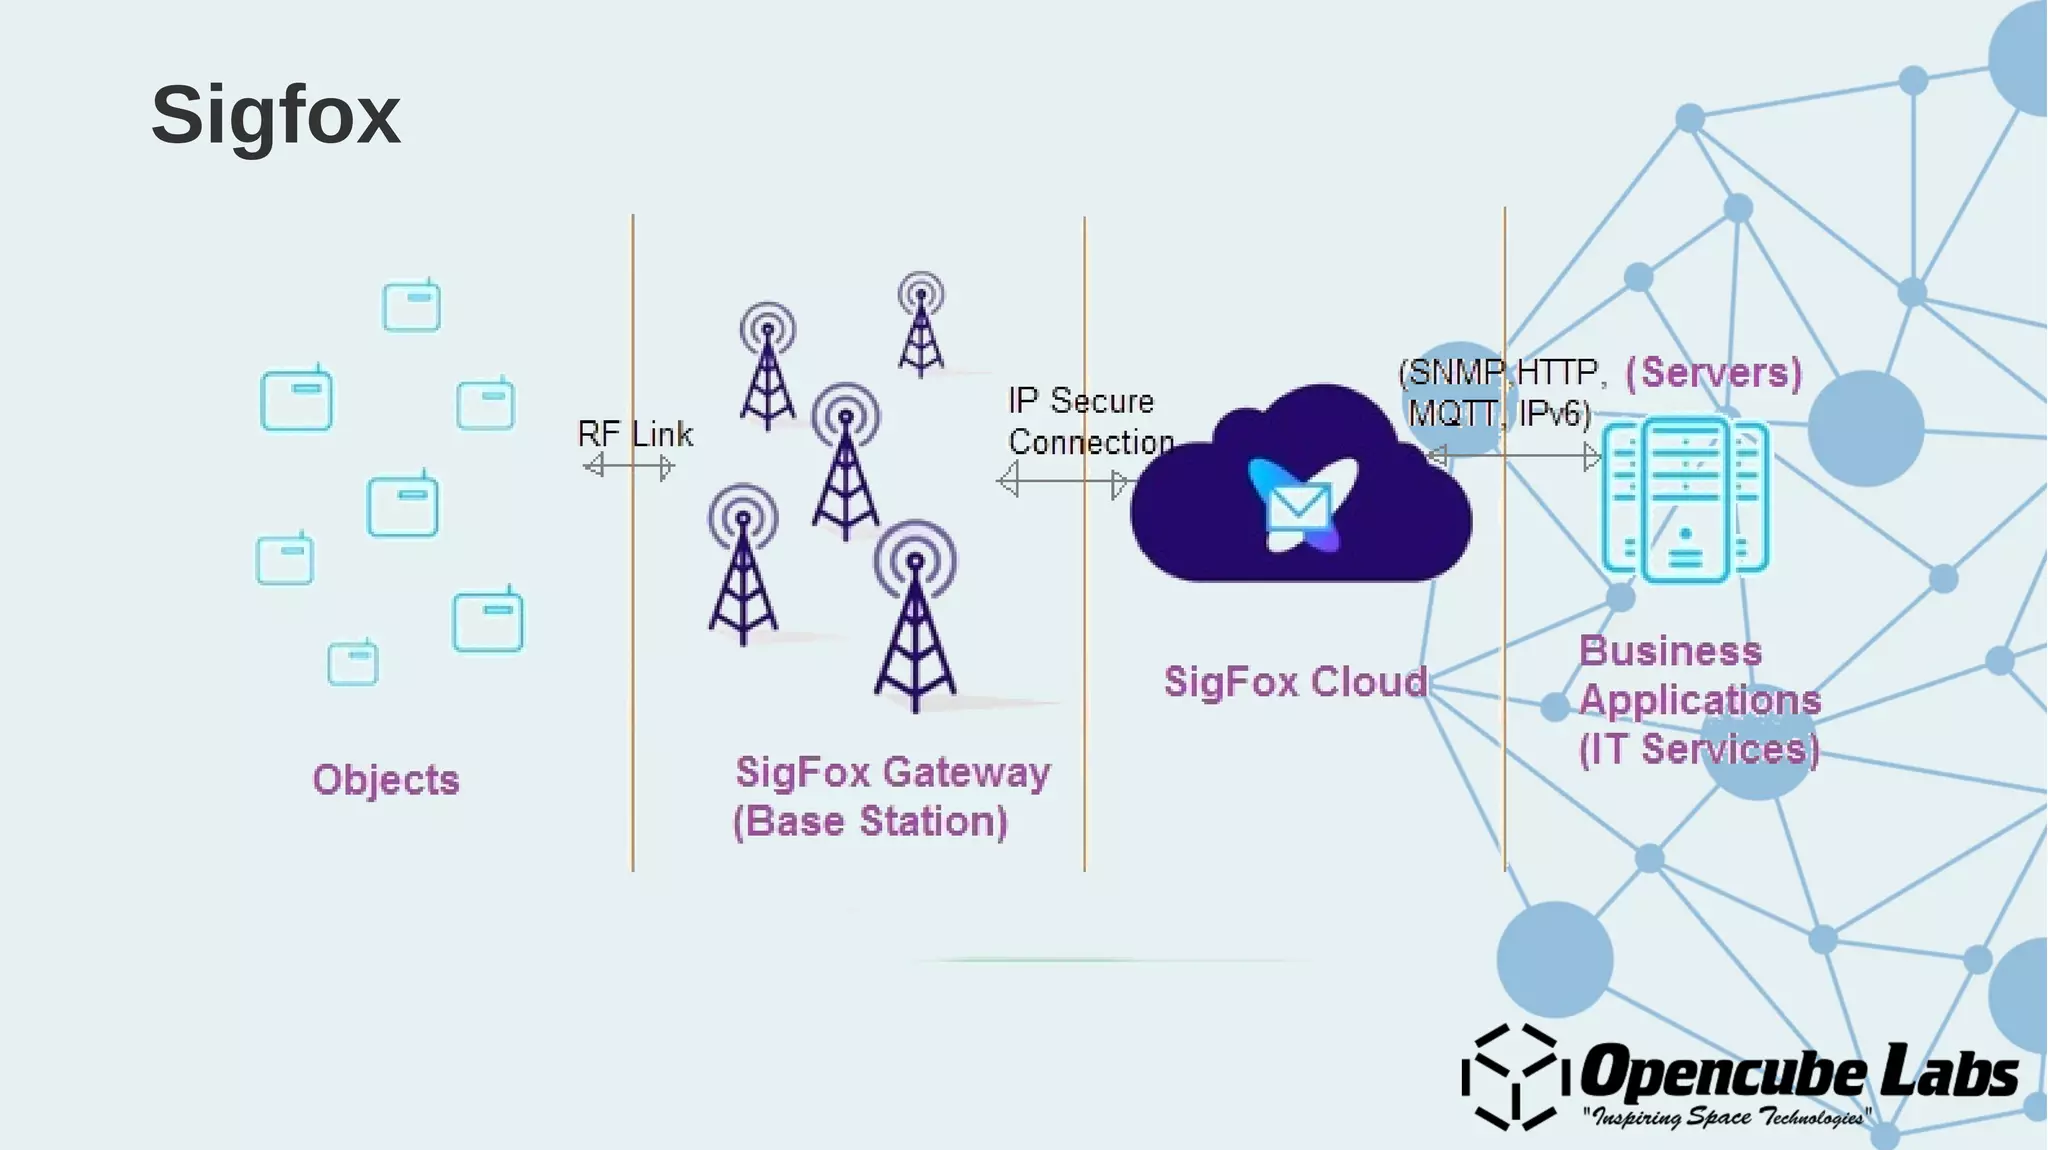
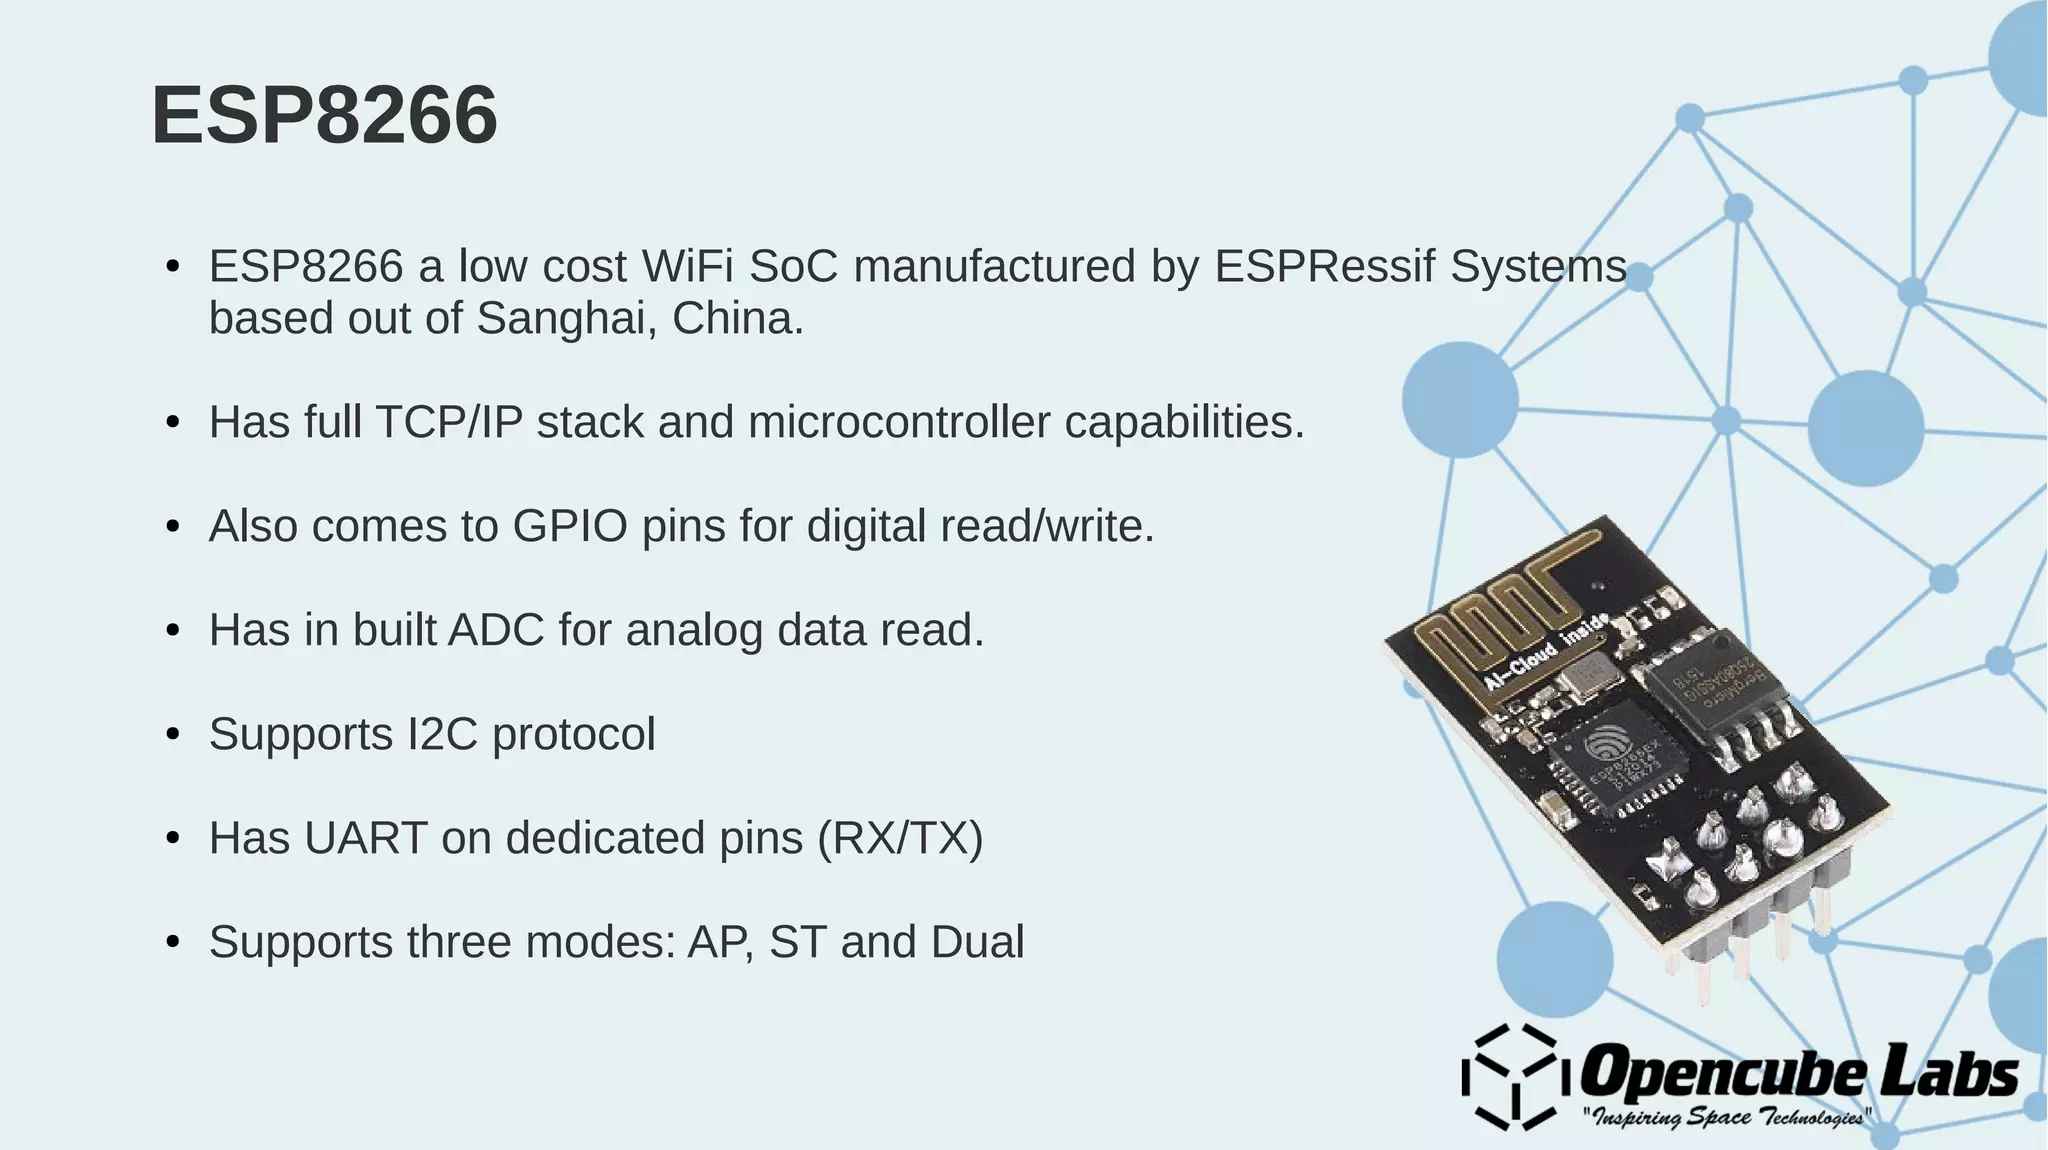
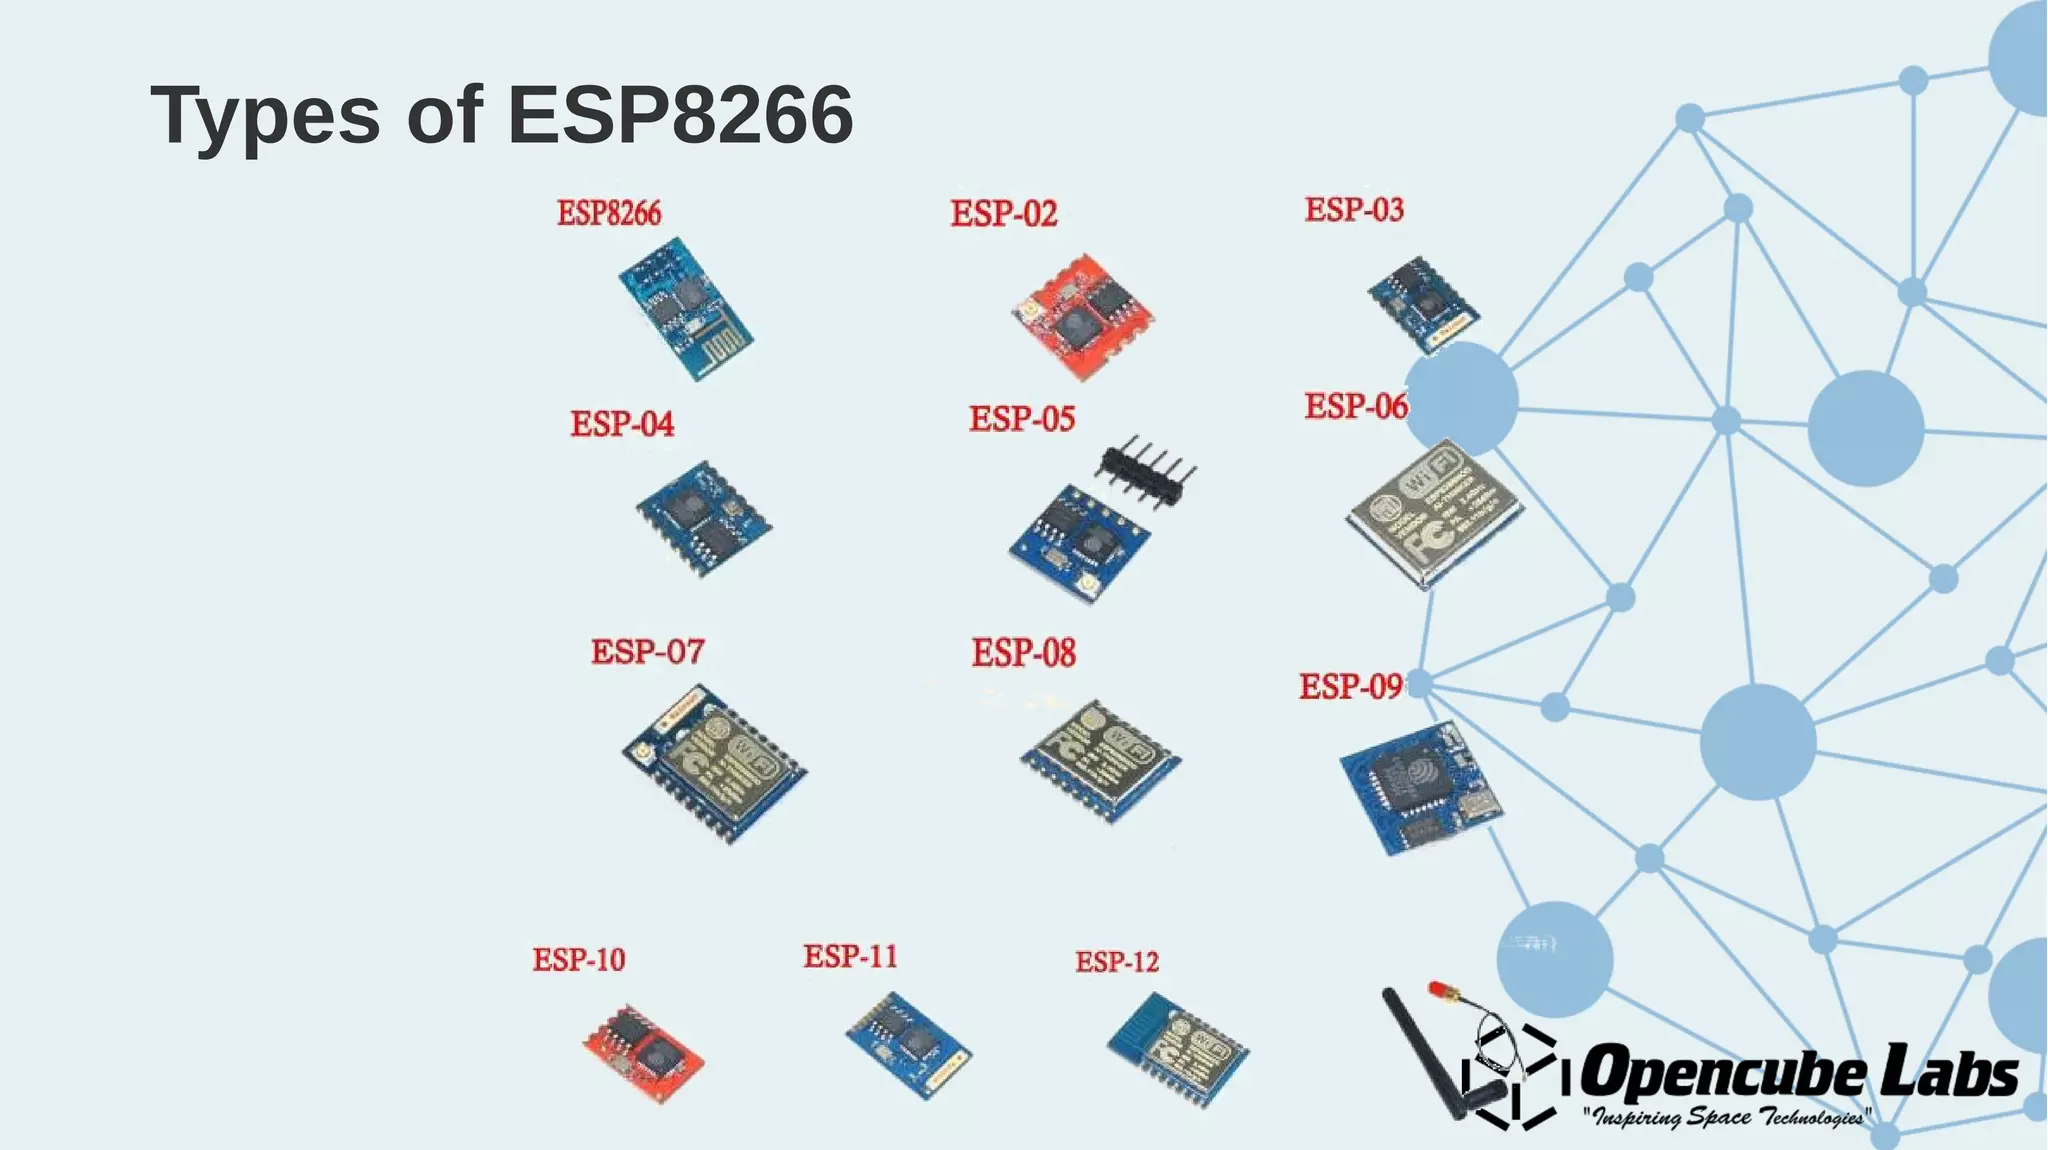
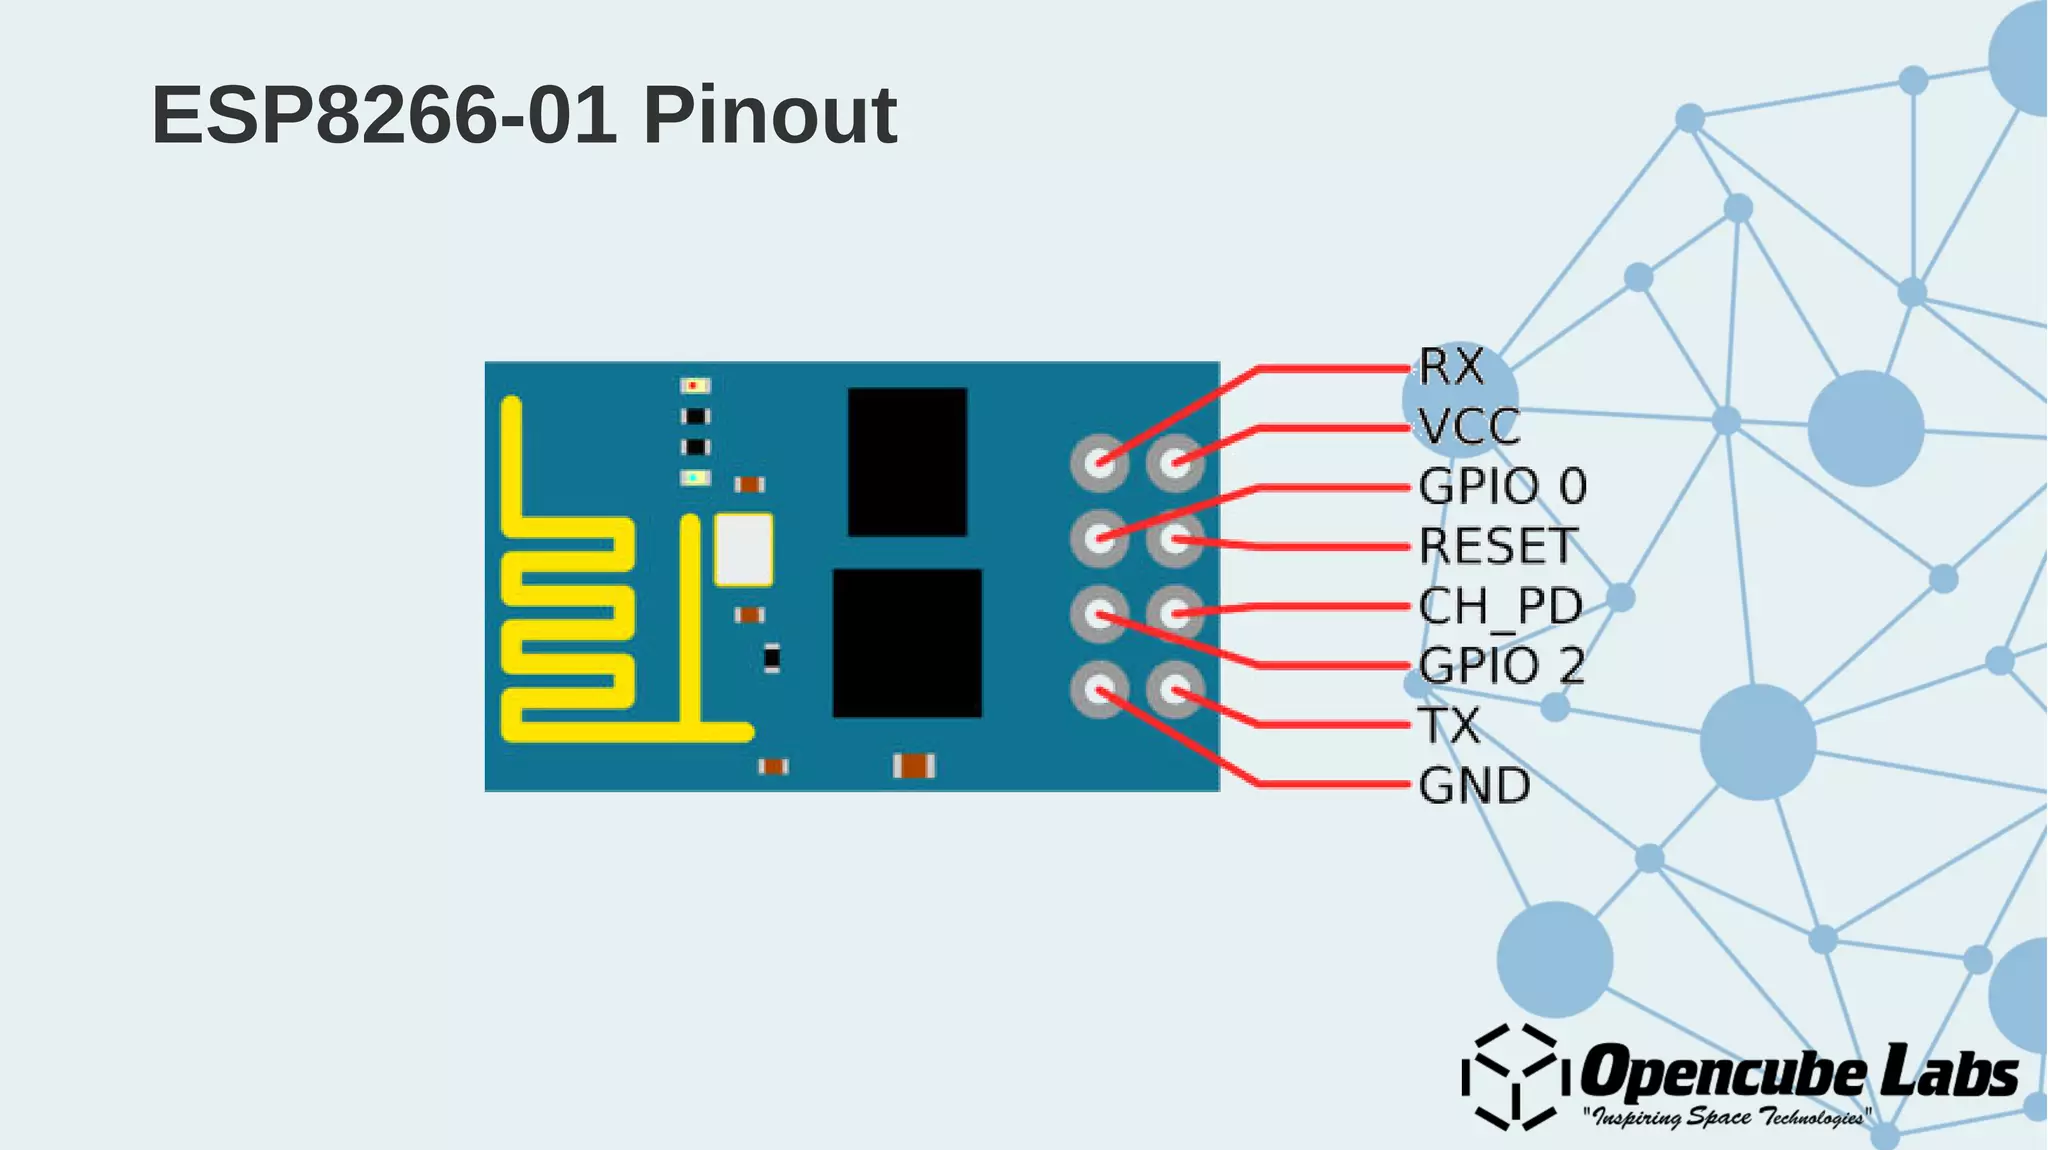
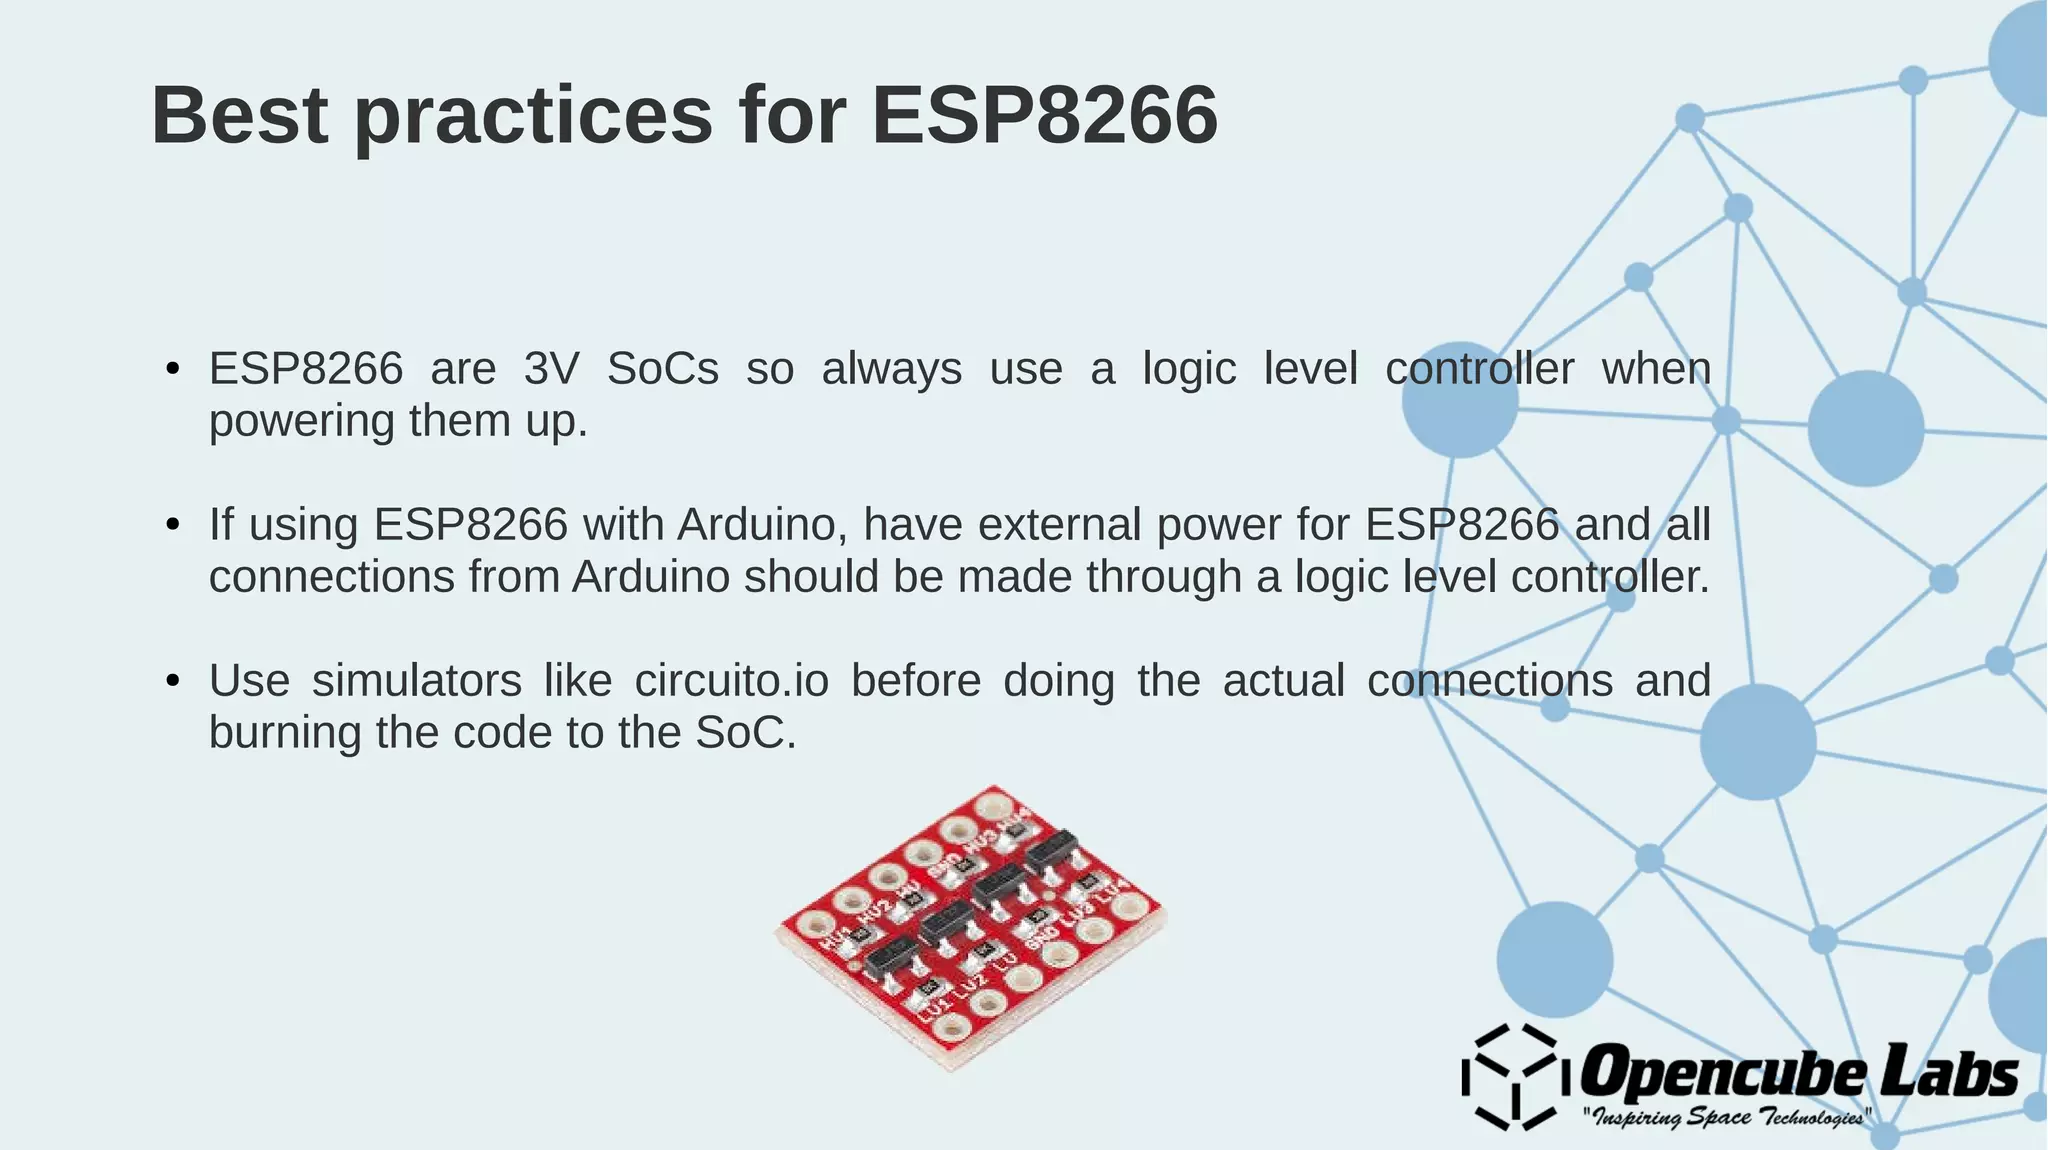
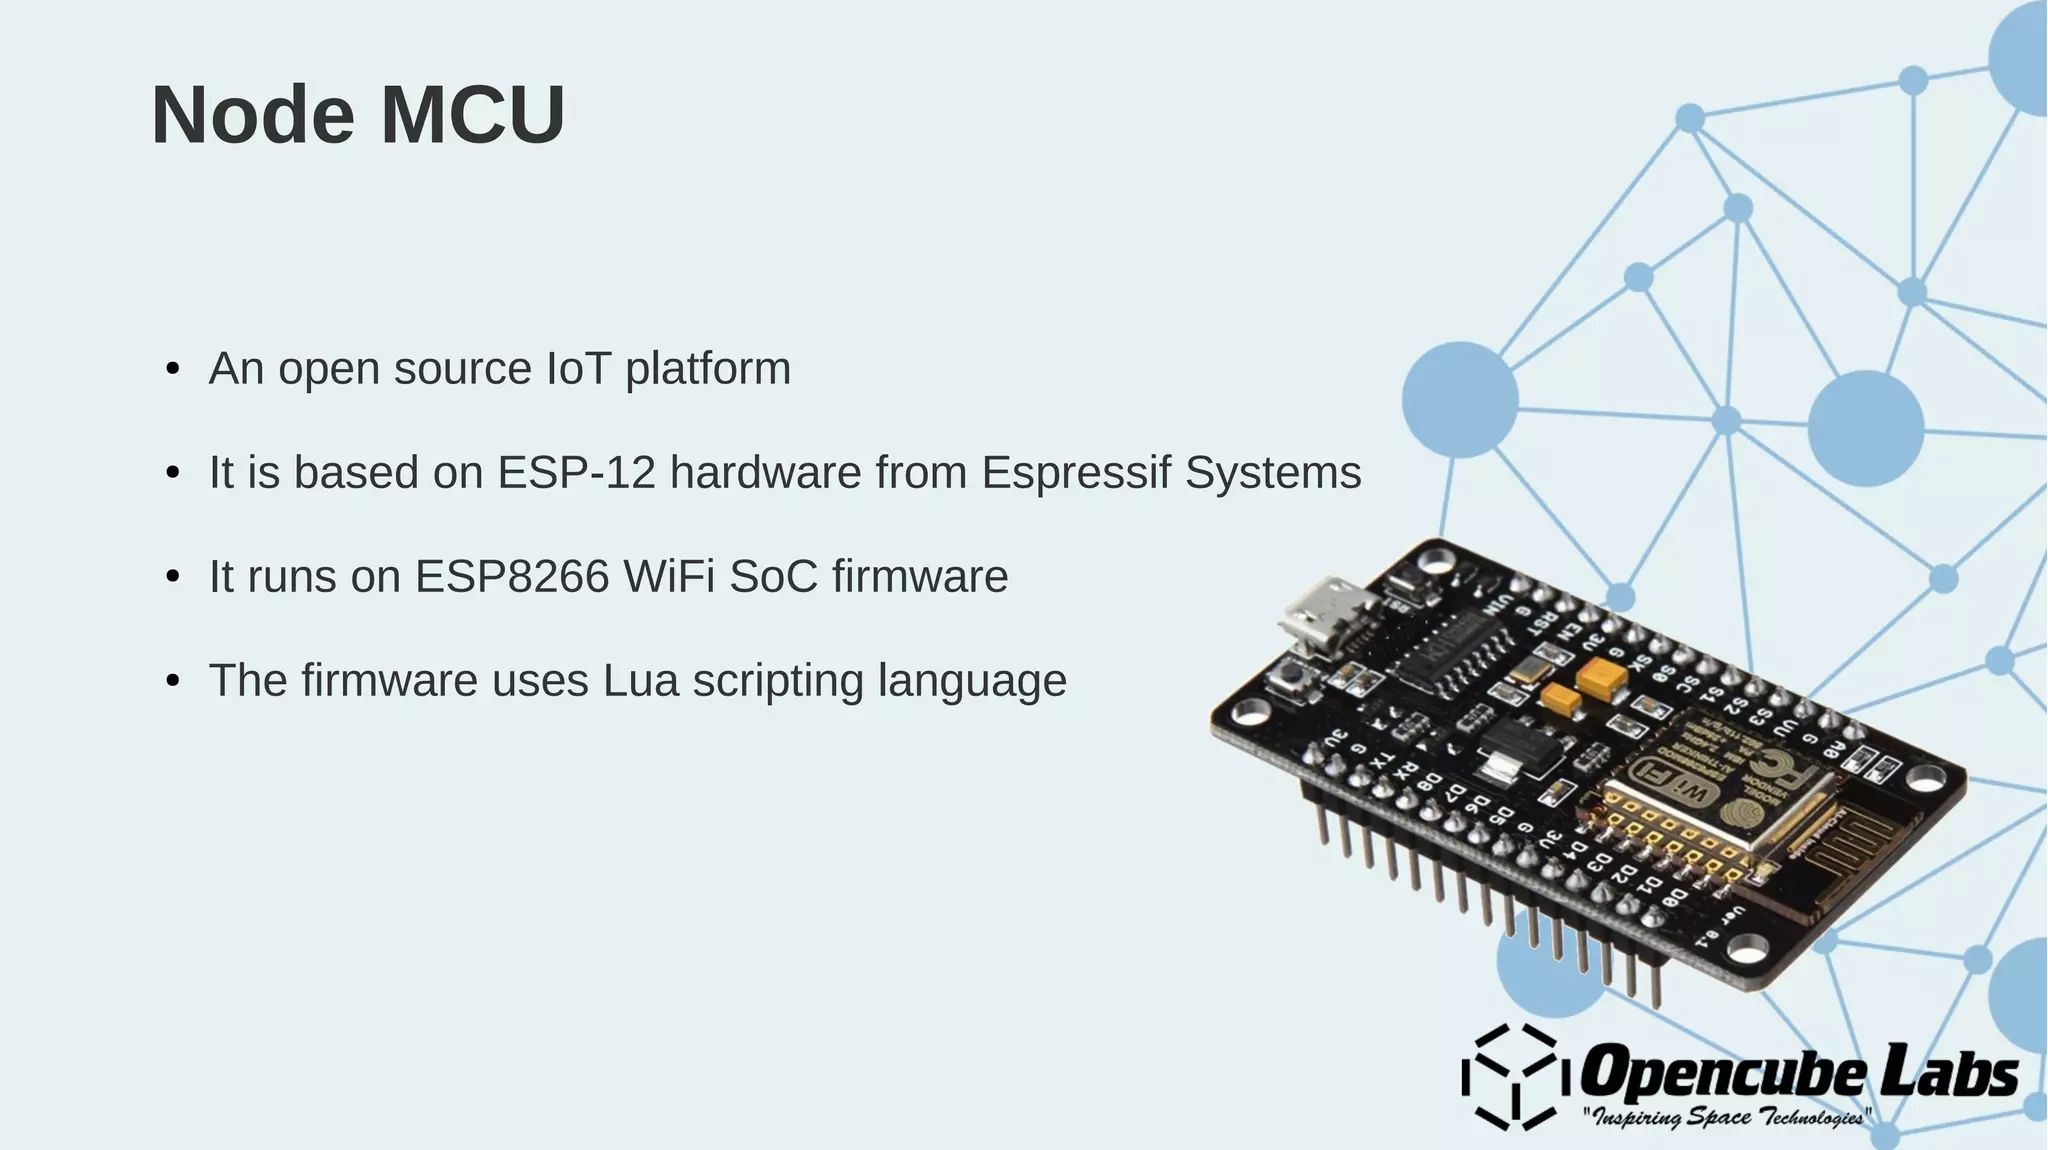
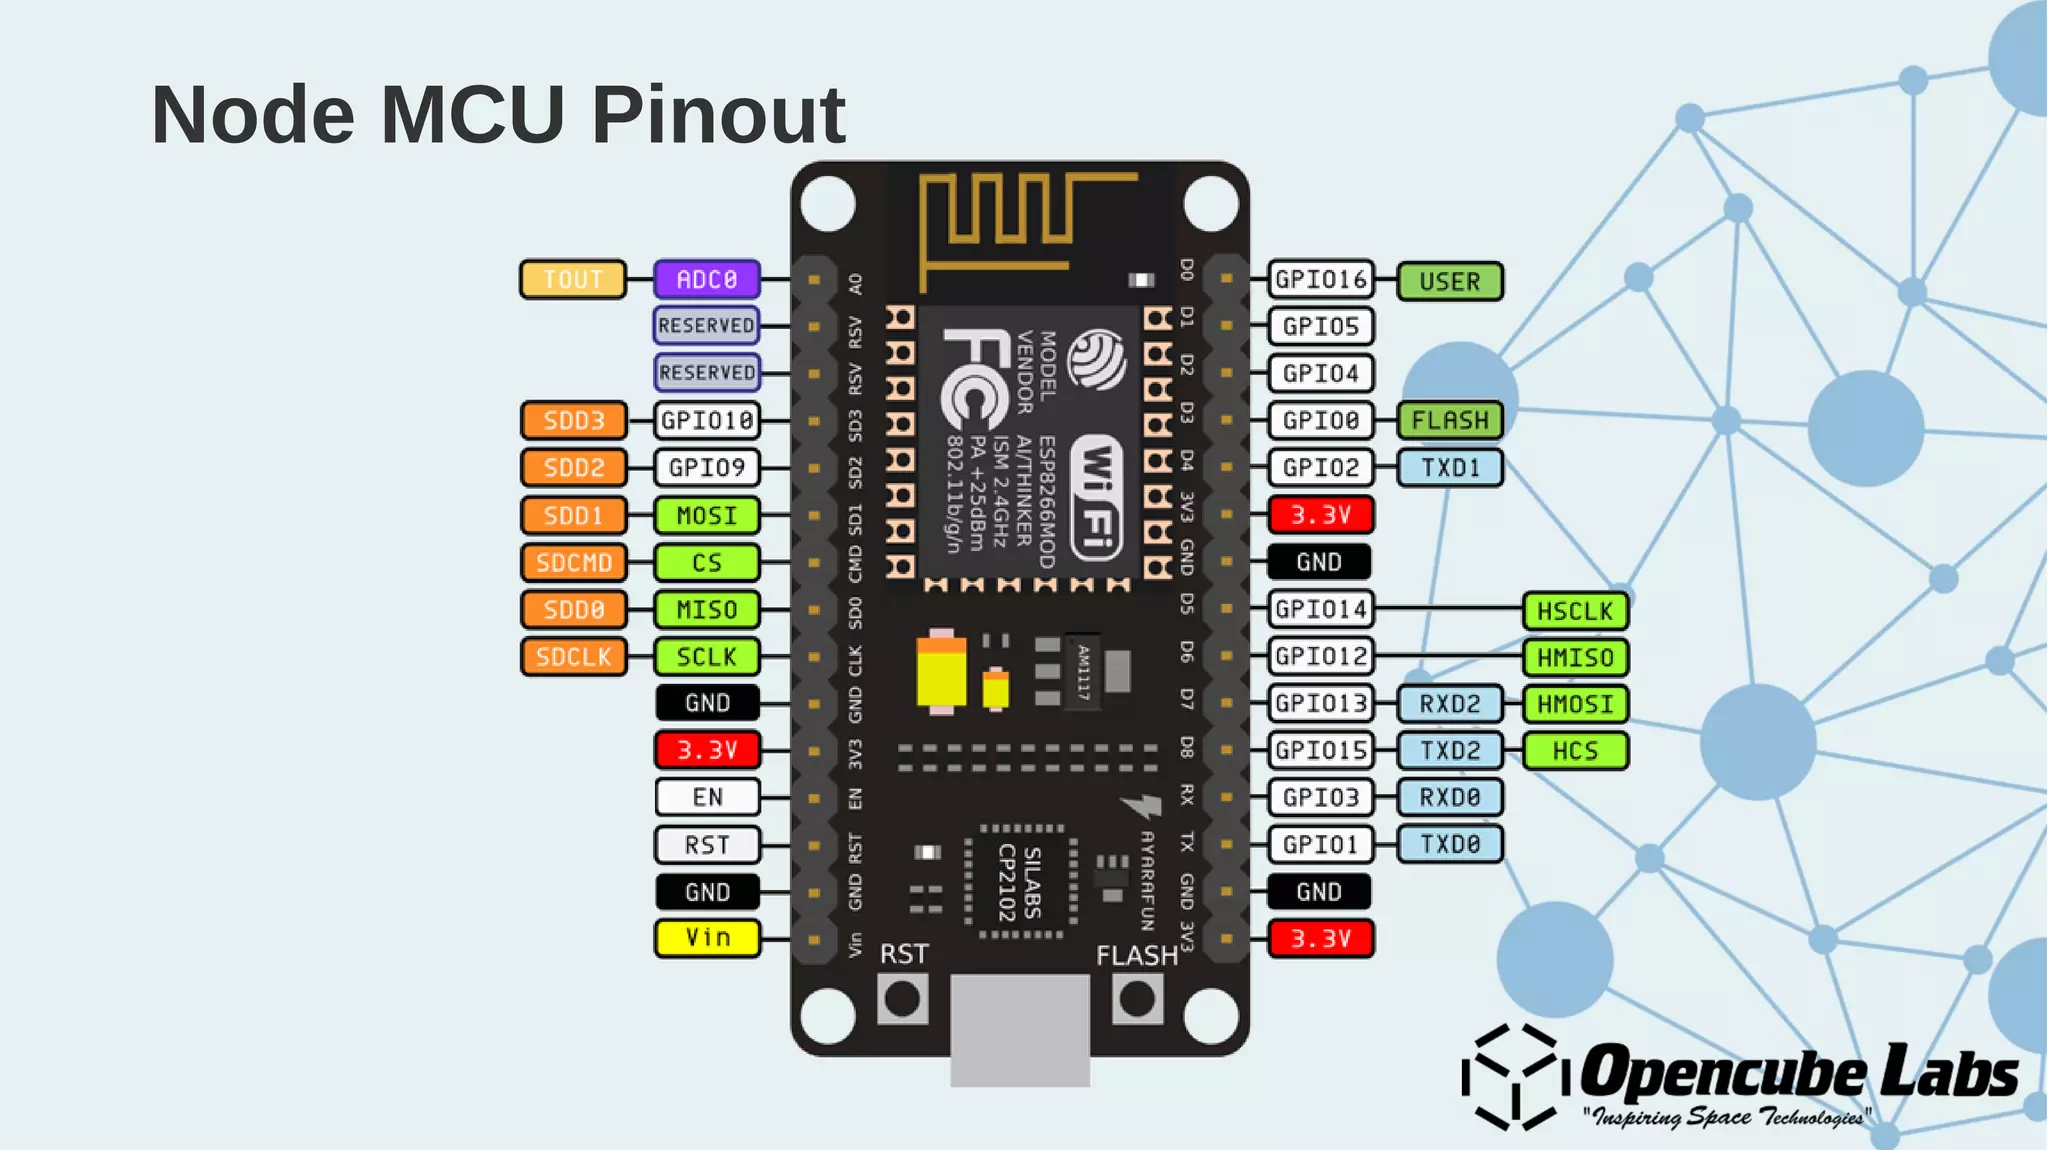
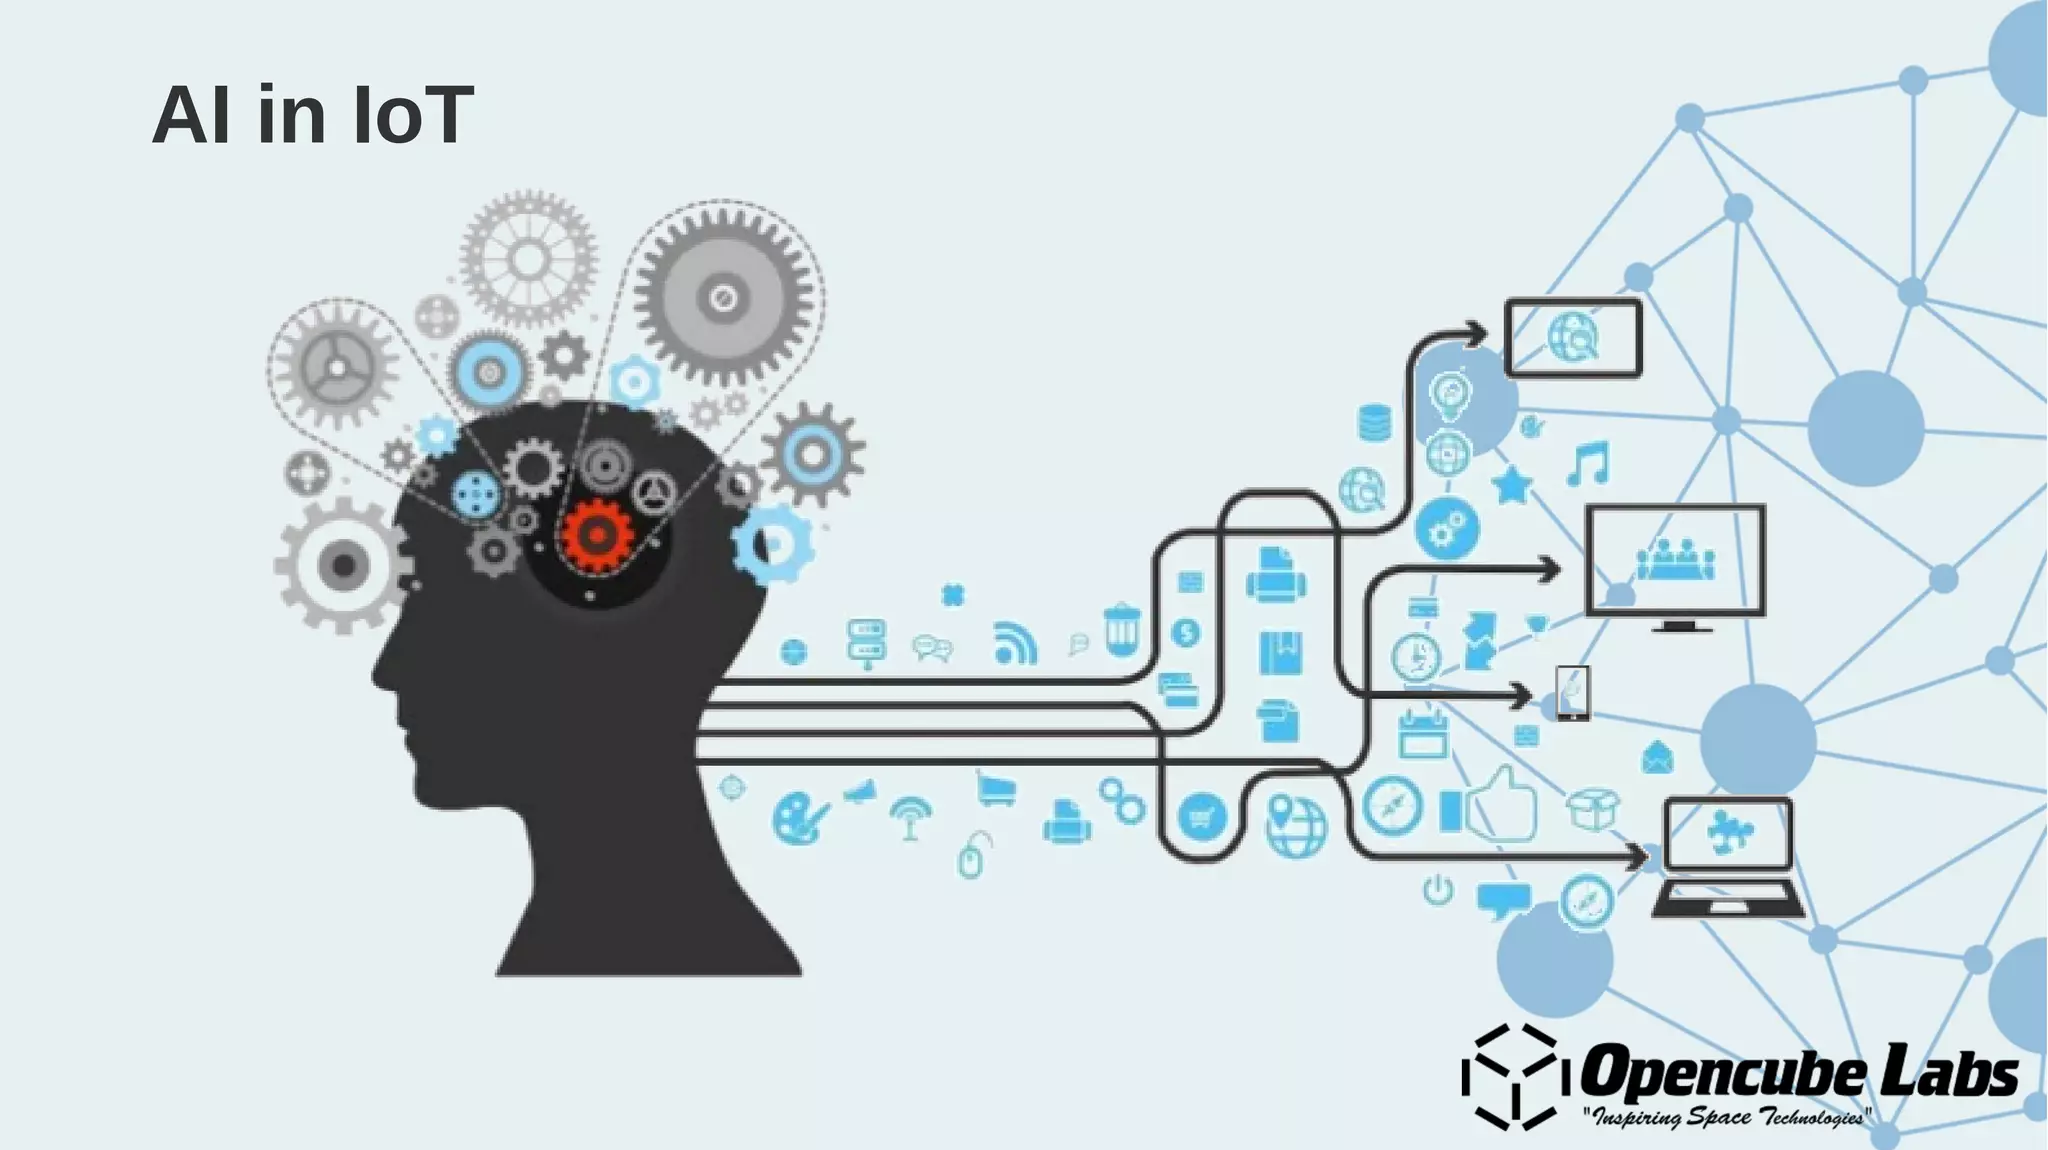
What is Internet of Things?
History
How does it work?
Why Internet of Things?
Applications
● Health care – Patient monitoring systems, Fitbit
● Traffic management – Google Maps
● Home automation
● Transport and logistics
● Services industry
● Smart agriculture
● And the possibilities are endless...
Challenges
● Privacy
● Security
Built-in Cloud Computing
Crowdsensing
Narrowband IoT
LoRa
Sigfox
ESP8266
● ESP8266 a low cost WiFi SoC manufactured by ESPRessif Systems
based out of Sanghai, China.
● Has full TCP/IP stack and microcontroller capabilities.
● Also comes to GPIO pins for digital read/write.
● Has in built ADC for analog data read.
● Supports I2C protocol
● Has UART on dedicated pins (RX/TX)
● Supports three modes: AP, ST and Dual
Types of ESP8266
ESP8266-01 Pinout
ESP8266-12 Pinout
Best practices for ESP8266
● ESP8266 are 3V SoCs so always use a logic level controller when
powering them up.
● If using ESP8266 with Arduino, have external power for ESP8266 and all
connections from Arduino should be made through a logic level controller.
● Use simulators like circuito.io before doing the actual connections and
burning the code to the SoC.
Node MCU
● An open source IoT platform
● It is based on ESP-12 hardware from Espressif Systems
● It runs on ESP8266 WiFi SoC firmware
● The firmware uses Lua scripting language
Node MCU Pinout
Processing
An open source computer programming language and integrated
development environment (IDE) built for
- Electronic arts
- New media arts
- Visual design
Examples : https://processing.org/examples/
Arduino Platform
Arduino IDE
Programming
● The ESP8266 can be programmed with the Arduino software IDE
(integrated development environment).
● Programming language used is C like but more towards Processing
language.
● The ESP8266 comes with preburned with a Bootloader that allows you to
upload new code to it without the use of an external hardware
programmer.
A C program
#include<stdio.h>
int main()
{
Printf(“Hello, world!”);
}
Hello, world! in ESP8266
AI in IoT
Blockchain in IoT
The Lab Session
● The basic Hello, world! in ESP8266-12/Node MCU
● Creating an AP with Node MCU
● Scan all WiFi networks along with signal strength
● Reading an analog sensor data
● Sending sensor data to cloud
● Remote toggle an LED
● Toggle LED with sensor data and log to cloud
Setting up the environment
● Install Arduino IDE
● Go to File > Preferences
● Add the link to Additional Board Managers URLs :
http://arduino.esp8266.com/stable/package_esp8266com_index.json
● Go to Tools > Boards > Board Manager, and search for ESP8266 by
ESP8266 Community and install it
● Again go to Tools > Boards > Select Node MCU 1.0 from the list of
boards available.
Setting up the cloud
● Create a Heroku account
● Install git
● Create a Heroku app
● Add MongoDb resource to the app
● Clone/fork the server code: github.com/opencubelabs/iot_sample_server
● Link git repo to Heroku app
Let’s get started...

Practical Introduction to Internet of Things (IoT)

  • 2.
    What is Internetof Things?
  • 3.
  • 4.
  • 5.
  • 7.
    Applications ● Health care– Patient monitoring systems, Fitbit ● Traffic management – Google Maps ● Home automation ● Transport and logistics ● Services industry ● Smart agriculture ● And the possibilities are endless...
  • 8.
  • 12.
  • 15.
  • 17.
  • 18.
  • 19.
  • 20.
    ESP8266 ● ESP8266 alow cost WiFi SoC manufactured by ESPRessif Systems based out of Sanghai, China. ● Has full TCP/IP stack and microcontroller capabilities. ● Also comes to GPIO pins for digital read/write. ● Has in built ADC for analog data read. ● Supports I2C protocol ● Has UART on dedicated pins (RX/TX) ● Supports three modes: AP, ST and Dual
  • 21.
  • 22.
  • 23.
  • 24.
    Best practices forESP8266 ● ESP8266 are 3V SoCs so always use a logic level controller when powering them up. ● If using ESP8266 with Arduino, have external power for ESP8266 and all connections from Arduino should be made through a logic level controller. ● Use simulators like circuito.io before doing the actual connections and burning the code to the SoC.
  • 25.
    Node MCU ● Anopen source IoT platform ● It is based on ESP-12 hardware from Espressif Systems ● It runs on ESP8266 WiFi SoC firmware ● The firmware uses Lua scripting language
  • 26.
  • 27.
    Processing An open sourcecomputer programming language and integrated development environment (IDE) built for - Electronic arts - New media arts - Visual design Examples : https://processing.org/examples/
  • 28.
  • 29.
  • 30.
    Programming ● The ESP8266can be programmed with the Arduino software IDE (integrated development environment). ● Programming language used is C like but more towards Processing language. ● The ESP8266 comes with preburned with a Bootloader that allows you to upload new code to it without the use of an external hardware programmer.
  • 31.
    A C program #include<stdio.h> intmain() { Printf(“Hello, world!”); }
  • 32.
  • 33.
  • 34.
  • 35.
    The Lab Session ●The basic Hello, world! in ESP8266-12/Node MCU ● Creating an AP with Node MCU ● Scan all WiFi networks along with signal strength ● Reading an analog sensor data ● Sending sensor data to cloud ● Remote toggle an LED ● Toggle LED with sensor data and log to cloud
  • 36.
    Setting up theenvironment ● Install Arduino IDE ● Go to File > Preferences ● Add the link to Additional Board Managers URLs : http://arduino.esp8266.com/stable/package_esp8266com_index.json ● Go to Tools > Boards > Board Manager, and search for ESP8266 by ESP8266 Community and install it ● Again go to Tools > Boards > Select Node MCU 1.0 from the list of boards available.
  • 37.
    Setting up thecloud ● Create a Heroku account ● Install git ● Create a Heroku app ● Add MongoDb resource to the app ● Clone/fork the server code: github.com/opencubelabs/iot_sample_server ● Link git repo to Heroku app
  • 38.