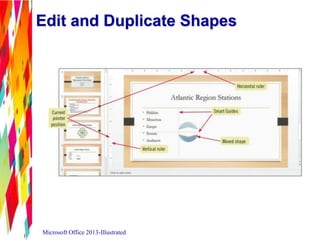
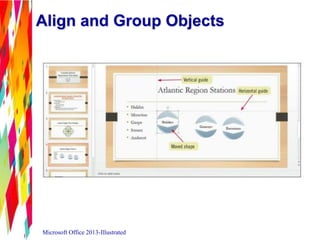
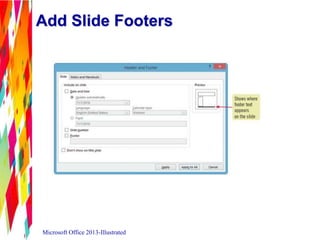
This document discusses how to modify a PowerPoint presentation. It covers entering text in Outline view, formatting text, converting text to SmartArt, inserting and modifying shapes, rearranging and merging shapes, editing and duplicating shapes, aligning and grouping objects, and adding slide footers. The overall goal is to teach the user how to effectively lay out and design their presentation.

![Enter Text in Outline View
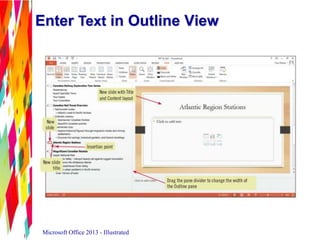
• When you create a new slide in the
Outline tab, a new slide appears
• A blinking insertion point indicates you can
enter slide title
• Press [Enter], then [Tab] to start a new bullet
Microsoft Office 2013 - Illustrated](https://image.slidesharecdn.com/powerpoint2013unitb-130916172941-phpapp02/85/PowerPoint-Unit-B-6-320.jpg)