Download to read offline
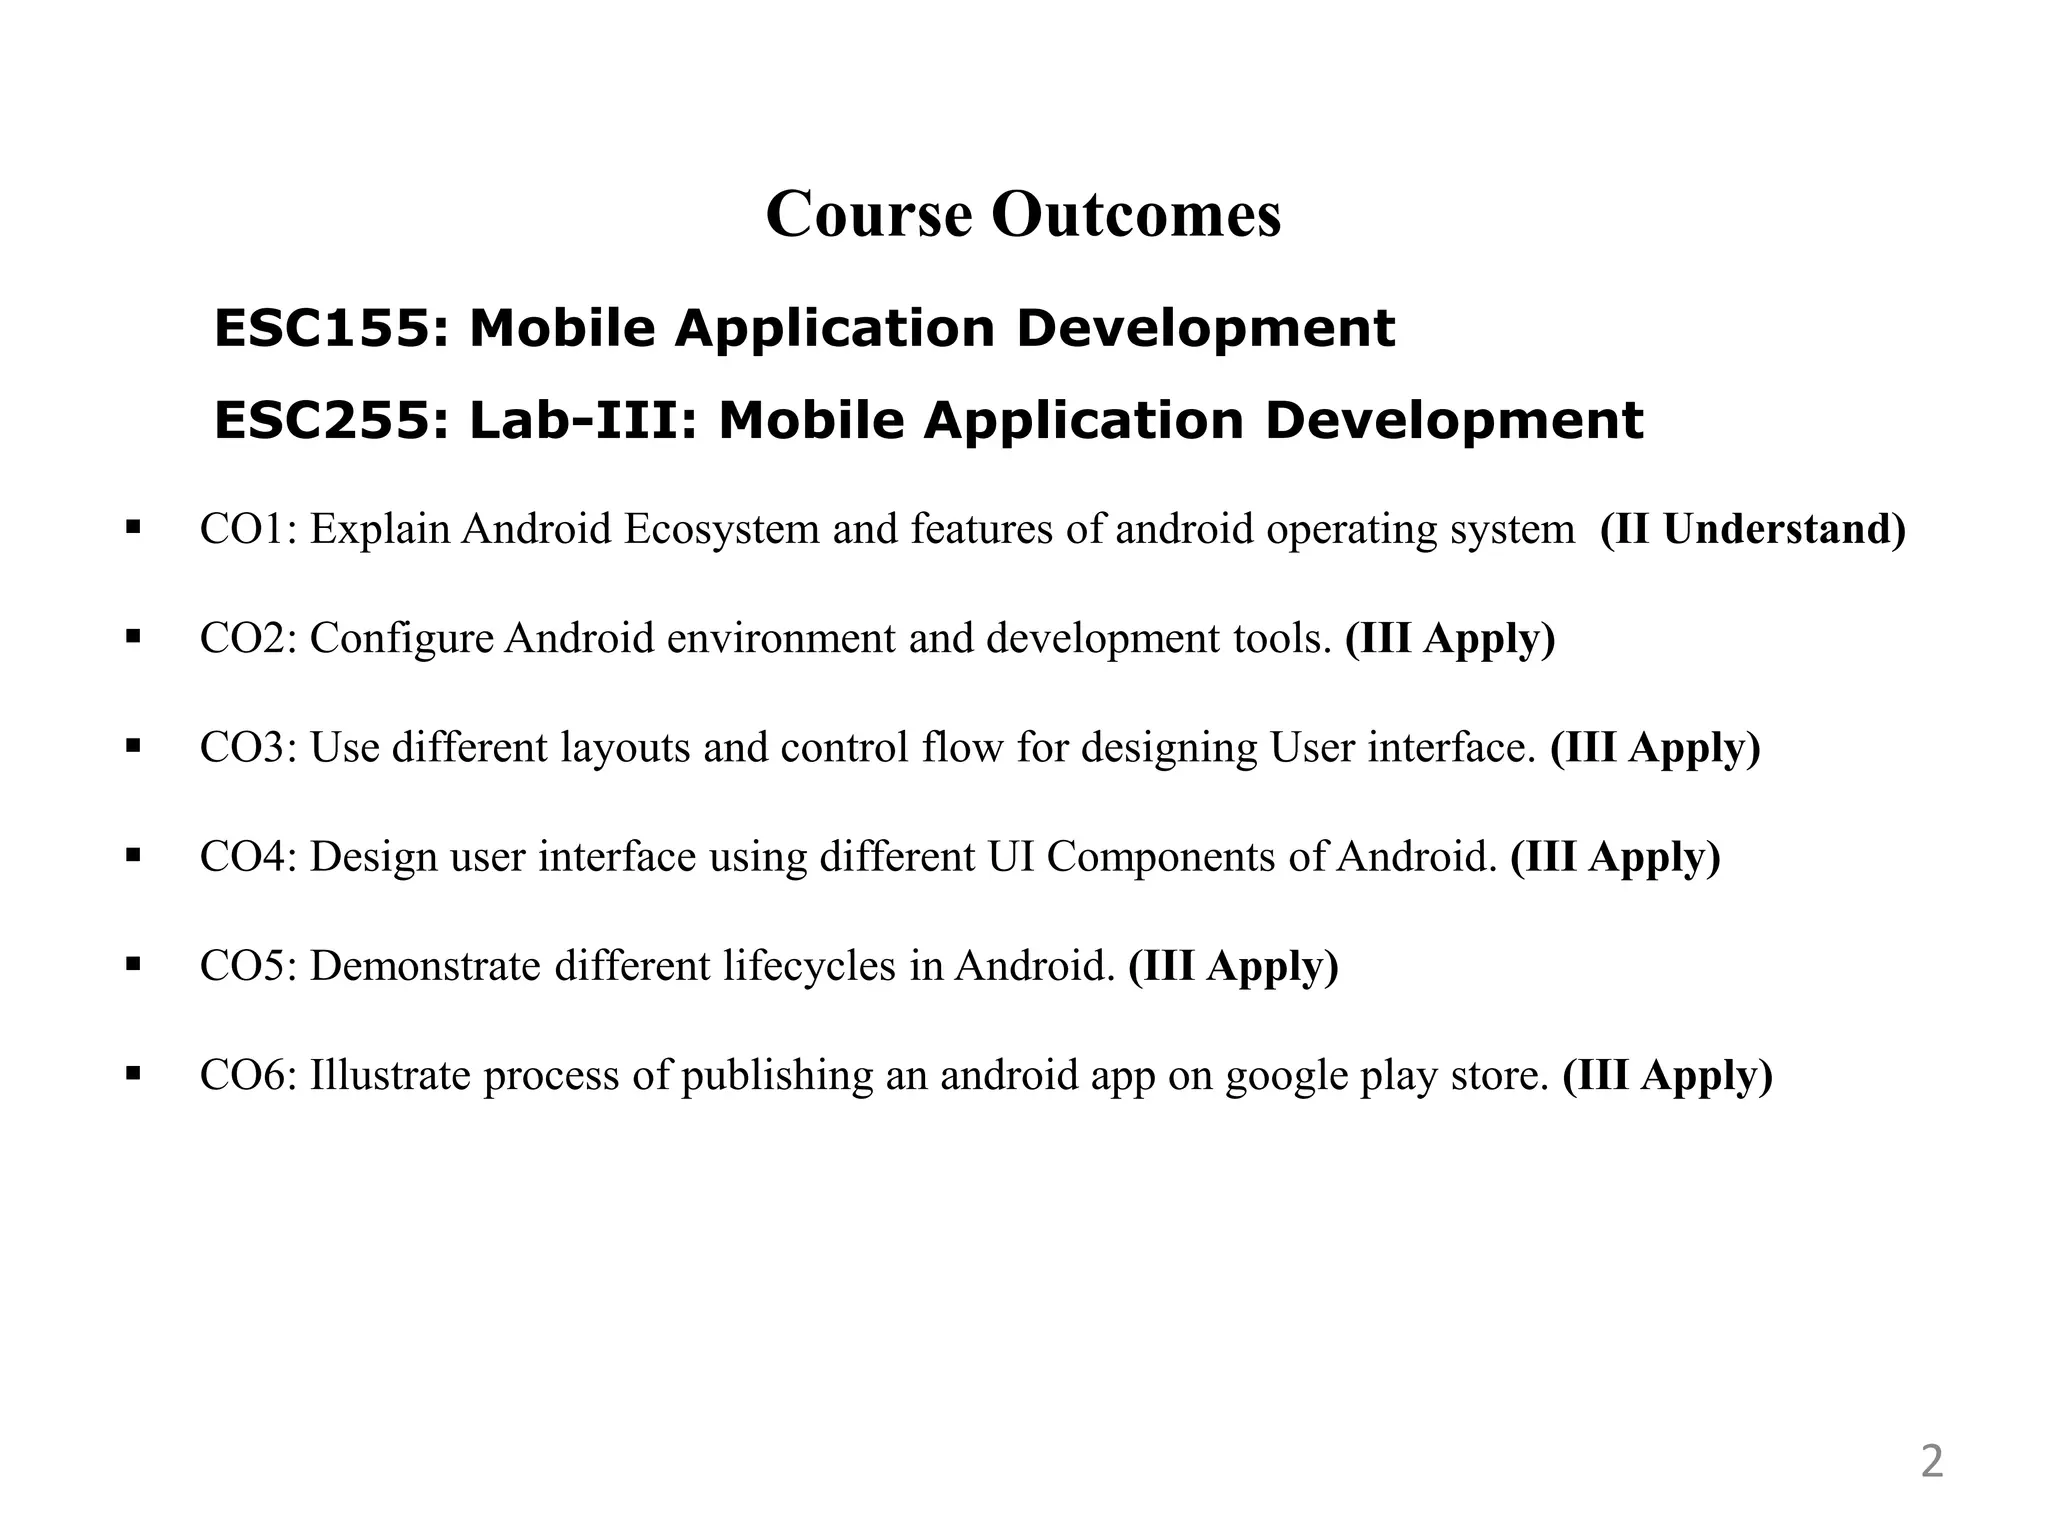
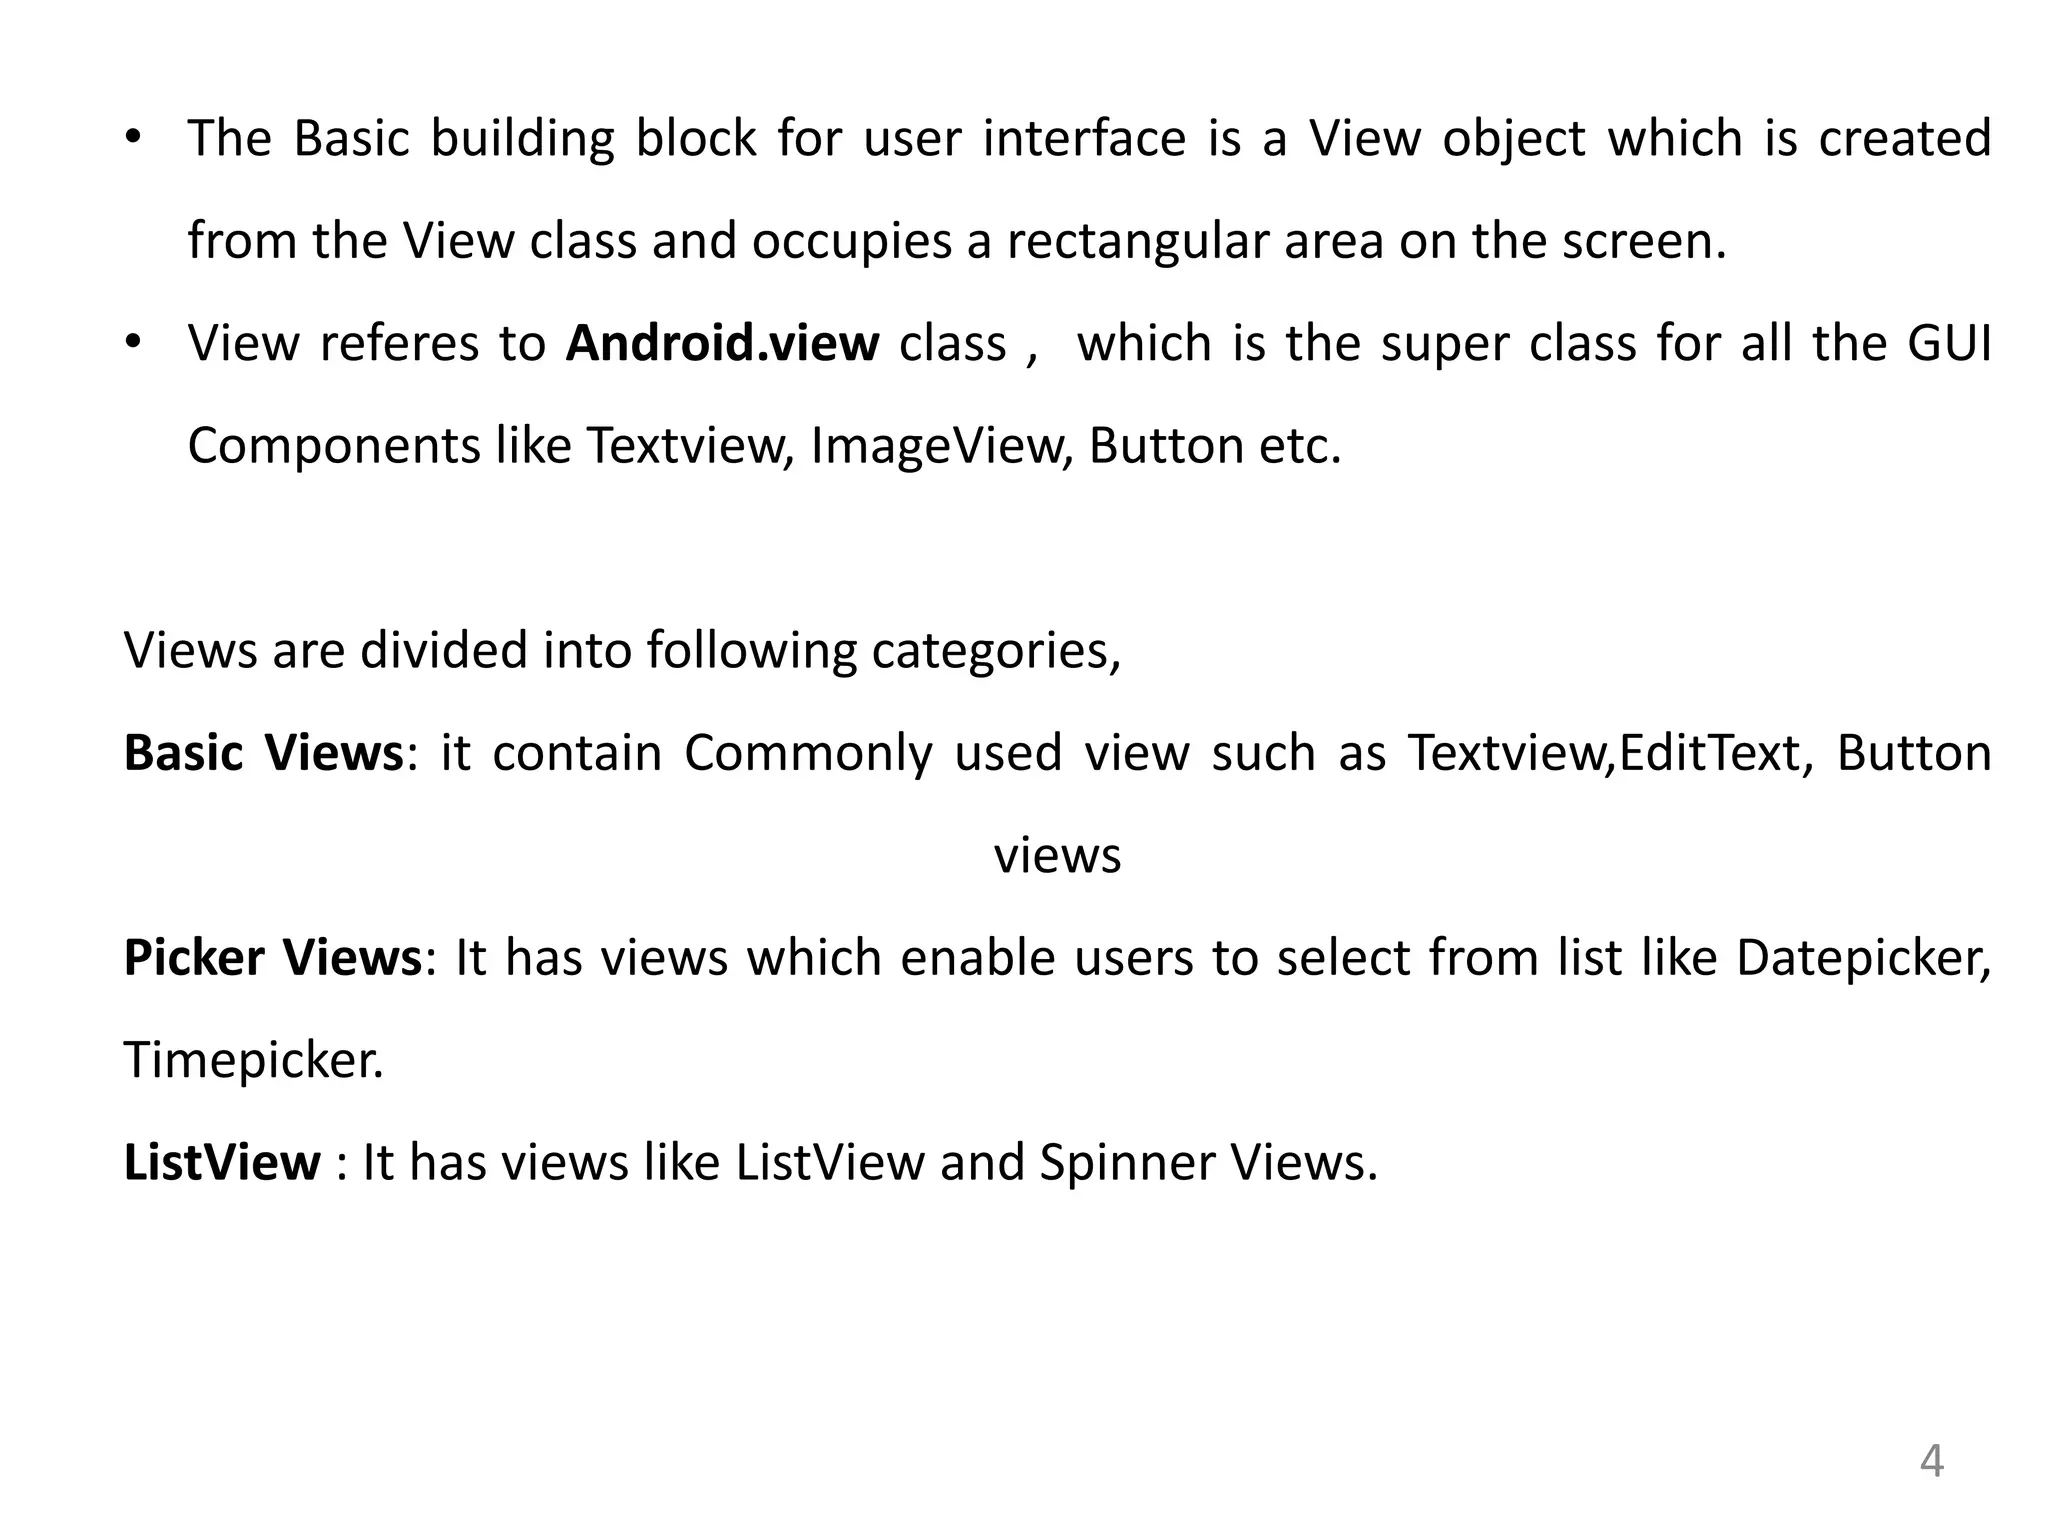
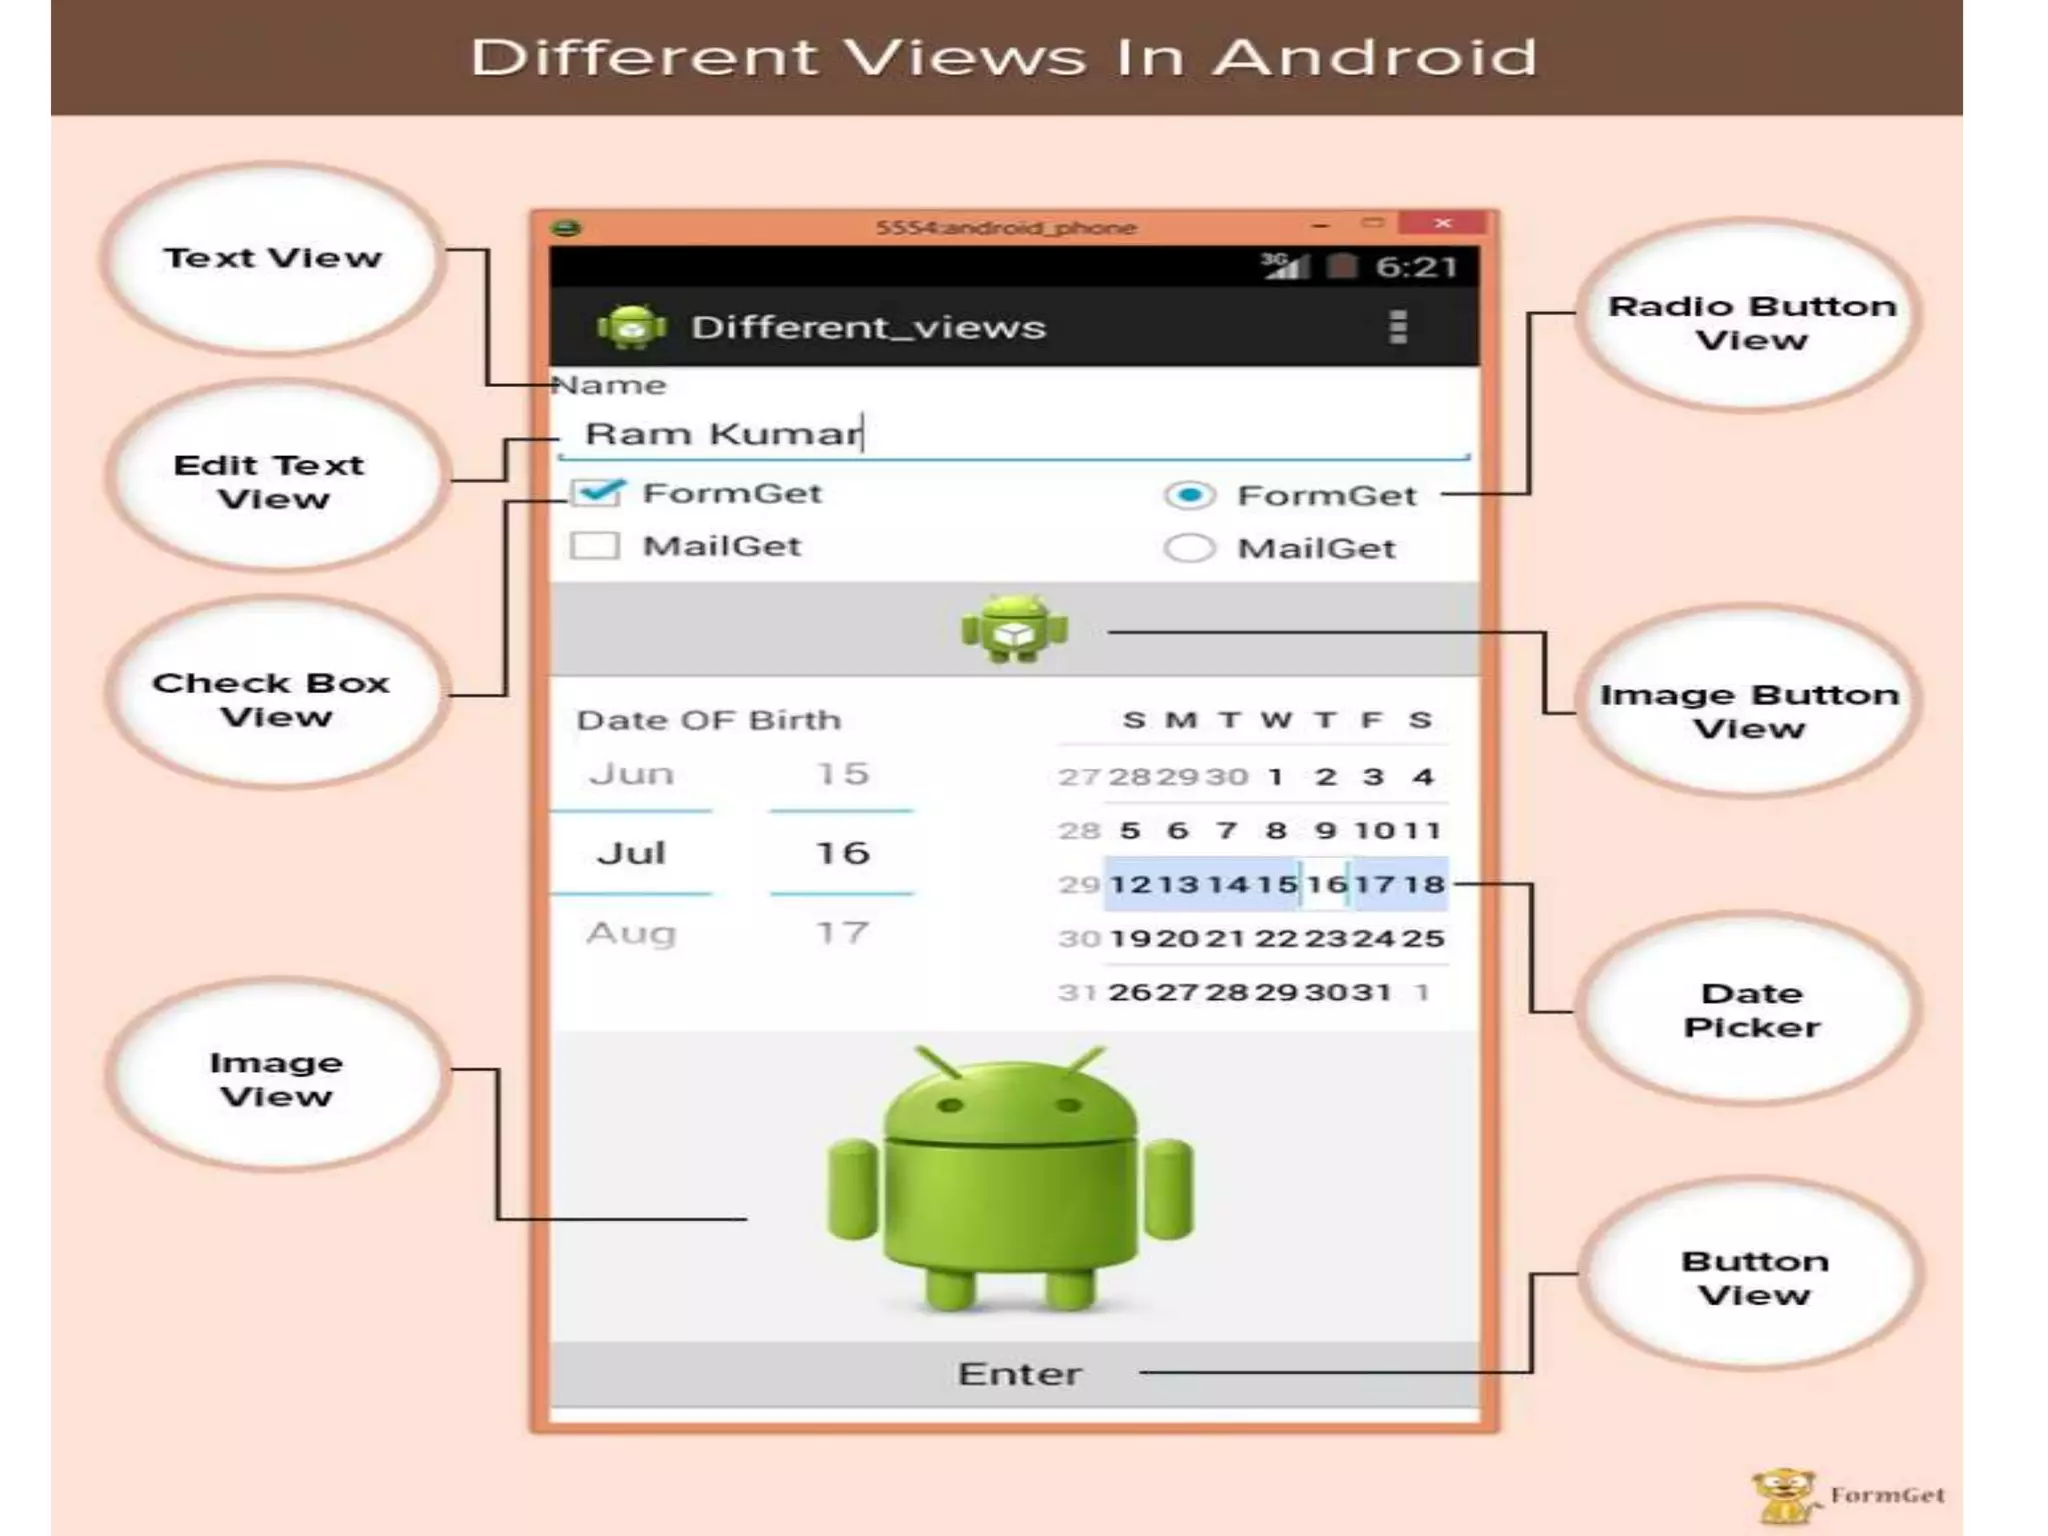
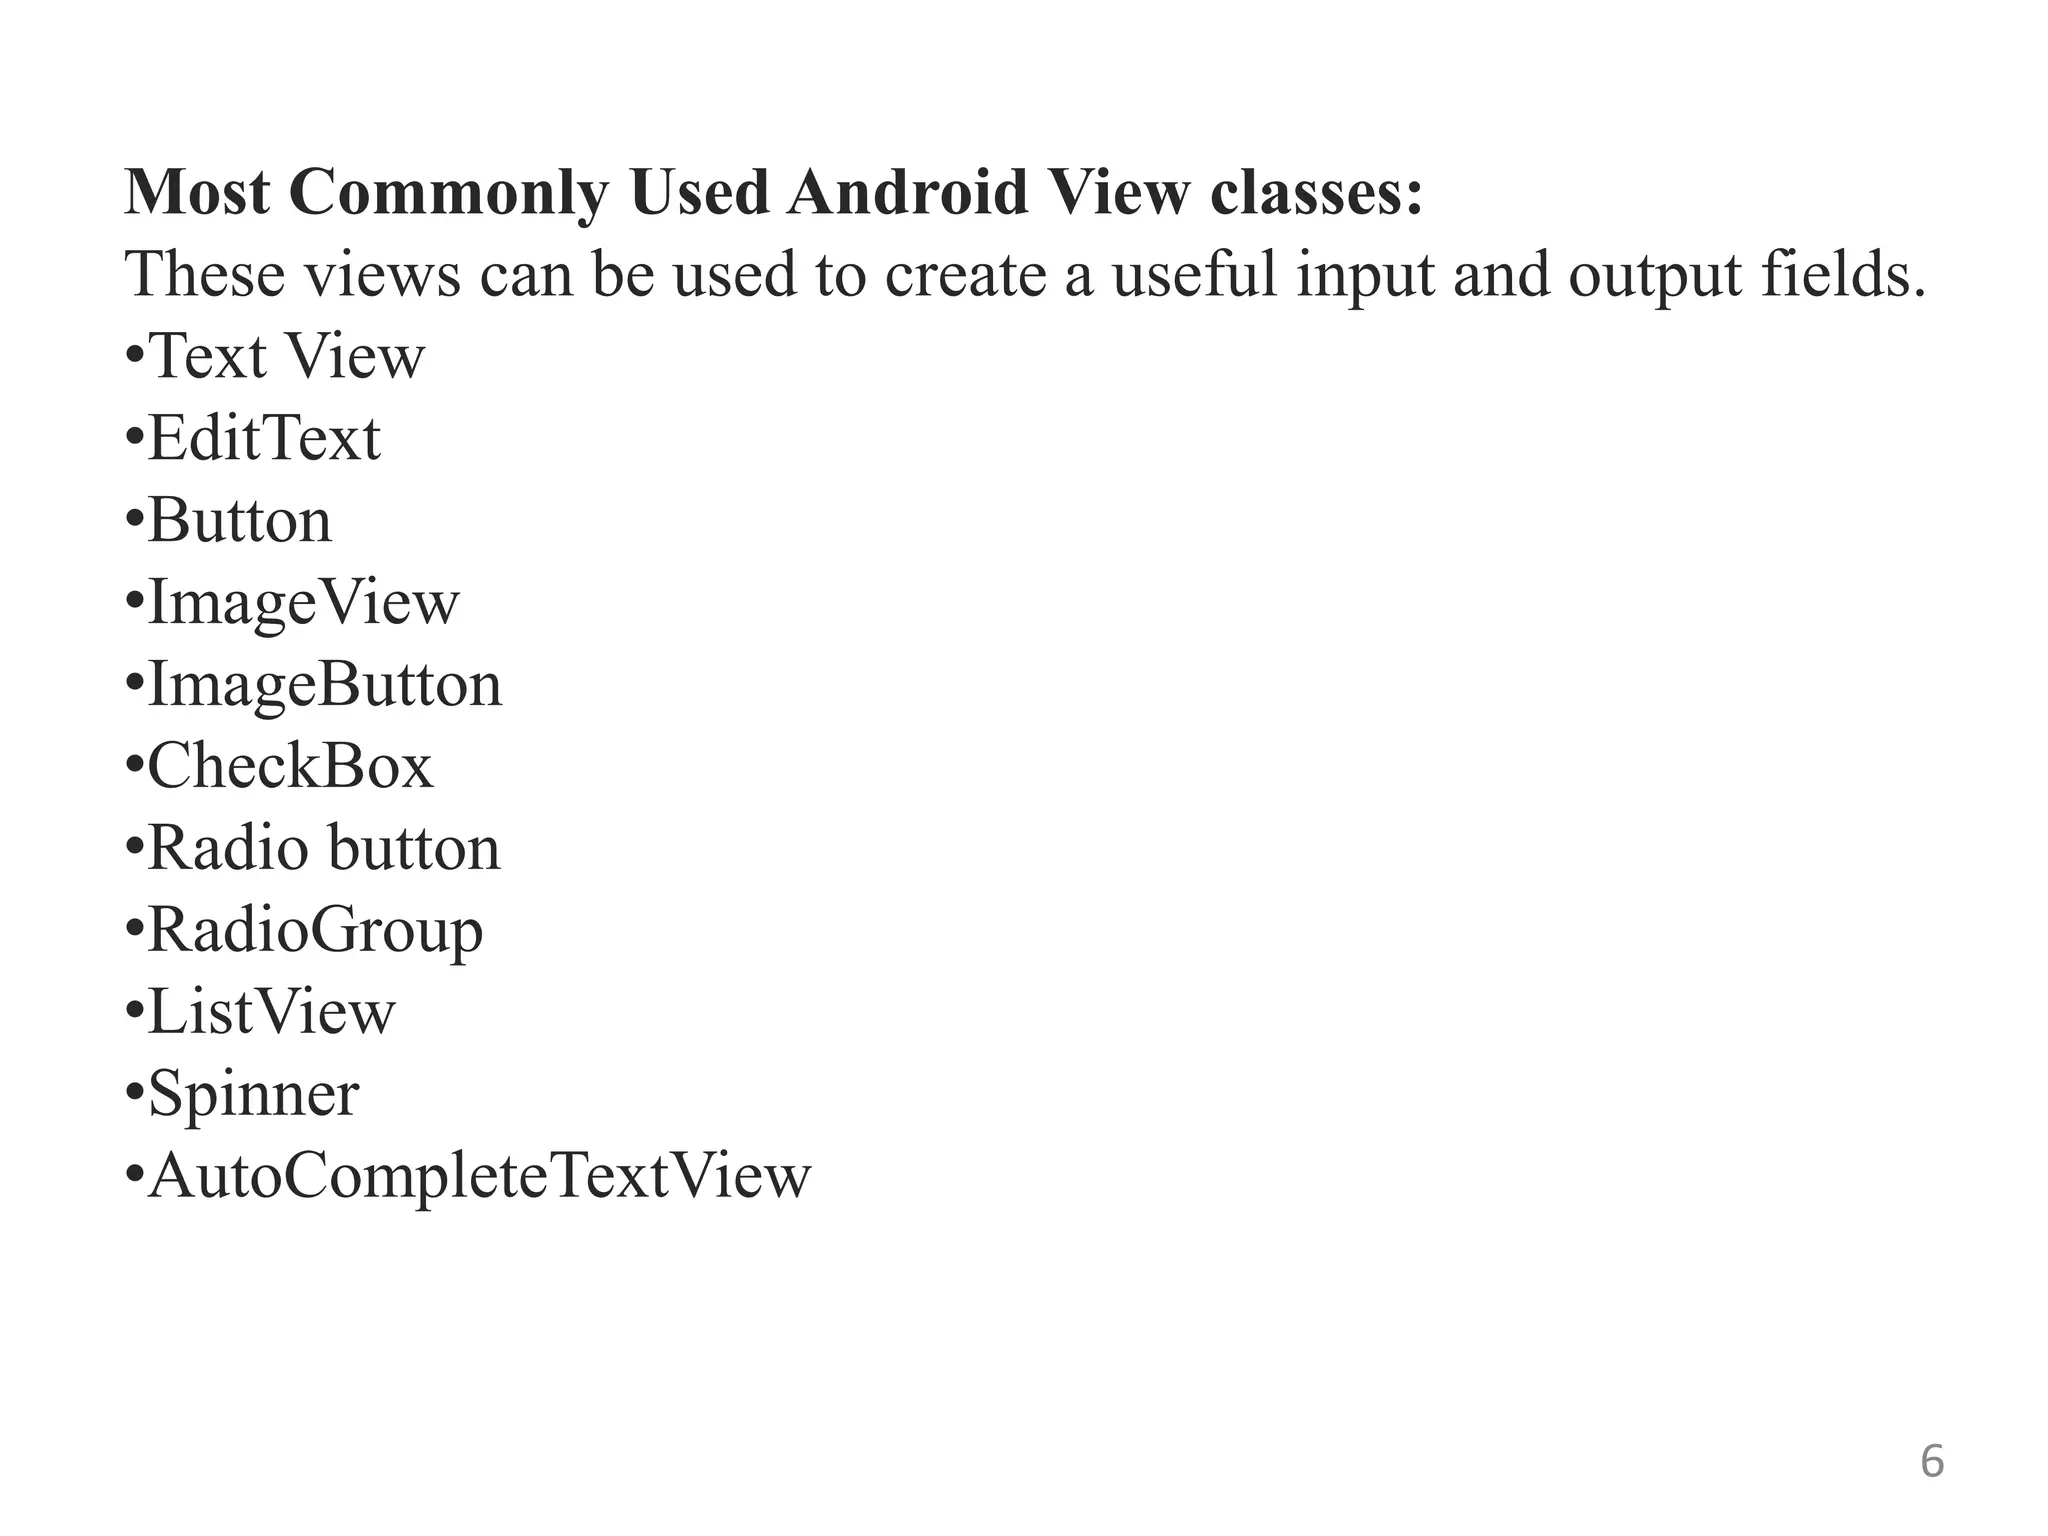
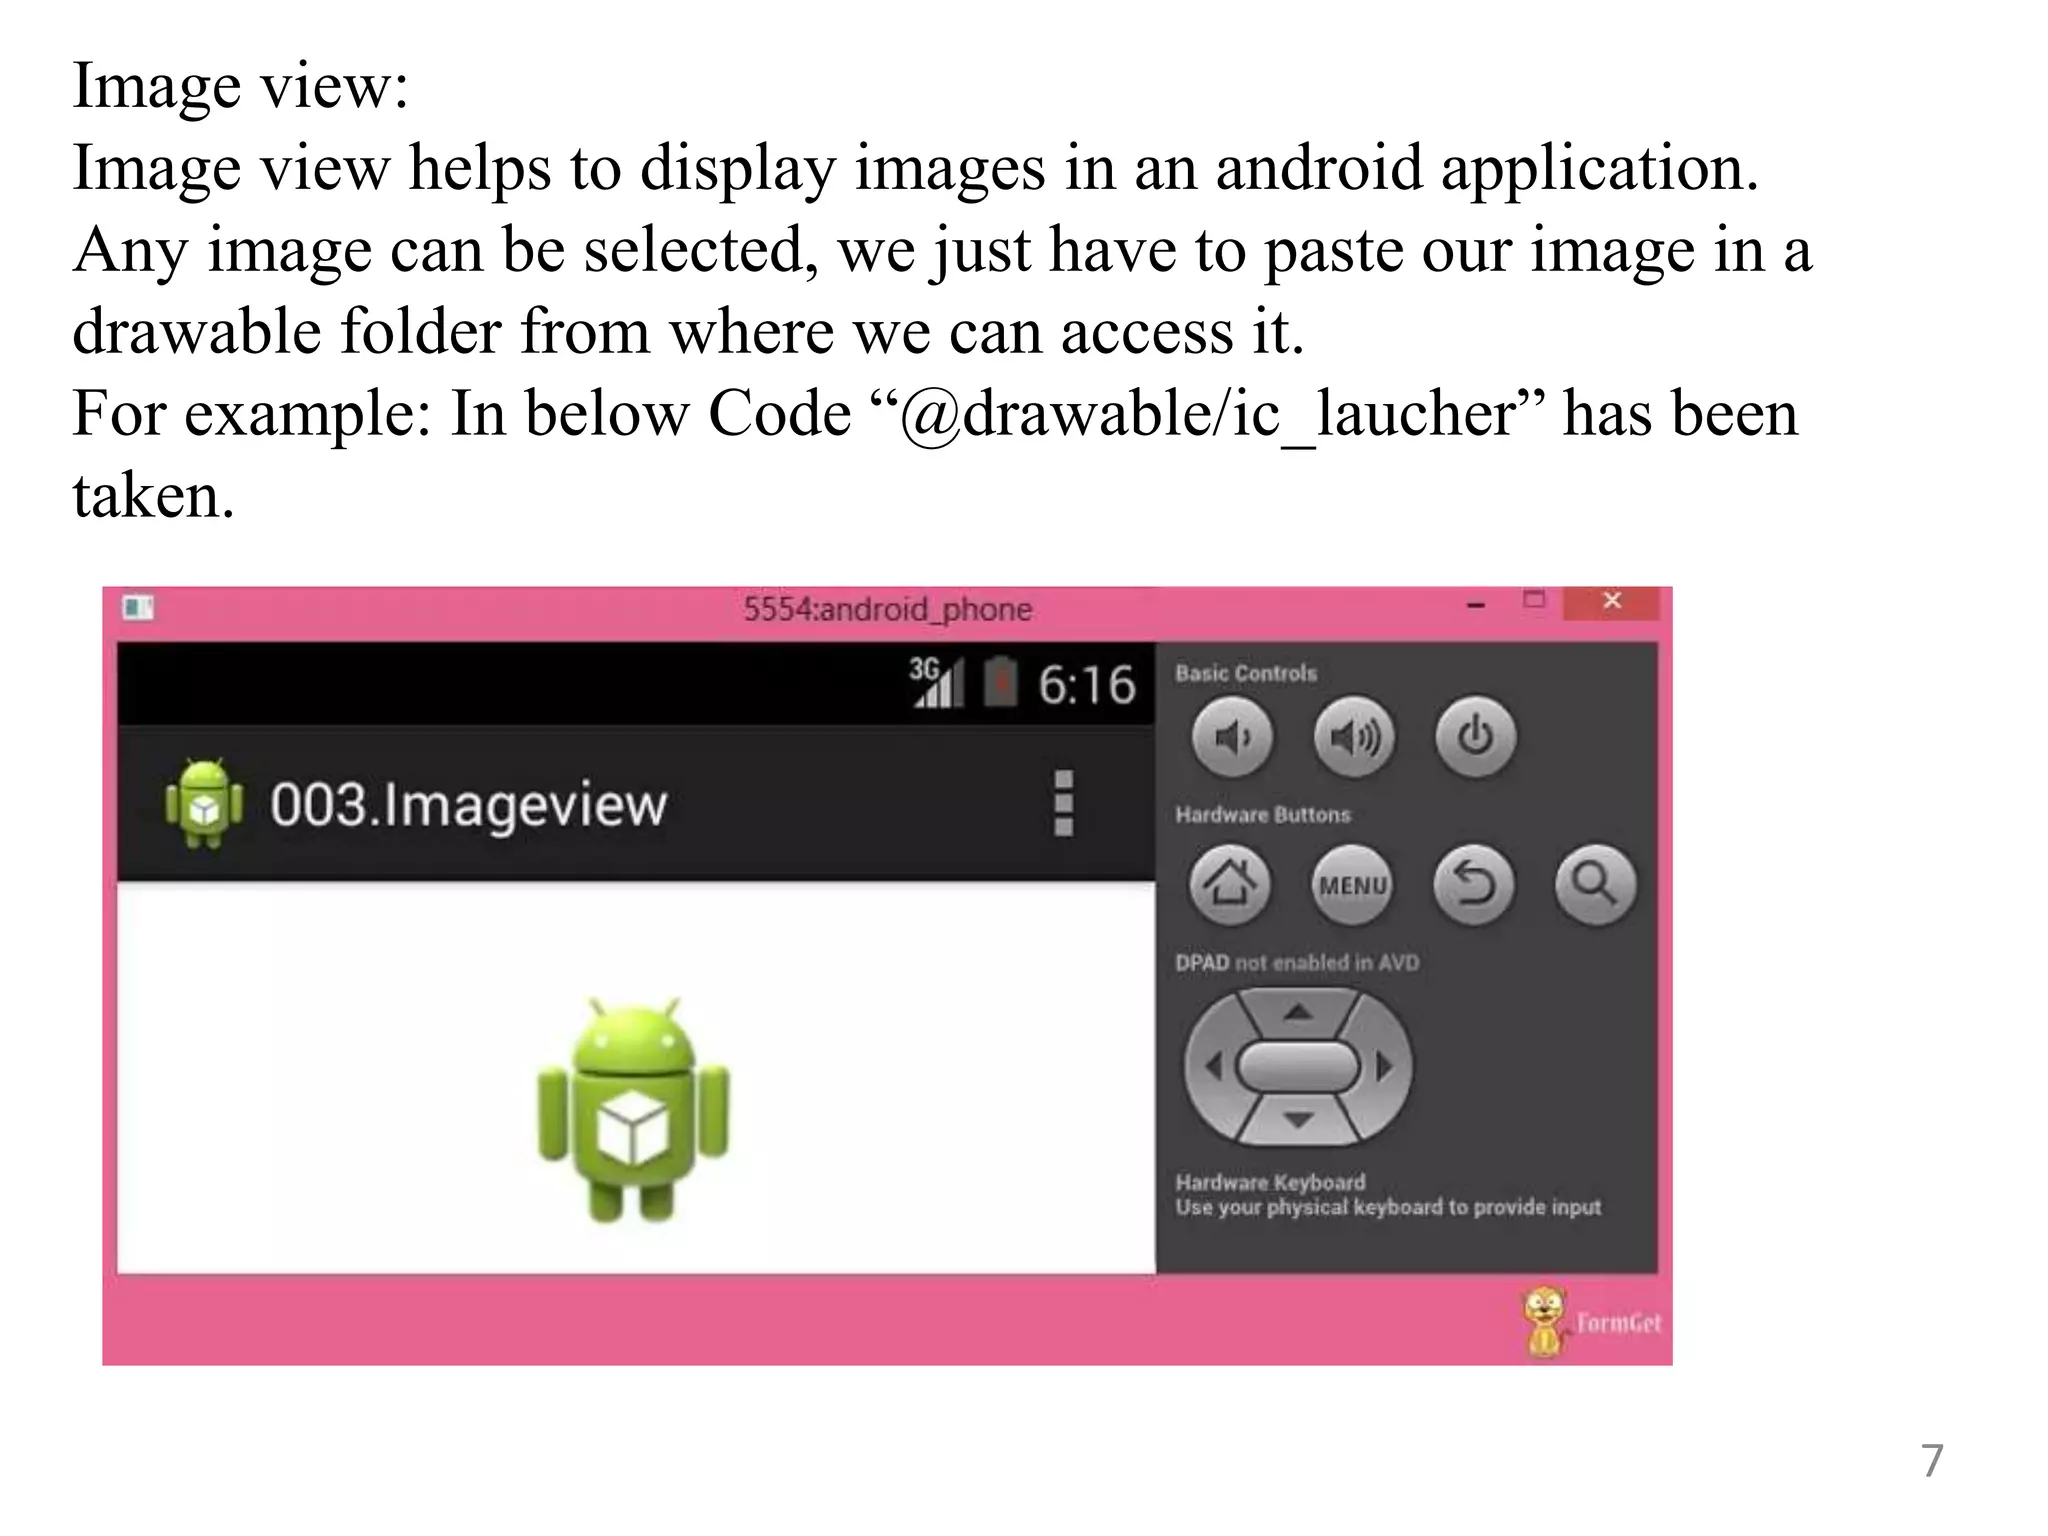
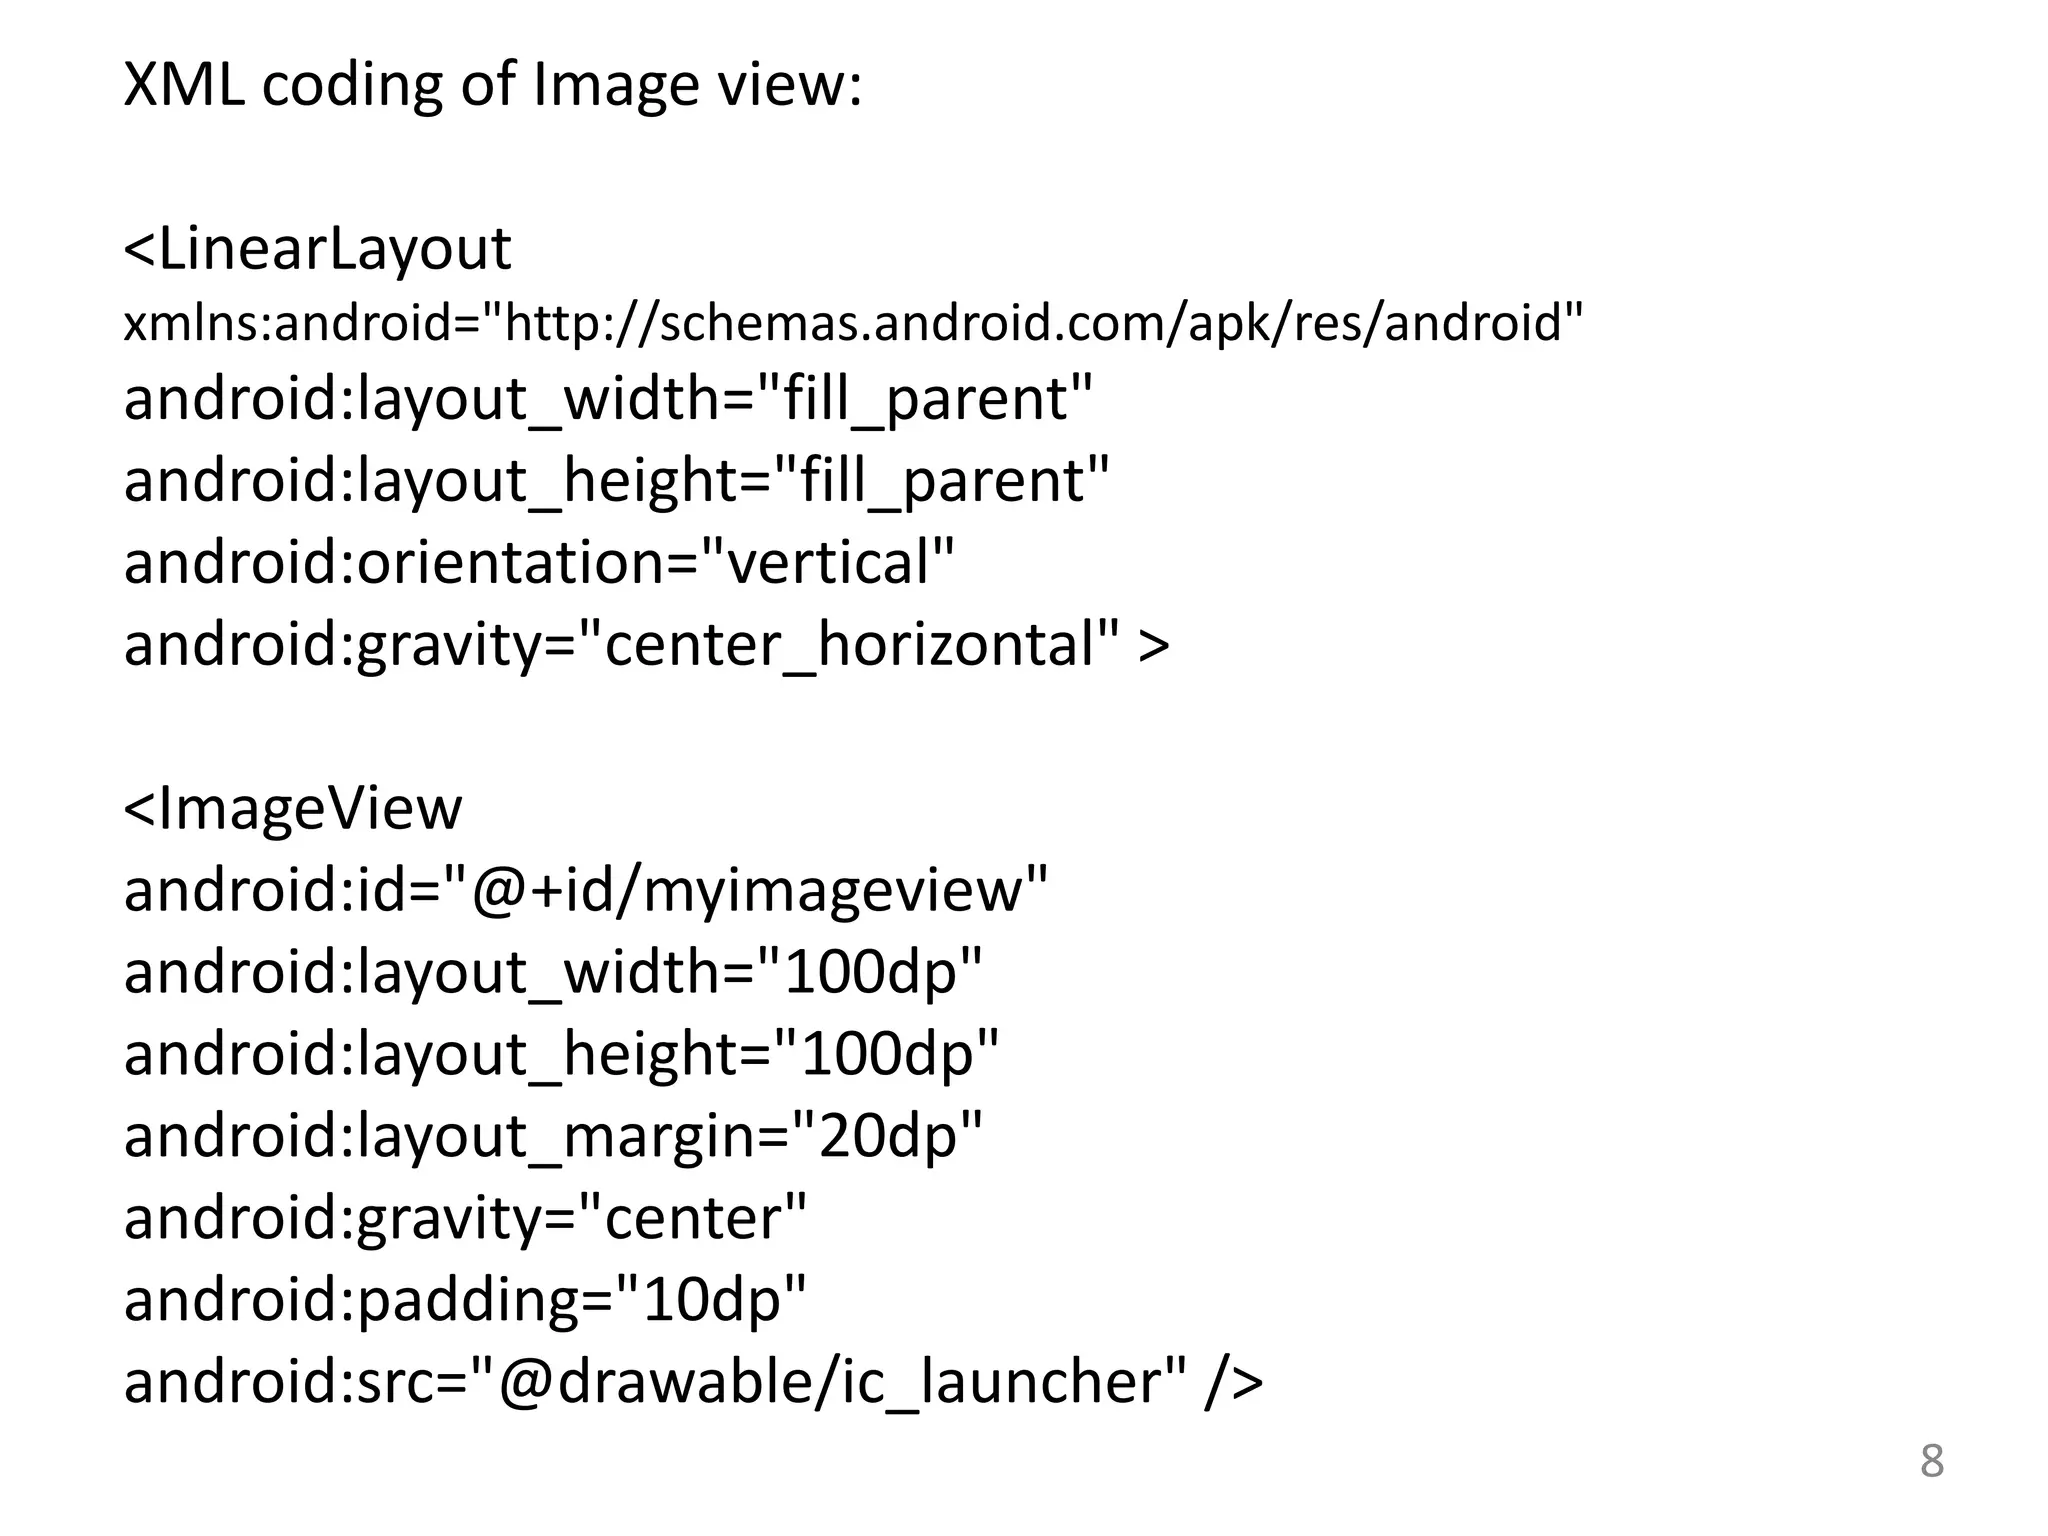
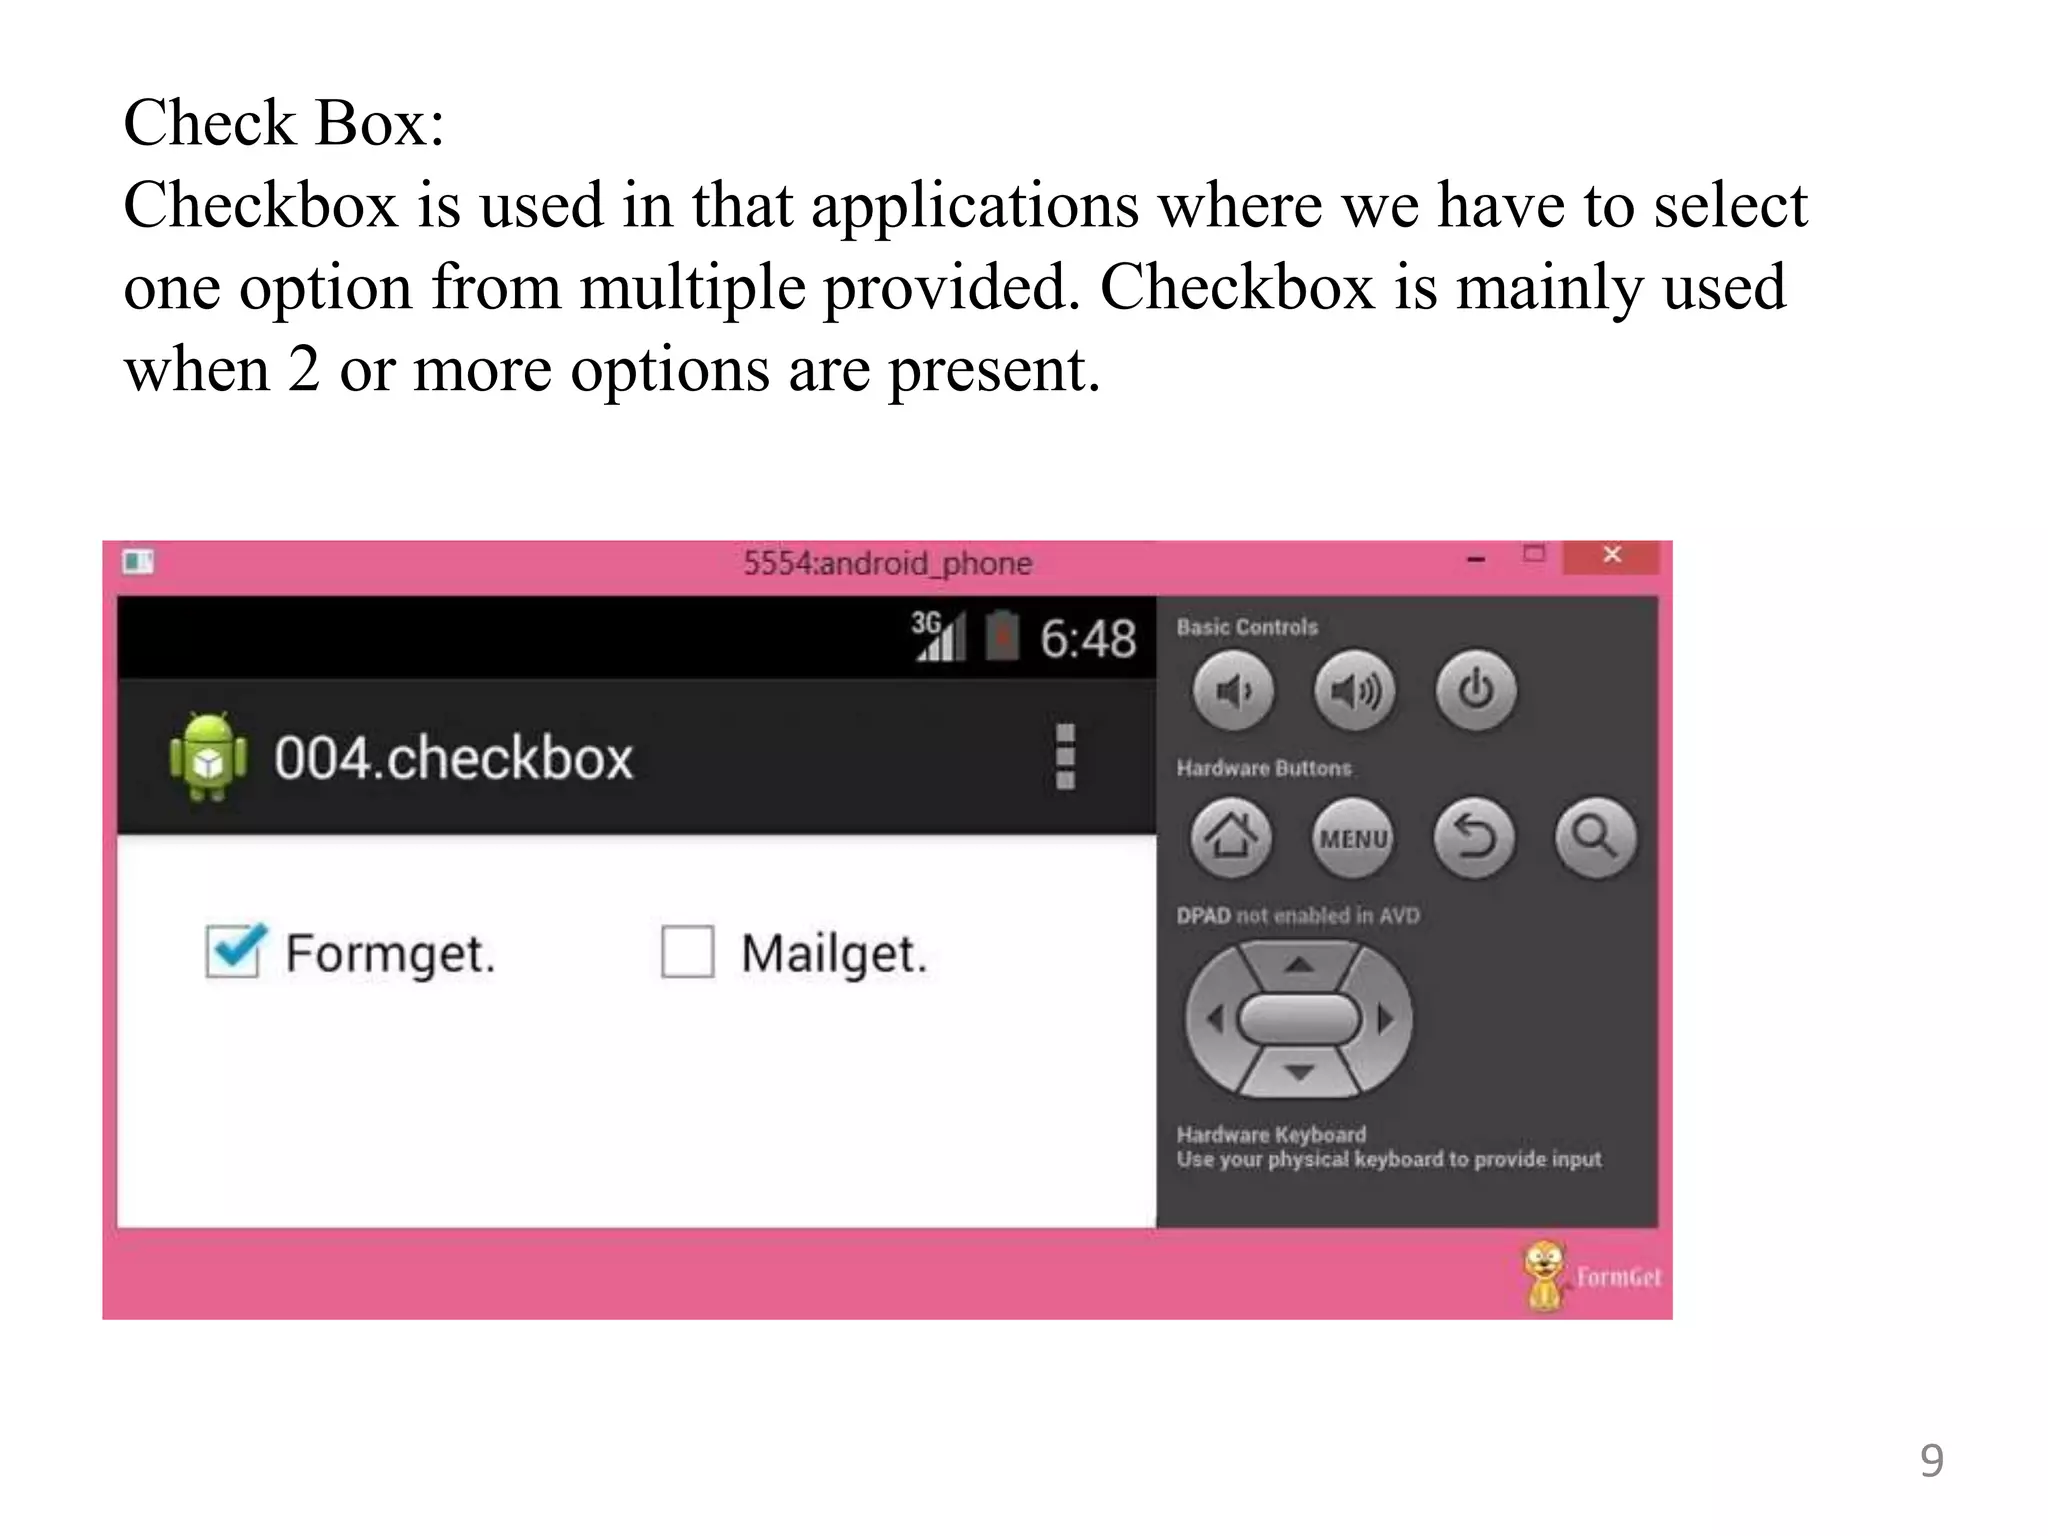
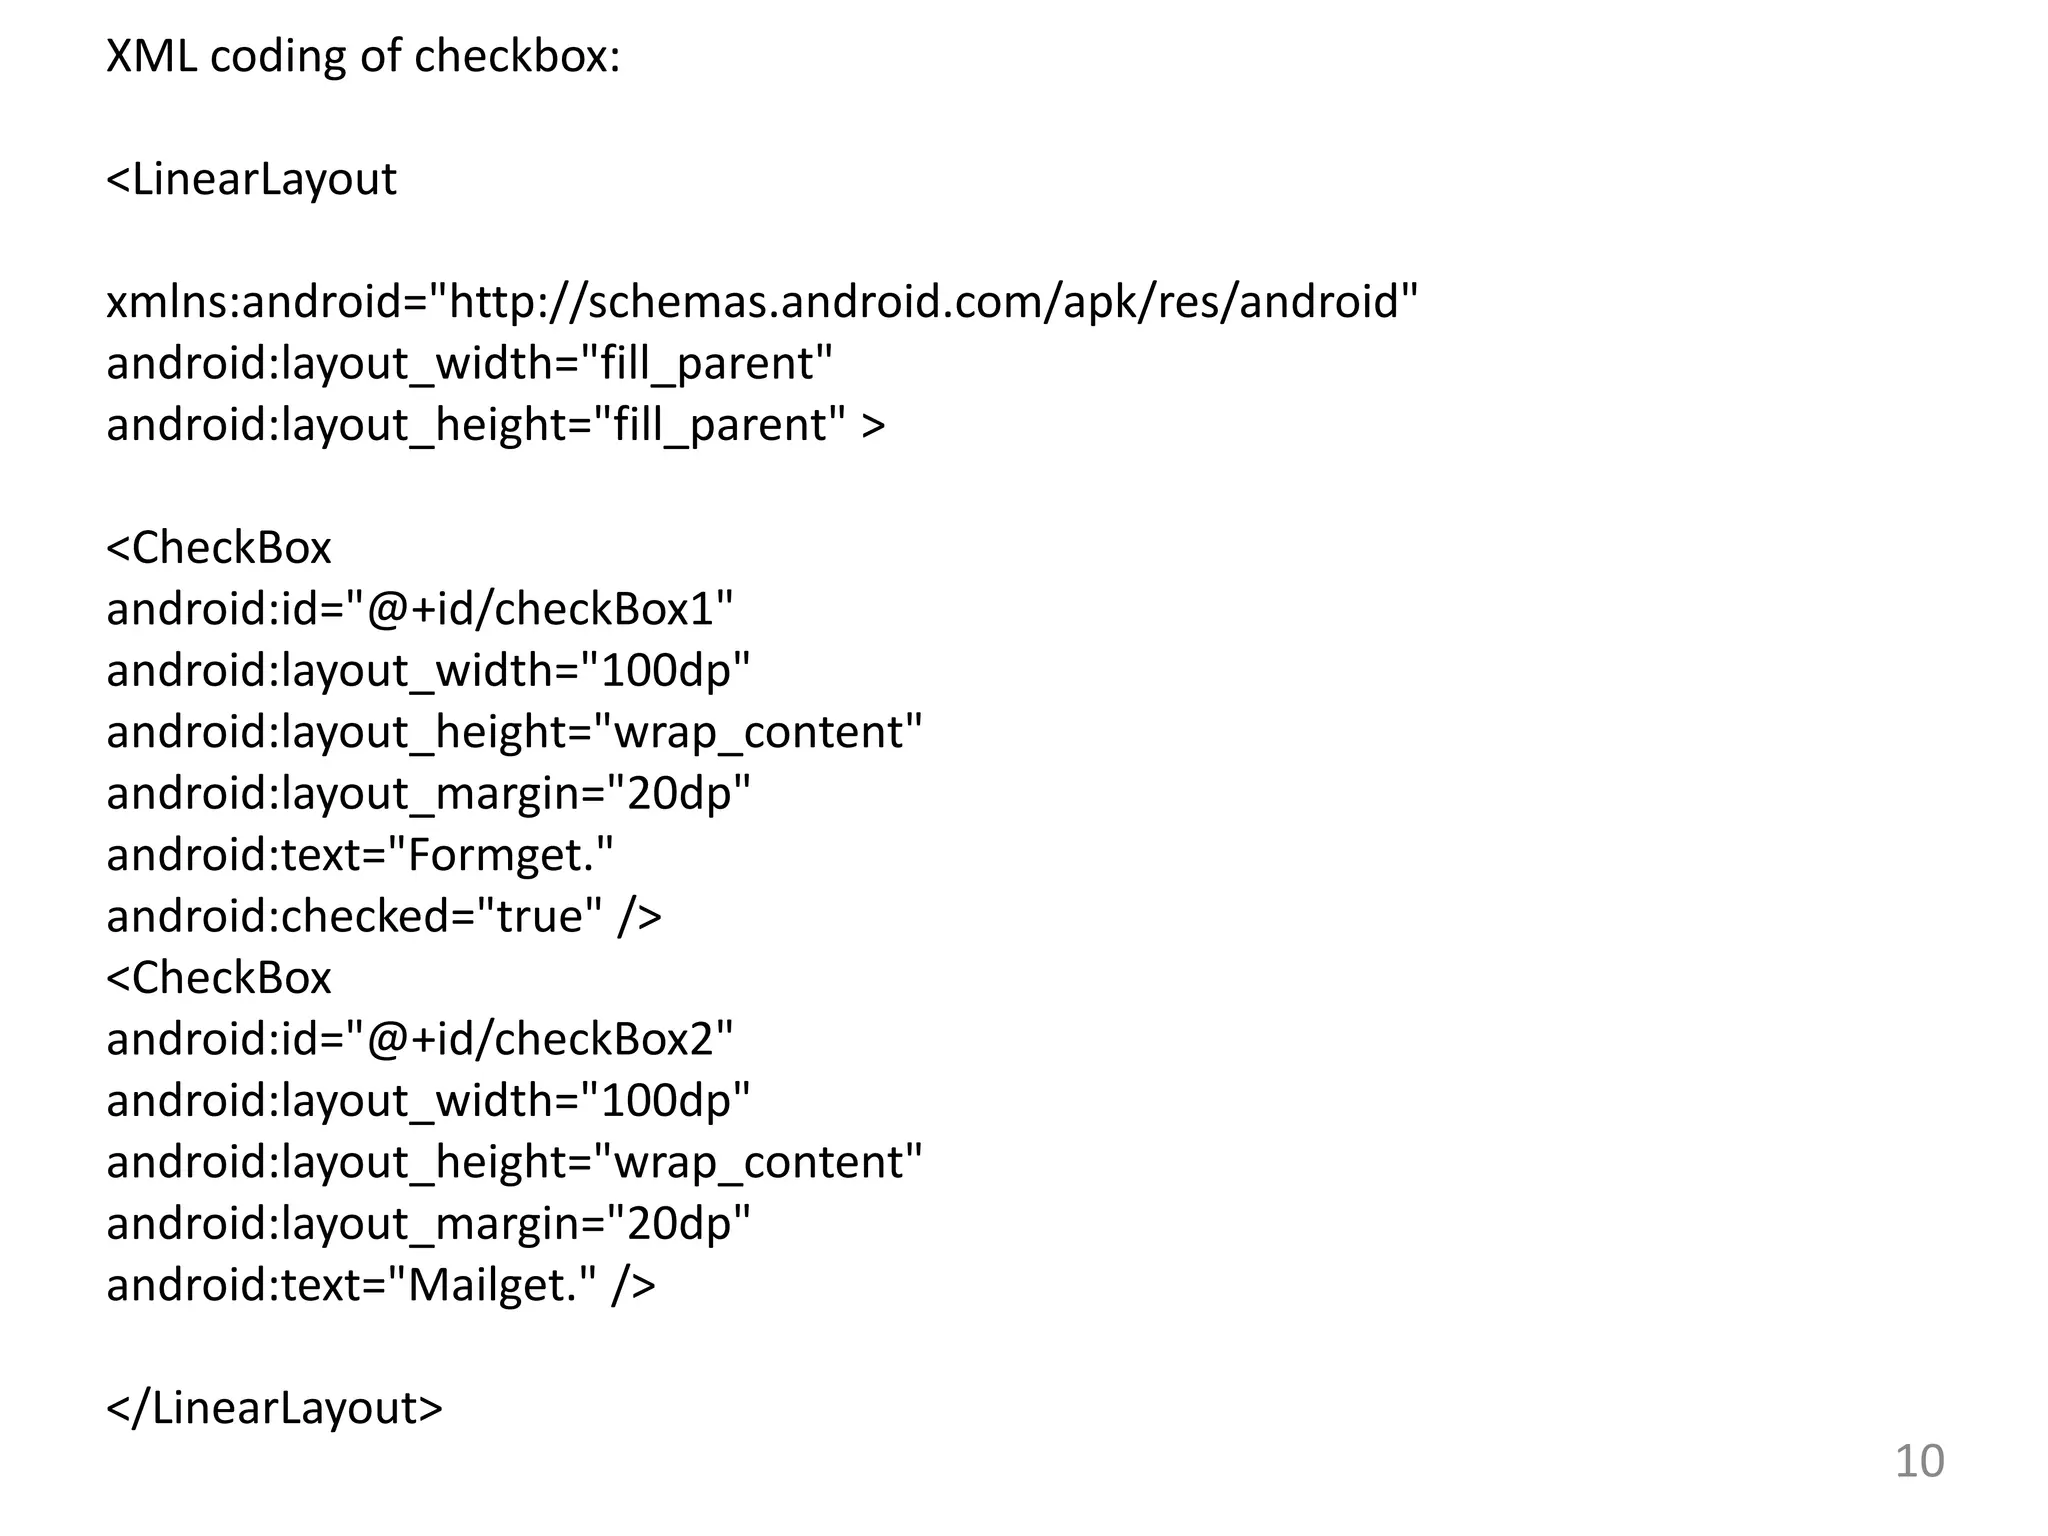
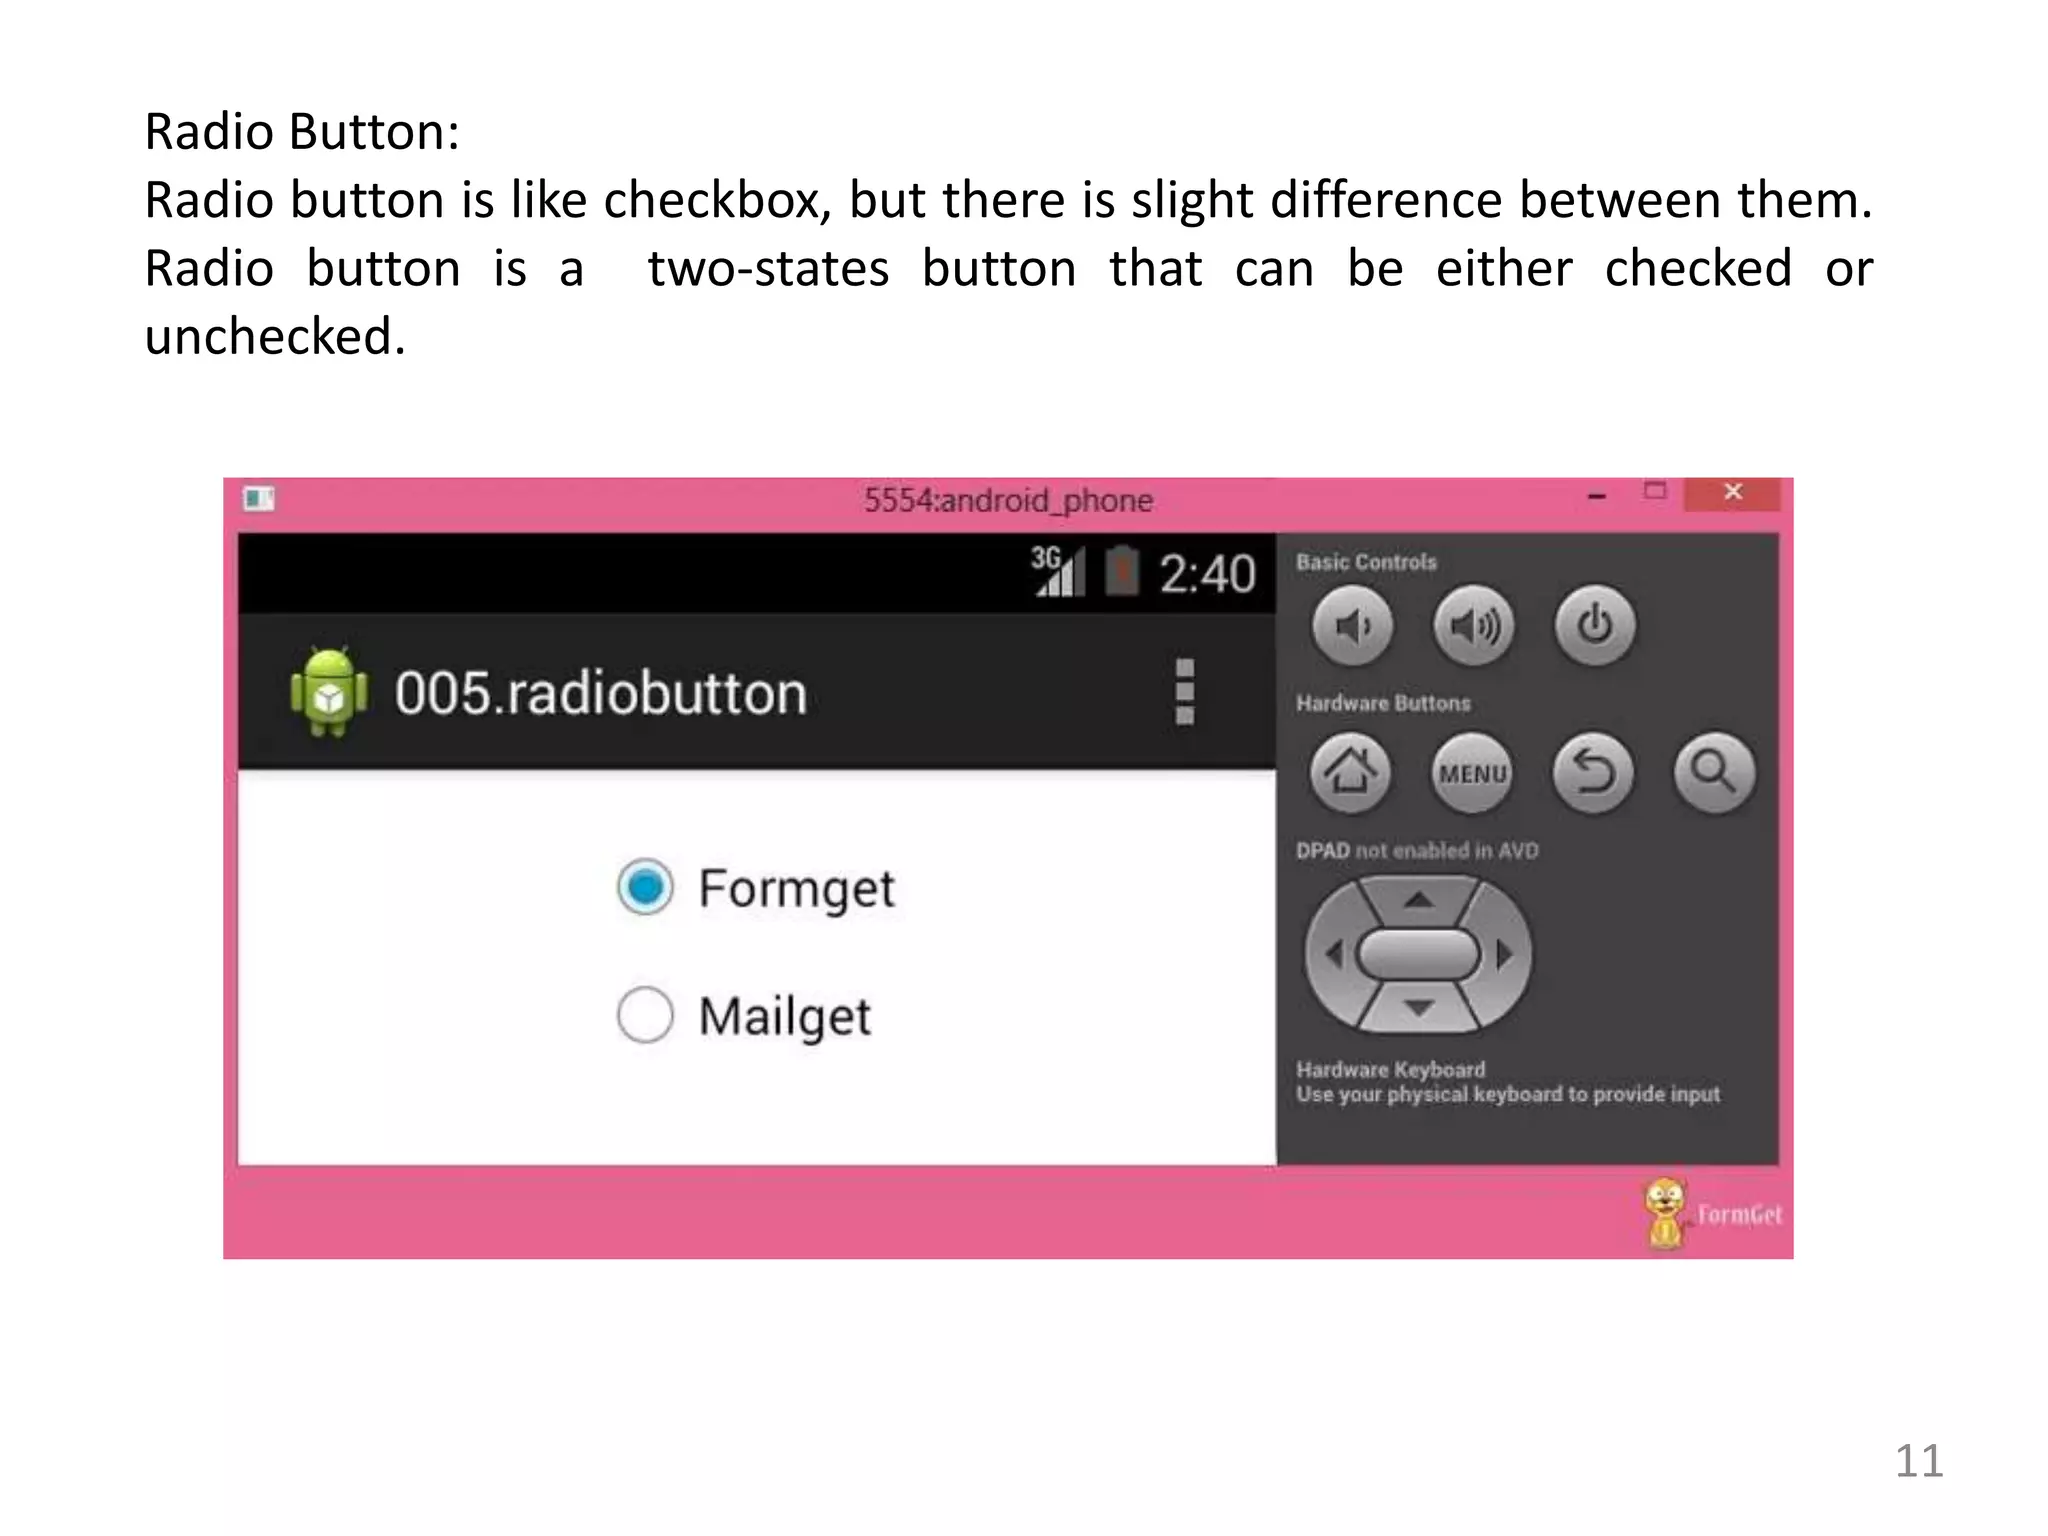
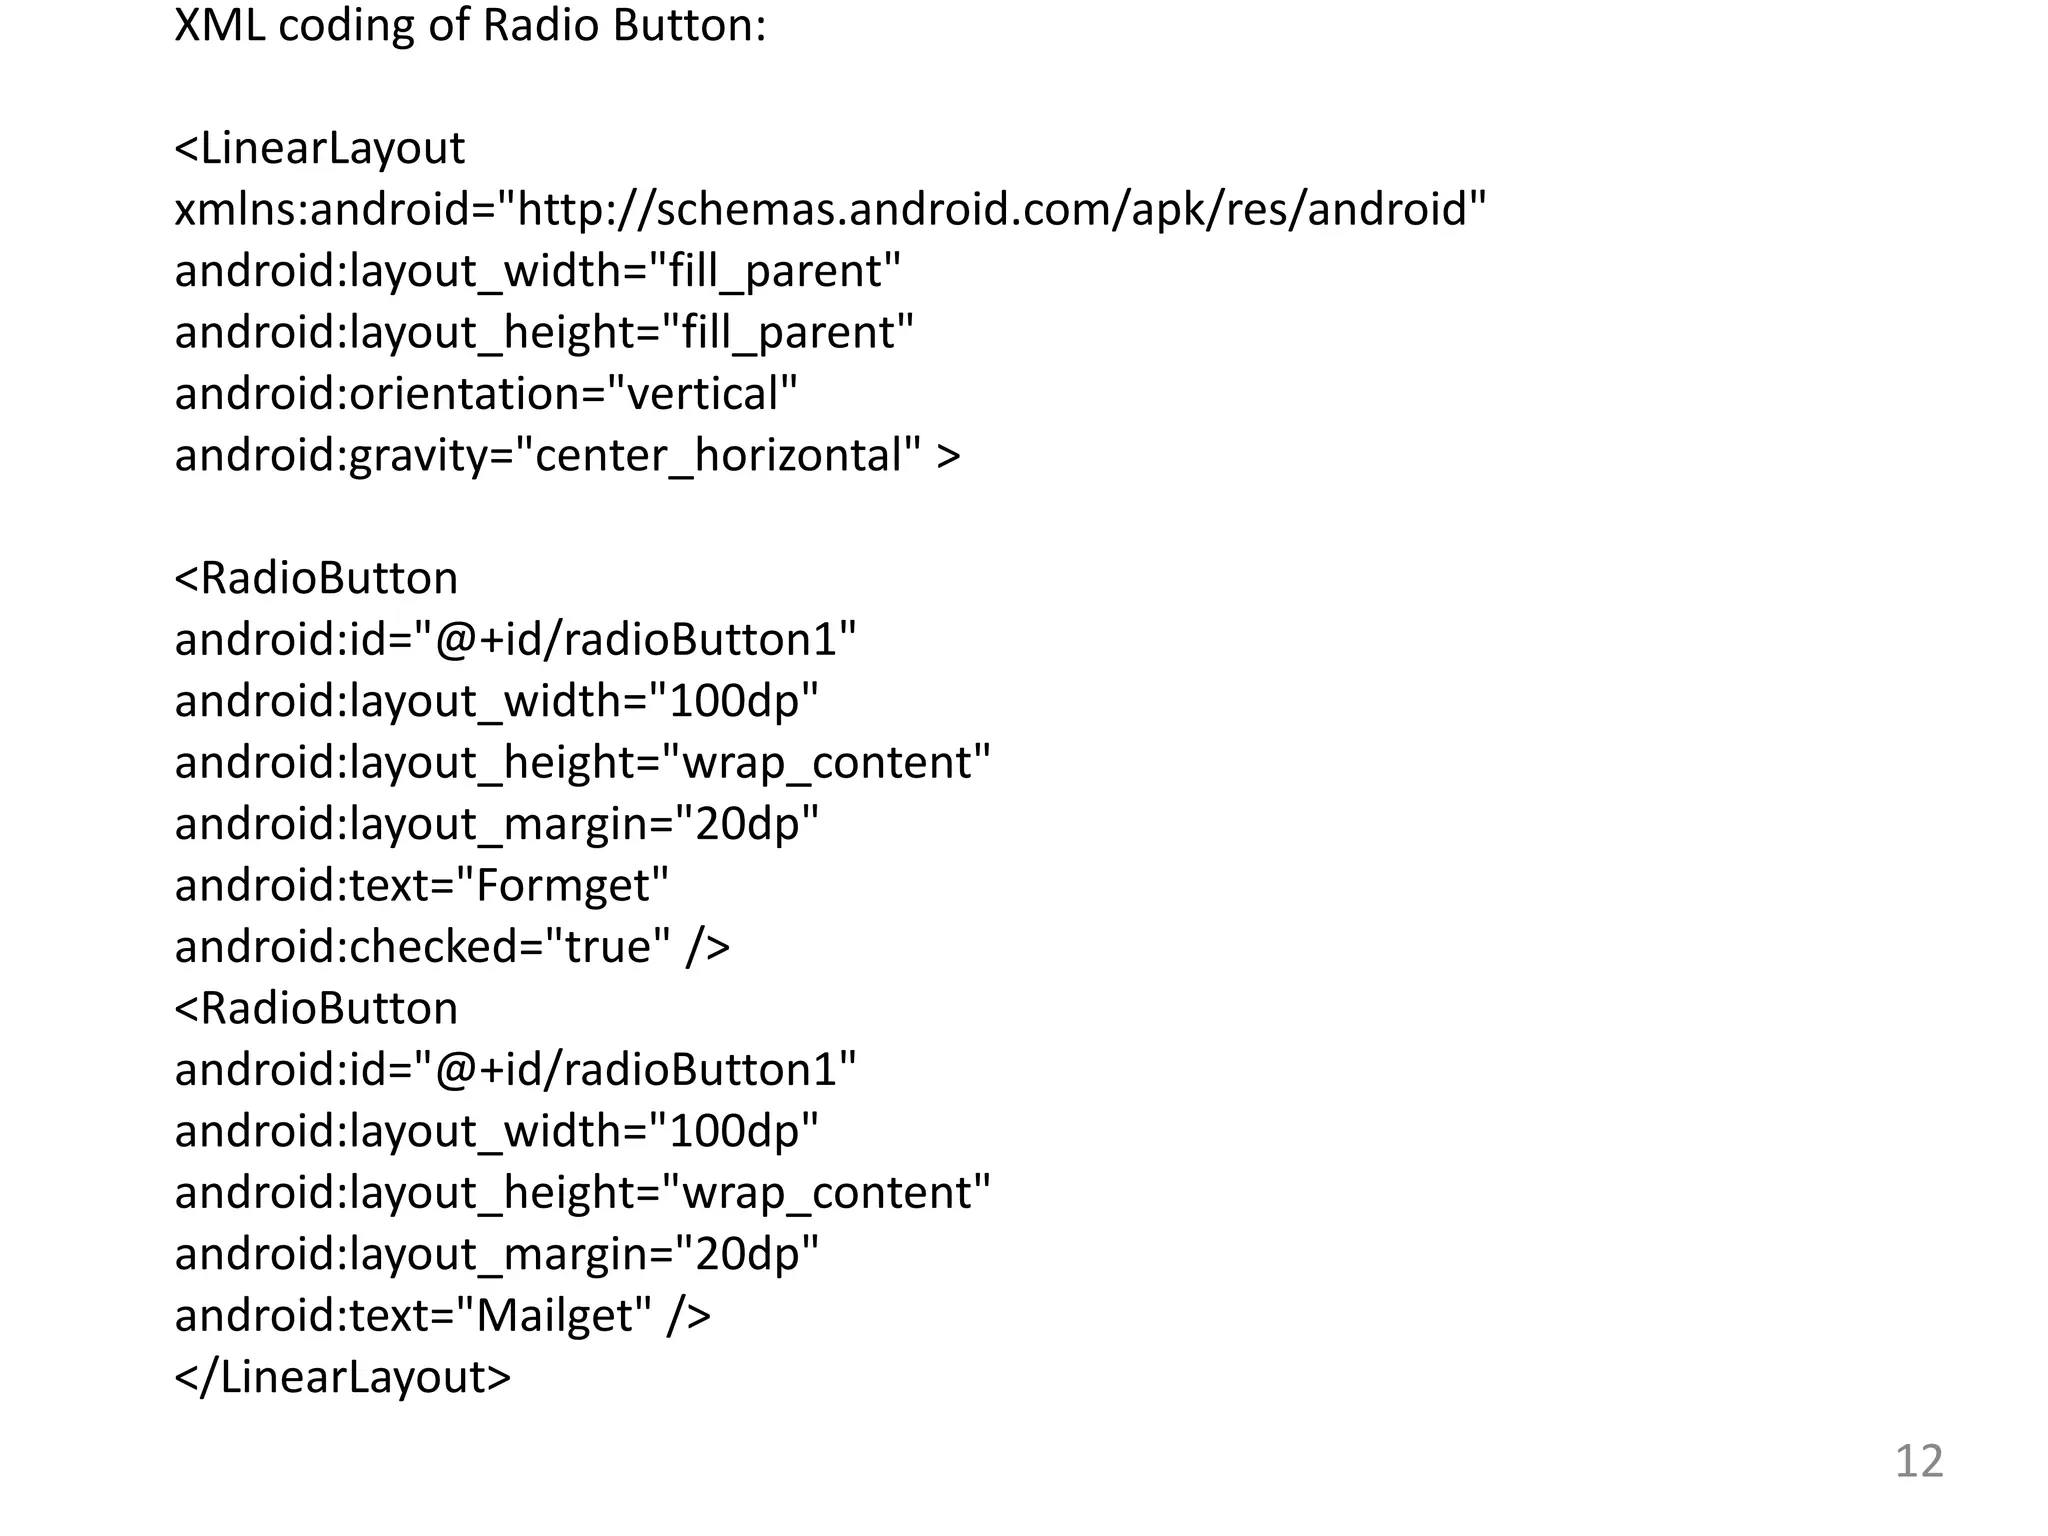
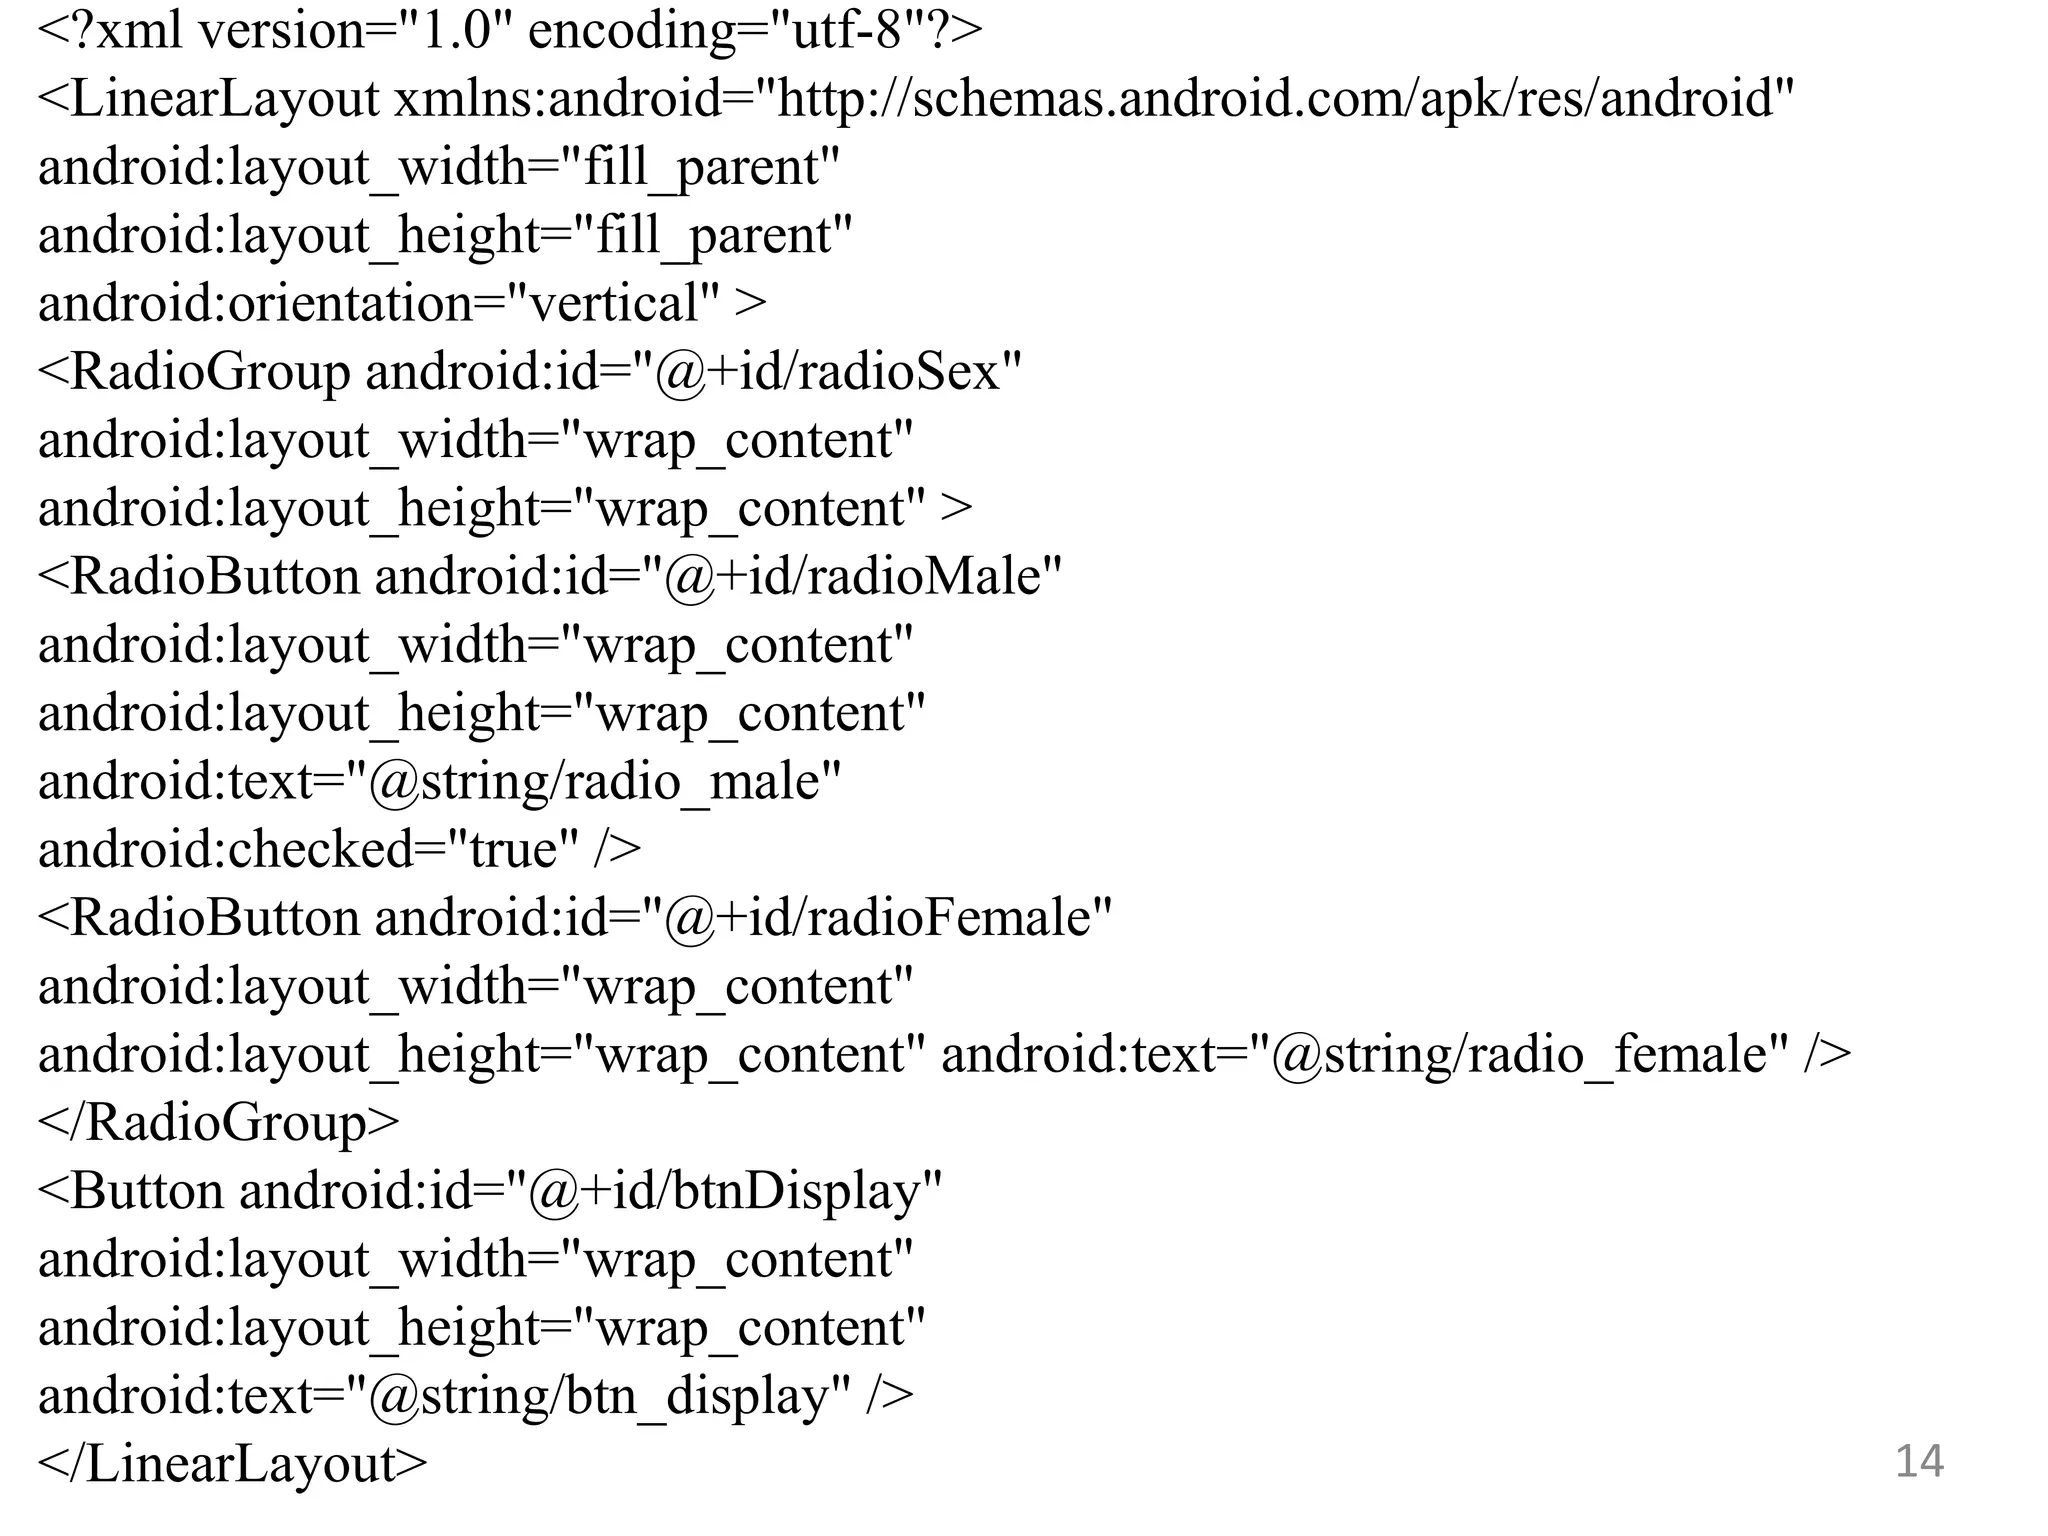
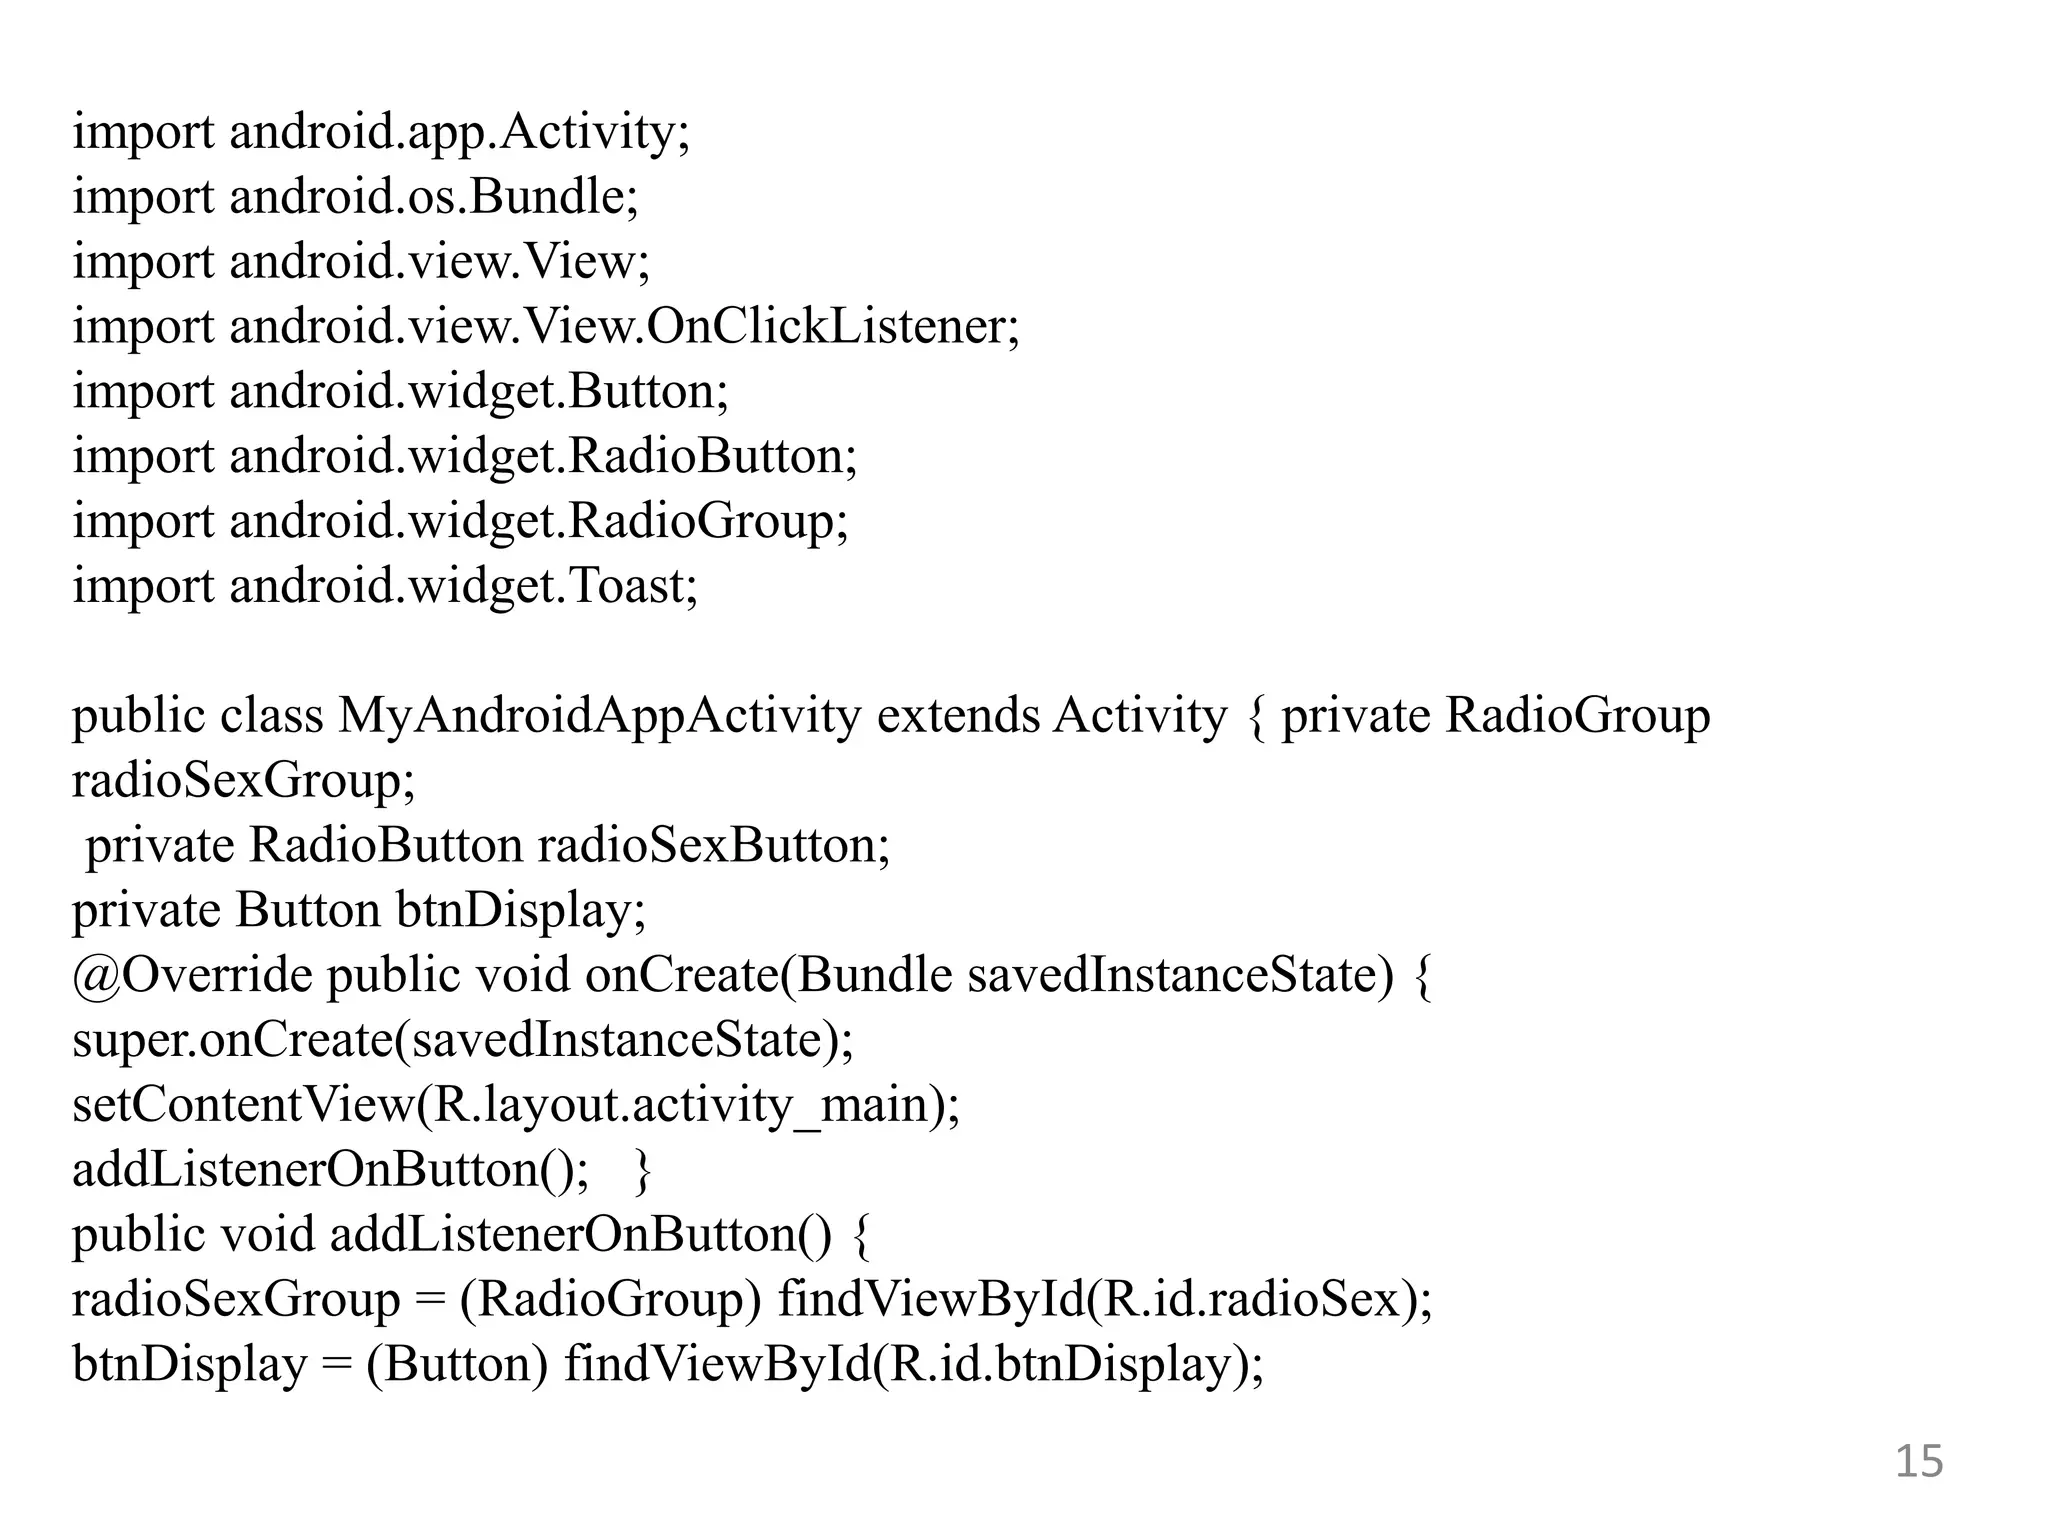
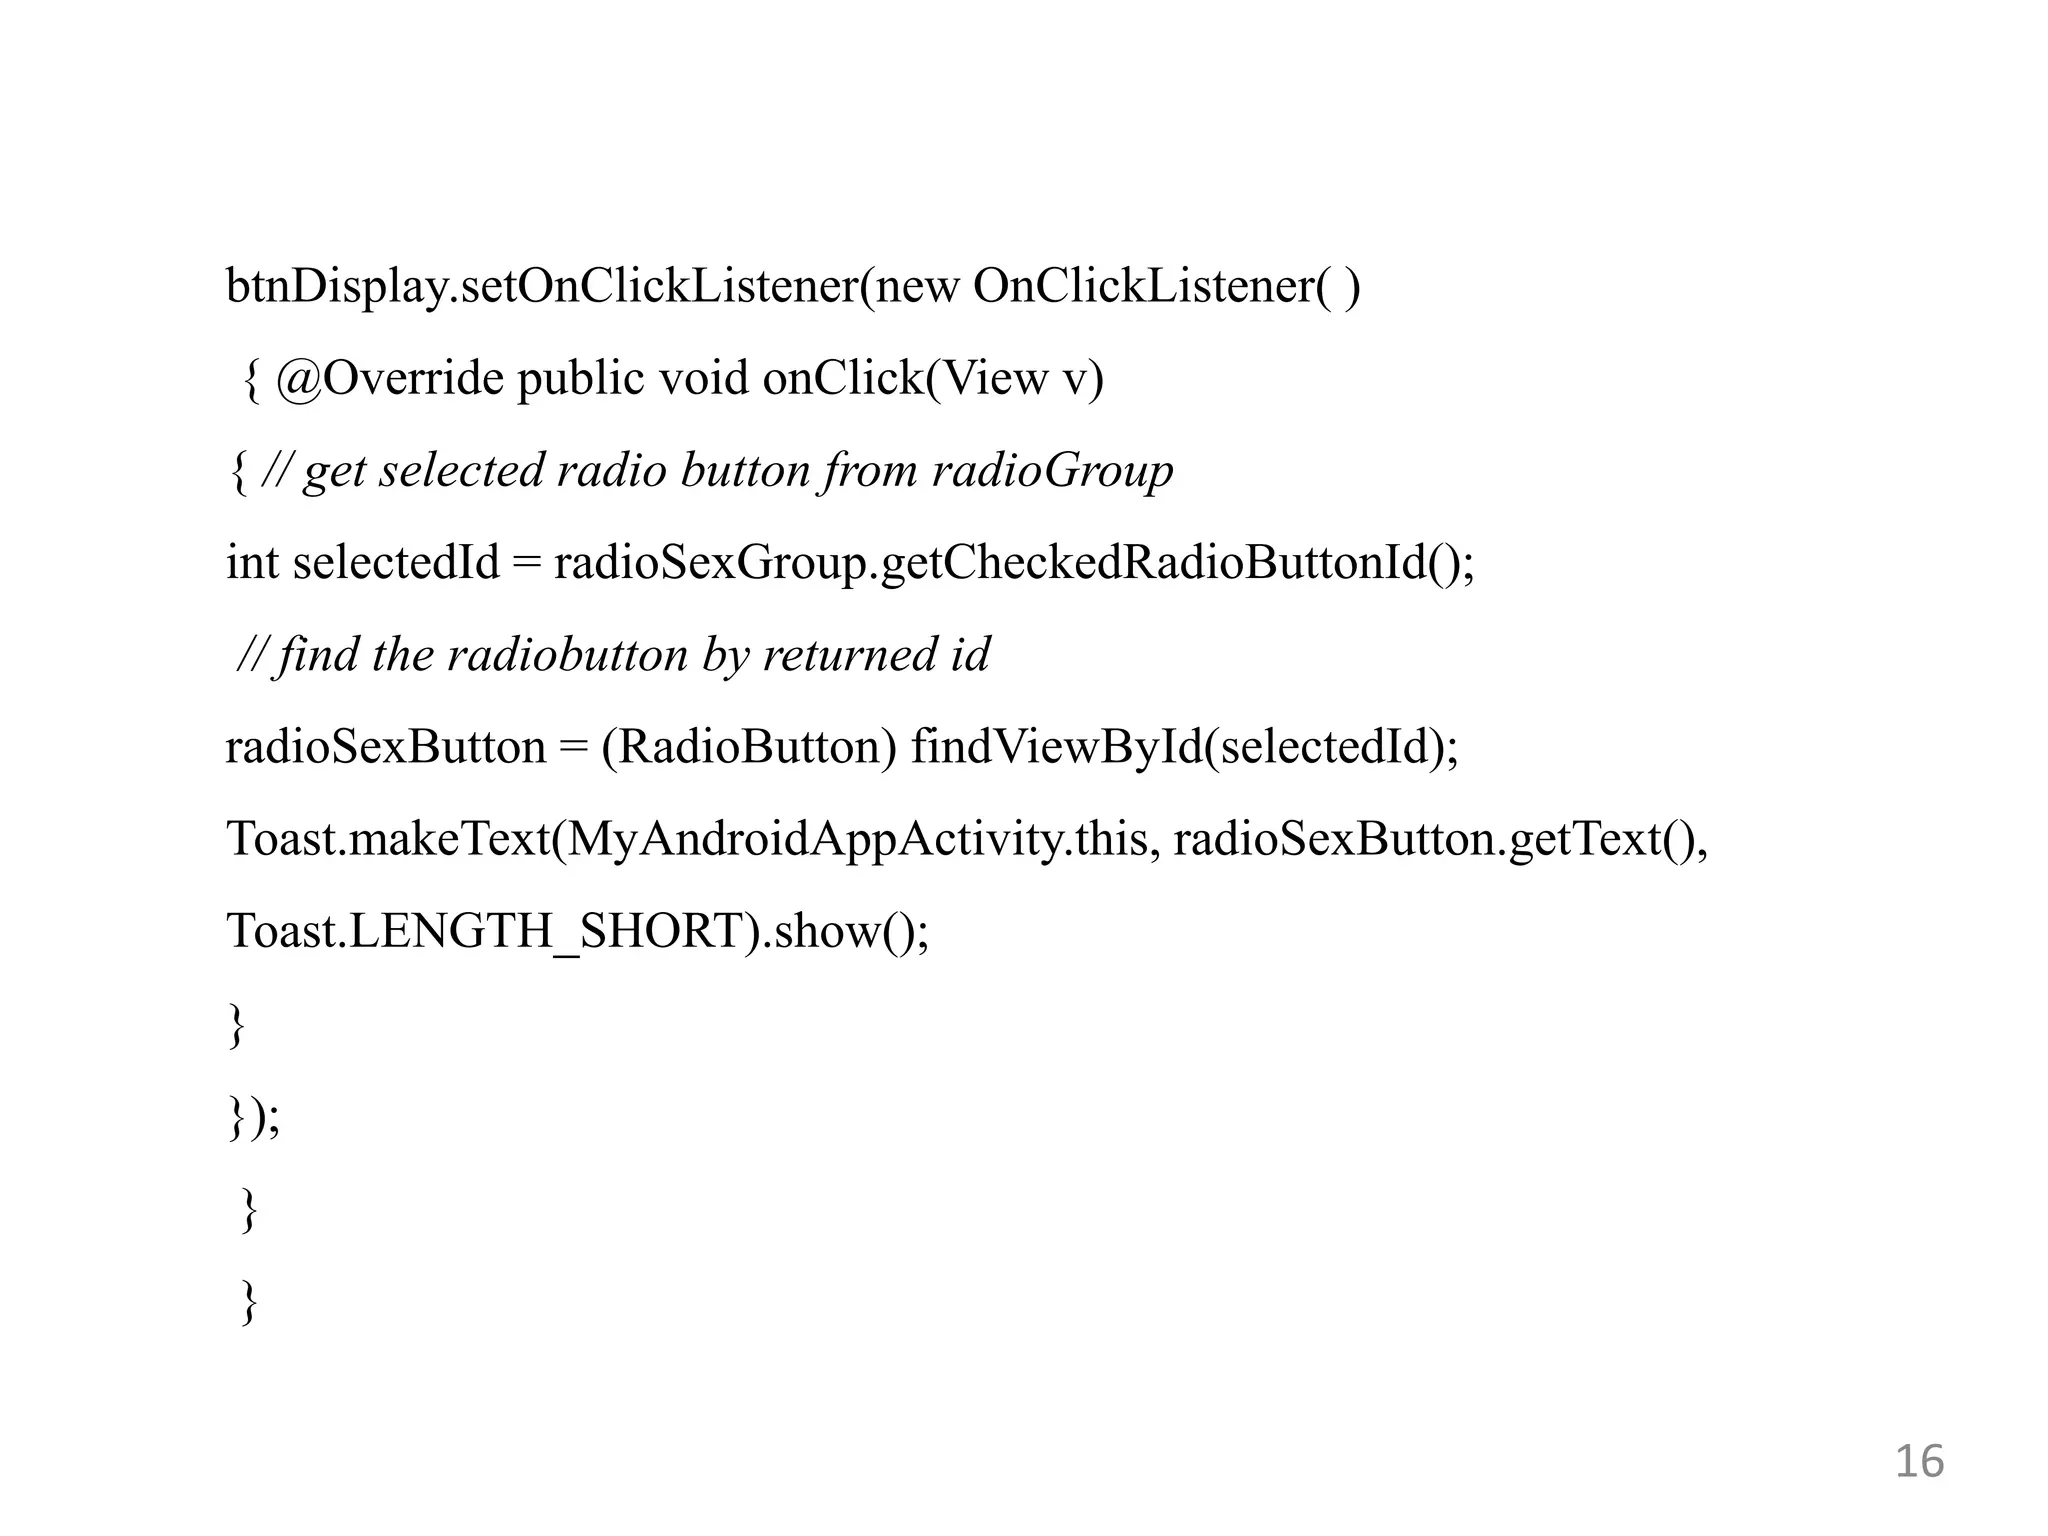
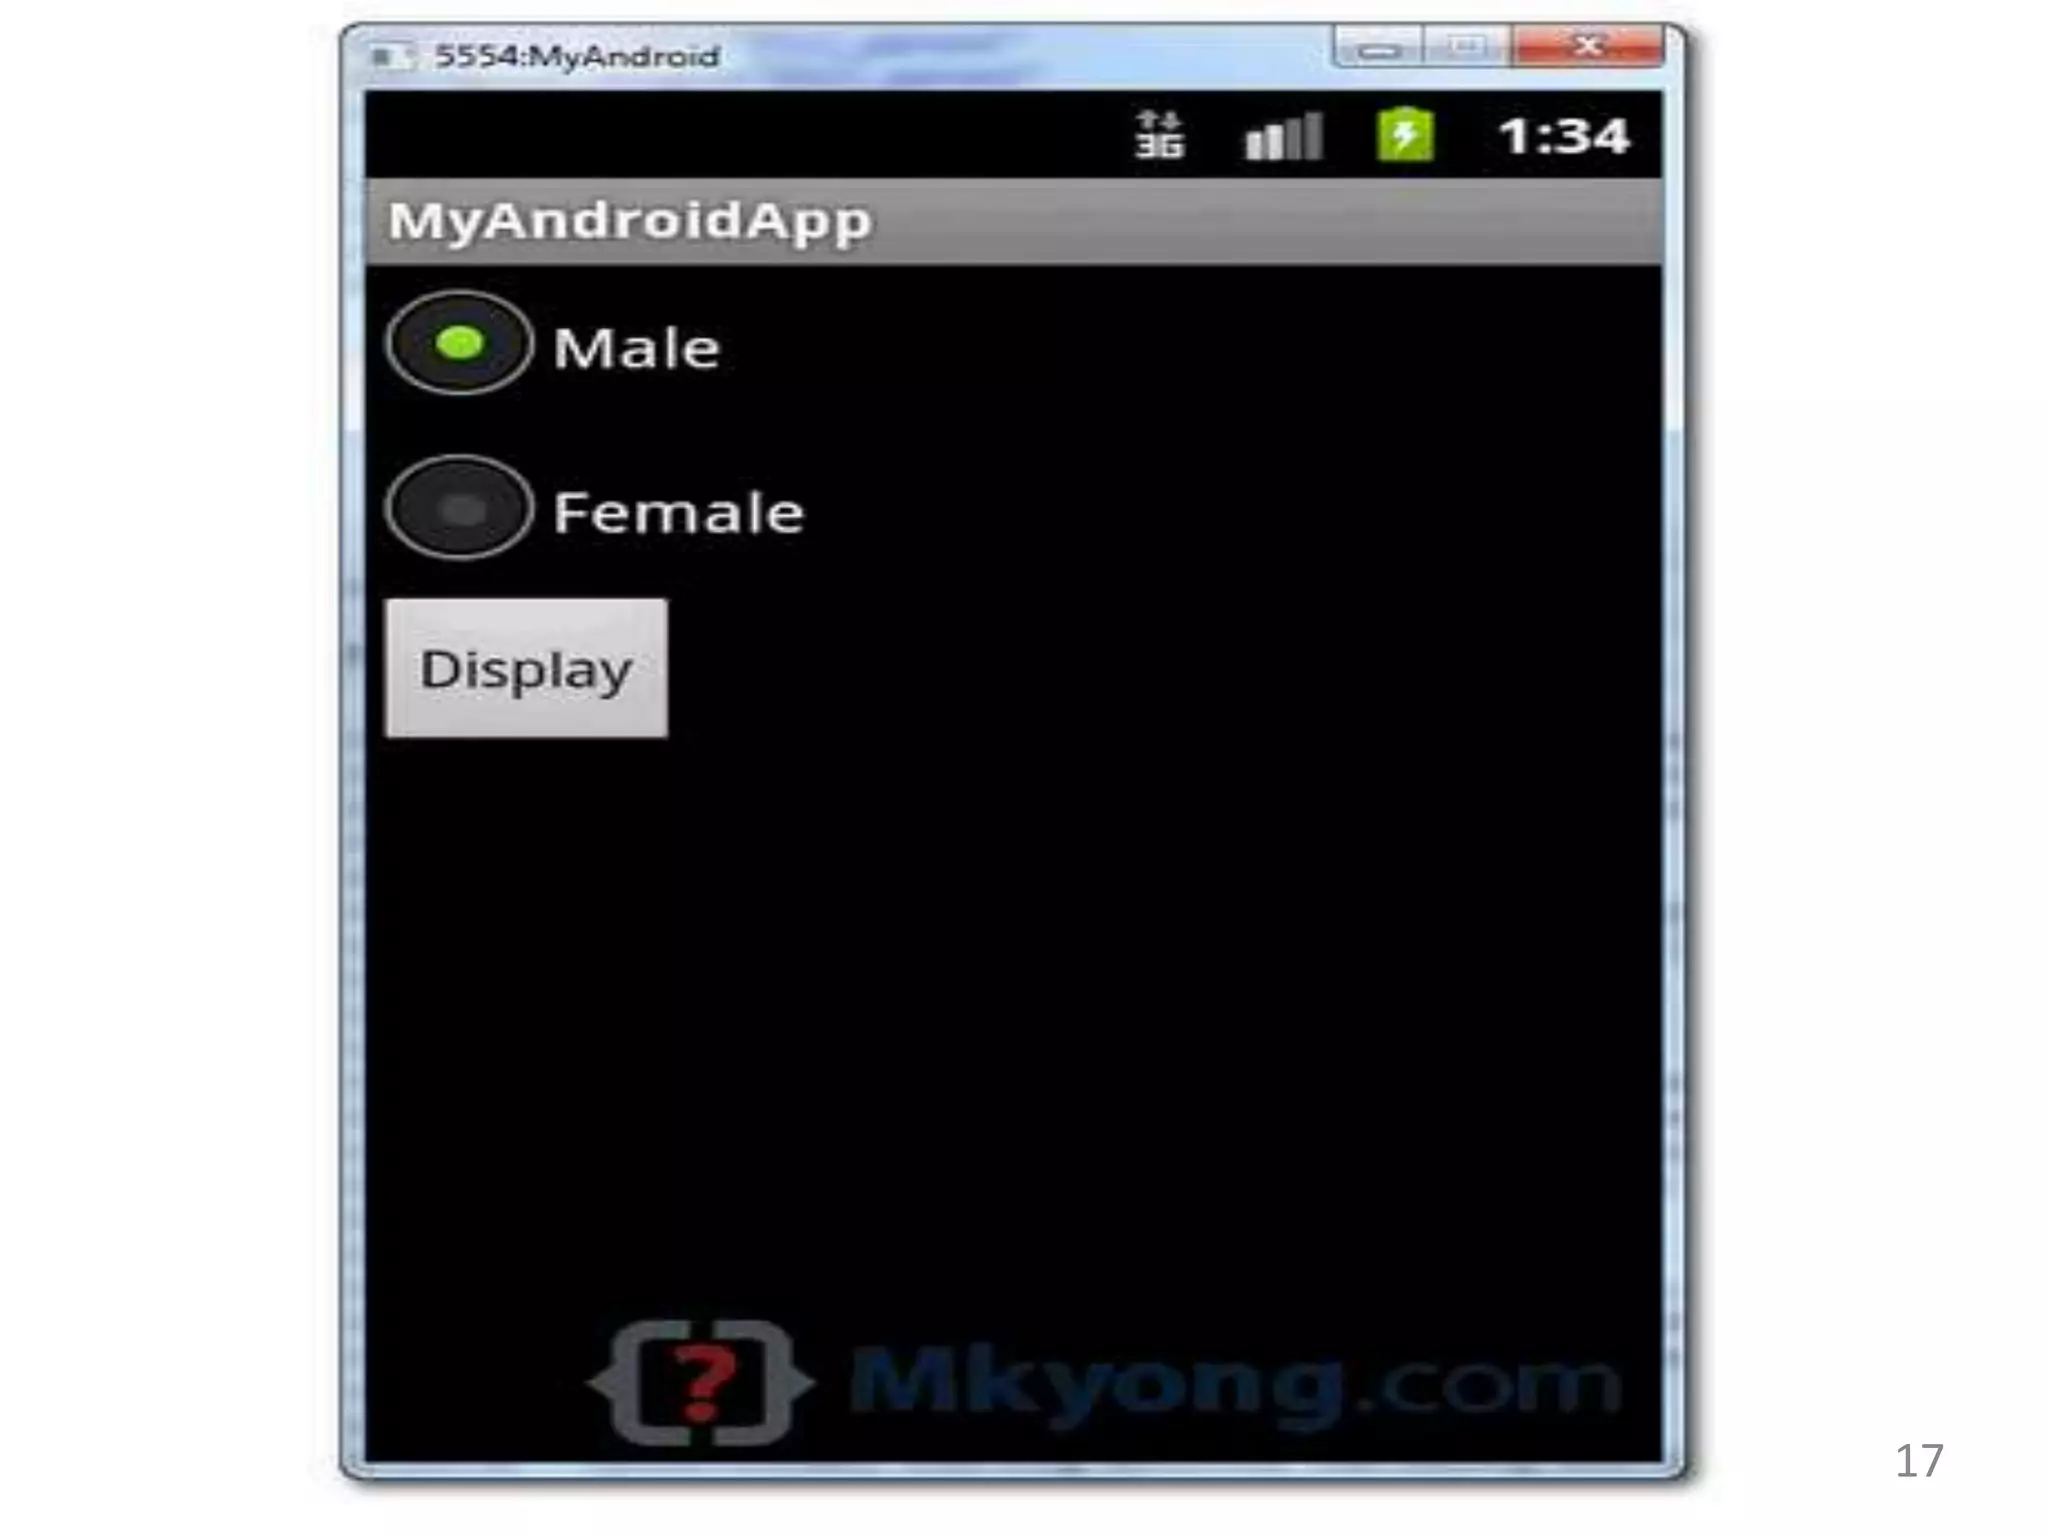
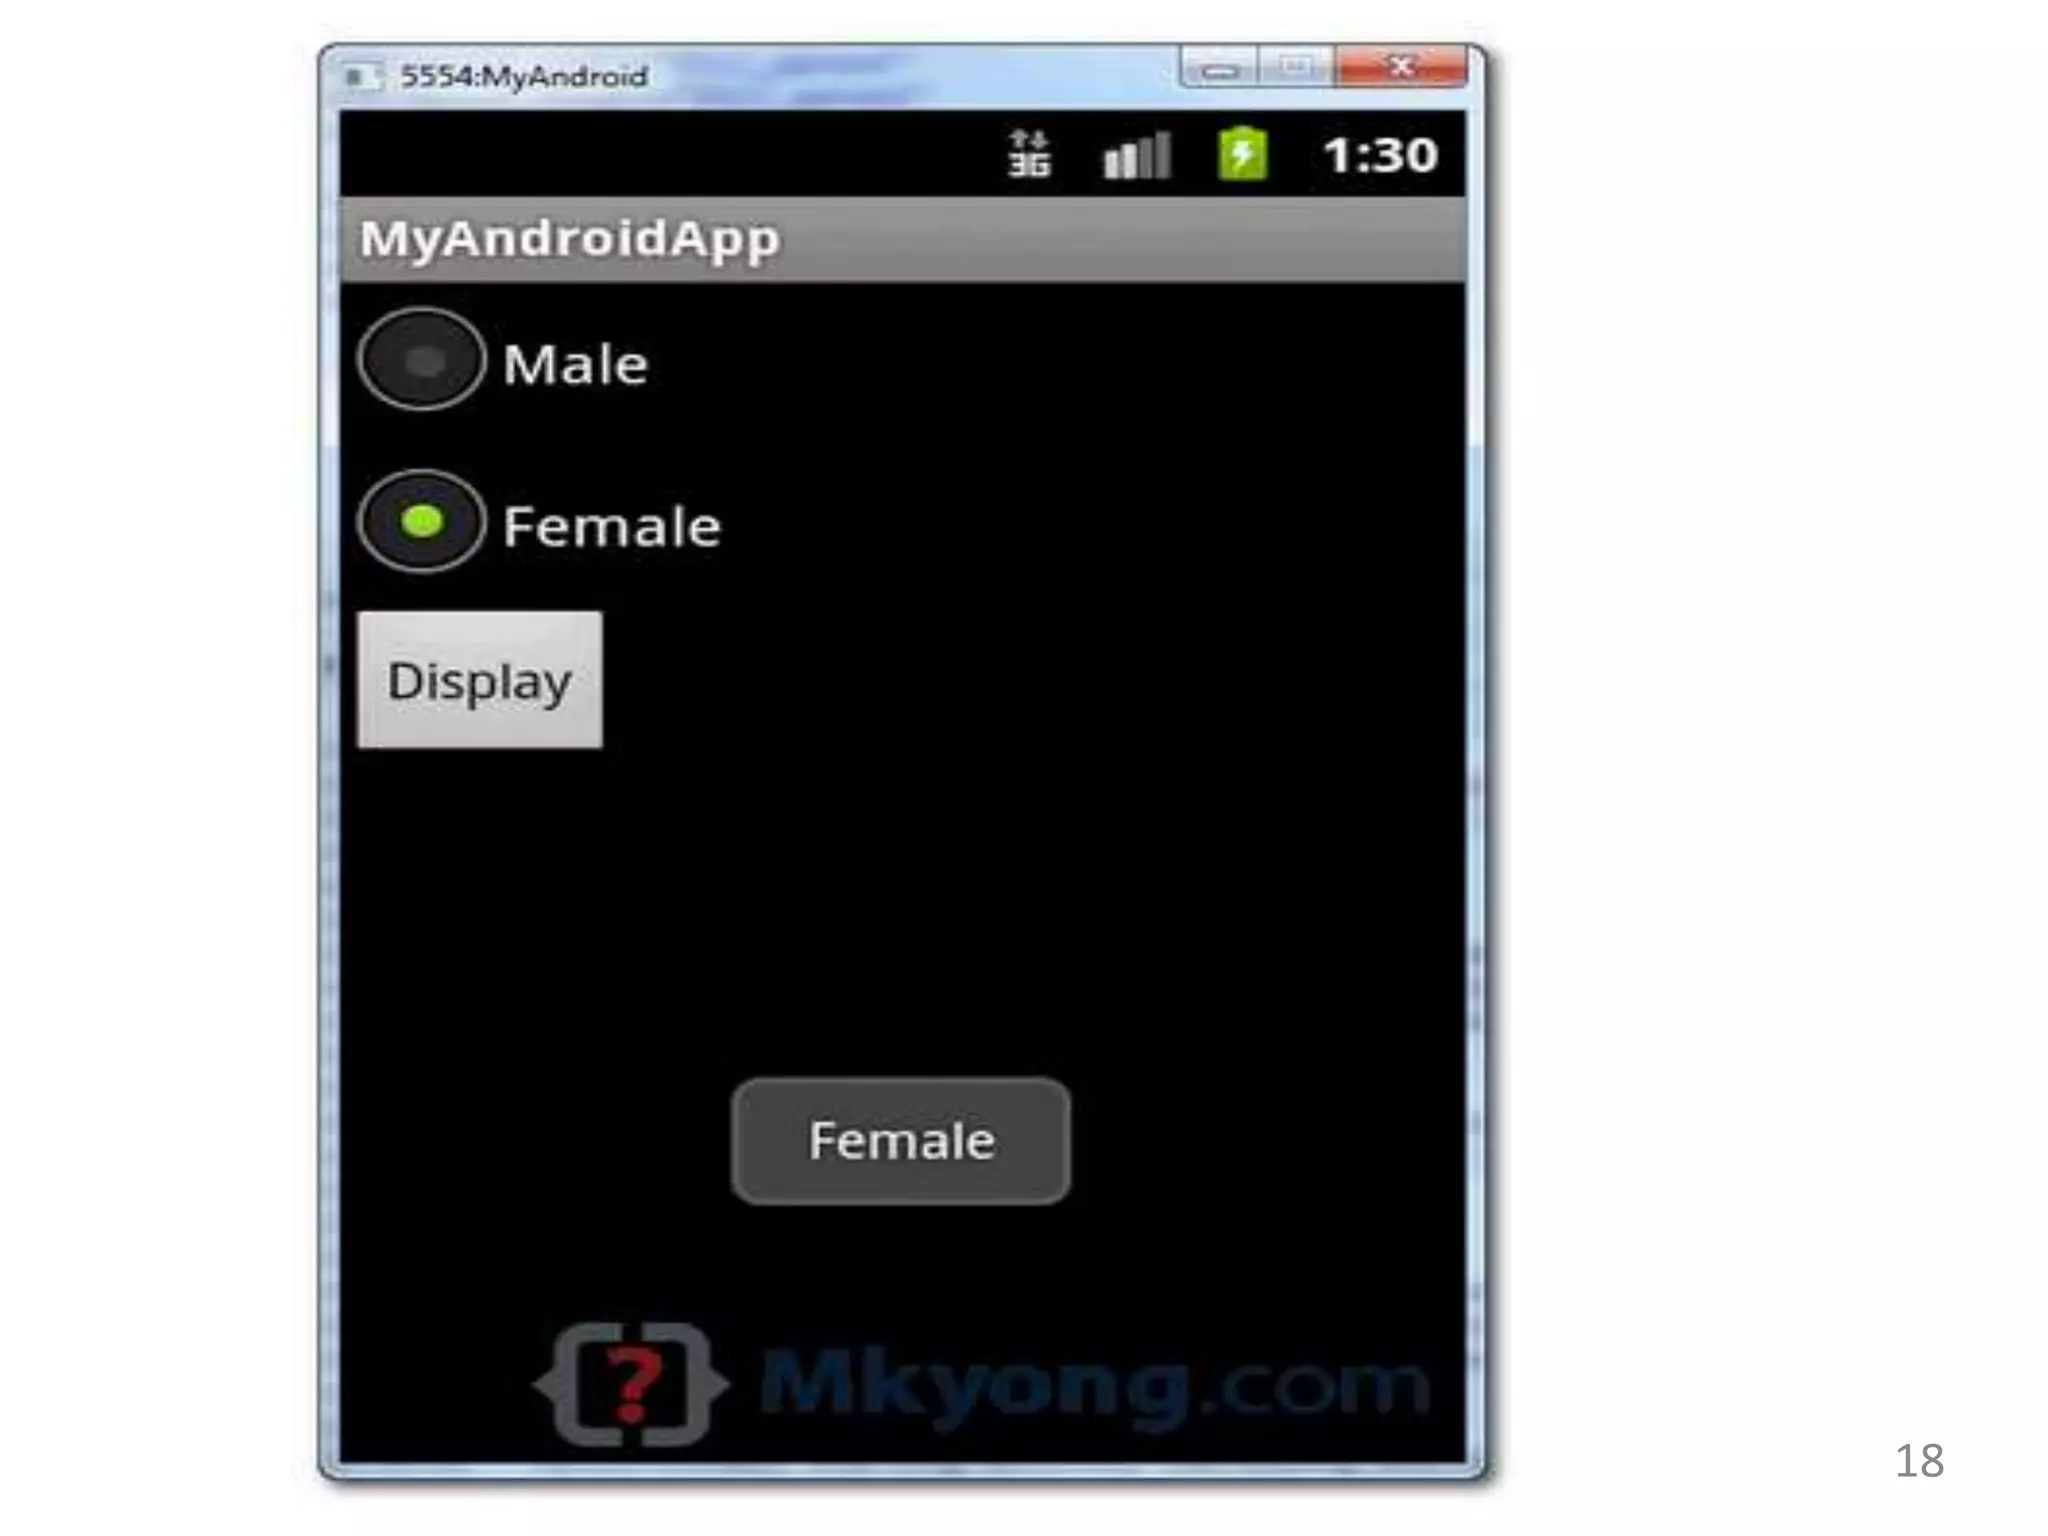
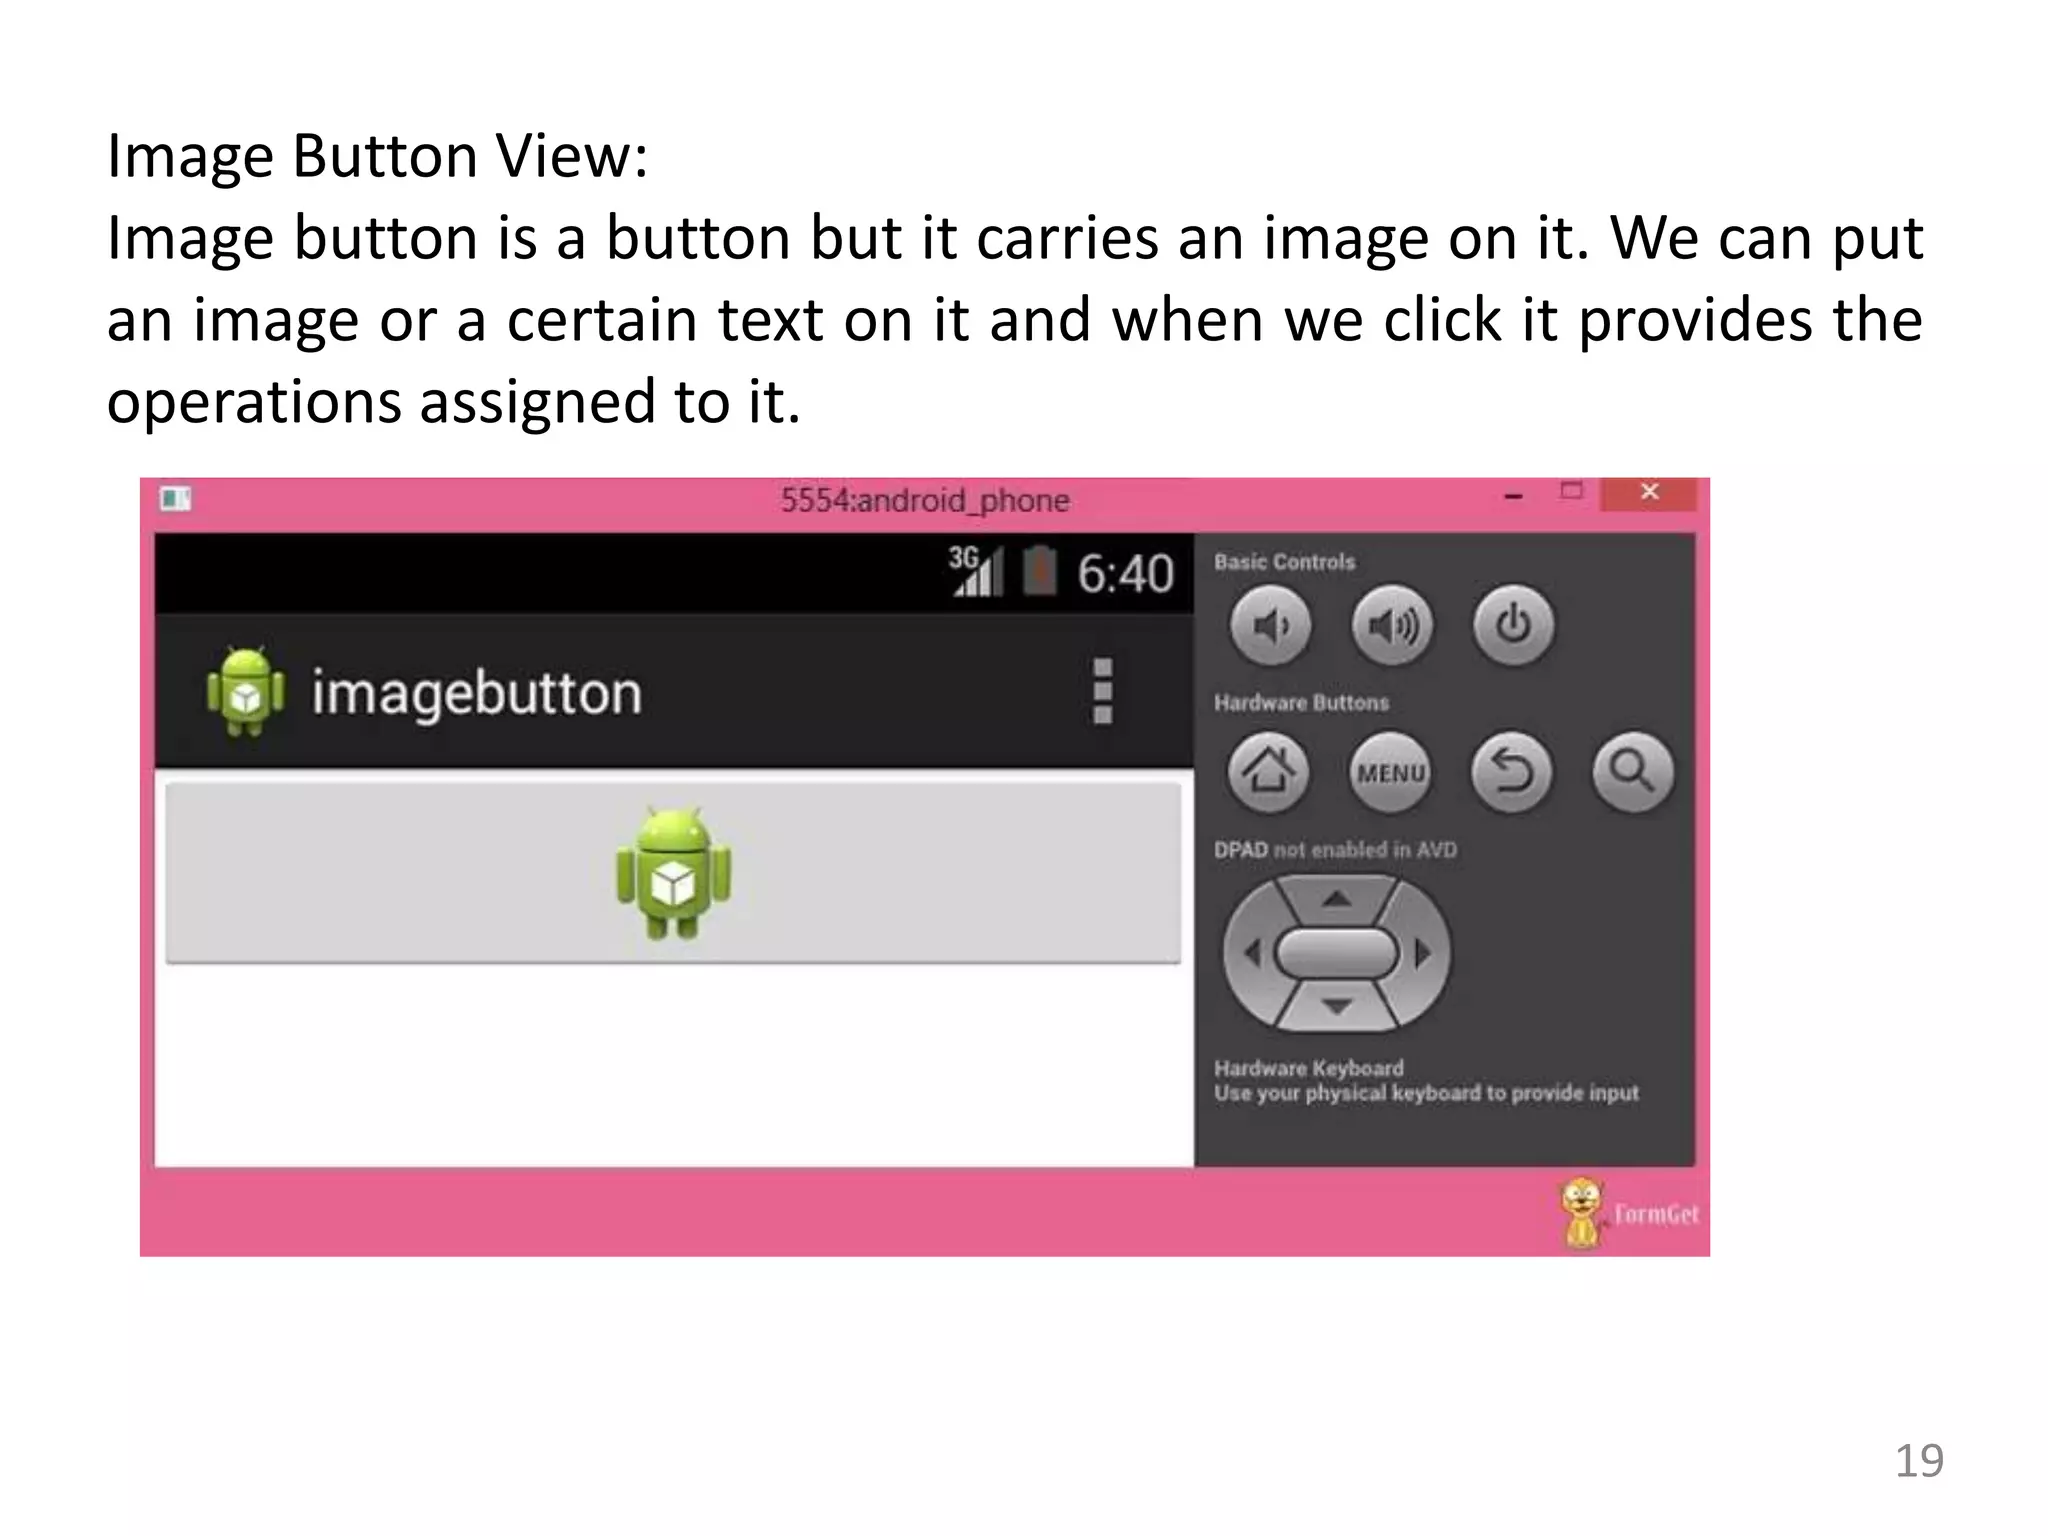
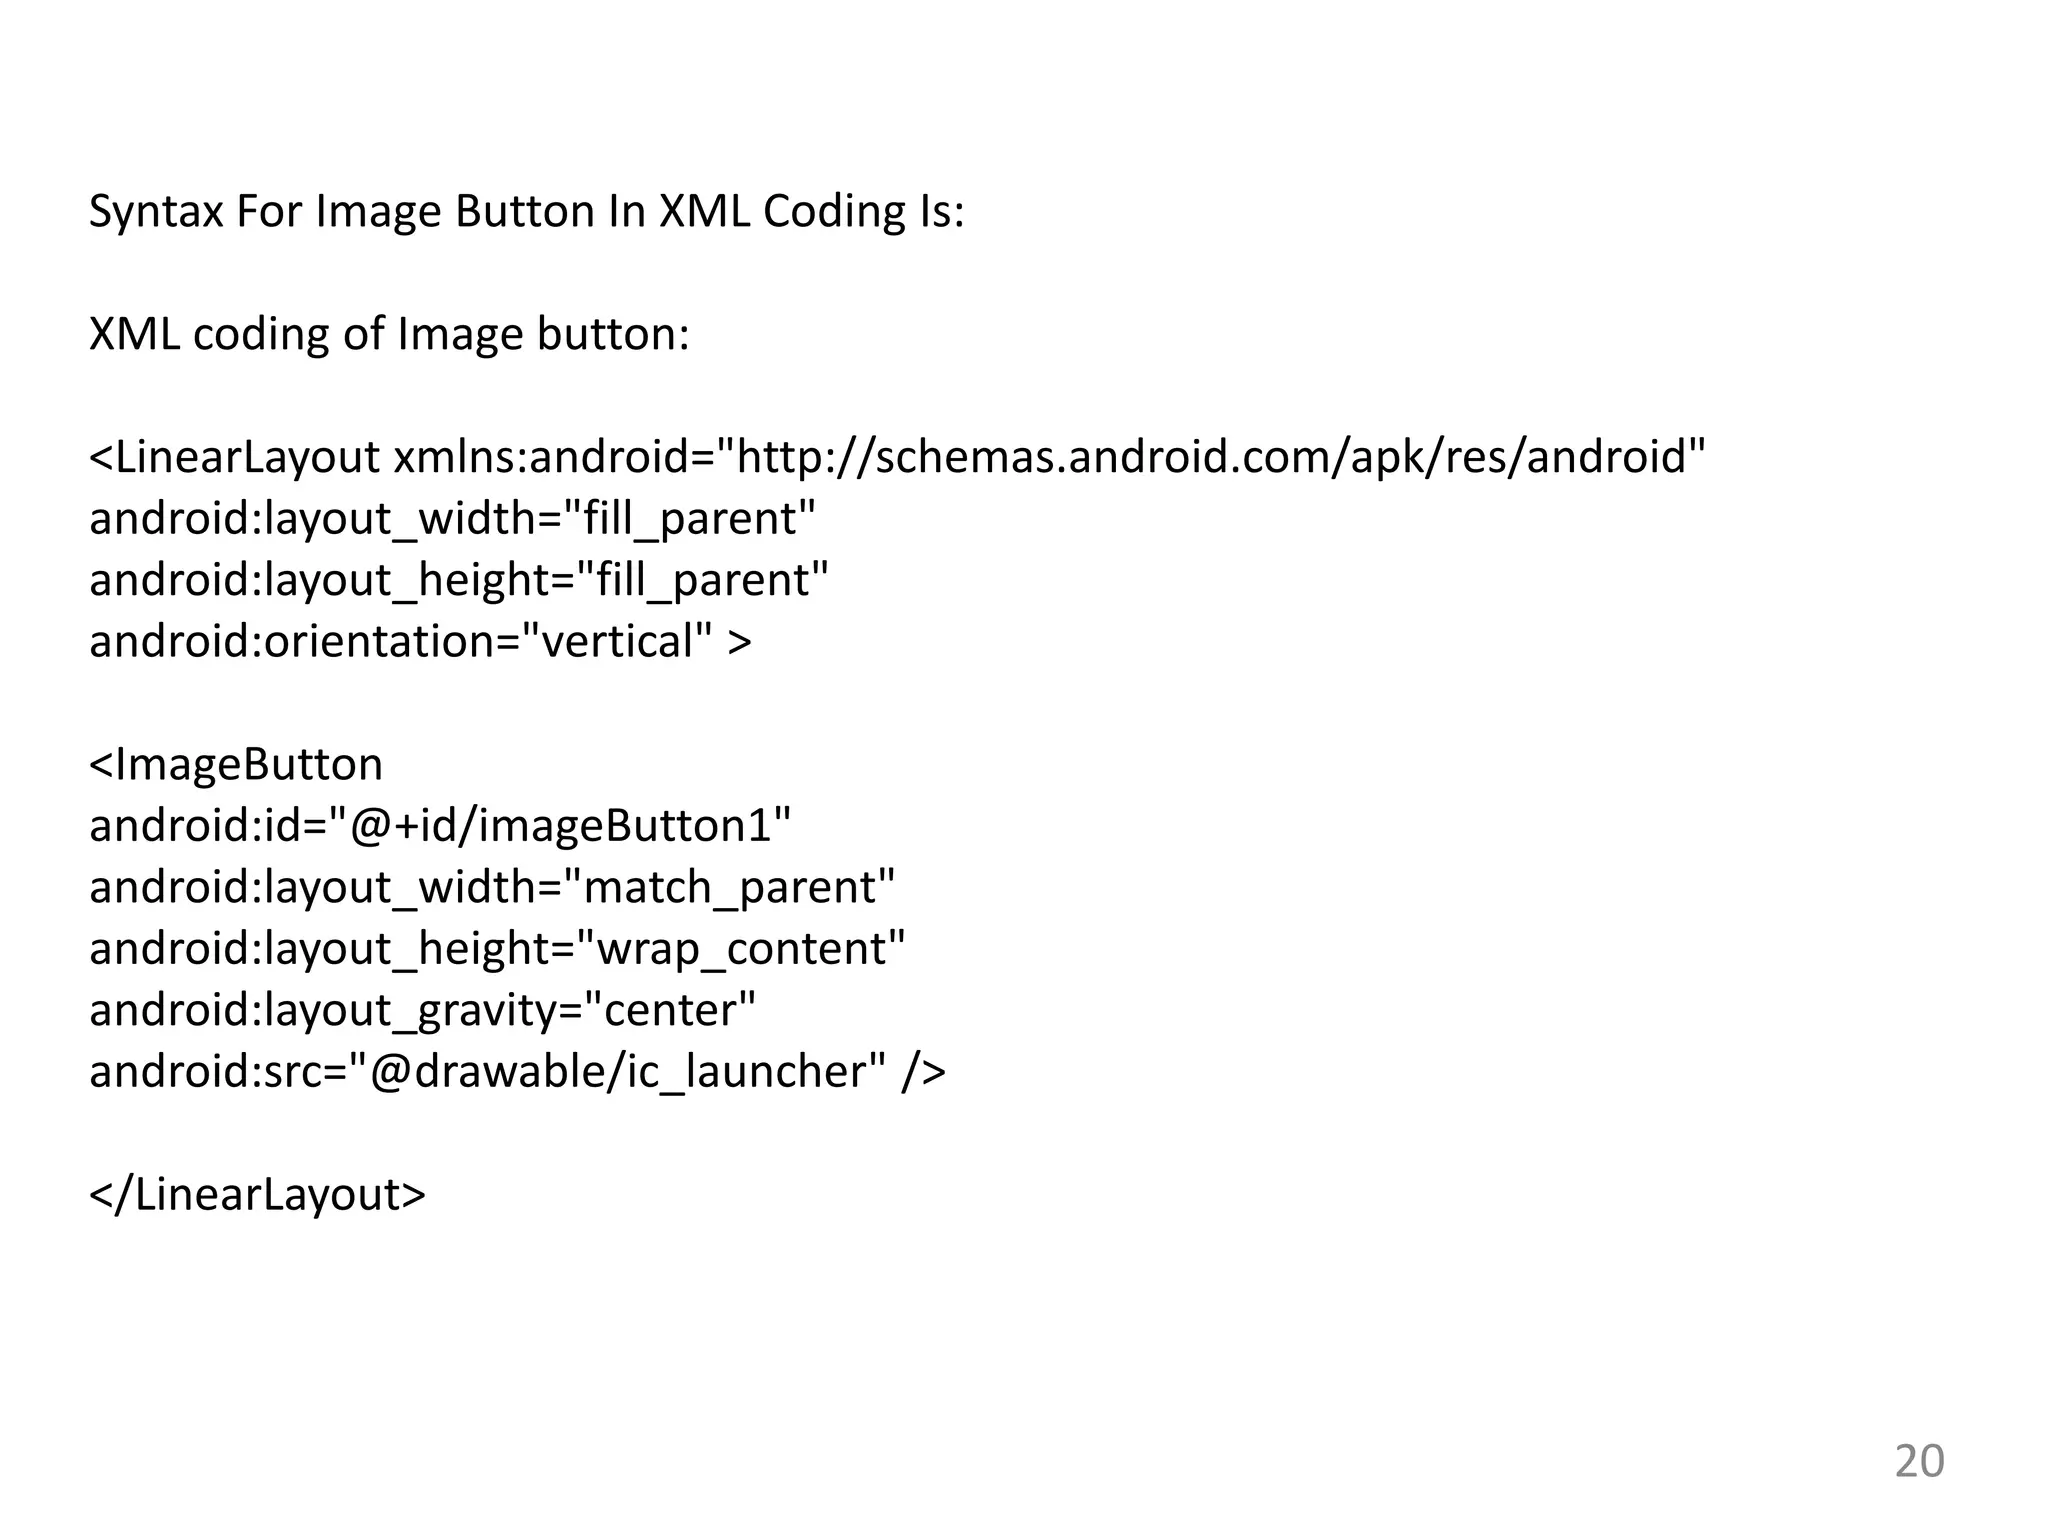
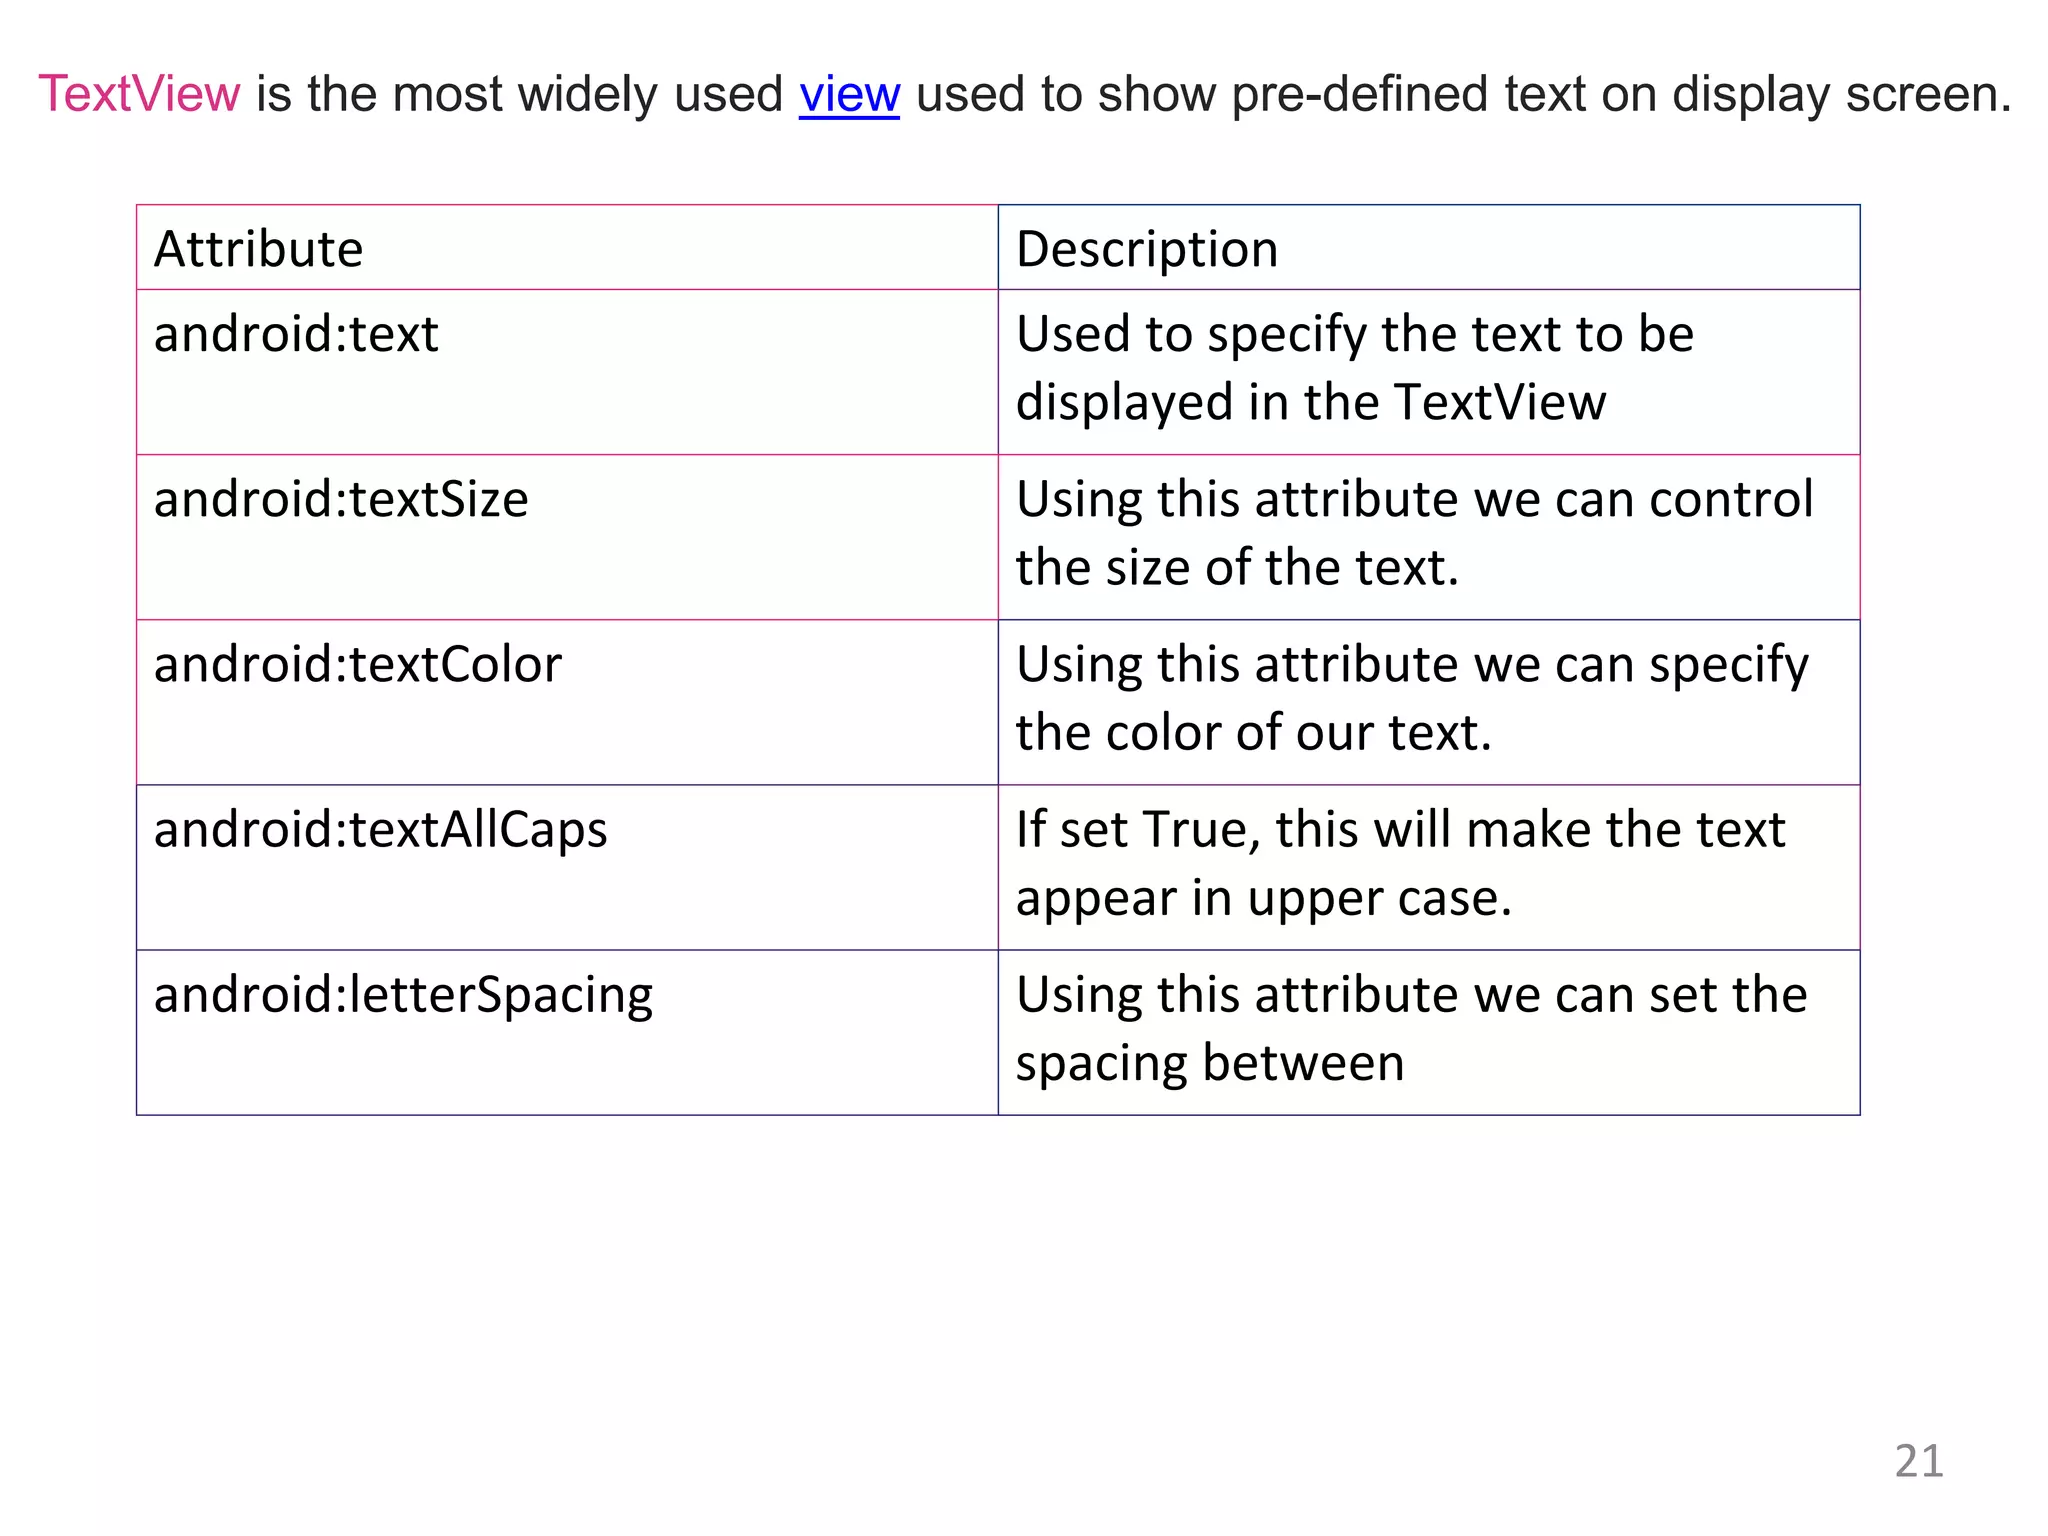
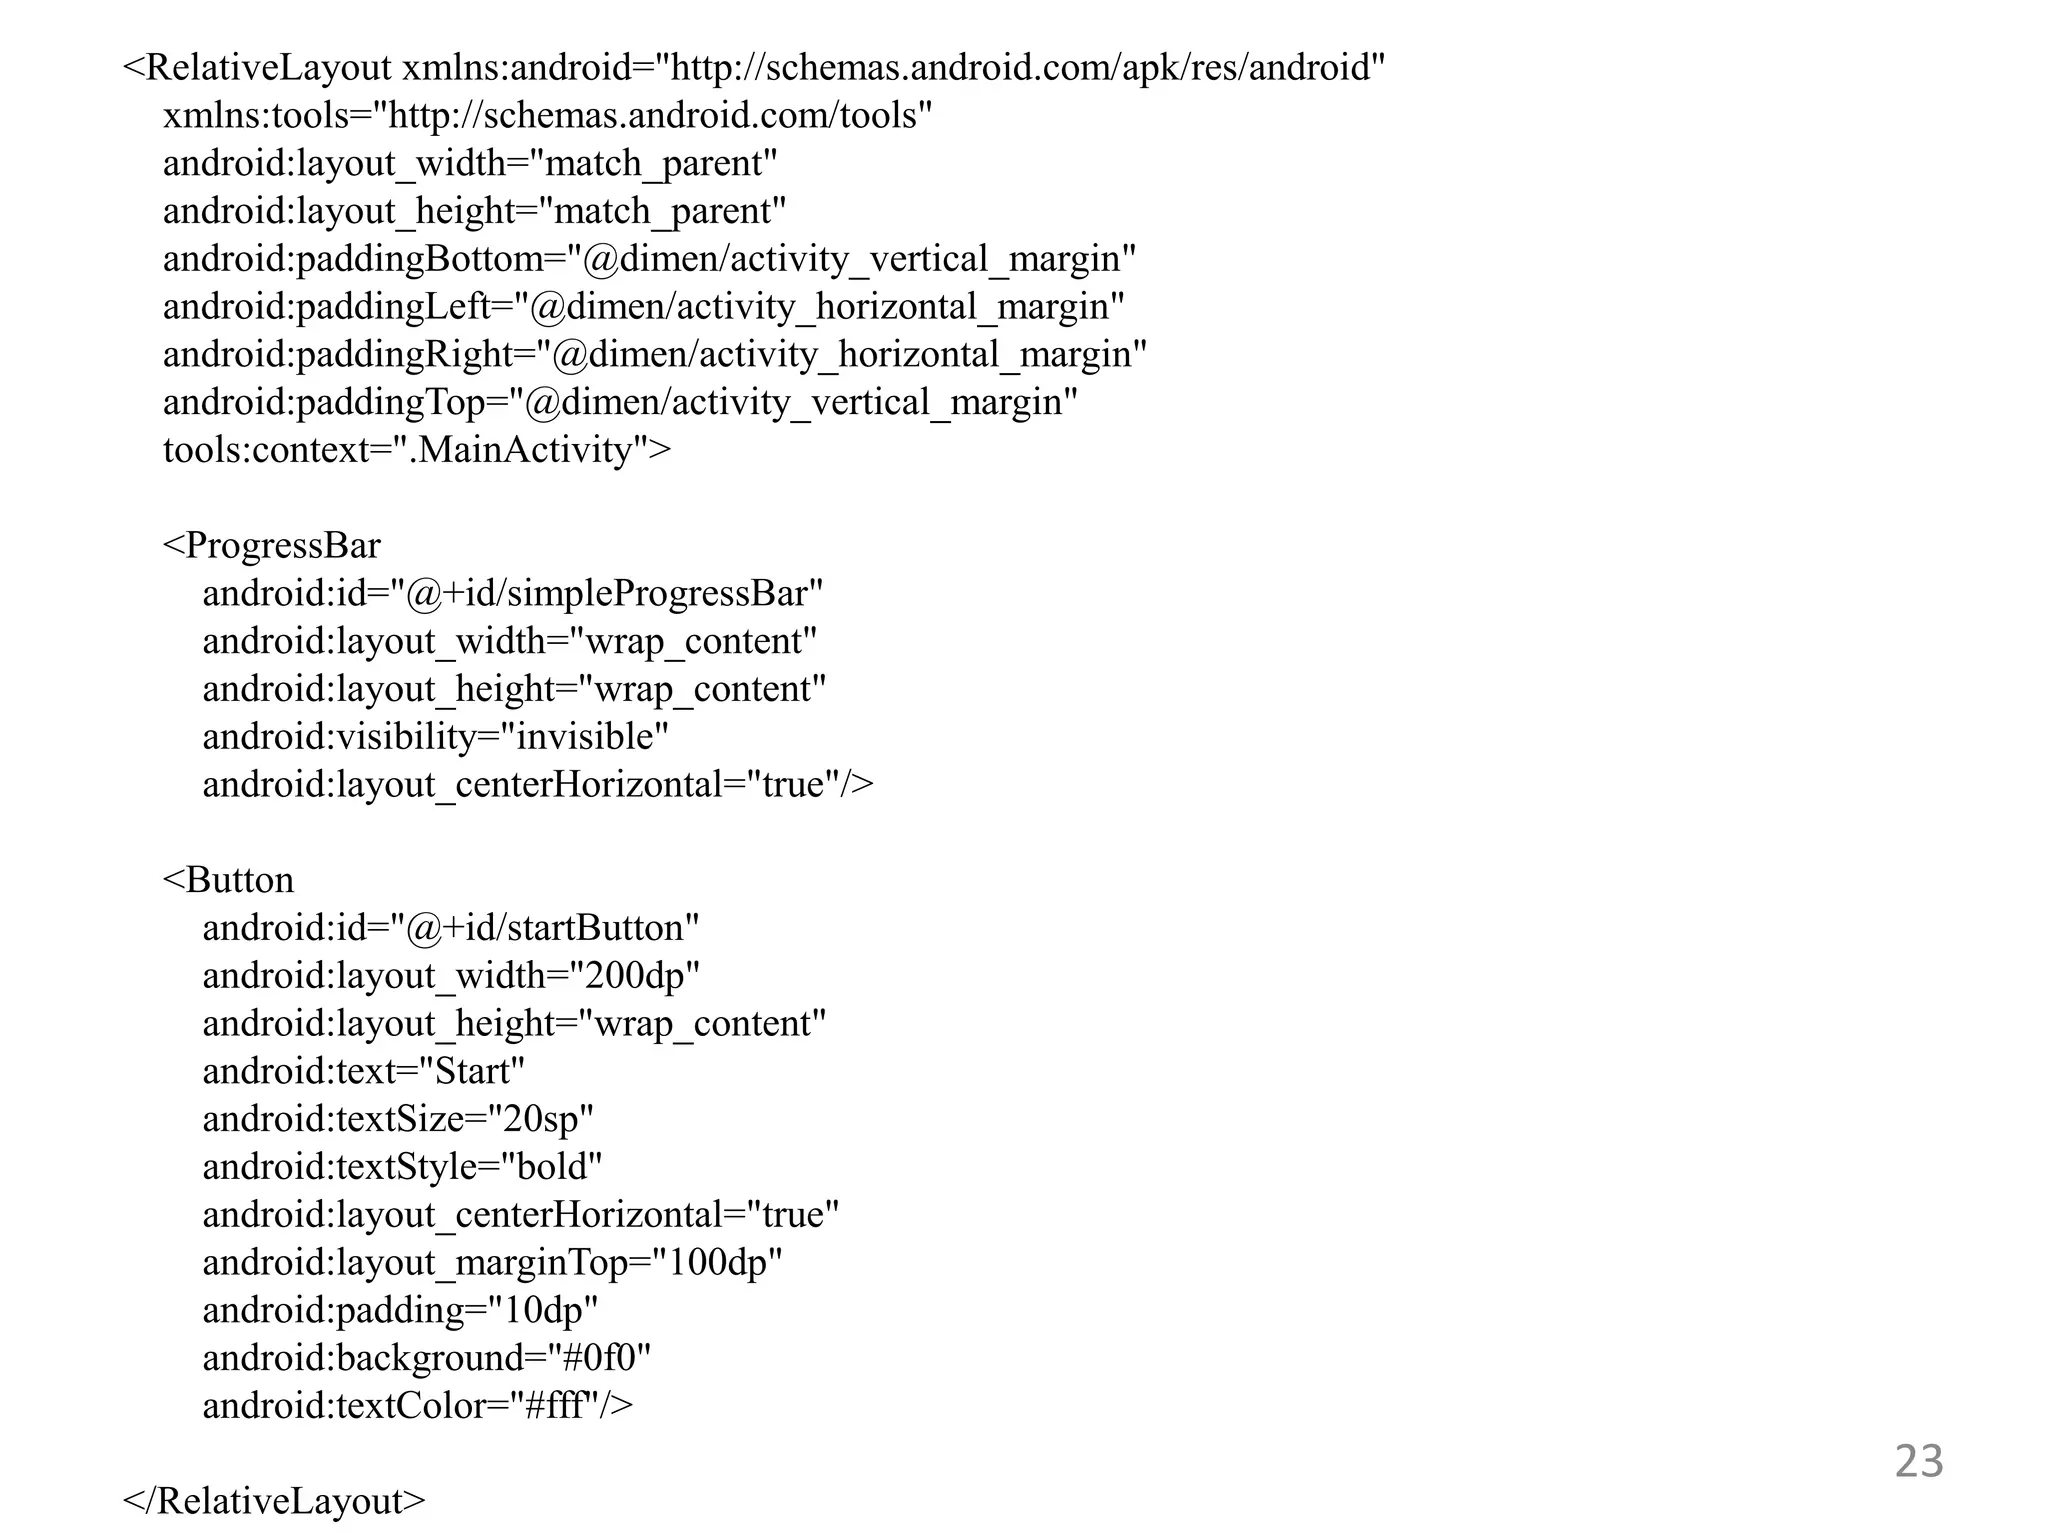
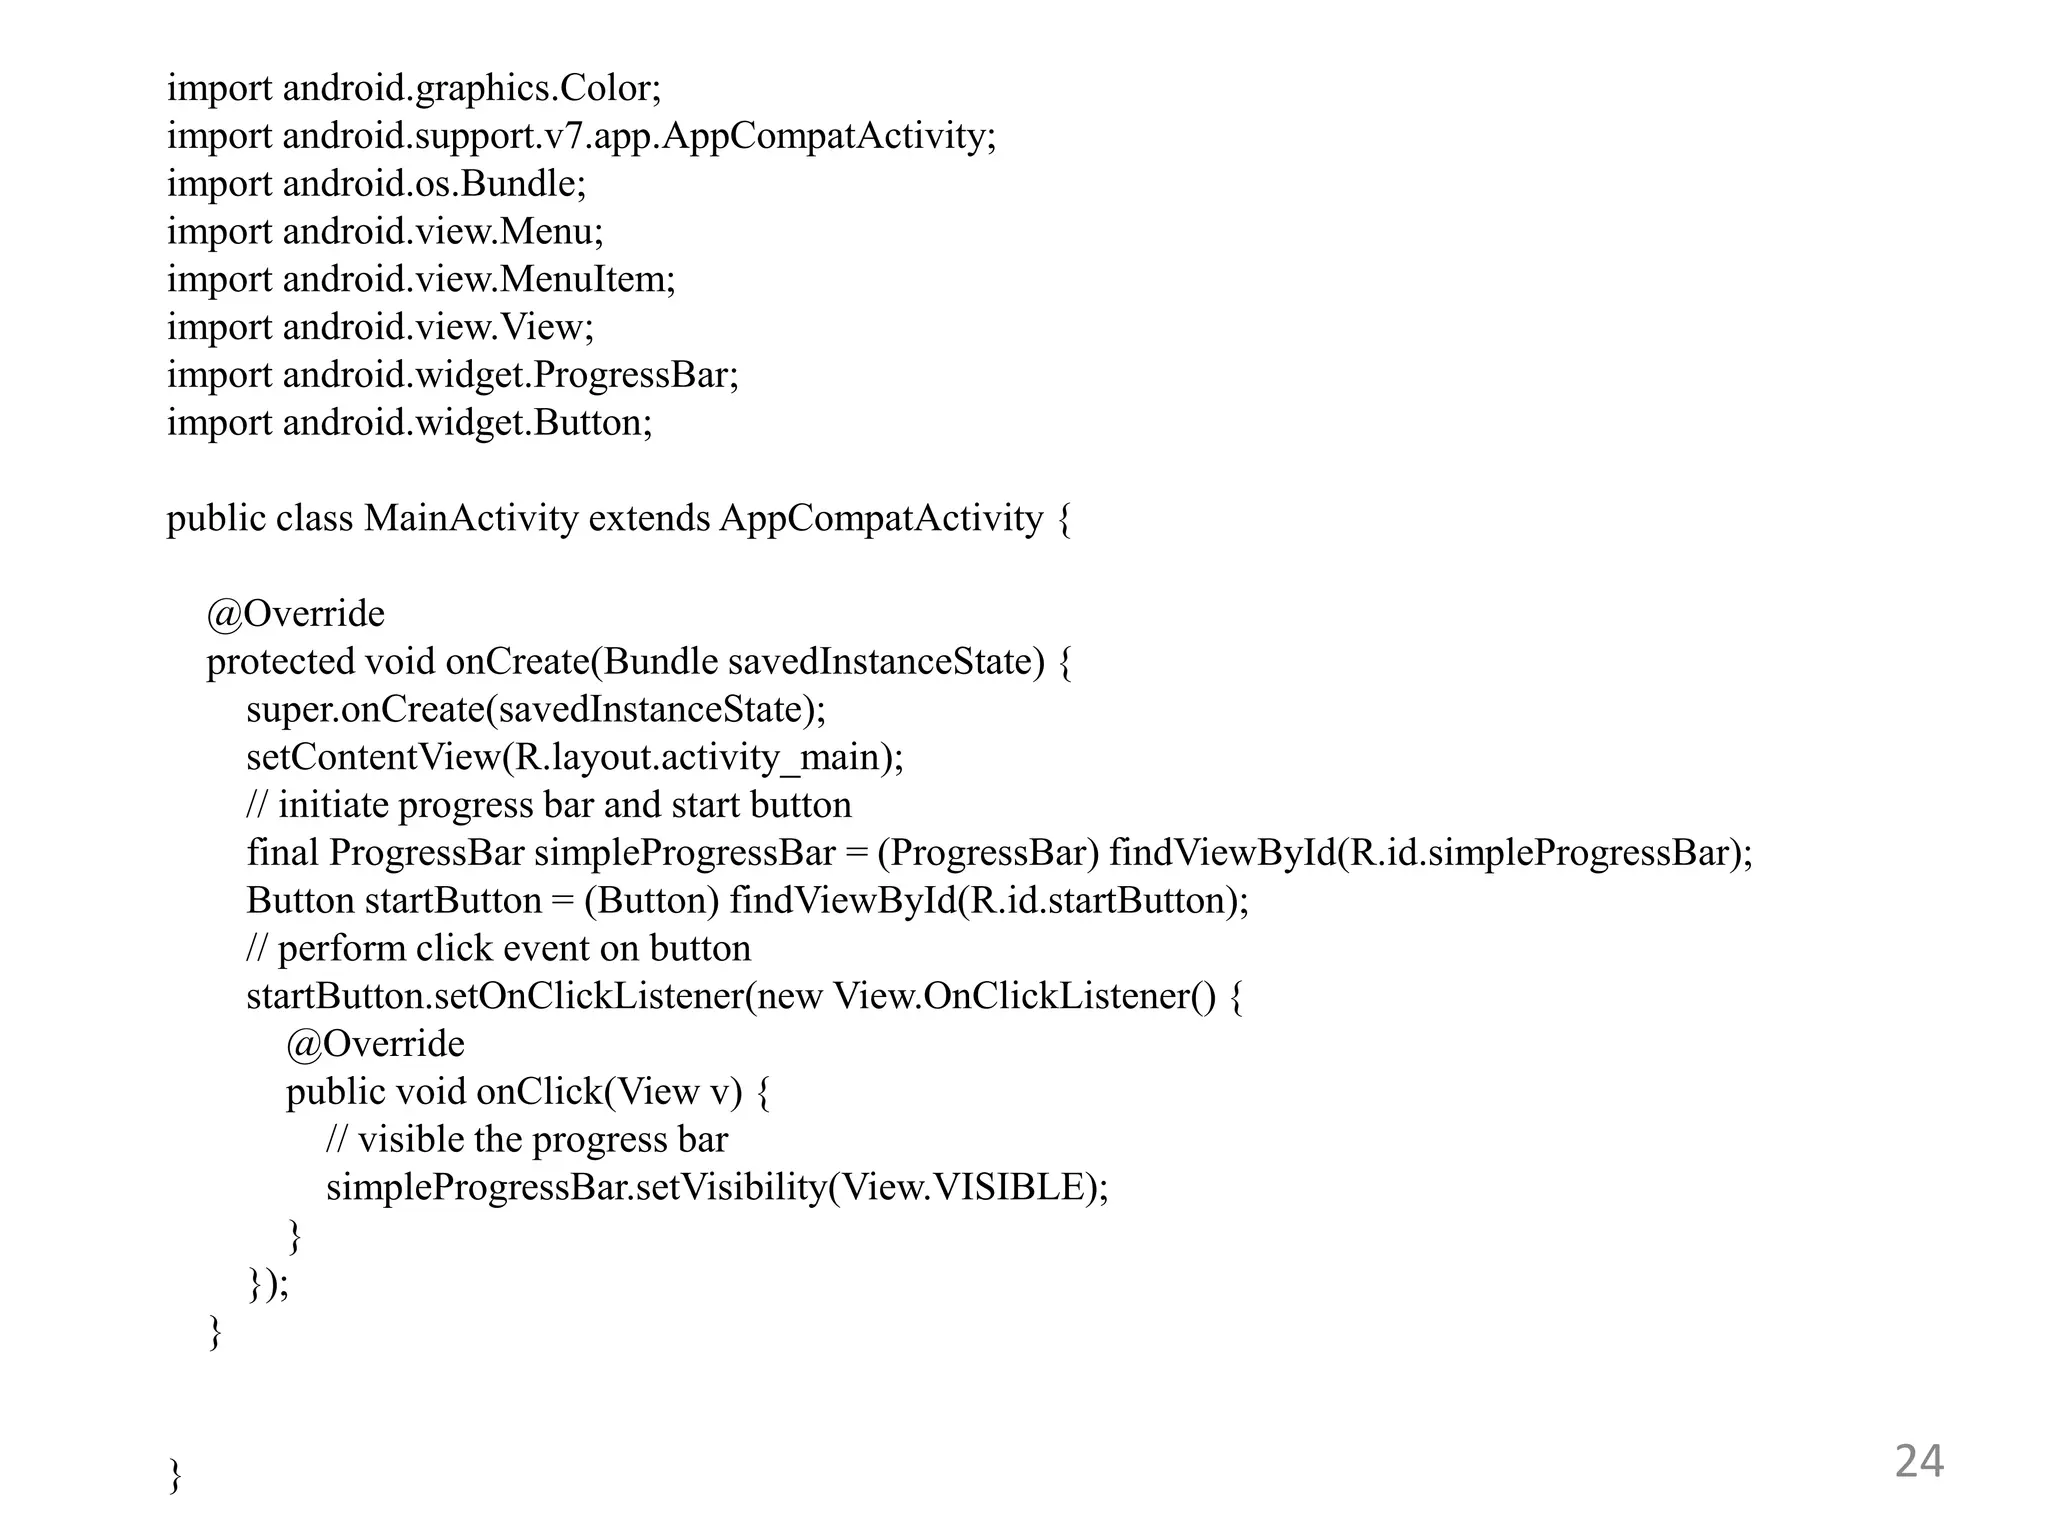
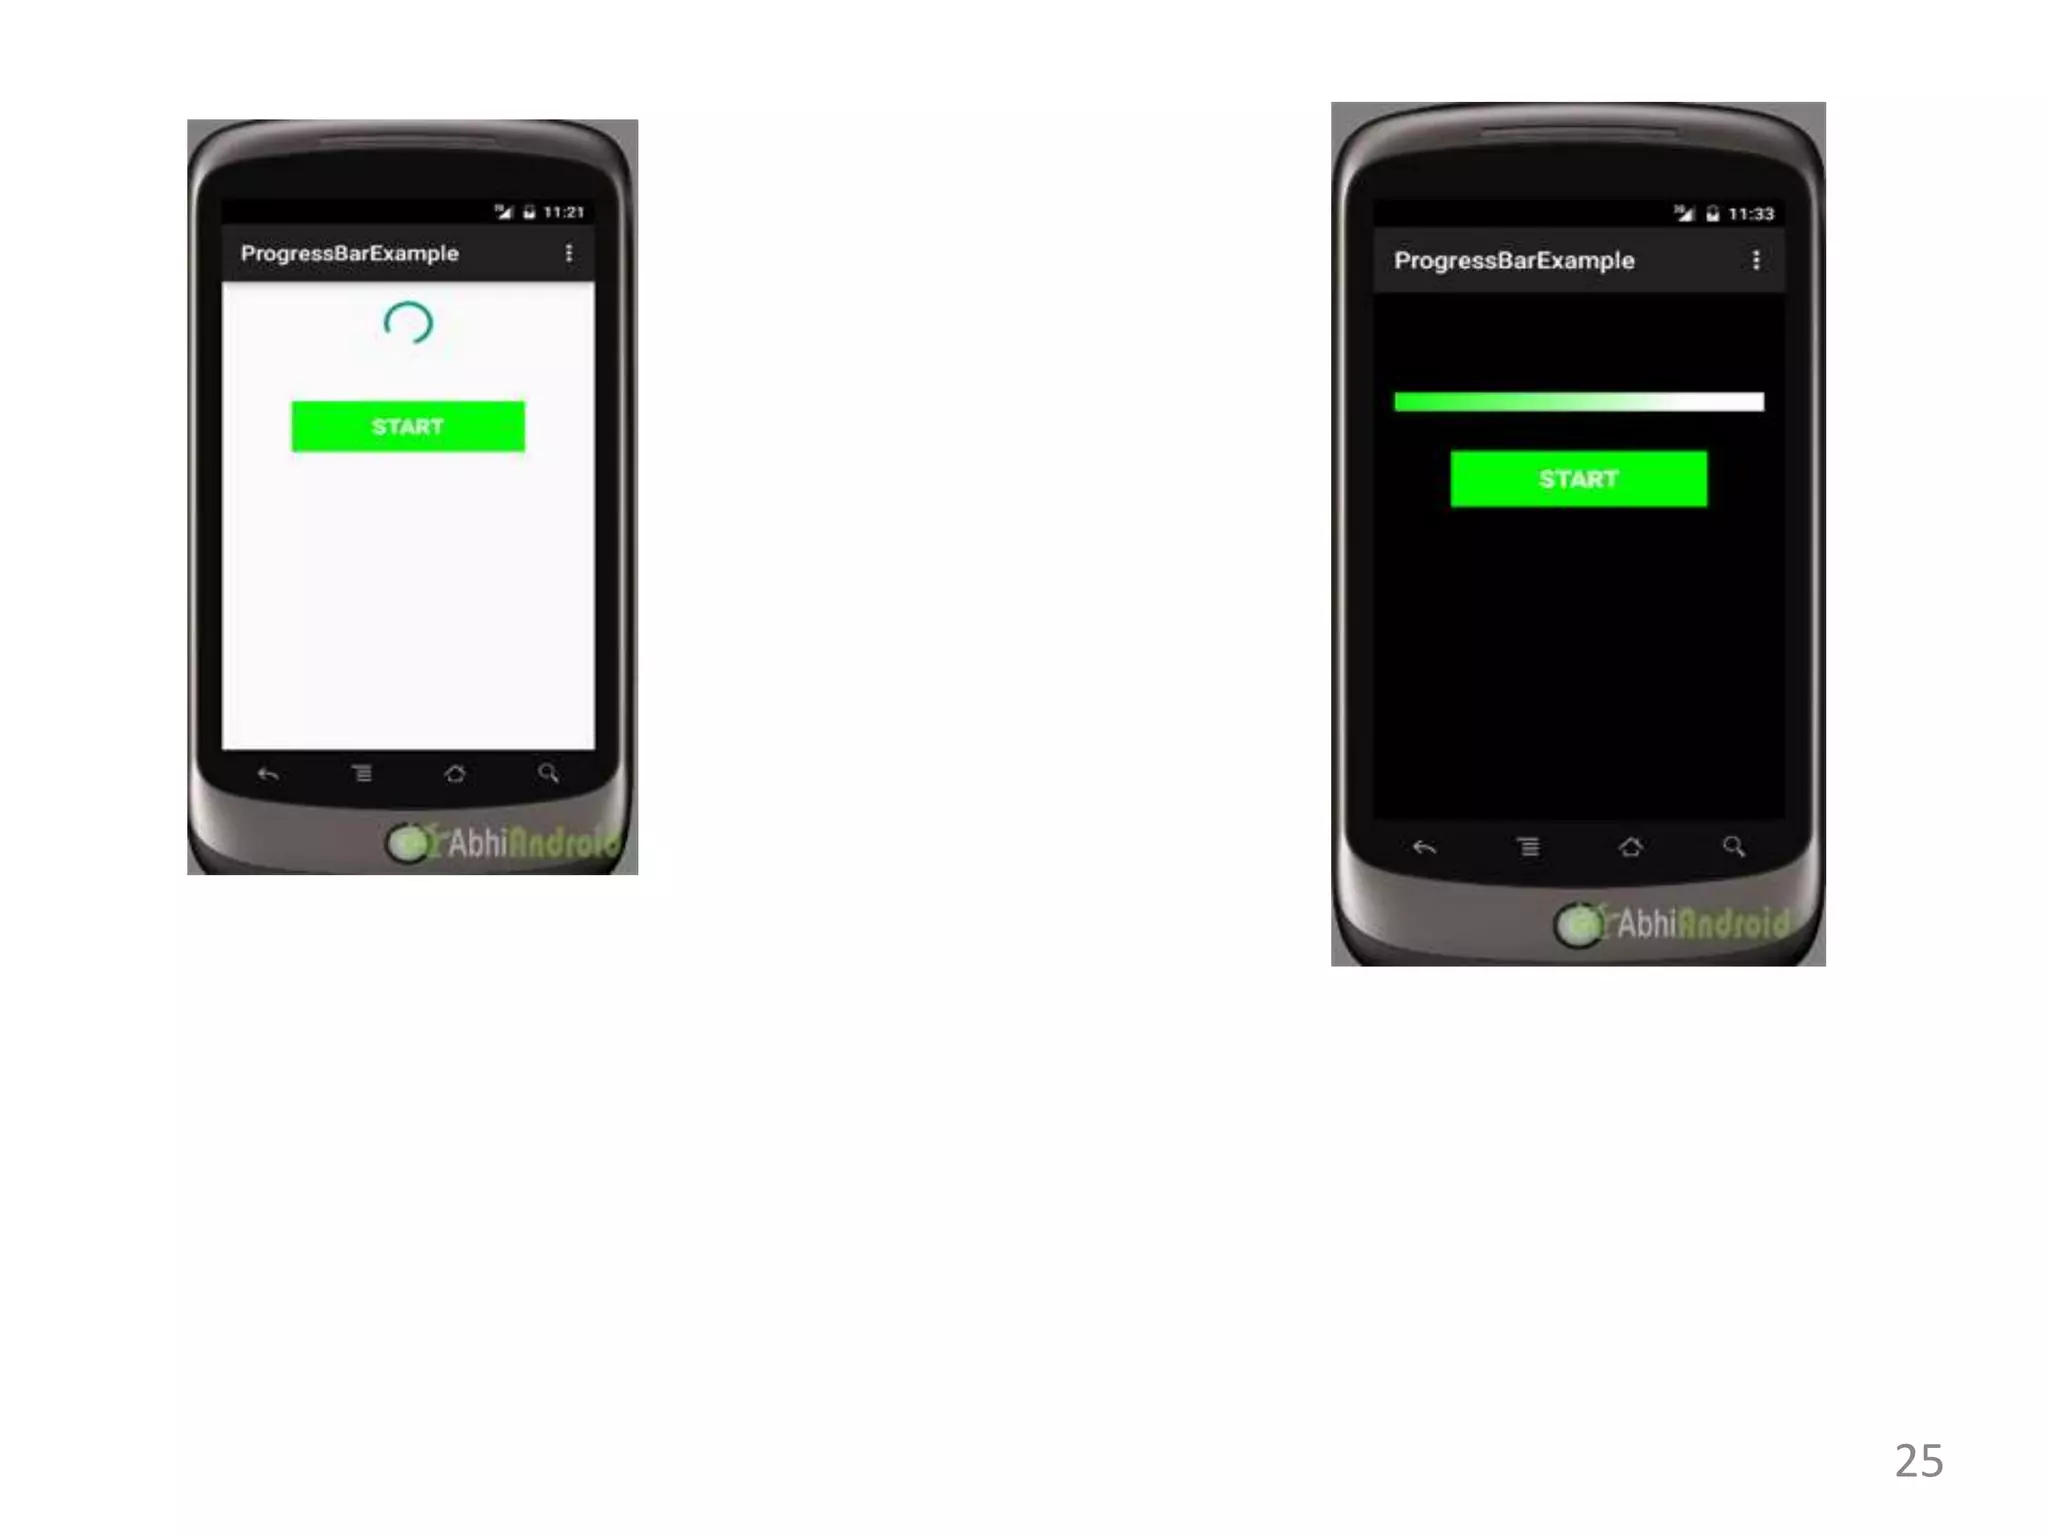

This document provides information about a mobile application development course including: - The course teacher and outcomes which include explaining Android features, configuring development tools, designing user interfaces using layouts and components. - Commonly used Android view classes for creating user interfaces like TextView, EditText, Button, ImageView, CheckBox, RadioButton, ListView and more. - Code examples for implementing views like ImageView, CheckBox, RadioButton, RadioGroup, ImageButton, ProgressBar and more.