Download as PDF, PPTX


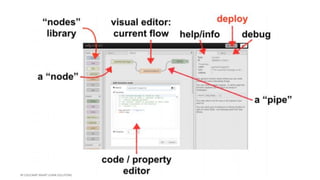
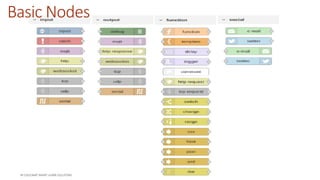
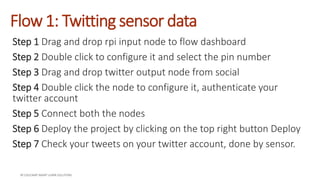

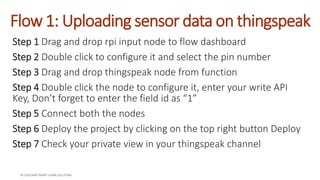

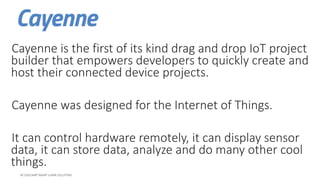
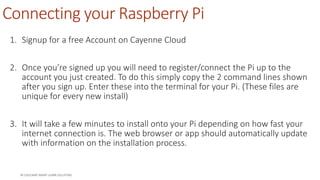


Node-RED is an open-source visual tool for wiring the Internet of Things (IoT) that simplifies development by using a drag-and-drop editor for various nodes, including Raspberry Pi and external APIs. The document outlines instructions for setting up Node-RED on Raspberry Pi and provides step-by-step guides for projects involving Twitter, ThingSpeak, and IBM Watson IoT, as well as for using Cayenne for IoT project building. Additional resources and commands for installation of various nodes are also included.