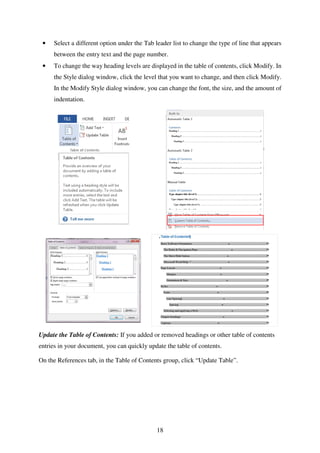
Microsoft Word has many features for formatting long documents, including styles, headings, captions, footnotes, page numbers, tables of contents, and track changes. Styles allow the user to apply predefined formatting to elements like headings, footnotes, and captions for consistency. Headings can have different numbering schemes and formatting applied using styles. Captions, footnotes, tables, and other elements can also take advantage of styles. Other features like page breaks, columns, and master documents help structure long documents.
![3
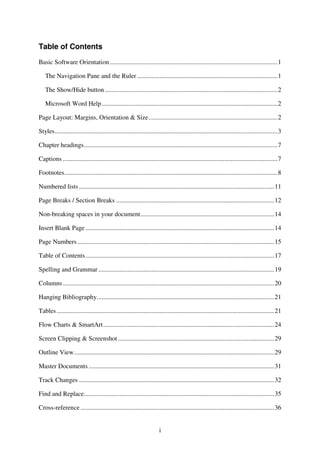
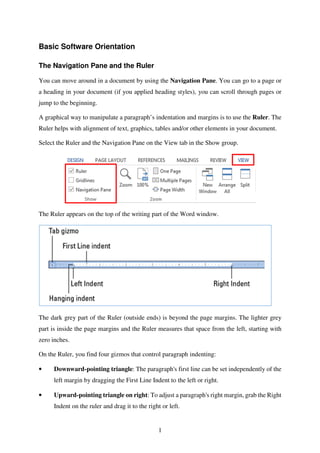
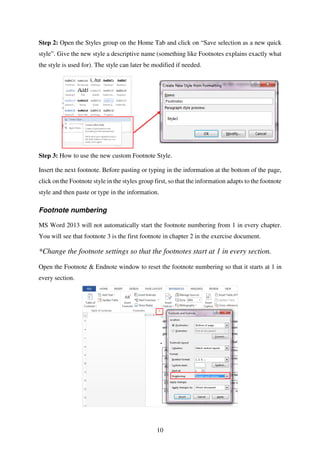
*Recommendations for a thesis: Margins: 2cm width open around all text areas, Orientation:
Portrait and size: A4.1
Margins
Orientation Size
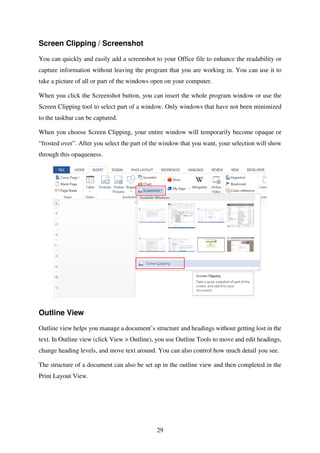
Portrait orientation can be set up under Orientation in the Page Setup group and the page size
can be found under Size next to Orientation.
Styles
Styles can be applied to chapter headings and sublevel headings, footnotes, captions etc. Styles
can also be changed and updated. We use styles in our documents to create structure and
continuity and to save time.
1
Stellenbosch University Library and Information Service: How Do I Submit My Thesis Online. [Online]
Available: http://library.sun.ac.za/English/howdoi/Pages/Submit-my-thesis-online.aspx [2015, January 27]](https://image.slidesharecdn.com/mswordnotes-180109143506/85/Ms-word-notes-6-320.jpg)


![26
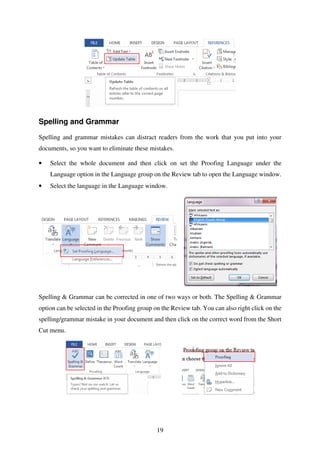
Some layouts for SmartArt graphics contain a limited number of shapes. For example, the
Counterbalance Arrows layout in the Relationship type is designed to show two opposing ideas
or concepts. Only two shapes can contain text, and the layout cannot be changed to display
more ideas or concepts.
If you cannot find the exact layout that you want, you can add and remove shapes in your
SmartArt graphic to adjust the structure of the layout. When you select a layout, placeholder
text (such as [Text]) appears. Placeholder text is not printed. You can replace the placeholder
text with your own content. Note that the shapes that contain placeholder text are always
displayed and printed, unless you delete them.
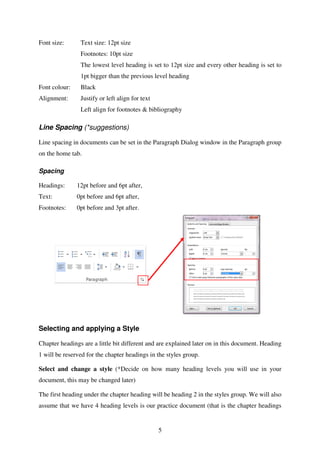
The Text pane
The Text pane is the pane that you can use to enter and edit the text that appears in your
SmartArt graphic. The Text pane appears to the left of your SmartArt graphic. As you add and
edit your content in the Text pane, your SmartArt graphic is automatically updated — shapes
are added or removed as needed.
When you create a SmartArt graphic, the SmartArt graphic and its Text pane are populated
with placeholder text that you can replace with your information. At the top of the Text pane,
you can edit the text that will appear in your SmartArt graphic.
Style, colour, and effects for SmartArt graphics
Under SmartArt Tools, on the Design tab, there are two galleries for quickly changing the look
of your SmartArt graphic —SmartArt Styles and Change Colours. When you rest your pointer
over a thumbnail in either of these galleries, you can see how a SmartArt Style or colour
variation affects your SmartArt graphic without actually applying it.](https://image.slidesharecdn.com/mswordnotes-180109143506/85/Ms-word-notes-29-320.jpg)